https://www.youtube.com/watch?v=uO-GshtogC8
How to Draw The Lion King 🦁 Mufasa
Hi , Katie 20 here today .
We're gonna drop Mufasa from the Lion King .
So let's get started to draw this awesome line .
Let's first start by drawing his eyes .
So I'm gonna come right here and start with a circle and I'm gonna come right across and draw another circle .
So save all right here .
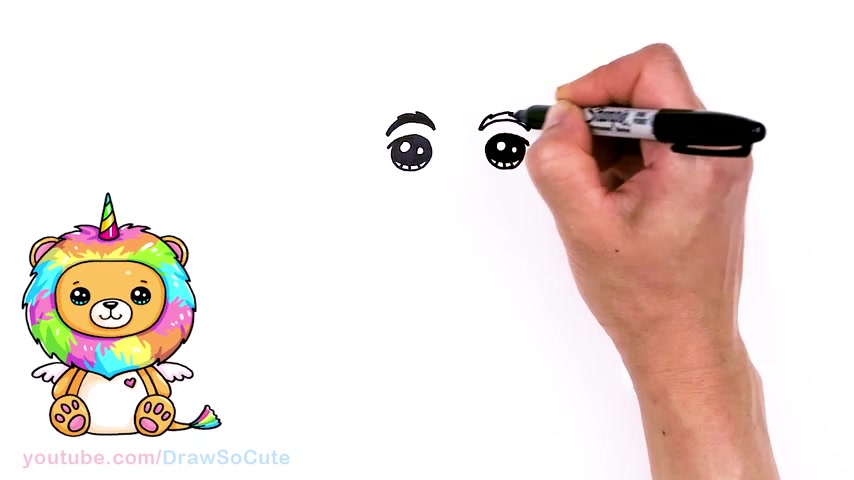
Now that I have my circles in , let's make um make them draw sticky eyes .
So I come in here with two small circles for highlights and a curve line at the bottom and shade in the top , then lines at the bottom and same thing over here .
Now that we have the eyes in , let's come over here on the corner and we're just gonna add a soft curve right here just to anchor the eyes and same thing on this side from there .
Let's go above the eye and we're gonna draw the brow .
So right over the eye , say about right here , I'm just gonna draw a curve right over the eye .
So it's gonna come out a tiny bit more and then from there , let's thicken the brow and I'm just gonna add some zigzags and just shave this in .
So that you can see it a little bit better .
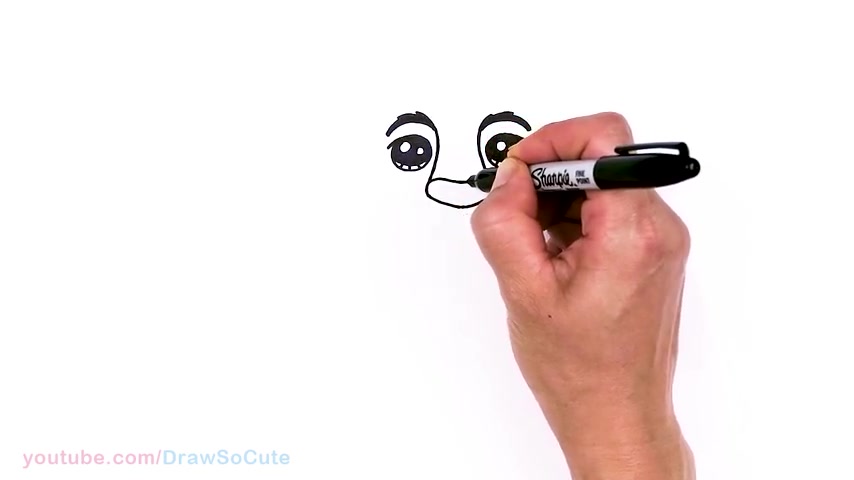
And same thing on the other side now that we have the brows in , let's come right here in the point area right here and we're going to draw a curve that comes down to begin the nose .
So we're gonna go around close to the eye and come out .
So same thing right here , we're just gonna draw this curve round the eye come out .
So I'm gonna draw a very strong and broad nose .
So then about right here , I'm gonna round off the corners and bring it together in the center .
So just come down a little bit towards the center and then go right back up .
It's a very strong nose .
Then from there , let's draw in some details .
I'm gonna come out right here and just gonna draw this soft curve with the center being a little bit lower and then around and then the nostrils .
So on the sides right here , just gonna add , it's two curves are right here there .
So we have his nose in now to draw his mouth .
So right in the center , once again , we're gonna come down with a straight line .
Then from there , let's come around and say about in this area we're going to draw um right underneath the eye .
So about right here , it's got a slight angle curve and curve it down .
So right here as well , same thing just gonna start framing in his mouth and we're just gonna curve it down , so nice and strong and broad as well , just like the nose .
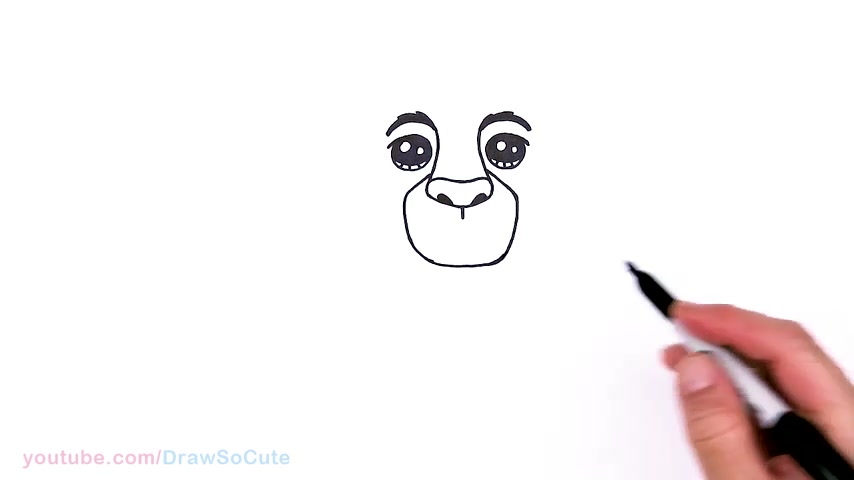
So we're gonna bring down this curve and we're gonna bring it down pretty low just to make it a lot stronger looking .
So , say about right here , I'll curve it in and connect there .
So kind of this shape right here there .
So now that we have that shape in , let's come back and we're gonna draw the mouth .
So I'm gonna come down a slight angle and I'm going to curve towards this corner right here .
So that's why I wanted to draw that first and we're gonna go up .
So the same thing here and up towards that corner there , now we have a very happy Mufasa , right ?
OK .
So then from there , mix my eye a little bit here , make it a little bit rounder .
Now from there , let's go ahead and we're gonna frame his face .
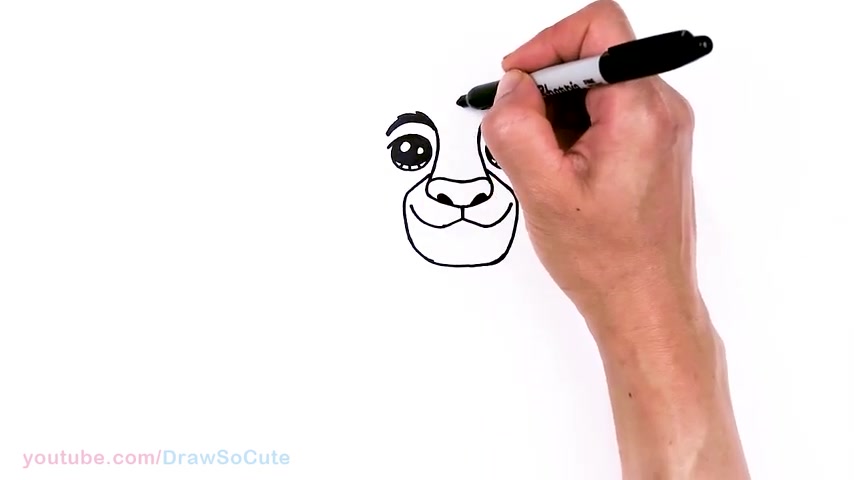
So I'm gonna come to the center once again and say about right here right in between slightly above the brow .
I'm going to go up and frame the brow and eye area .
So I'm just gonna draw a curve right around .
Then same thing on the other side , then I'm gonna come back right here , kind of like in this area right here in the center , I'm going to just give myself a point and same thing right here just so I know where I'm going from there .
I'm going to bring down this curve , I'm gonna dent it in a little bit and then come out .
So kind of like in the center of this eye and then it's gonna start to come out all right here and in .
So the same thing on this side .
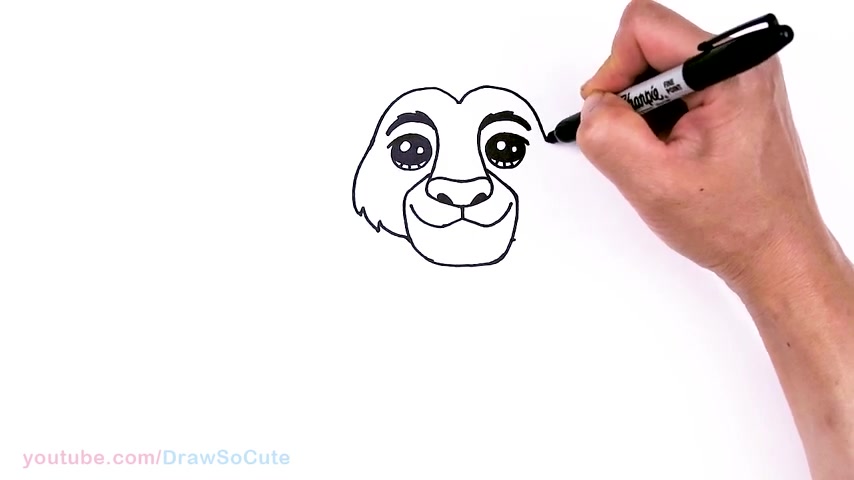
So come down angling it towards the center of your eye , but right here and then we're gonna come out a little bit the cheek area .
So we're gonna come back to this point that you made .
So right here , just gonna zig zag and just tuck it in to frame the face .
Now that we have that done , let's come up .
And so we're gonna come to this point right here .
We're gonna curl , curve up and so say about this high , nice and high .
But right here , I'm gonna go ahead , come out this way , one strand and bring it down and then the other side goes the other way and once again strand and bring it down , so we're gonna start to draw his name .
So let's bring this down .
But right here , it's gonna be a little bit thinner .
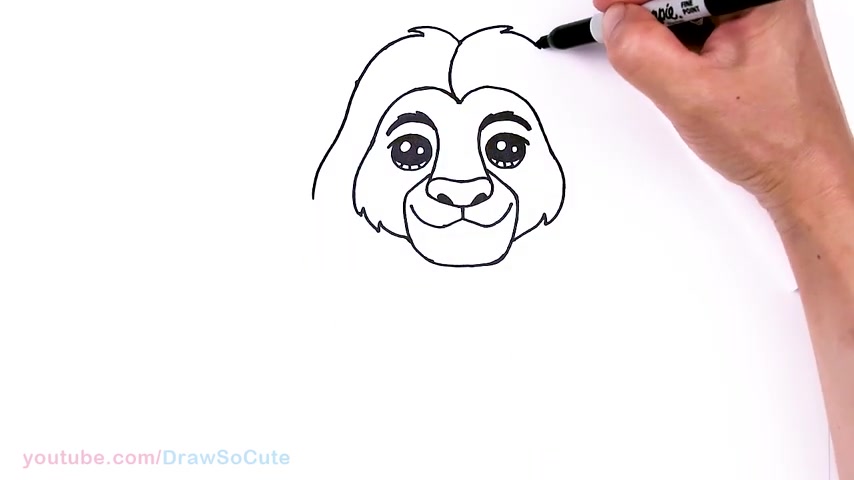
So we're gonna bring it down kind of following the shape that you created .
So curve it in and then we're gonna come out to the same thing on the other side , just kind of follow your face , bring it in and then all right here , we're gonna go out .
So we're just gonna come to a point right underneath the center of his face .
So let's just , that's the goal .
So let's bring this down and here and there .
You can give a zigzag , bring it down more and I'm aiming to butt right here nice and long .
So I save my right here .
So same thing on the other side , zig zag and bring it in .
So I'm gonna go to a curve and bring this a little bit lower , maybe a little zigzag right there as well .
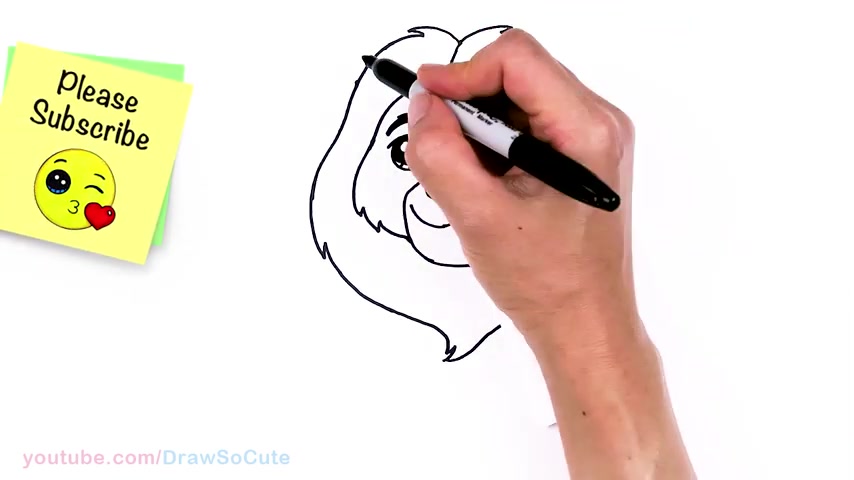
So I just want to make this nice and full then from there , let's draw his ears before we forget .
So , in this little area where you dipped , I'm gonna come right here and just draw curve just for indication of his ears .
So same thing on the other side .
So just drag a point across if you're drawing big and just draw a little curve right there .
OK ?
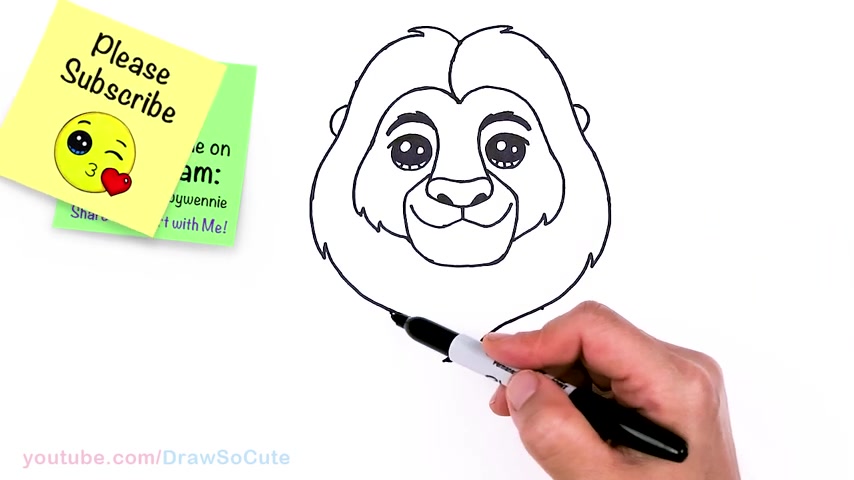
So we're finally done with his um face right here .
Let's come back .
Uh Let's come down here and draw the body .
So uh let's see here to make it easier , find where your eye is , the outside of your eye come down and about right here .
I'll give myself a point and this is where I'm going to start the front legs .
So , and then the other side will be OK .
This is the outside of your eye , it's gonna be a little bit further out .
So let's say the face area , let's say about right here .
I'll give myself a point .
So on this side , just make sure it's right on the outer edge of the eye right here from there .
I'm going to draw a curve .
So nice and strong , muscular , front legs right there .
And I'm gonna come in between these two curves that I've created .
So say about right here .
I'm gonna start right underneath and draw a curve comes down and then this curve , well , let's try that one later .
Let's work on this leg first , front leg first .
So then right here , just get a little curve again and then we're just gonna bring down the shape that's at this angle .
So say about right here , I'll stop .
Everything is nice and thick because you want it to be strong .
So you just created this shape right here and then about right there .
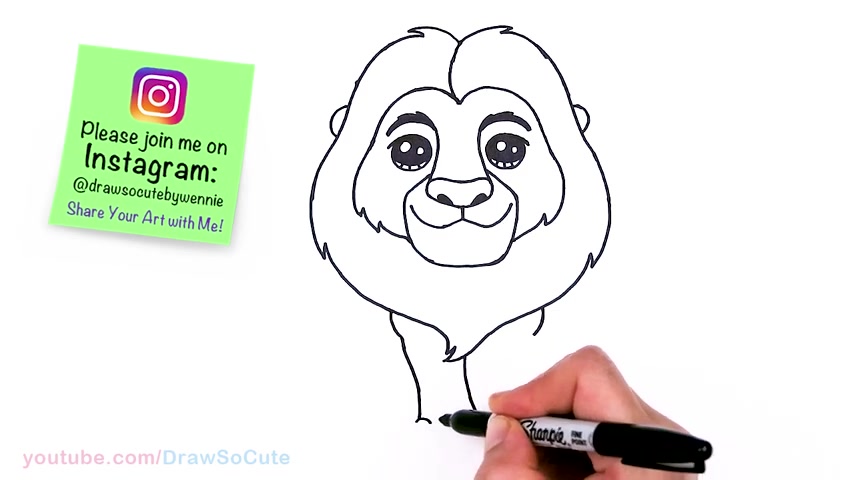
I'm gonna stop and draw four curves that go across for the paws .
So right there , then I'm gonna bring it down , flare this one out slightly and this one and then we're just gonna go ahead and do the same thing at the bottom 12 , three and four .
And then you can come in here just lightly draw curve to connect everything .
So we have one front leg and then the other side .
So let's come about right here and we're gonna check in a curve back to the same level as that .
And from there , I'm going to draw a curve right here .
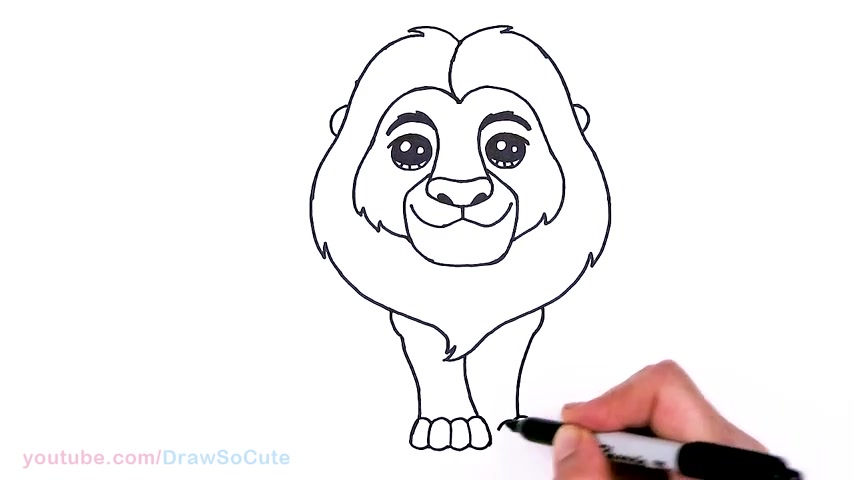
So this one is slightly different because it's kind of at the side and another curve right here and let's see one more and they're just gonna bring it down to the same level .
Once again , one , two , there should be four , but just to simplify it because it's kind of tucked in the back .
But I'm not gonna draw it and draw curves to connect , you know , whatever space you have left , just draw a little angle of line right there to finish it off , go a little bit higher .
OK .
So hopefully , uh that wasn't too , I made it easy for you to follow along with me .
And then , so in this space right here , I'm going to go ahead and just draw a curve right there to separate the two front um legs .
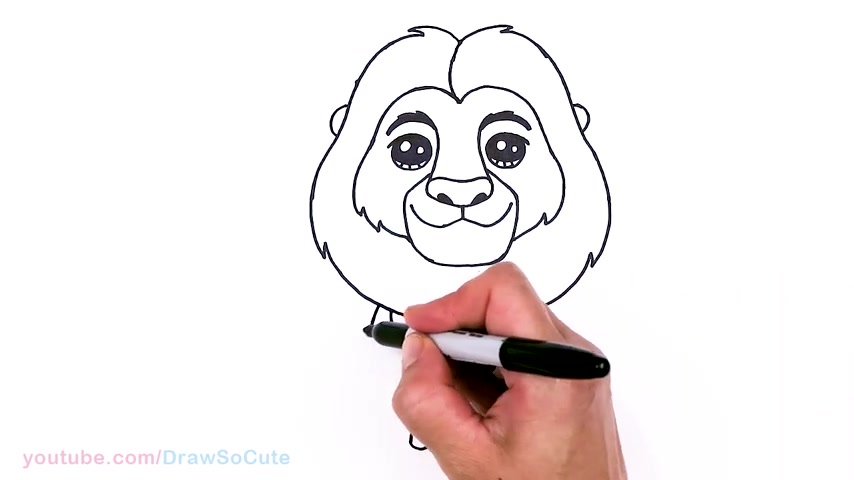
And then from there , let's go ahead and draw that back .
So come up a little bit .
So , but right here , just gonna draw a slight curve then from there , I'm going to draw a curve right here .
We're gonna begin the back legs .
So just draw a curve that comes down and we're gonna make it strong .
So let's angle it out , angle it out and then bring it in and so the back um pa will be a little bit higher .
So just keep that in mind .
So I'm gonna bring this down .
So say about right here , I'll stop , I'll stop right there .
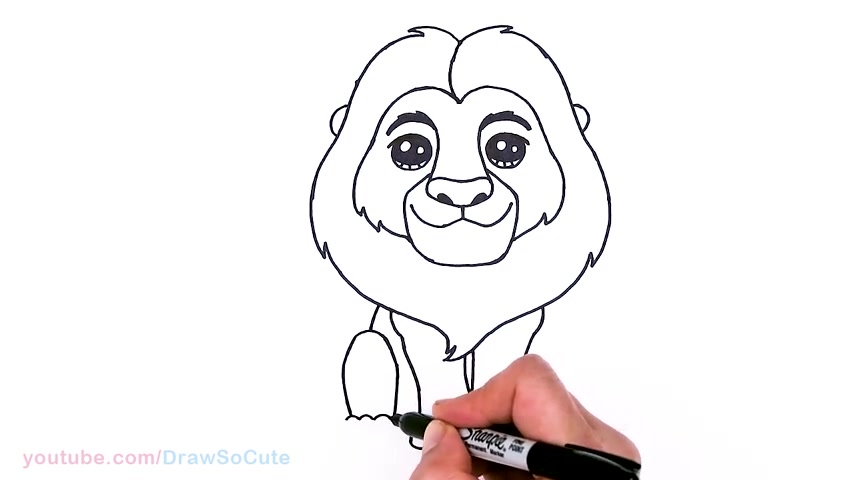
And then once again , the same thing , one , 23 and four and so flare it out on the side and once again , same thing 12 and for and draw in these curves to connect .
So now we have his back legs , yay , right .
So hopefully this pose is just a little bit easier to draw then the full body .
Um OK , so then from there , let's draw the tail .
So , um , I'm totally following the pop figure here .
So let's come about right here next to the thigh and I'm going to draw the tail .
It comes out just like a little paint brush , give it a little come out , it just like drawing a flame almost right ?
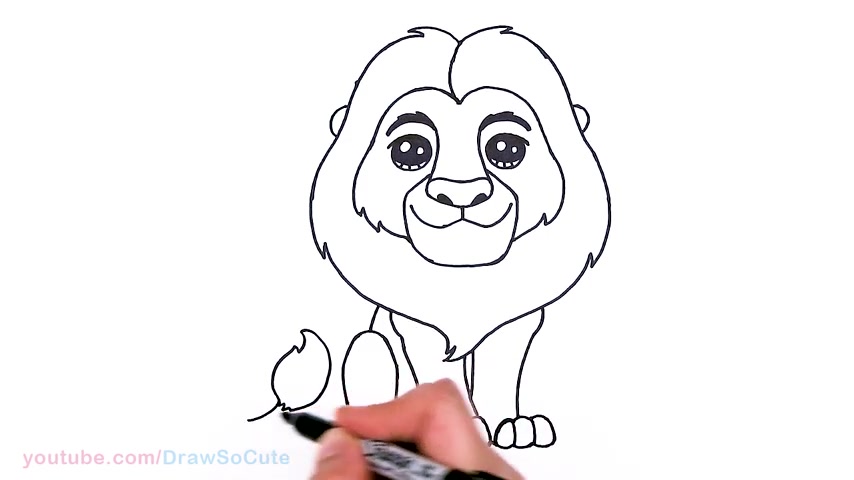
And bring it in .
Then from there , I'm going to zigzag to finish it off and come out with the curve thicken it up right here .
So we just wanna make sure you don't go below the foot right there and then we're just gonna curve it around and then you're just creating this little loop .
Then from there , let's come right here .
Draw her towards the lion and connect there .
Then you come in here with some details if you like and strands and same thing here , you can do this when you're coloring .
So it's not so harsh , but I just wanna show you .
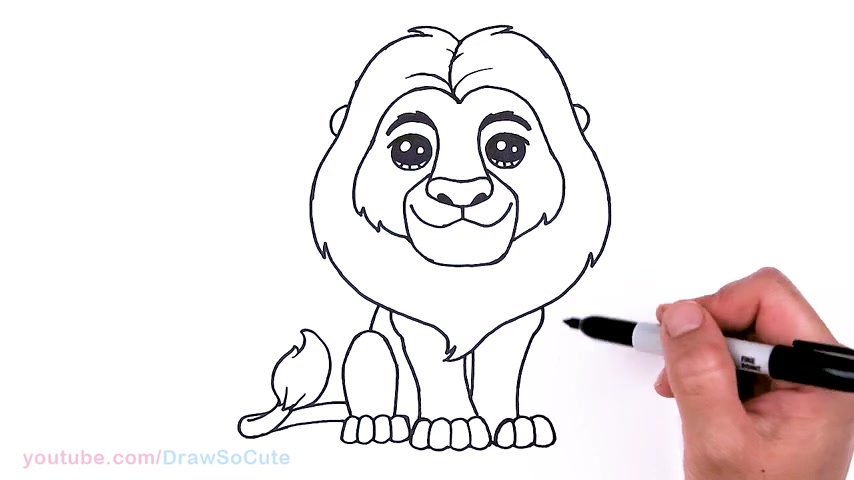
So that's pretty much it for my drawing of Mufasa here from the Lion King except I need to put a heart somewhere , right ?
And I just like here or here .
Uh You know what let's just tuck it right here on the corner .
So now it's my Jurassic cute Lion King .
I really hope I made this fun and easy for you to follow along with me to draw this awesome Mufasa here and thanks so much for watching .
And if you loved it , please make sure to subscribe and turn on your notification bell .
So you won't miss any new Jurassic cute videos .
See you later .
Are you looking for a way to reach a wider audience and get more views on your videos?
Our innovative video to text transcribing service can help you do just that.
We provide accurate transcriptions of your videos along with visual content that will help you attract new viewers and keep them engaged. Plus, our data analytics and ad campaign tools can help you monetize your content and maximize your revenue.
Let's partner up and take your video content to the next level!
Contact us today to learn more.