https://www.youtube.com/watch?v=LZpKhyPq_qg
How to Draw Genie _ Aladdin
Hey everyone and welcome to the club today .
I'll be showing you how to draw the genie from Aladdin .
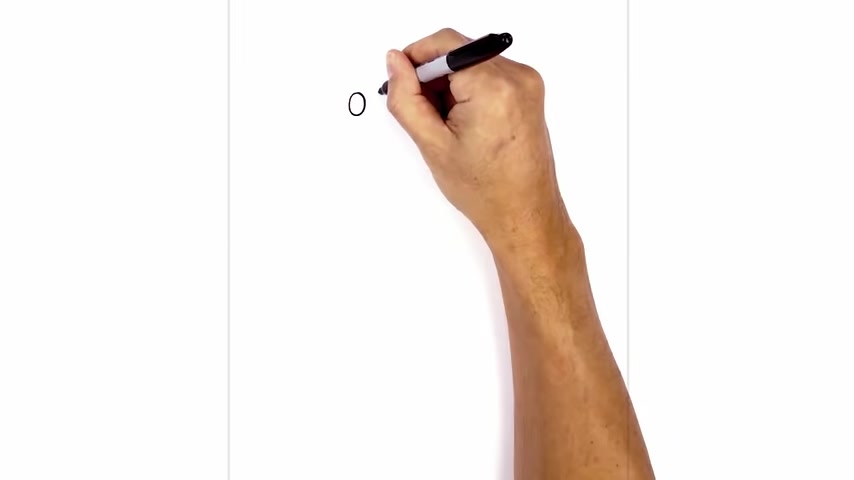
So let's move to the top left side of the page and start with the eyes .
So let's start with the left eye with an O start from the top , work our way around to the bottom and then back up to the top and I'm gonna leave a small gap in the center and do the same thing on the right side .
So let's line up the top of the eye .
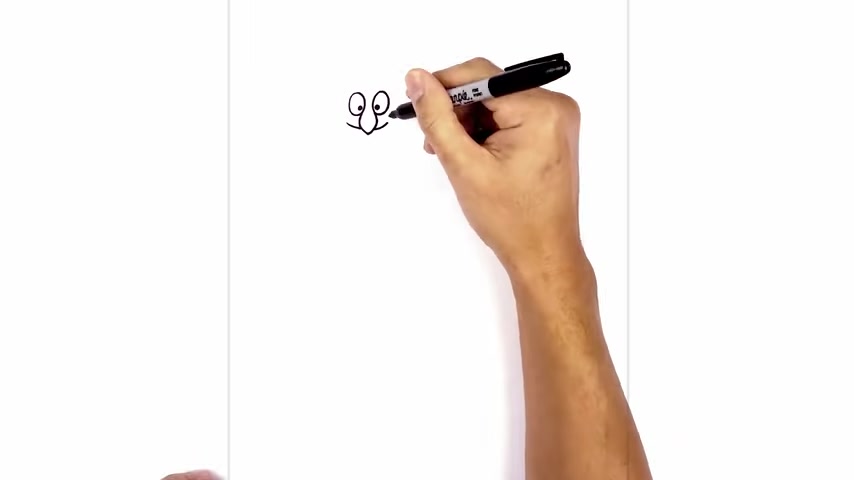
Now I'm gonna push the pupils in toward the inside .
So on the left side , I'm gonna draw a small circle and fill that in black on the right side , we'll do the same thing from the inside edge of the eyes .
I'm gonna round out the side of the nose .
So on the left side , I'm gonna curb out and then pull that in towards the center point of the nose .
Now I'm gonna curve back up on the right side , going out and then in towards the inside of the eye .
Now it tuck the mouth in behind the nose .
Let's start on the left side would draw a curve going in behind the nose , starting on the left , would it curve down and then continue on the right side .
Now , let's draw a little bracket on the end of the mouth .
So on the left side , I'm just gonna draw a curve going across .
We do the same thing on the right and from the end of the mouth , I wanna curve in and then back down towards the left , towards the bottom of the mouth .
Do the same thing on the right coming in and then back out , let's connect the bottom of the mouth with a curve going up in the middle and then back down .
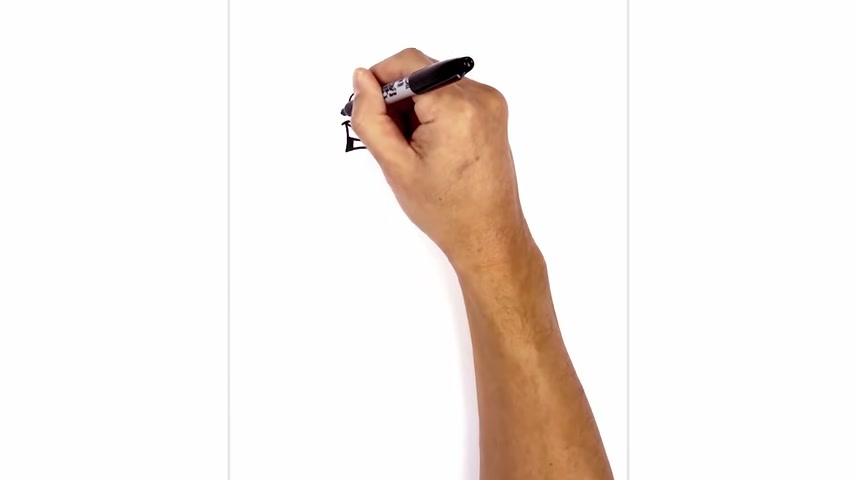
Now let's separate the teeth .
So in the middle here , I'm gonna draw a curve from left to right coming down and then back up .
Now on the left side here , I'm just gonna draw a straight line coming down .
We'll do the same thing on the right now .
We're gonna fill the areas in black .
Now , we're gonna draw two half circles around the bracket for the side of the cheek .
So let's step out , cover around and then back in and do the same thing on the right from the bottom .
We're gonna curve down and out .
So on the left , we're gonna curve out and on the right , we'll do the same thing and we're gonna connect those two points with a curse .
So we're gonna round up the jaw and then come back up on the right side .
Now , I want to layer the beard underneath the chin .
So I start on the left side , I'm just gonna taper in towards the center curry down and then in now , right here , I'm gonna draw a little swirl , curling around .
Now I'm gonna taper and curve that back underneath the chin , leaving a little space .
I'm gonna work my way back up towards the right just underneath the jaw .
Now let's go ahead and fill all that in black .

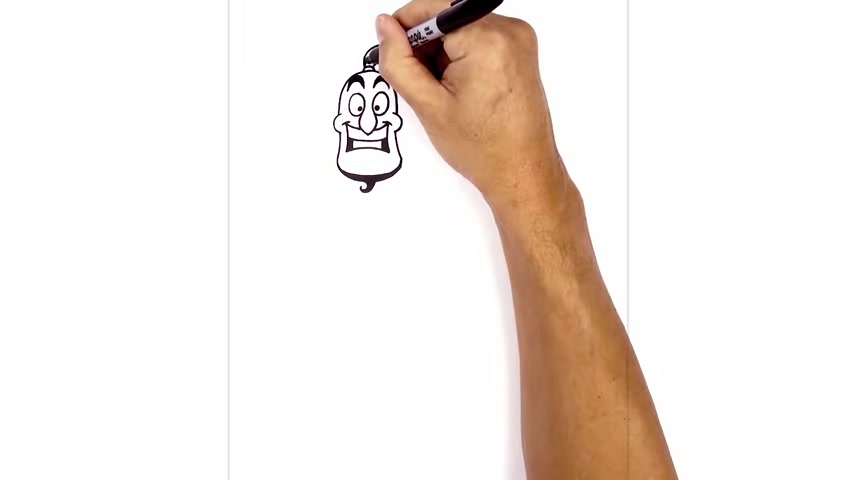
Now let's move back up and draw on the top of the head .
So on top of the cheek , we're gonna step out to create a little overlap .
We're gonna curb up to the top of the head , round it out and then come down on top of the right cheek up above the eyes .
I'm gonna add two large eyebrows .
So on the left side , I'm gonna draw a curve from left to right , going up and then down and the same thing on the right now , I just want to thicken up the eyebrows .
So we're gonna go back to the left side here , go up high in the middle and then taper back down towards the inside , do the same thing on the right .
And now I'm gonna fill the eyebrows in black .
Let's add the little ponytail at the top .
So the top center of the head , we're gonna draw a little half circle for the knot .
Now , on the left side of the top of the head curve around down and then we're just gonna flick it up at the end .
That's one taper this back in behind this little knot .
So we're gonna start on the right side of the knot curving out and it will make our way towards the tip .
Now , we're gonna fill that in black .
Now , we're gonna add two large pointy ears on the side of the head .
So let's start on the top of the cheek , on the left side and curb up and then out and we'll do the same thing on the right side .
And now I'm gonna curve down the side of the ear .
So on the left side , I'm gonna curve down around the side of the cheek , do the same thing on the right now over here on the left side , we're gonna add an earring .
So it's almost like a large long oval and we down them back up and then on the inside of the oval , we're gonna curve in behind the head .
Now , on the right side , I just want to round out the earlobe and curve in behind the head .
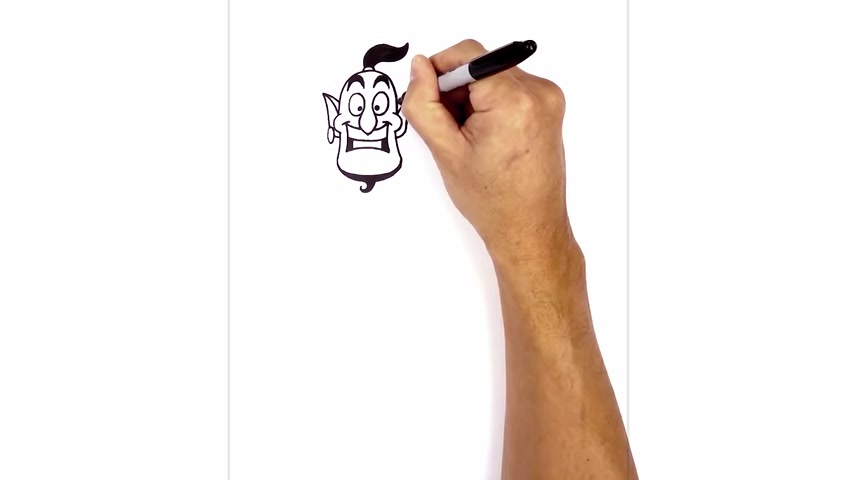
Now , going back to the top of the year , it's just gonna taper in behind the head just for the upper part of the ear .
Ok .
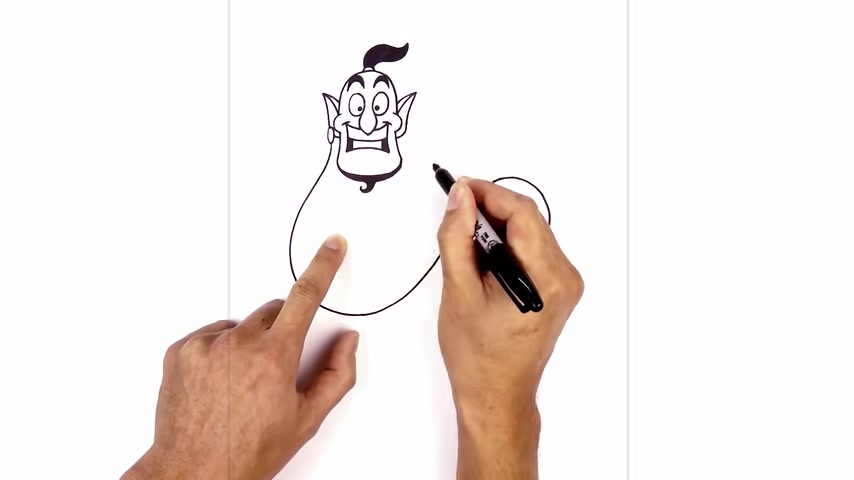
So now that we got the head , let's draw in the body .
So I'm gonna have the arms folded in front , but I'm gonna turn the body over towards the right .
So let's start with the large forearm on the left side .
We're gonna start underneath this earring .
We're gonna curve out and down and then round up the arm start by coming down the side of the head , pushing out towards the left and then down here , it's gonna curve this back in .
Now , this is gonna come in towards the forearm up towards the wrist .
So the start by blending this into a curve going up to the wrist .
Now , right here , we're gonna flatten it out , going out towards the right now , this arm is gonna be folded on top of the right arm .
So from here , it's gonna blend into the right arm elbow and then back in , it's almost like a half circle and go out to the right and then just pull that back into right above there .
Now , let's draw in the tall part of the left arm .
So right here is where the bend of the elbow is .
So right here , we're gonna curve up underneath the chin and then back down on top of that curve going up and we curve this down on top of this curve , let's draw on the right side of the neck .
So right where the ear meets the head , we're just gonna curve down and then out underneath the arm .
Now , directly in the center of the head , we're gonna move down right at the bottom of the arm .
Here , we're gonna curve the back going down and then out to the left .
Now the body gets really narrow as it comes down towards the waistline .
So I'm gonna draw the right side of the waist right down here .
So from this point of the arm , I'm gonna curve down and then just pull that in .
So the body gets in narrow .
Now , this is the back side of the arm I wanna draw on the bottom side of the forearm .
So we step up and just draw a curve from the bottom of this arm curve down and then just across .
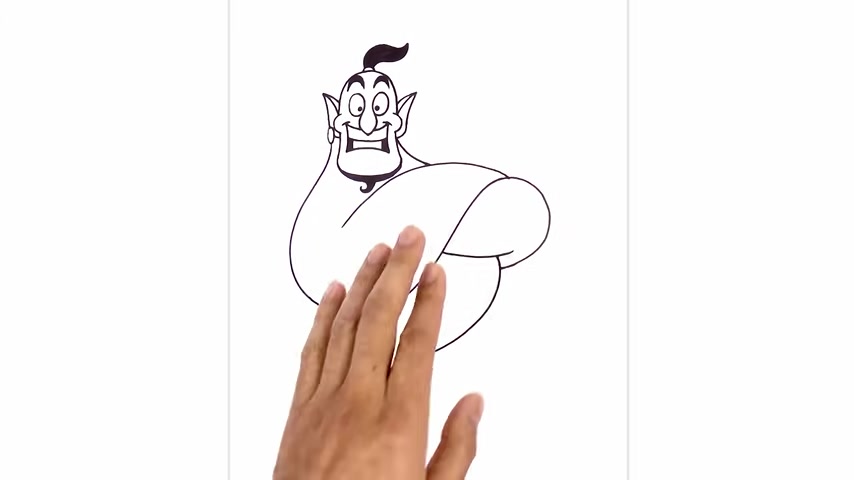
And then from this point , we're trying to continue this underneath the forearm .
Let's draw on the large wristband .
So the one on the left , I'm gonna start on the upper part of the arm curving across and then pull that down .
We step over and draw that same curve from the top to the bottom .
And now the band on the right arm is gonna curve in the same direction from the top all the way down to the bottom , just underneath the arms .
Here , we're gonna draw a curve for the lower part of the chest .
So starting on the left side , we'll curve up and then out , let's draw the sash along the waistline .
So we're gonna connect these two points with a curve and I just want to round out a little wrinkle around the sash on this corner .
I'm gonna step up , curve around and then just pull that in on the bottom , I'm gonna step up and curve in the opposite direction .
Now , let's draw on the lower part of the sash from this curve , we're gonna come down almost like a half circle and then back up on the right side and then just down here , I just wanna add another wrinkle little curve from left to right .
Now , we're gonna draw the lower part of the body sort of waving in towards the lamp .
So let's start with the inside edge first .
So that at the bottom of this curve , we're gonna come around , go up and then just pull that down along the bottom .
Now , on the left side , we're gonna taper it .
So we're gonna follow that same curve coming down to a point .
So we're gonna start on the left side coming down , go up and we're just gonna pull this in towards a point .
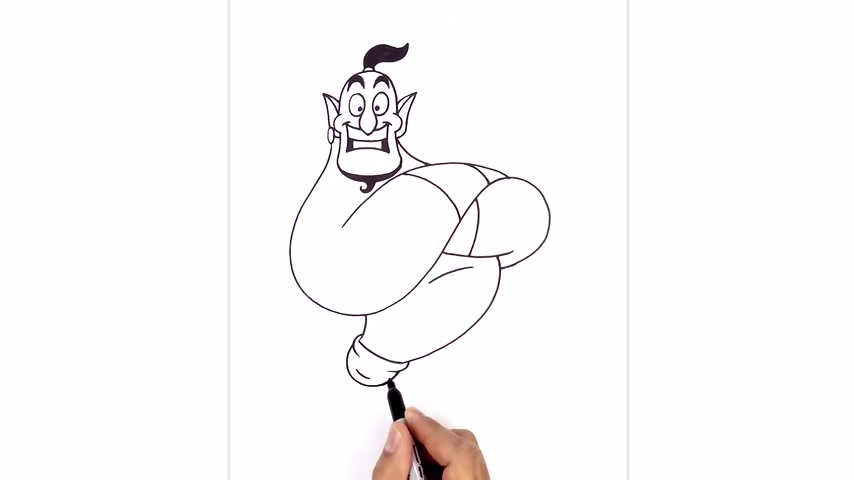
The final thing we wanna do is add a simple lamp on the side here .
So at the bottom of this point , we're gonna draw a short straight line going across from this point on the right , we're gonna cur down and out toward the right now , I'm gonna round out the top of the lamp going up and then back down .
Now on the left , I'm gonna curve in the opposite direction and just round out the bottom of the lamp and then taper and curve in the opposite direction going up .
We want a little , leave a little space on the outside for the handle .
Now , let's add in the handle from this point , we're gonna curl up , come back down and then pull that in , leaving a little space on the inside .
We're gonna step out and just swirl around and then back in behind the lamp .
Now on the inside , we're gonna draw what looks like the letter P go up , round it out and then pull that in at the top of the lamp .
I'm gonna draw a little curve going up and then scrolling that back down .
We'll draw the base of the lamp .
So from the center , I'm gonna step to the left curve down and out , we'll do the same thing on the right .
We'll connect those two points with a curve .
Now , let's add a little bit of detail .
So for the lid , I'm gonna start on the left side , curve down and then back up .
We'll draw that twice .
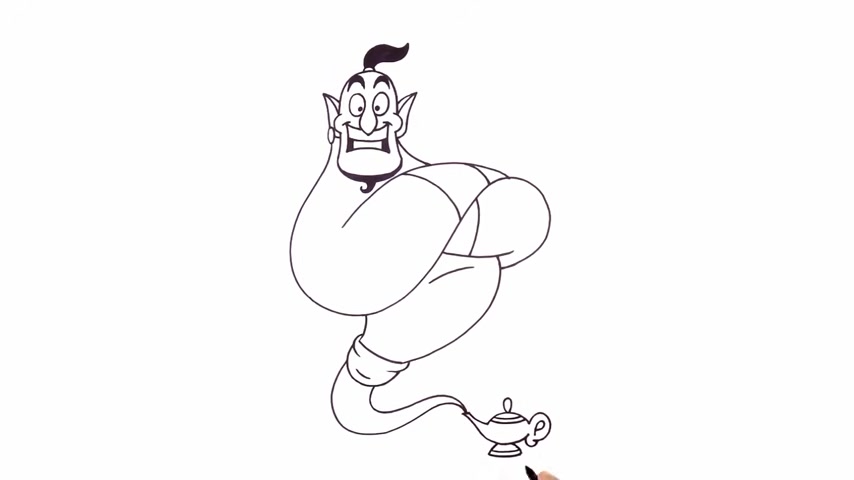
Now , I'm gonna add a little trim along the bottom enough to write .
I'll add one more just above it and there we have it .
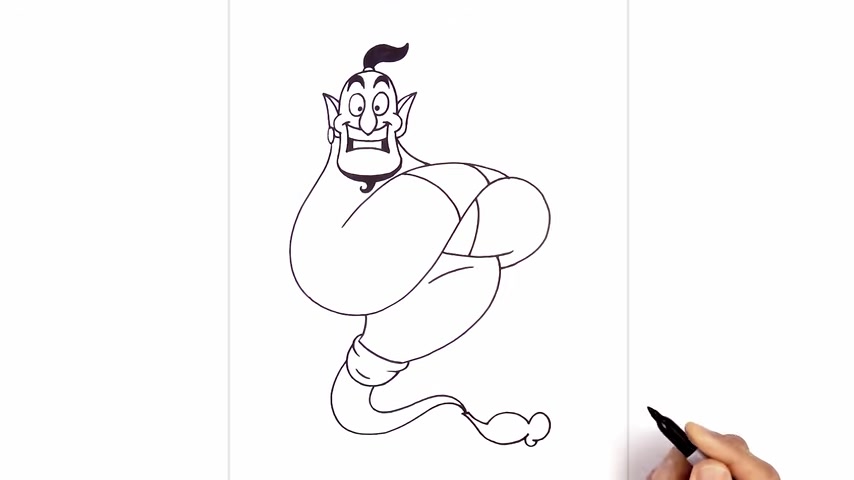
There's the genie from Aladdin .
I hope you enjoyed today's lesson .
Make sure you subscribe and send me your request in the comments below .
Thanks for watching and we'll see you again soon .
Are you looking for a way to reach a wider audience and get more views on your videos?
Our innovative video to text transcribing service can help you do just that.
We provide accurate transcriptions of your videos along with visual content that will help you attract new viewers and keep them engaged. Plus, our data analytics and ad campaign tools can help you monetize your content and maximize your revenue.
Let's partner up and take your video content to the next level!
Contact us today to learn more.