https://www.youtube.com/watch?v=d_k45Nsj0WM
HOW I SOLVED THE GIGANTIC 13X13 RUBIK'S CUBE
Hey guys today , I tried to solve the 13 by 13 Rubik's cube , which is the biggest one that I have .
I don't know if you guys can tell .
But before I was about to start , I was filled with regret that I even took up this challenge .
But in my last video , I predicted that it would take me around 50 minutes to solve this .
So let's see if I was able to do that .
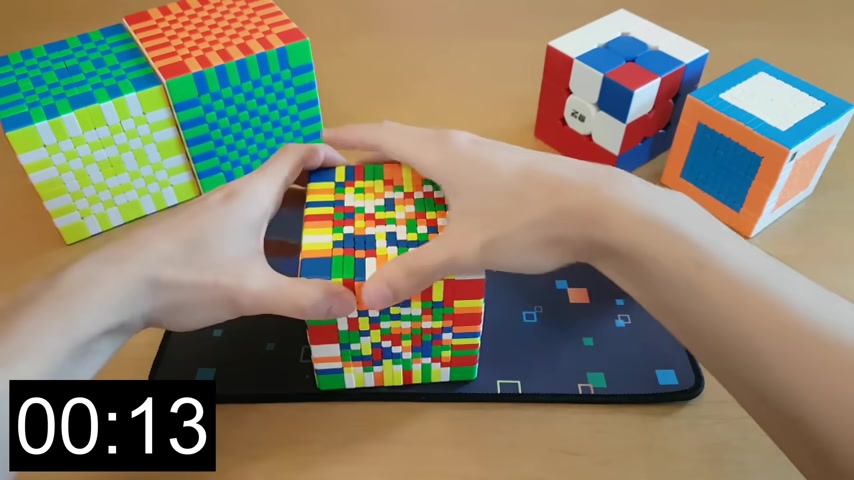
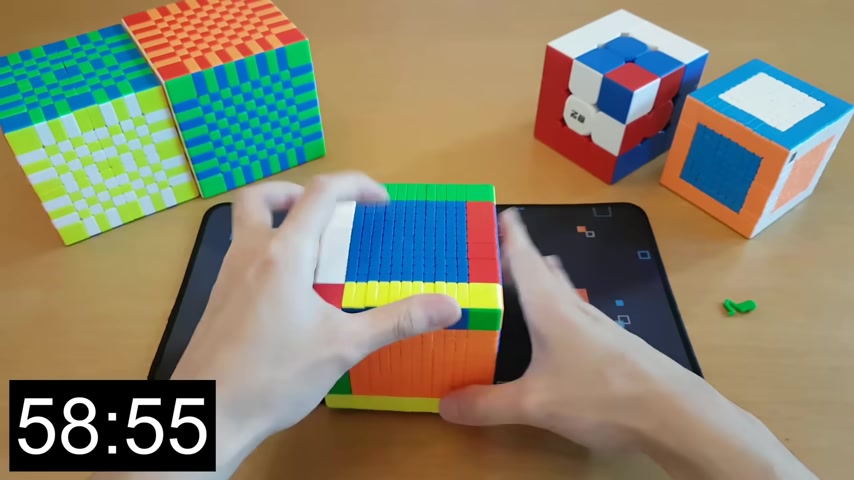
Now , the first thing I'm starting with here is the blue center and I knew this was going to take a long time .
But because this was my first time doing a cube , this large , I actually had a different strategy going into this than how I do other size cubes .
You'll notice that I'm making center bars , but I'm actually trying to start with the ones that are closer to the outside .
This is actually the opposite of how I approach centers on smaller sized cubes .
My thinking was that when you get to very big cubes , one thing you have to start worrying about is whether or not you can find pieces quickly enough .
It's very hard to just look at a piece and be able to identify which one it is .
You have to actually start counting which layer it's on .
And I don't really want to do that too much .
So when I do the outer layers first , those require a lot less counting because obviously , it's very easy to see which layer a piece is on if it's closer to the outside .
So you can see here that I finish some outer bars on one side , I go to the outer bars on the other side of the same center .
Now , sometimes I don't do it exactly in order .
And that's because I just happen to find one that's easier to solve than the others because a lot of the pieces were already there .
So I do go out of order a little bit , but generally I'll try to go from outside to inside .
Now , one thing you've probably noticed is the way that I'm holding the cube .
I'm not actually holding it in the air like I would for a normal cube .
I'm just letting it sit on the table .
The reason I do this is partially because the cube is heavy , but also because the table is just a big flat surface that I can use to align all of the layers .
So any time it's very hard to get it turned done .
It's because the layers aren't perfectly aligned with each other .

And if I ever run into the situation , I can just slam the cube on the table and it will align it for me .
Once most of the center is completed , you can see that the number of pieces remaining for blue is way smaller .
And even though now I have to do the counting anyway to see which pieces go where the number of pieces I have to consider and then count the layers of is actually a lot lower , which makes this part so much easier because of that .
I didn't have to pause and count too much .
And I was able to get through the center in only about 10 minutes .
Obviously being my first solve .
I didn't know if that was a good time or not to finish the first center .
But then I looked at how long it took Kevin Hayes to make one center .
And uh I think this is pretty good .
10 minutes .
Exactly for that first split .
Not bad .
Next .
As with other big cubes , I moved on to the opposite side center .
So this time being green , the way I make green is pretty much the same as the way I make blue .

I make the center bars and I go from the outside to the inside just to make counting easier .
The only difference is as I make this , I have to keep blue solved , which is pretty easy , but sometimes I still have to be careful in case I make an accidental turn and mess up blue .
So it are something I had to keep in mind , but generally not a very big deal .
So the green center also took a long time .
But now when I go into the middle centers , you'll see me do a slight pause to choose which color center I want to go on to next because I can choose any of the remaining four colors .
But I very quickly went for orange because there was a bar almost done already .
And that was quite lucky as you can see .
Again , I'm going for this outside to inside pattern .
Next , I moved on to the yellow center and I just have to move on to any center that's next to orange .
I could have moved on to yellow or white .
I actually didn't give it any thoughts because usually I just go on to the center above orange .
And if you look at the middle color of this side , it is yellow and that's the only reason I went onto yellow , but I could have flipped the cube upside down and went for whites .
It's just something I forgot to think about .
So solving yellow is very much the same idea as solving any of the other centers .
But of course , there is a difference now and that is , I'm still turning along the vertical , but there is the orange center in this vertical .
So that means that the orange center is constantly going to get unsolved and I'll have to resolve it .
I'm sure if I was better at this .
I could save tons of moves here because I just always corrected the orange center as soon as I could .
I realized how many moves I was wasting as I was solving .
But I thought that I probably could not come up with a great solution to it in the moment .
So I decided to go with it and waste a bunch of moves .
So if I ever try this again , I could probably come up with a better strategy for the fourth center .
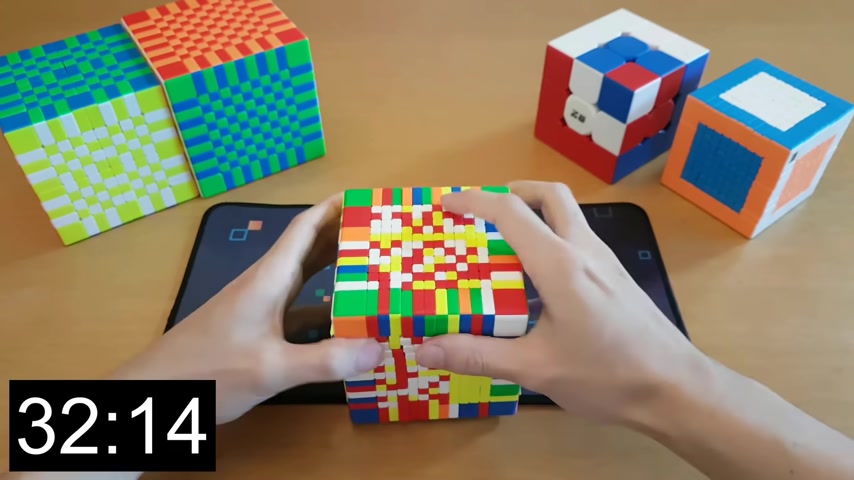
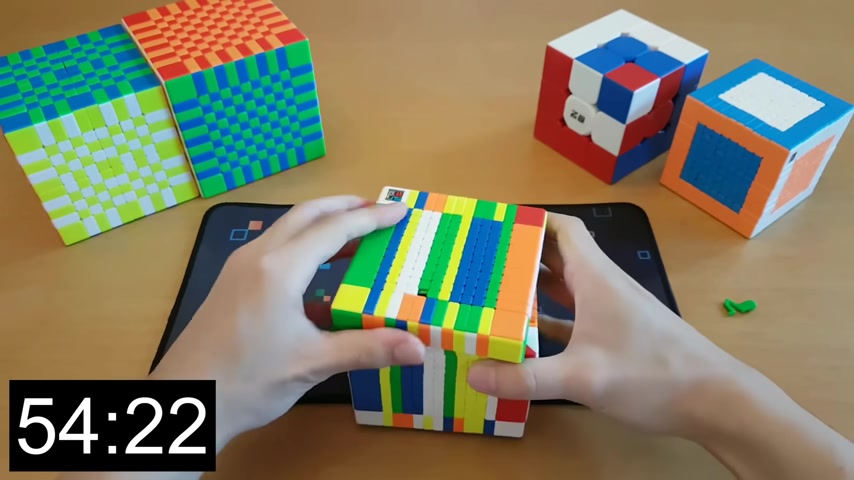
All right , then we have the last two centers which in this case are white and red .
And this is definitely a much more fun center because you can see that tons of these bars are mostly made .
So the number of moves that you need is really , really small .

So my approach for this is actually a little bit different than the other centers instead of going from outside to inside .
I actually just finished one half of it .
First , the reason I do this is because there are two phases for making the last two centers .
The first phase is where you just solve the centers as I have been by making bars .
And the second phase is something I'll show soon , which is commutators .
Solving bars is much faster than solving commutators .
But you only get to stay in this phase until half of the center plus a little bit on the other side is solved .
So we're just going to speed through this quickly and you'll see what happens .
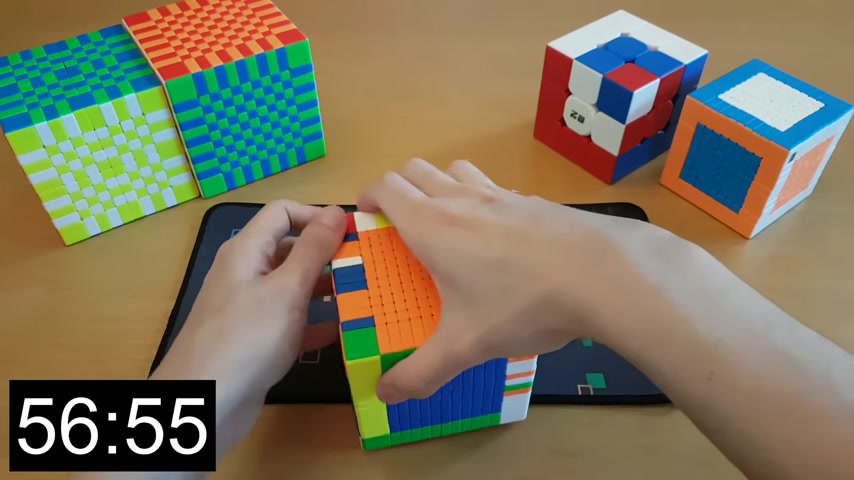
So , somewhere along here is where there are too many bars .
I have to keep solved where it's actually impossible to keep making more bars .
So the only way to continue is by just trying to make the front as red as possible , but there are going to be tons of gaps .
And then what I do next is phase two where I fill in the gaps using commutators .
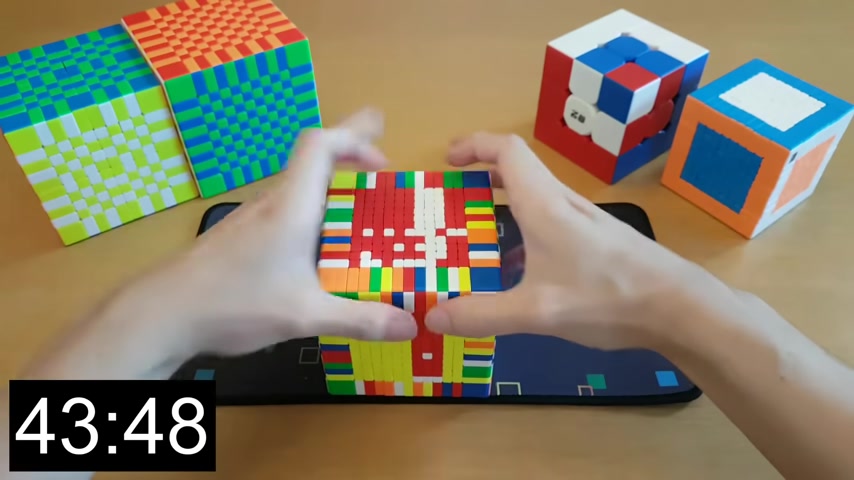
Depending on my luck , I can sometimes only solve one piece at a time or sometimes I can solve many pieces at a time .
And it just depends on where the pieces happen to be located .
So I was trying my best to solve multiple pieces at once and that's why you're gonna see a lot of pauses .
Uh But because of how slow it is to turn , it really is worth it to take some time to think instead of just trying to turn as fast as I can .
And after 46 minutes , I have finally finished all of the centers .
And if you're thinking , I'm running out of time to hit that 50 minute mark .
Well , we'll see about that in the next step .
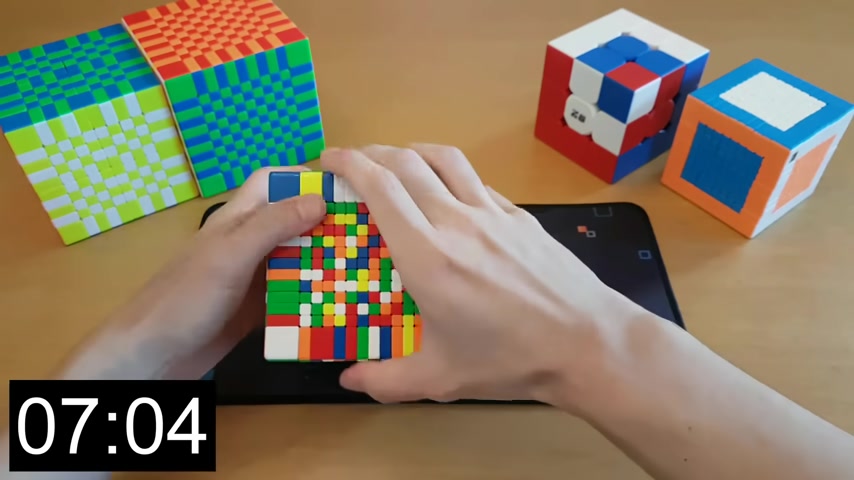
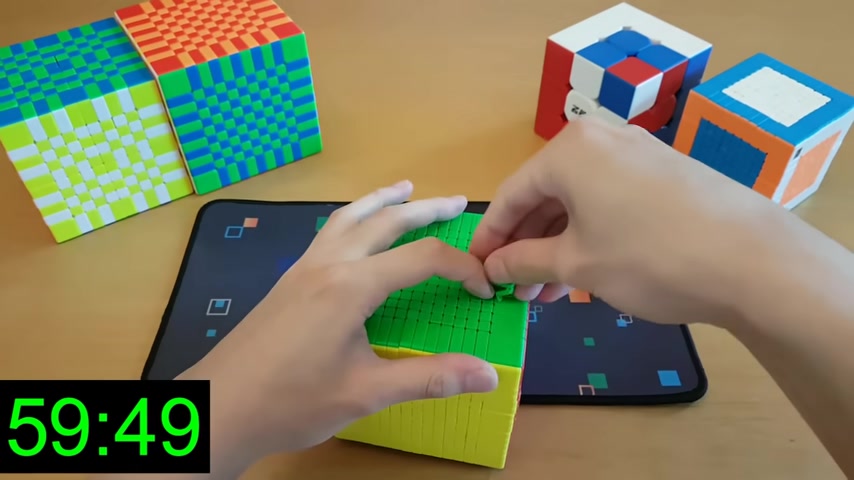
I make edges .
The first edge piece I decided to go with is red and green .
So all I have to do is keep attaching more red and green pieces along this unsolved parallel of centers .
And then once I've made the full red green edge piece .
All I have to do is take it out of that parallel and then replace it with more unsolved pieces and try to solve those .
So the new red green edge piece will forever be preserved .
And all I have to do is do this for all the edges simple .
Now , there's something else I want to point out that I'm doing here that is very important for bigger cubes .
And it's actually something I'm doing very little of that is a good habit to get into .
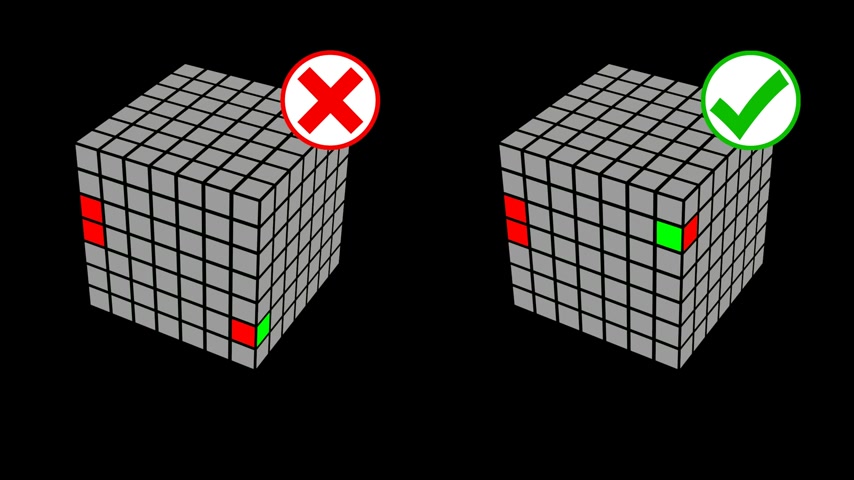
But that is the flipping algorithm .
So for those of you who don't know the way edges are solved is you need the colors of the pieces to line up so you can fit them together .
But if you run into a situation where they are flipped the wrong way , so if you put them together , the colors would not match , then you have to flip one of them .
And the way that's usually done is with a flipping algorithm which takes seven moves .
The best way to do this is actually not with a flipping algorithm .
What you're going to see me do all the time here is instead of flipping the piece to solve it , I actually just kind of ignore it and I try to solve a different piece first .
But the important thing is when I try to solve a different piece , I'll make sure to place it where this bad piece was that way .
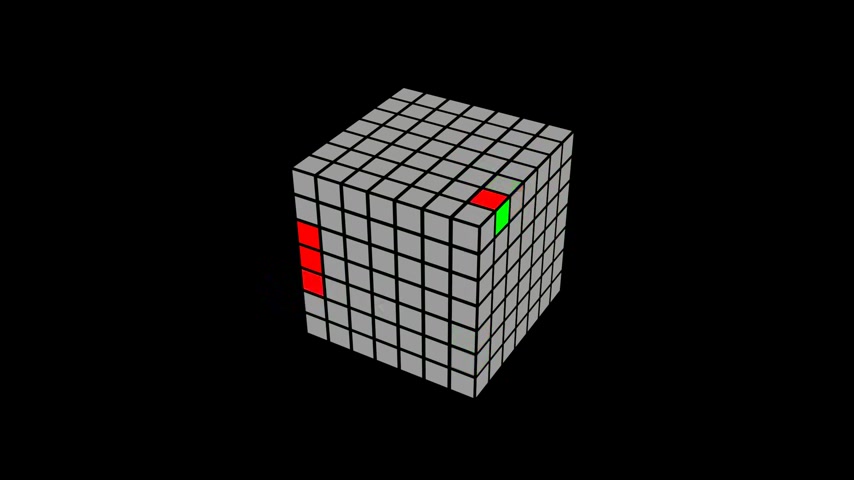
It comes out into the top layer and then I can bring it back down in the correct orientation overall , I'm still flipping the piece just in a different way and it still takes around seven moves .
The only difference is I'm actually solving something else in the middle .
So it's like getting some free solved pieces in the middle of your flipping algorithm , which is very important .
And I've definitely saved dozens of moves this solve just by avoiding the flipping algorithm .
And in terms of time , that would be several minutes saved .
And I actually will release a separate video of just the entire solve .
So you can count how many times I actually do this .
All right , it was a good try .
Pack it up , boys .
We'll get them next time .
Uh Now , after I finish the first eight edges , I have to correct all of the centers again because I've filled up both sides where I can store solt edges and I don't have room for the last four .
So I have to do the last four edges a little bit differently .
Now , to be honest , when I got to the step , I didn't really know what to do for the last four edges .
I knew the idea for how to solve them .
Of course , but I didn't know what was a fast way to get it done because I'm trying to save moves .
But I'm also trying not to stop and think too much .
So I kind of went in the middle and didn't come up with anything clever .
So I just had a big pause for no reason .
So if you watch the full version of this , you're going to see some goofy stuff in here .
And I have no clue if anything I did here was the best thing to do .
But in the end I got the job done , I did use the flipping algorithm a lot more here .
Since there is less freedom to move the pieces around , then you have to get creative with how you use the flipping algorithm .
And that's OK because you can and solve tons of pieces at once .
As you can see here , I solve pretty much this entire edge minus one piece using the flipping algorithm .
And that's just by pushing away all the pieces that are flipped the wrong way and then doing the flipping algorithm on what I have remaining .
And then when I bring it all back , they will all be the same orientation .
And of course , when you get to the last two edges , there are no other junk edges you can replace anything with .
So you have to use the flipping algorithm .
And then here I ended up with my last edge on solved , which is parody .
And this was nice because since there was only two edges flipped , I only had to do a single layer parody and it could have been much worse if I had many pieces flipped , then I would actually have to do the same parody algorithm .
But just by turning a lot more of the layers which would start to get very confusing as I went through it .
And as you can see , this is a very long algorithm .
So of course , I was very nervous as I was doing this parody algorithm .
Luckily by the end , everything was OK .
And we are now down to three by three stage .
I for some reason had some trouble picking the cross .
But in this case , I went with the Yellow Cross , you may have learned this from watching my 10 by 10 solve .
But again , the F 2 12 and this 13 by 13 solve was crazy good in terms of just saving moves .
And that's because as it turns out when I have a lot of time to think about how to do the F 12 pairs instead of just blazing through them , it just gives me the freedom to set up the pairs into more move efficient solutions .
And so I had a pretty sick F two L here if I say so myself .
All right .
Anyway , now we have last layer where I first do OL and I was very blessed with quite a short algorithm for this one .
And then for PLL , I got an H perm which is nice , but then I , I didn't know what to do .
And I went for the outer turn solution , which is a lot of moves .
But I don't know , maybe this was the best option just to avoid the sliced moves .
And in the end I managed to squeak it out in just under one hour .
Yes .
Cube for speed .
Congrats .
You got the closest guest .
So you're getting pinned .
Now , you might be saying no , this isn't solved .
There's still a piece removed .
Well , according to the WC regulations , you can have one piece as long as it only has one color , you can have one piece not in the cube and it still counts as solved .
It's a weird rule .
I don't know why they have this , but let's go .
It's the only reason I have a solve under one hour for this cube and I will cut it out .
But the rest of the video is just me trying to put that one piece back in and you can go see it in the full solve video if you'd like overall , I'm really happy with 59 minutes .
My initial wild guess of 50 turns out was overestimating my skill .
But at the same time , the cube did end up being harder to turn than I expected .
Thanks for watching .
And I'll see you all next time .
Are you looking for a way to reach a wider audience and get more views on your videos?
Our innovative video to text transcribing service can help you do just that.
We provide accurate transcriptions of your videos along with visual content that will help you attract new viewers and keep them engaged. Plus, our data analytics and ad campaign tools can help you monetize your content and maximize your revenue.
Let's partner up and take your video content to the next level!
Contact us today to learn more.