https://www.youtube.com/watch?v=fhOVvH_0hz0
How to fix a broken 3x3 Rubik's cube or Speed Cube
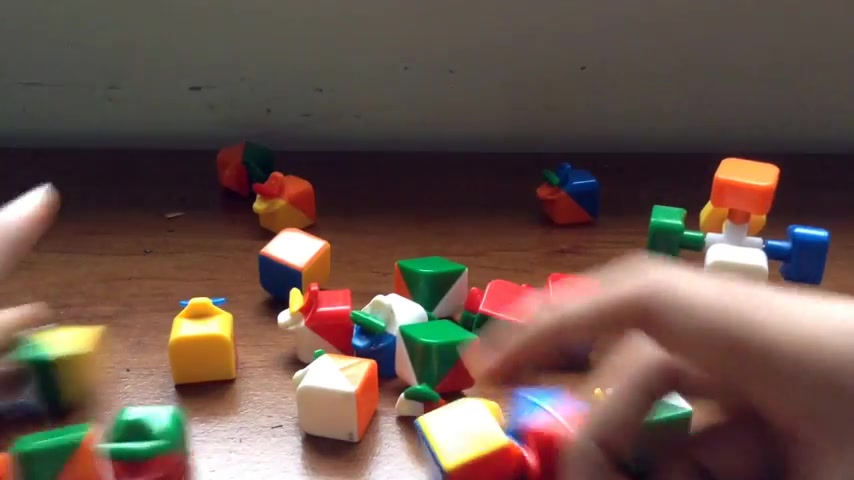
Why it happens when you're about to solve the cube suddenly then , hey , guys , what is up ?
And I'm back with another video .
So guys , today , I'm gonna be showing you what exactly you , you uh you should do or like how you can put your cue back together if something like this happens to your cube breaks up .
So the first thing , the first uh step is not exactly a step , but the first thing that you might recognize is that you will be left to pretty much two things .
One is the set of all the pieces and one is something like this .
Now , this thing , it has all the centerpieces and stuff .
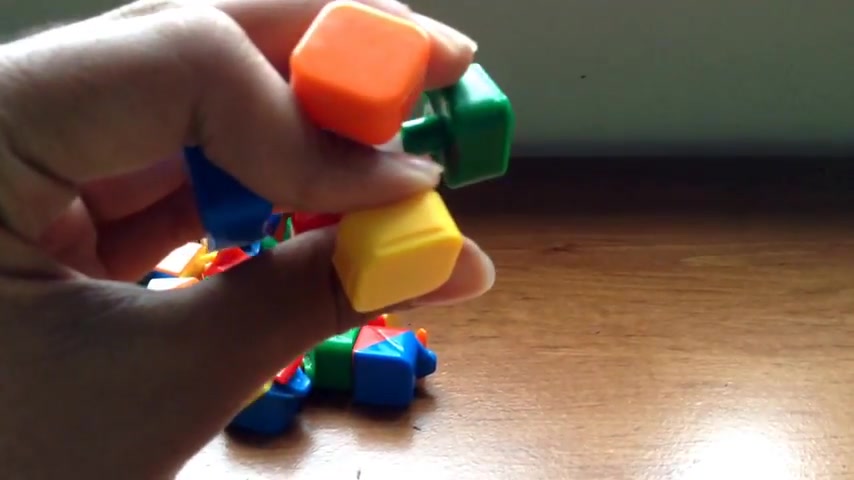
Um So , yeah , so now the first step that I would say that you actually take is that if you put the , you might see that there's a cap sort of thing on this .
Uh I don't know if you can see that properly .
Um Yeah , so as you can see that there's a cap sort of thing on this .
If you pop that off , you'll see that there's a screw inside this .
So uh what I would suggest you do is that um you pop all your caps off of all the pieces , you'll see screws inside .
No , and this last one .
Ok .
So now , as you can see , we have all these screws here .
So now I would suggest you to do it's not a necessary step , but it would just make your work so much easier is that if you grab a screwdriver like this .
So any type type screwdriver really ?
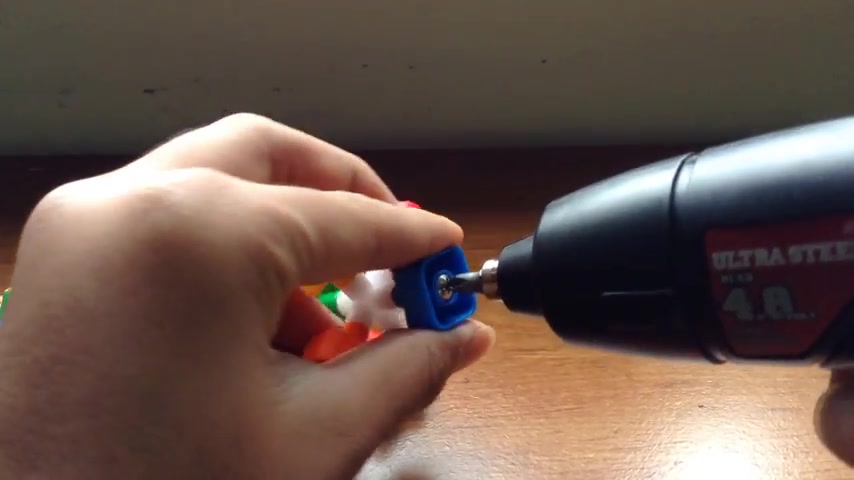
And uh you know , just losing out is a bit .
OK ?
Uh Don't extract them fully like this , just keep them on but uh just lose uh loosen them a bit , sorry .
OK .
So like don't loosen them too much , but at the same time , don't like let them be too tight .
So let me just do the other ones and I'll be right .
OK .
So , whereas once you've loosened up all your screws like this , what you can do is you wanna keep this um thing right here and uh you wanna keep it uh face down on which color like when you're solving the cube , you usually keep down .
So for me it's white .
So keep it like this or you know , like let's keep it over here .
Turn the , oh my God .
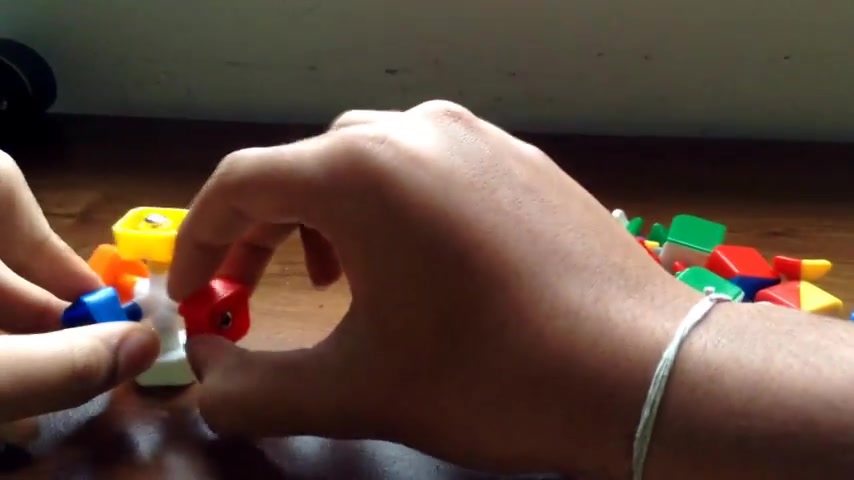
So OK , now what you wanna do is you wanna grab your pieces , OK ?
And while seeing this , you wanna pretty much like put all your pieces in what I mean by that is like for instance , over here , keep right at the bottom , don't let uh white like go keep it at the bottom of the thing .
And now what you wanna do is you wanna grab the pieces .
So as you can see , the first piece would be the blue and the white , OK ?
That the blue and the white will actually be an edge piece .
So let's grab the blue and the white edge piece , which is this one right here .
And now what you wanna do is you wanna place it down ?
I take like place all my pieces down that , that might just help you a bit .
You just keep my camera down .
OK .
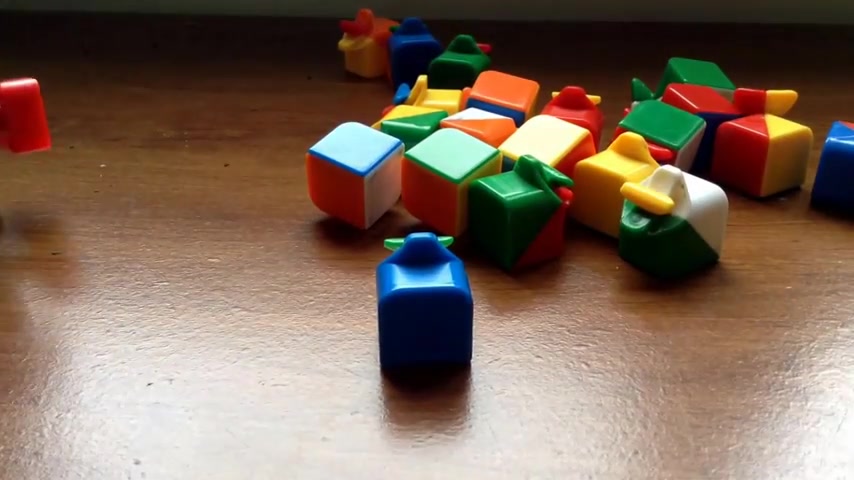
So the next thing that we're doing is forget the um white , blue and red uh piece , the red corner , white , blue and red corner .
And now when you're putting these pieces , you wanna keep white down on the other color towards you the edge pieces .
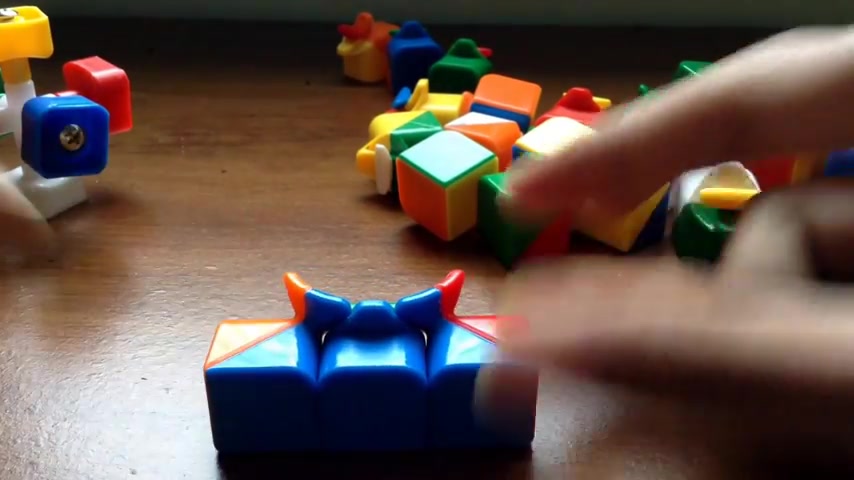
So now , yeah , you wanna grab the white blue and red corner piece , which is this one right here .
OK .
What you wanna do is you wanna place white down and uh blue as you can see will be facing you red towards the right .
OK .
Then the next piece you want to find is the blue is the uh sorry , white , blue and orange uh corner piece , which is this one right here .
Now again , you wanna keep white at the bottom blue facing you and this time orange towards the left .
OK .
OK .
Now uh what you wanna do is .
Yeah , so you'll get these three pieces over here and now you can go like whichever way you want , either orange or red or just go with red .
So now the next piece you would want is as you can see the white and the red edge piece .
So let me just take this and move it a bit here .
Now what , what you want to find the white and the red edge piece , which is um what is it ?
And yeah , this one right here .
This is a white under red edge piece .
Center um sorry edge piece .
Yeah .
Now what you're gonna do is you're gonna keep the light up , keep right at the bottom and the red facing towards you and put it in like this .
See .
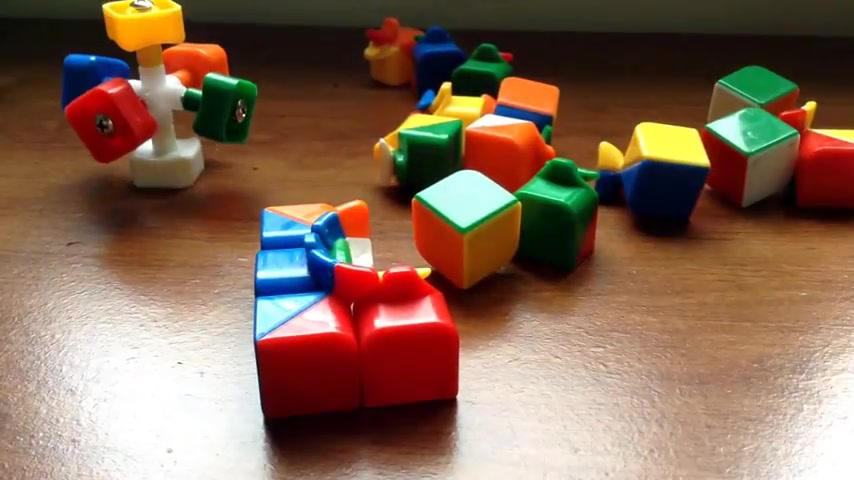
Now the next piece we want to find is the white , red and green uh color .
So that will be right here , white , red and green corner piece , white again will be facing the bottom red towards you and uh therefore green towards the right now , let's turn this over and go this side .
Now we have to find as you can see the green and the white edge piece , which is right here .
OK .
OK .
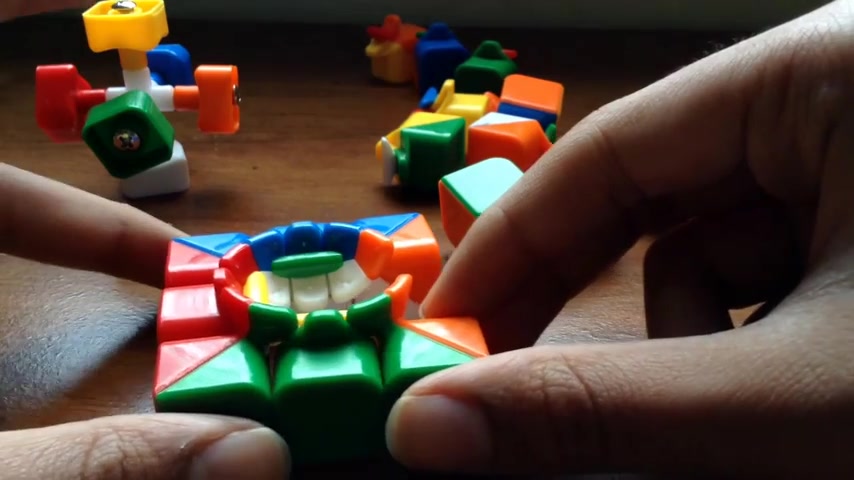
Now , what you wanna do is you wanna keep uh the green towards you facing towards you and OK , so the next piece that you find is the green , white and orange corner piece .
So that will be right ?
Sure , green , white and orange color piece or red and green will be facing towards you .
White towards the bottom and orange towards the bright , OK ?
Now , the last piece for making the base is the orange and the white edge piece you can see it orange and white edge peas , which is right here .
Look back a look and see , OK .
Now again , orange facing towards you right towards the bottom .
Let's just put this in fit good and cut off .
There we go .
Now we have made the base , sorry about that .
We have now made the base of the cube .
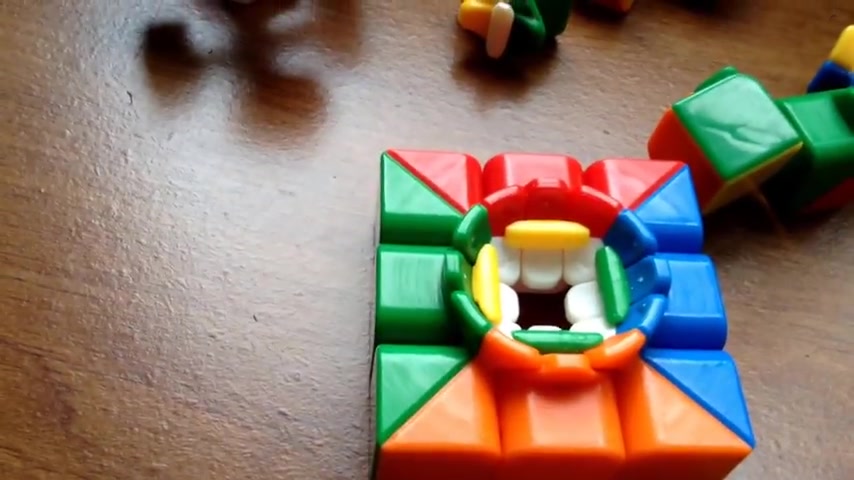
Now the next part is actually making the middle layer .
Now what we can do to make that is actually take this thing that you need right here .
What you wanna do is you wanna take the white piece totally out or just take it out .
So like basically like unscrew the whole thing and take the whole thing out .
So let me just do that and I'll be back .
OK ?
So as you can see , I've taken that out and now what you wanna do is you wanna place your uh this thing uh right towards the bottom and pretty much just align it with this colors like for instance , blue is towards the side , orange towards me , green towards the right .
So just keep it like this .
So guys , this is why I would tell you to actually loosen out your screws in the beginning because if your screws are really tight .
It would be pretty hard to put them in like this .
That's why I told you to loosen them .
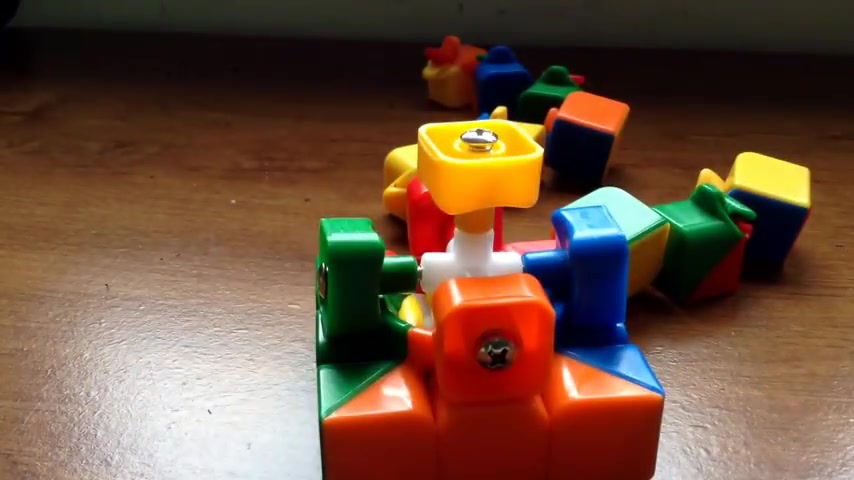
So you're pretty much place it in like this as you can see green towards the left orange , towards me , blue , towards the right and red towards here , towards the back and yellow on top .
OK .
Now the next uh thing that we have to so is actually put in is the middle layer .
No , just do the middle layer as you might know that the middle layer consists of only edge pieces .
There are no corner pieces in the middle layer .
So it's pretty simple .
Now , all we have to do is pick up the middle pieces , the middle layer pieces which are over here .
So like for instance , the piece that we go here is the orange and the blue uh edge piece , which is this one right here .
So you just want to place it in that like that just pretty much it .
So now I'll just find all the edge pieces and place them in .
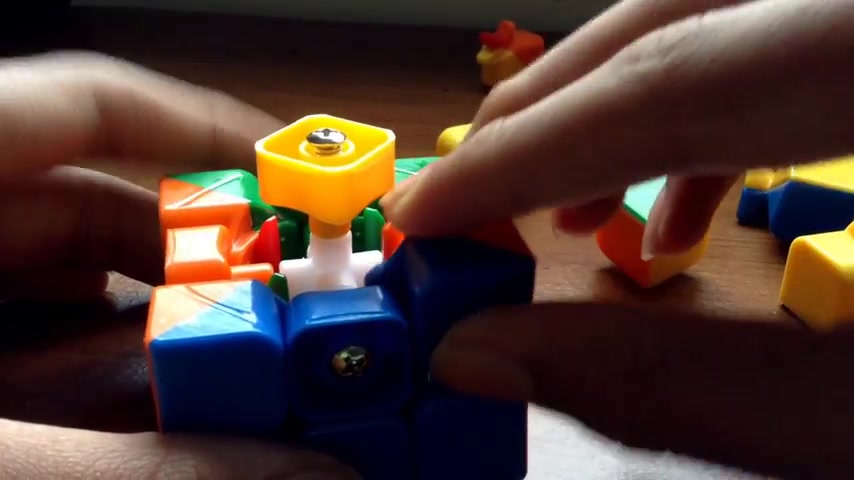
So the next will be the green and the orange , which is right here .
Next green and the red , sorry that green and the red go right here .
And the last is the blue and the red right here , very close like that .
So as you can see , we are now on the little wheel that was pretty easy .
OK ?
No , what we gonna is we gonna be the last layer , which is the top layer .
Now , this consists of both middle uh lakes for edge pieces and corner pieces .
So OK , so now let's find the yellow and blue edge piece as you can see yellow and blue X piece , which is this one right here .
So this this time blue will be facing towards you and yellow will be facing on the top like this , just put it in .
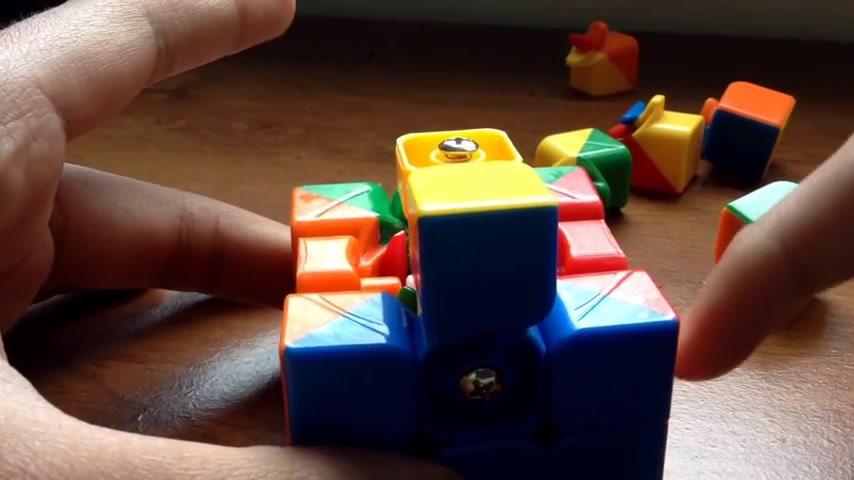
Next , we're gonna find the yellow , blue and red corner piece which is a tunic here .
That's brilliant .
Next , we find the yellow , orange and blue corner piece , which is this one right here .
Put it in the Yeah , um that in .
Ok .
Now you , now you're gonna find the yellow and the orange hedge piece , which is this one right here again , yellow and top orange facing towards you just put it in .
Ok .
Next , we're gonna find the yellow , green and orange or corner piece , which is this one right here .
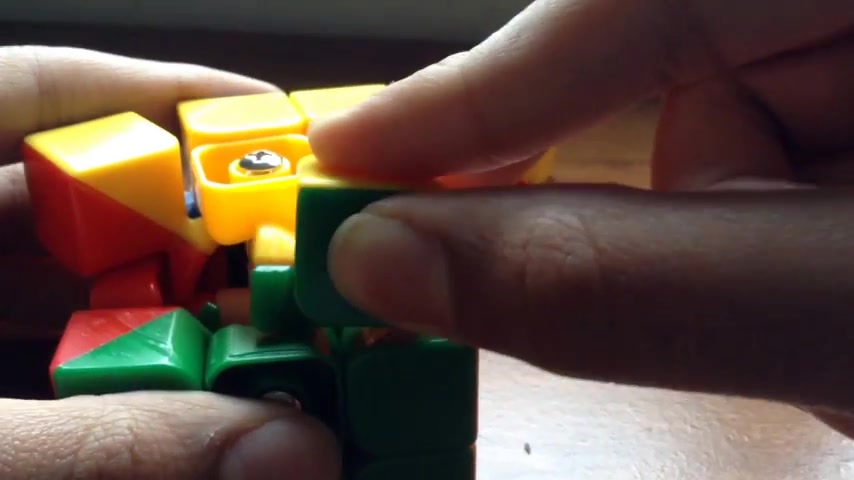
So dish guys , you wanna do this pretty lightly because the pieces can just fall out .
So you know , do it gently like see as you can see that one of the pieces just fell out .
So just make sure you do this gently and not eat uh too much force .
Ok .
Next , we have found the yellow and green edge piece , which is this one right here and then green facing towards you .
Ok .
Next , next we will find the yellow , green and shred corner piece , which is this one right here .
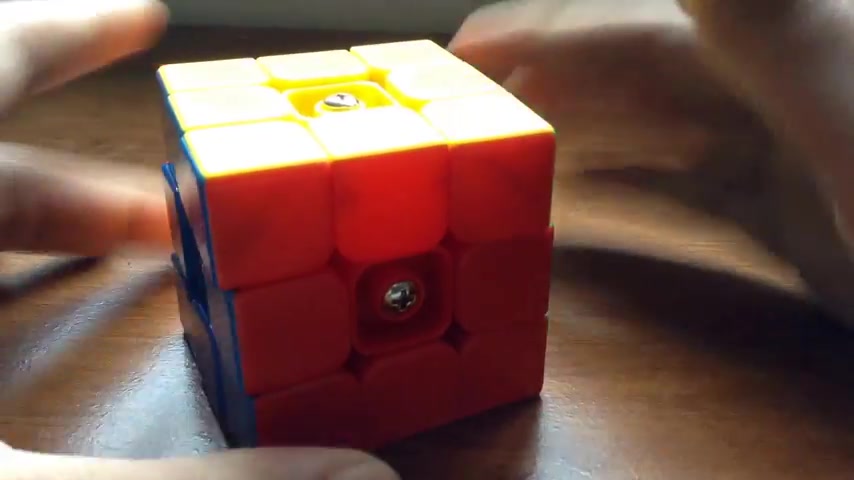
And the last piece I saw the cube , this piece , the yellow , red edge , yellow on top which are facing towards you and bad guys .
That is it your boss pretty much takes the queue .
No way that the process is pretty simple after this , just tighten up the screws .
So let me pull this up yellow .
And guys , what I would suggest you do is like pretty fast .
Turn this over to the light side one second .
Yeah .
OK .
Just turn this over to the right side because uh it doesn't have a piece , it just really , really remove .
So just pick up the white piece that you extracted and put this back in like this and tighten this up .
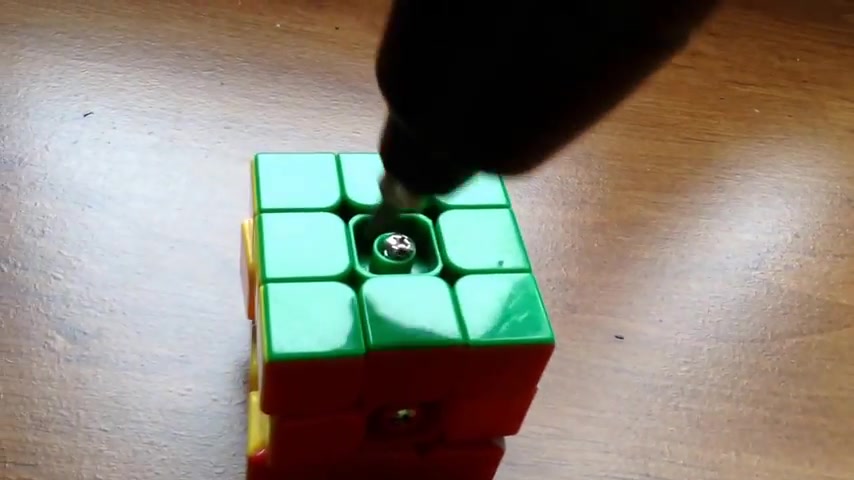
OK ?
Now I'll just tighten up the rest of the pieces and put on the cap .
I'll just do that and I'll be back .
OK ?
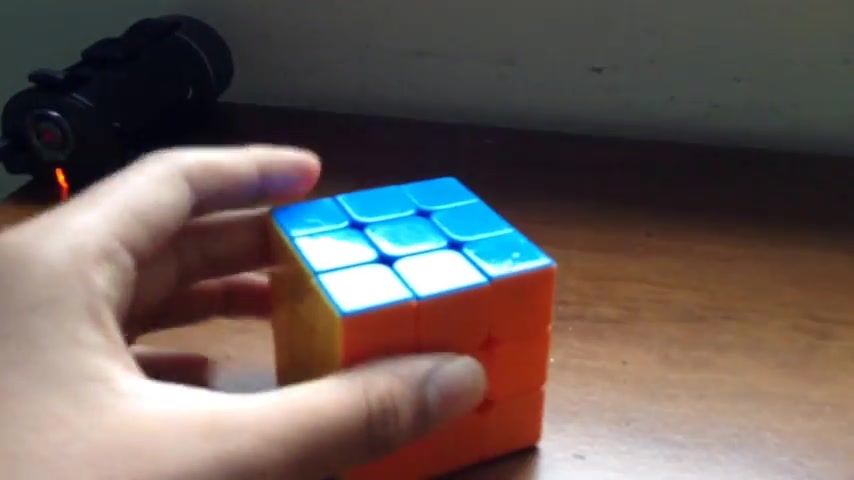
Guys , there we go , the cube is fixed and it is now working as normal .
So I just pretty much tighten up the screws put on the cap and there we go guys , that's it .
It's that easy .
So now the cube is working again , you can just pretty much use it .
And guys now , uh when you tighten this , I would suggest just tighten it to a good amount so that it just doesn't come apart again .
But even if it does , now you guys know how you can fix it .
And uh guys that is about it for this video .
Thank you so much for watching .
I really appreciate it that you uh that this video helped you guys , please hit the like button that would really help me .
And um please guys subscribe to my channel .
I'm sorry that I couldn't play videos for a long time now , but I will try my best to upload videos uh more often now .
So yeah , guys , that's about it .
Thank you for watching this video .
Please hit the like button and subscribe and I'll see you in my next video guys .
Until then .
Peace .
Are you looking for a way to reach a wider audience and get more views on your videos?
Our innovative video to text transcribing service can help you do just that.
We provide accurate transcriptions of your videos along with visual content that will help you attract new viewers and keep them engaged. Plus, our data analytics and ad campaign tools can help you monetize your content and maximize your revenue.
Let's partner up and take your video content to the next level!
Contact us today to learn more.