https://www.youtube.com/watch?v=80808ID5An8
How to Make Ravioli Dough from Scratch _ Using the KitchenAid Mixer Pasta Attachment
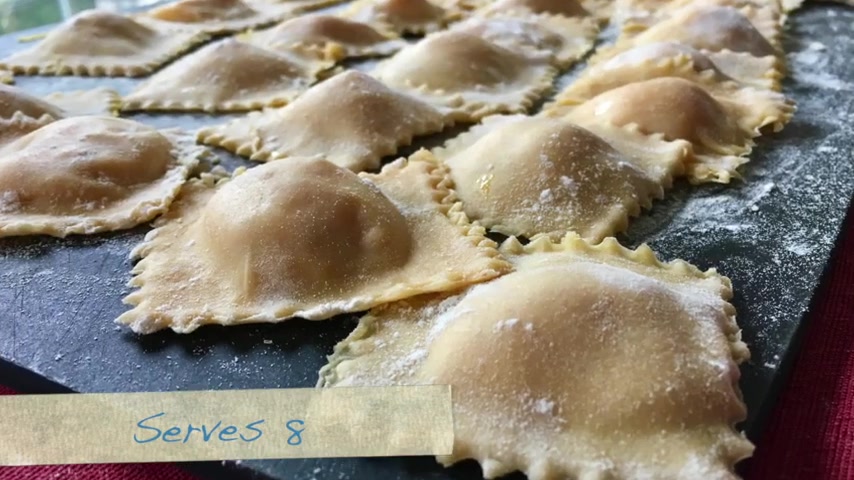
In this video , I'll be showing you how to make delicious homemade ravioli from scratch .
This recipe will make ravioli for eight and can be filled any way that you like .
There are many different ways to cut and seal ravioli for instance , a ravioli stamp or a ravioli mold .
However , in this video , I'll be demonstrating how to use two items that almost everyone has in their kitchen .
A two inch biscuit cutter or cookie cutter and a trusty fork .
We'll be using a pasta roller to roll out the ravioli .
In this case , the kitchenaid professional 600 pasta roller attachment .
However , feel free to use any pasta roller machine , including these hand crank models , as they say in Italian step one , make the pasta dough to make the pasta dough .
We'll need about £2.25 of all-purpose flour .
This is more flour than you'll need and includes flour for rolling out the pasta dough .
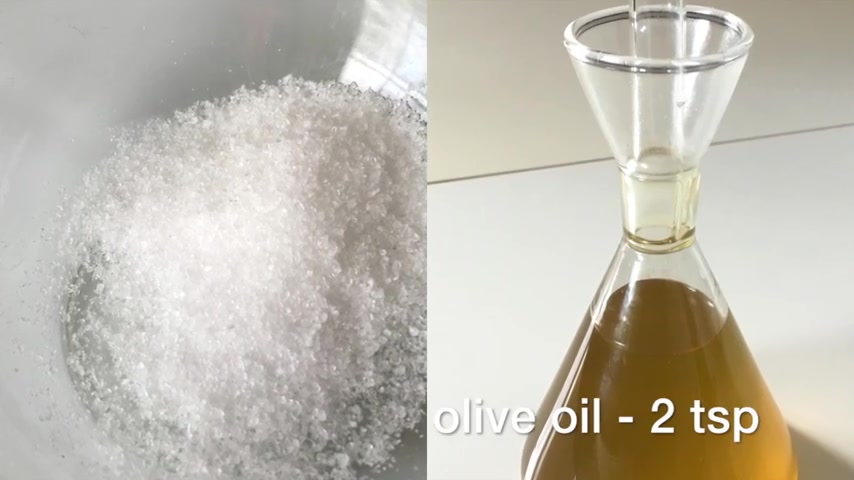
Later , you'll also need eight eggs , one teaspoon of salt and two teaspoons of extra virgin olive oil .
Crack eight whole eggs into the mixing bowl , add to the eggs , one teaspoon of salt and two teaspoons of extra virgin olive oil .
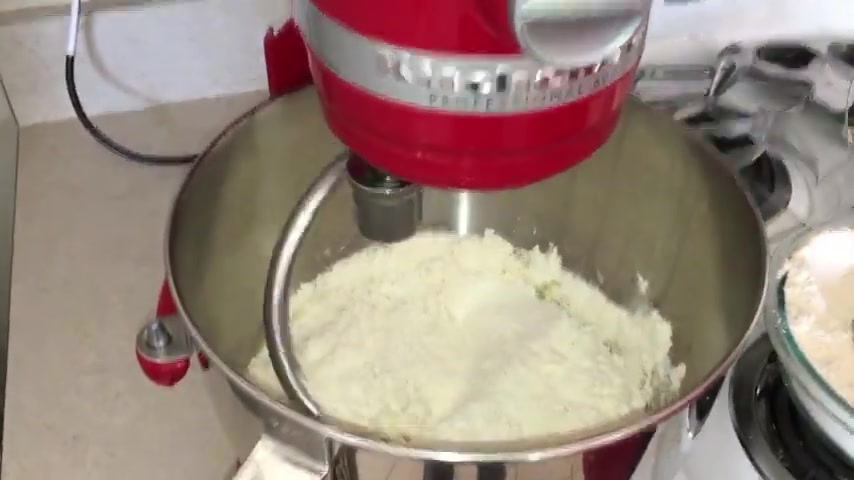
Give it a quick whisk fit the stand mixer with the dough hook attachment .
Add to the eggs about half of the flour that you've measured out .
That's about £1 or 18 ounces .
When mixing dough by hand , you always want to start with a small amount of flour and add more as needed .
We want to do the same here .
Start the stand mixer on low speed .
In reality , the kitchenaid Pro 600 works best with large quantities .
So feel free to double the batch of dough , pasta , dough freezes really well .
So making a double batch of pasta dough will keep you well supplied for many meals .
After about a minute , the flour in the middle will be well incorporated with the eggs .
You may notice however , that the flower on the outside has not yet been incorporated .
This commonly happens with the Kitchenaid Pro 600 .
If you are working with a smaller quantity of ingredients , as we are here to solve this problem , stop the mixer after about a minute and use a spoon or spatula to push the flour along the edges towards the middle of the bowl .
You should only need to do this once .
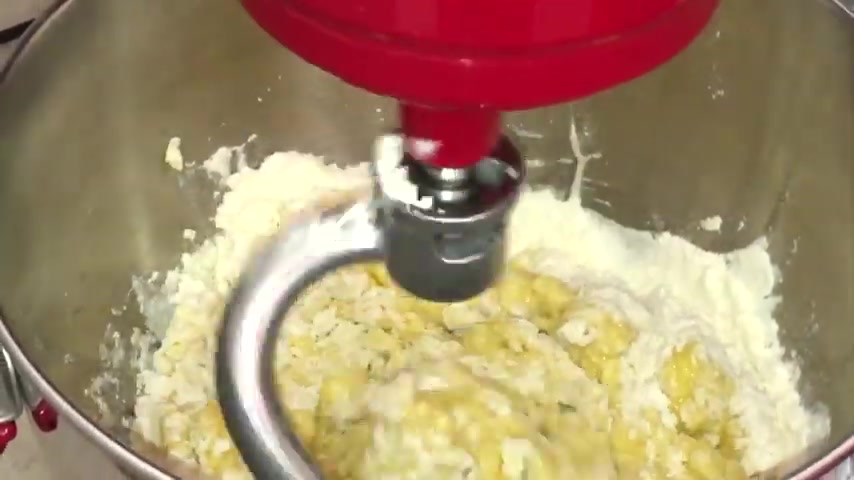
Turn the mixer back on low when even the edge flour is beginning to incorporate and the dough is starting to form a ball , increase the mixer speed to about four , continued to mix for 1 to 2 more minutes .
When almost all the flour has been incorporated .
Stop the mixer , pull the dough off the dough hook , flip the dough so that unincorporated flour is facing the top and place the dough ball in the center of the mixing bowl like this .
As predicted , we have a lot of flour left in our original bowl .
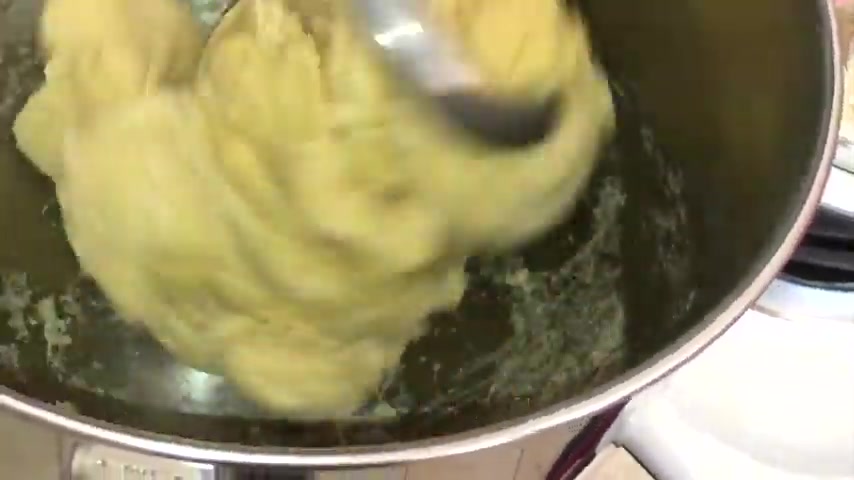
Now that the flour is fully incorporated , it's time to knead , turn the mixer back on at a low speed of about four and let the dough hook need the dough ball for about five minutes .
During the kneading process .
You may notice that the dough is beginning to stick to the bottom of the bowl .
It's always better for the dough to be too wett than too dry .
If this happens , simply add about a quarter cup , more flour a little at a time , the five minute need should be more than enough time to incorporate this last bit of flour .
After five minutes , the dough ball should look like this .
Stop the stand mixer .
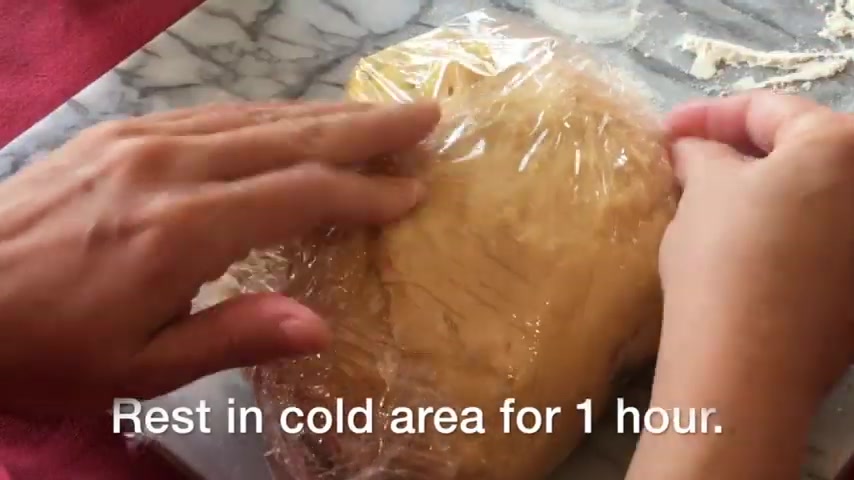
Remove the dough ball wrap well with plastic wrap and let the dough ball rest in a cold area like a refrigerator for one hour after the dough has rested .
It's time to stretch , cut the dough in half with a dough scraper or a large knife wrap one half tightly with plastic wrap .
To prevent the pasta we are not working with from drying out .
Divide half of the pasta dough into four equal pieces .
Take one of the four pieces and cover the rest .
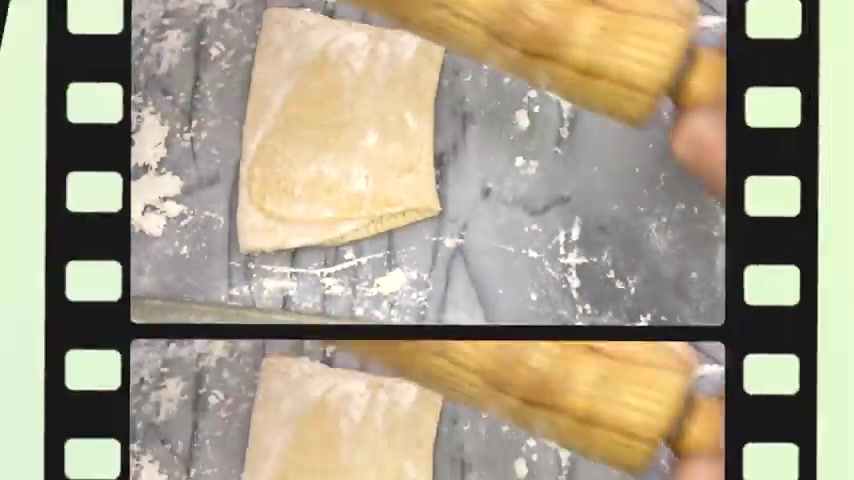
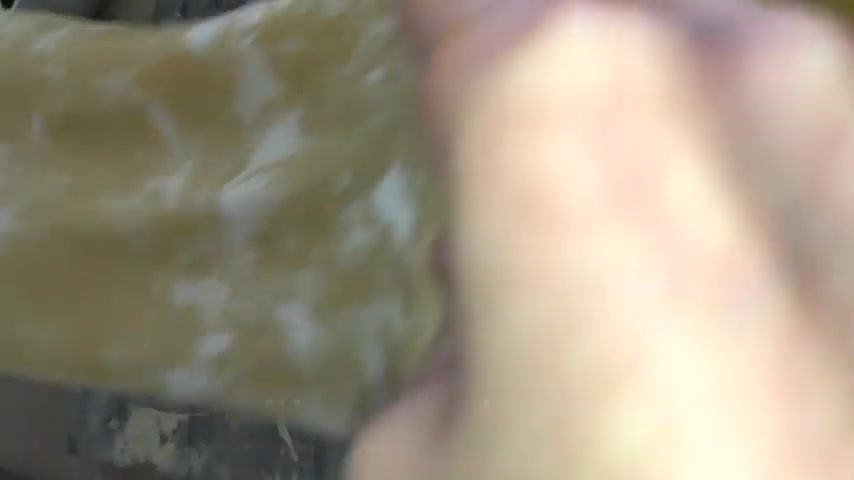
One piece of pasta will produce about 10 finished raviolis , flour , the dough well and roll or press the pasta into a quarter inch thick rectangle .
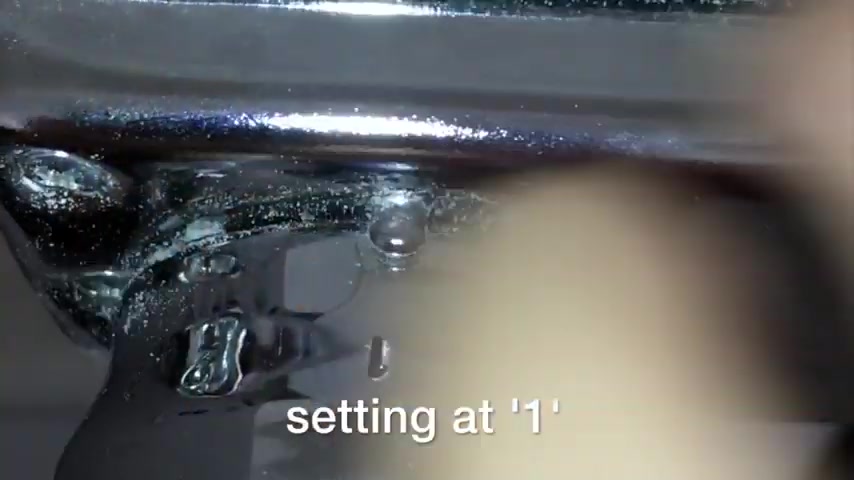
Start the pasta machine at the setting of Juan the widest setting the pasta into the machine short side first , after this first pass , fold the pasta like a letter and roll once again to a quarter inch thick .
The purpose of the letter fold is to ensure that the pasta extends uniformly with the setting still at one feed the pasta into the roller shorts side , first pass the pasta through the roller again at a setting of two pass through again at his setting of three , a setting of four and is setting up five .
After this pass , your sheet of pasta will be long and possibly a bit unwieldy .
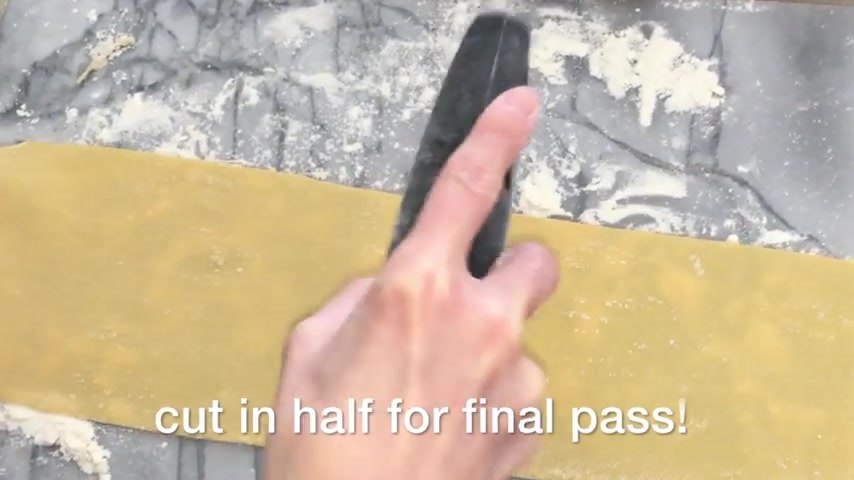
For this reason , you may want to cut the pasta in half for the final pass like this lightly flour both sides in this time at a setting of six pass each sheet of pasta through the roller .
One last time .
At this point , the pasta will be just a bit translucent .
As you can see here , starting with two sheets of pasta .
You are ready to make the first of the ravioli lay one sheet of pasta on a well flowered surface using a ravioli stamp or a cookie cutter lightly score the pasta so that you know where to place the filling scoring helps us ensure that the ravioli is evenly spaced and lets us put filling in the center of each ravioli .
Add a heaping teaspoon of filling in the center of each ravioli score .
Leave plenty of room for a good seal around the filling .
Here .
We've erred on the side of less filling something we recommend for beginners who are not using a ravioli mold to help seal the two sheets of pasta together , brush a generous amount of egg yo wash around the ravioli filling cover with the second sheet of pasta , lay the pasta sheet gently on top in position so that the bottom layer of pasta is completely covered .
Starting with one side , use your fingers to press around each mound of filling .
We want to press in a way to avoid trapping air and creating bubbles in the pasta .
Here we press from left to right and from inside to out in order to squeeze any air out the open sides .
Here's a closer look .

Use the cookie cutter to cut around each mound of ravioli filling like this .
So far , we've used the egg yolk wash in the process of cutting the ravioli to help seal the pasta to be extra sure that the ravioli is sealed .
Use a fork to crimp the edges of each ravioli like this .
You may want to flour your fork between ravioli , transfer the ravioli to a well flowered surface or parchment paper , make the rest of the ravioli .
If you don't plan to cook the ravioli immediately store in the refrigerator to cook the ravioli .
Gently slide the ravioli into a large pot of boiling water .
Cook for 3 to 5 minutes until the ravioli floats .
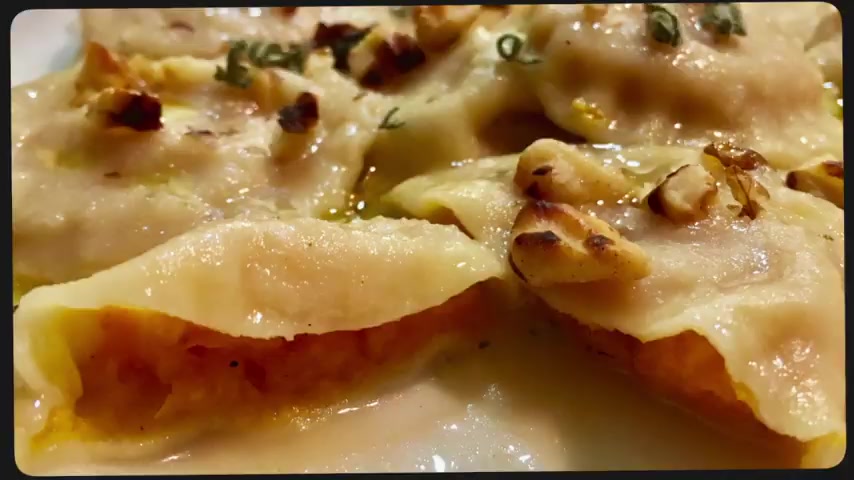
Transfer the ravioli to a large skillet and finish off with a sauce of your choice .
Click to check out our recipe for butternut squash , ravioli topped with a savory onion puree or go gourmet with this authentic Italian recipe for meat filled ravioli , topped with truffle sauce .
Subscribe below for more recipes like this from Italy and beyond .
Are you looking for a way to reach a wider audience and get more views on your videos?
Our innovative video to text transcribing service can help you do just that.
We provide accurate transcriptions of your videos along with visual content that will help you attract new viewers and keep them engaged. Plus, our data analytics and ad campaign tools can help you monetize your content and maximize your revenue.
Let's partner up and take your video content to the next level!
Contact us today to learn more.