https://www.youtube.com/watch?v=rLExaTOYHYc
How to Draw Goku _ Ultra Instinct Form (Art Tutorial)
Everyone and welcome to the club today , I'll be showing you how to draw Goku in its ultra instinct form .
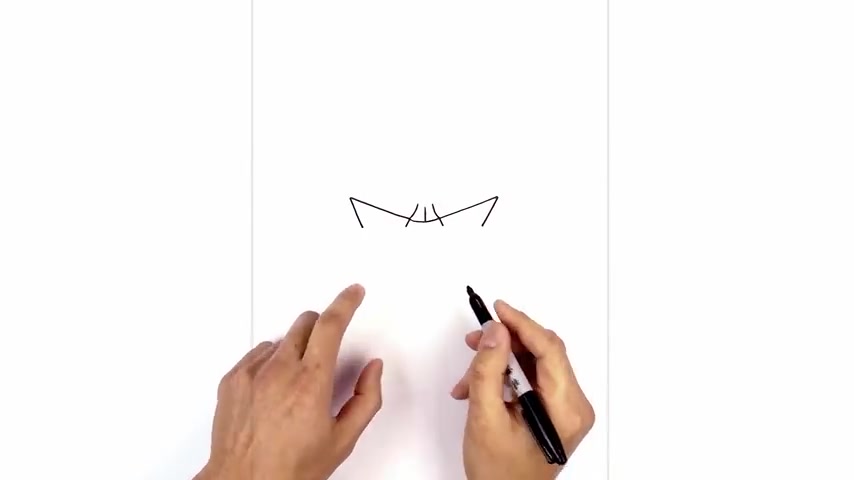
Let's get started in the center of a page with the upper eyelid .
So we start on the left side and draw a straight angle line coming down .
And then in , we leave a slight gap in the center and do the same thing on the right .
So line up the inside of the eye angle up and then out from here , I wanna add in the frown line .
So from the left side , it's gonna curve up and then in , we'll do the same thing on the right side .
Now , in between these two points , I'm gonna draw another curve coming down and then up and then in the center , I'm gonna draw a straight line going up the middle .
Now let's draw on the lower edge of the eye from the bottom of this frown line .
I'm gonna draw a short angle line going out on both sides .
Now , from the outside of the eye , we're gonna angle down and then into the same height .
So let's start on the left side , ankle down and in now we're gonna connect these two points with a straight line going across and then we'll do the same thing on the right .
And then we draw two small half circles on the inside edge of the eye .
So the stone on the left side about halfway along the eyelid curve down towards the bottom and leave a little gap along the bottom there .
And then we'll do the same thing on the right .
Now .
It took a smaller half circle in the center here for the pupil .
Then we're gonna fill that in black .
Now , I'm gonna draw a curve along the bottom of each eye for some shading .
So we're gonna start on the left side , we're gonna curve up and then in , we do the same thing on the right side .
Let's move down to the center and draw on the nose .
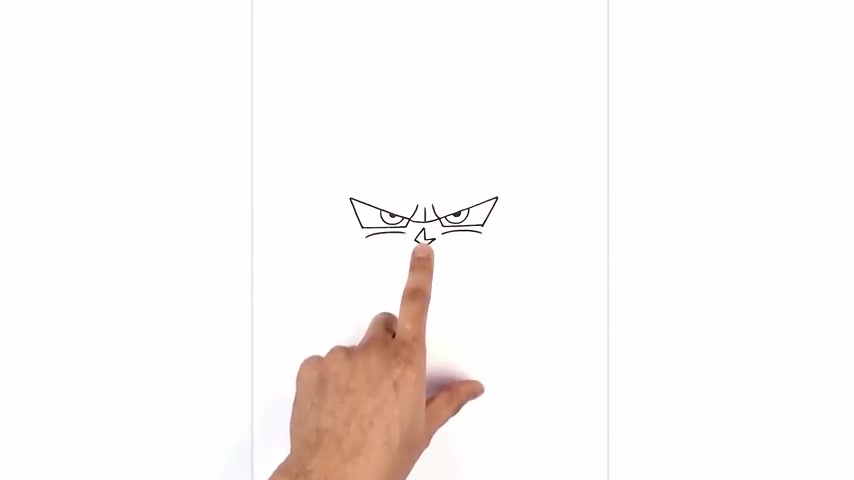
So right in the middle here , I'm gonna start with a point from this point , I'm gonna angle up and out towards the left , then up and out towards the right now .
From the left side , I'm gonna come up and in towards the middle , then we'll come straight down and we go across towards the right side .
Now we're gonna move down again and draw the mouth .
So we're gonna draw a straight line going across from left to right now from the end , I just want to curl these down and then directly below the mouth .
I'm gonna draw a short line of a lower lip .
Now that we've drawn the face , let's draw the hair bangs .
So in the center , we're gonna step up and over towards the right , right here .
We're gonna start with a point from this point , I'm gonna curve up and out towards the left and then back towards the bottom .
Here , we're gonna go up and out towards the right .
Let's draw on the first bang that comes over towards the left eye .
So from here , we're gonna curve down and out right on top of the eyelid .
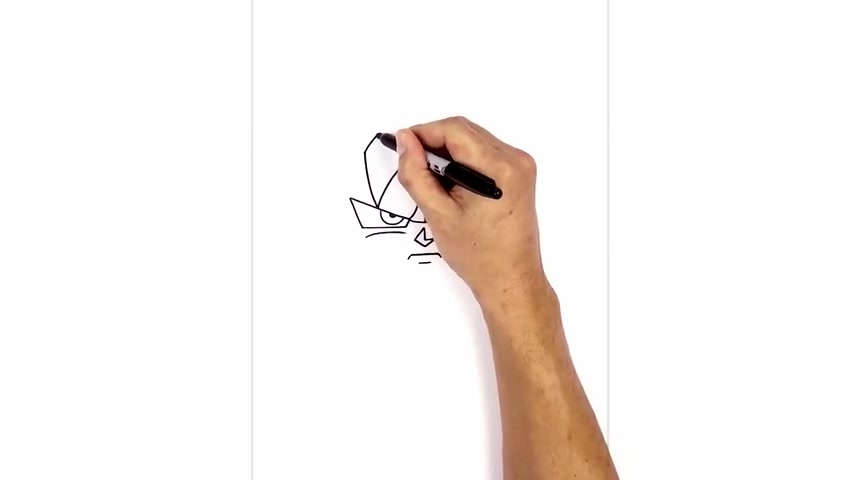
Now I'm gonna draw a curve going up and out to right here and we do a hard turn coming up and then in , let's do the same thing on the right side .
Now , this one's gonna come in towards the inside edge of the eye .
So coming down and then curving in , we're gonna taper this out towards the right now .
We're gonna do a hard turn going up .
Let's add a couple lines in these two gaps here for the hairline .
So we step out , curve down , do that one more time .
We'll do the same thing on the right .
We're just gonna draw one curve coming down on the right now .
I want to accentuate the brows .
So we're gonna add two curves just above the eyes starting behind this hair bang .
We're gonna curve down and then in , we'll line this up on the right side and do the same thing right in the center of the widow's peak .
I'm just gonna curb up and out towards the right just to separate the hair .
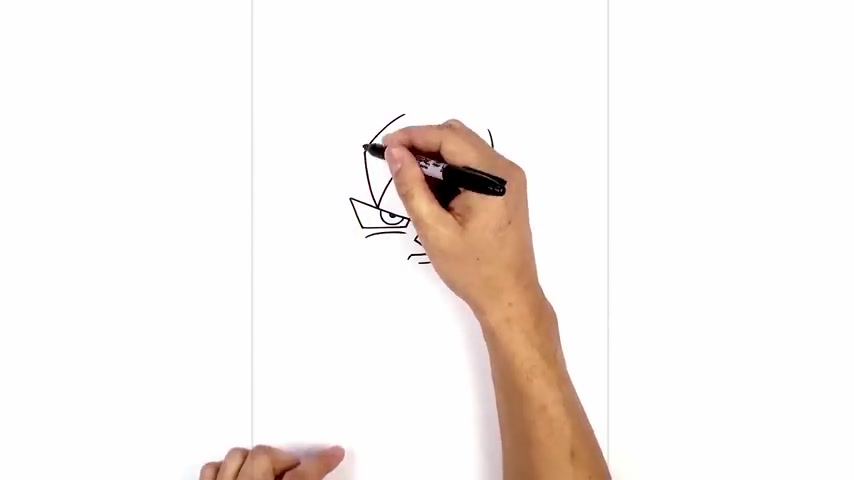
Now I'm gonna tuck in a second layer of the hair bang .
So I'm gonna start on the side of this hair bang in the front curb out and then over that corner of the eye , let's do the same thing on the right .
I'm gonna start down here , curve down over the corner of the eye .
Now from here , I'm gonna curve out and then back up .
So on the left side , I'm gonna curb out .
I'm just gonna pull that up to right above there and do the same thing on the right coming out and then up .
Now let's go back in and thicken up the eyebrows .
So I start just about the corner of the eye on a taper up and out .
So it gets thicker as you go outwards .
Starting right here , we're gonna angle up and out .
Continue on the other side of the hair bang .
We do the same thing on the right starting in here , angle up and out .
Continue on the outside .
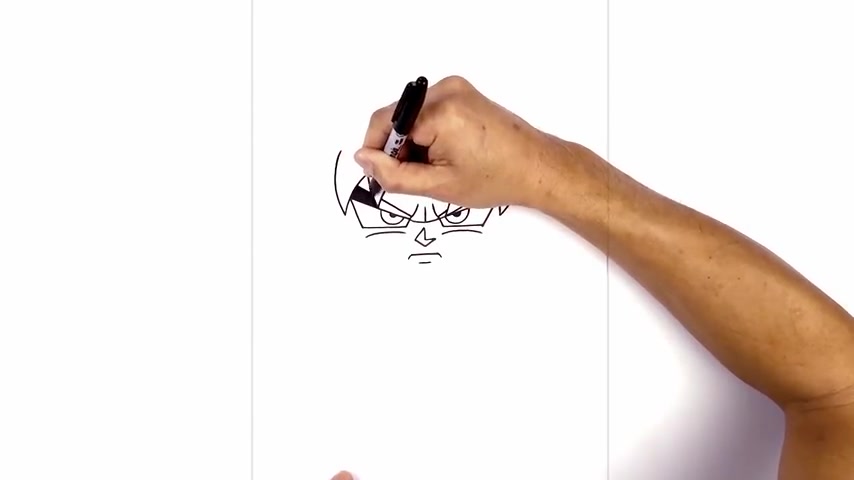
We're gonna fill the eyebrows in black now that we have the hair bangs in place like a tuck in the side of the head .
So for this point in the hair bag and step in , don't angle line coming down and in toward the jaw , do the same thing on the right , stepping in from the point coming down and then into the same height .
Now we gonna do a hard turn coming in towards the chin .
We're gonna round up the bottom of the chin here , starting on the left angle down and in to the chin , I'm gonna round this out and I'm gonna angle back up towards the right jaw .
Let's tuck the ears on the side of the head .
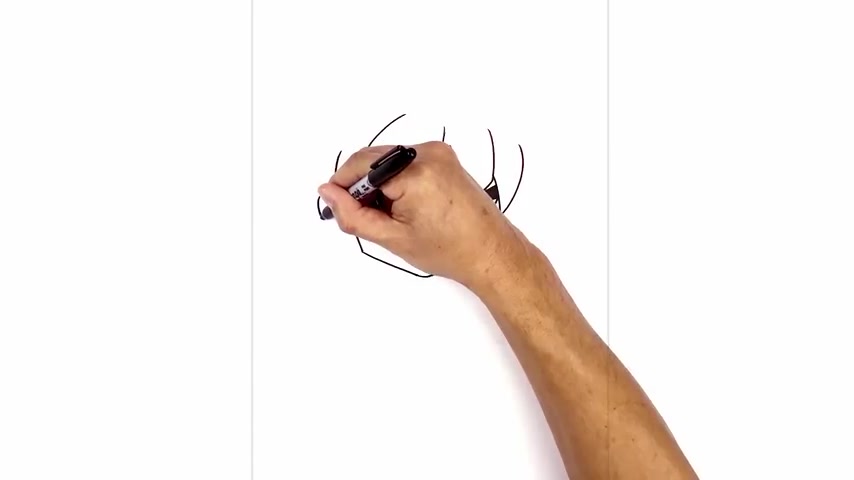
So in line with the top of the eye on the left up and then out , I'm gonna round this out and pull that in towards the side of the head .
Let's take that and flip it over on the right side .
So we'll line up the top of the ear , gonna curve out , we round up the edge of the ear and then pull that back in towards the side of the head .
Let's add some detail to the inside of the ear .
So stepping in , I'm gonna curb down and then in to the side of the head , we step out and draw ac shape .
Let's take that and flip it over .
So right down here , we're gonna curb up and out .
We step out again , draw backwards .
C now let's go back up and tuck in some spikes from this point .
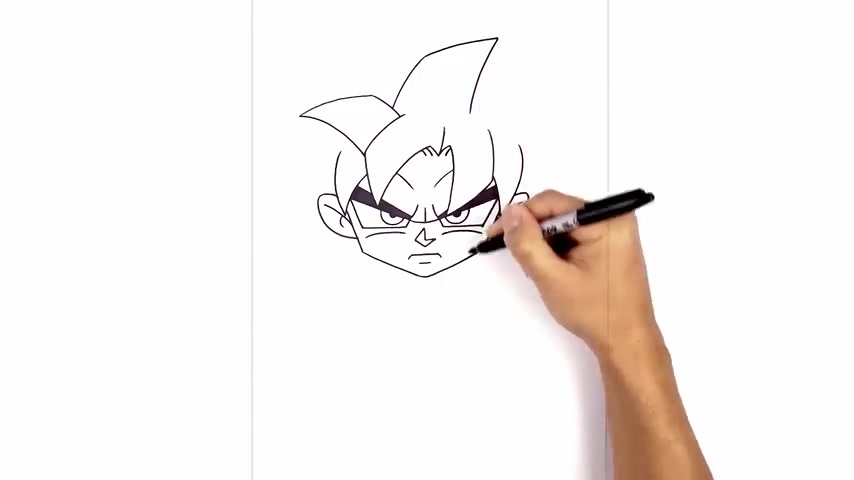
I'm gonna step back and curve up and out towards the left and I'm gonna do a hard turn coming out towards the point of the spike curving around and then out and I'm gonna pull that in with a curve in behind this hair bang coming in and then down , I'm gonna add a large one pointing upwards .
So from this point , I'm gonna step out , curve it out and out towards the right now , I'm gonna do another hard turn going over towards the right towards the tip of the hair bang .
And I'm gonna pull that back down , curving in and then down now at the bottom of the spike , I just want to locate the top of the head on a curve out , aiming towards this point here .
But we're not gonna go all the way we're gonna go out and then down to right about there , let's add two large spikes on the side of the head .
So from this point , I'm gonna step up , curve down and out towards the right , I'm gonna do a hard turn curving down and out from here .
I'm gonna curve in and then on top of this ear .
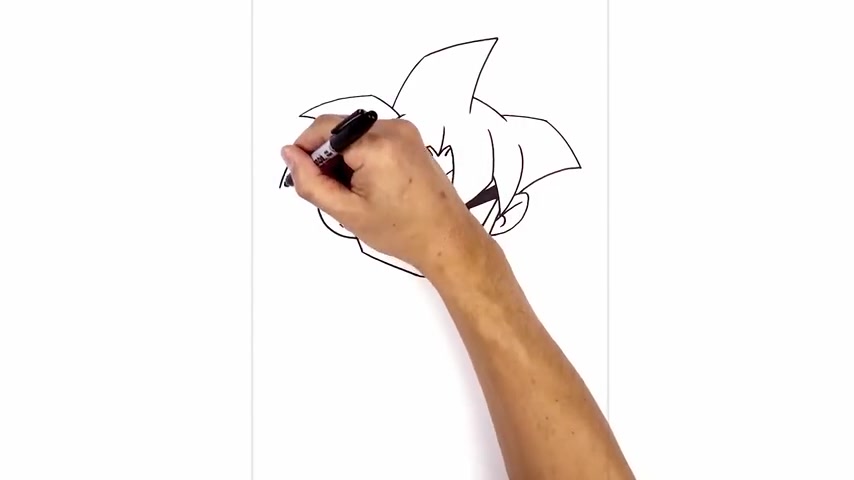
Now let's take that spike and flip it over on the left side .
So we're line this up , do a curve coming out .
Now we're gonna do a hard turn coming down towards the tip of the spike from here .
I wanna curb over and on top of the ear from in and then plug that down , we'll have a smaller spike on the side of the ear .
So right at the top of this ear here gonna curve out then down .
Let's do the same thing on the right side .
I'm gonna taper that back in behind the ear coming down and then in , let's tuck a few more spikes in behind the head .
So we start at the top here .
We're gonna step down , curve up and out towards the left .
Now we do a hard turn curbing over towards the left towards the tip of the spike .
And then we're gonna curve down in behind this spike here coming in and then down now , back here on the right .
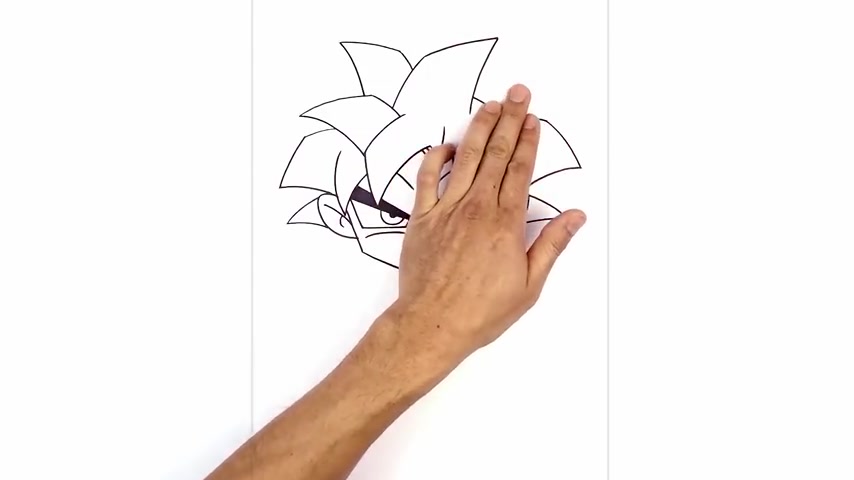
I just want to show the tip of one spike curbing the opposite direction .
So we step up , we curb out towards the right and then up .
Now I'm gonna pull that down .
So tapering down in behind the front spike .
Now we're gonna go back over the hair and add the highlight along the edge of the hair .
So we start from the top here and curve down and in and I'm just gonna fall this back down , curving down .
I'm gonna follow this trim back up quick up and I'm gonna pull this down towards the base of the hairline going down .
Now we're gonna create that same trim across every spike and hair bang .
So start on this end here , we're gonna curve up and out .
We're just gonna follow these curves all the way around on the inside curbing up and out and it will taper it towards that point .
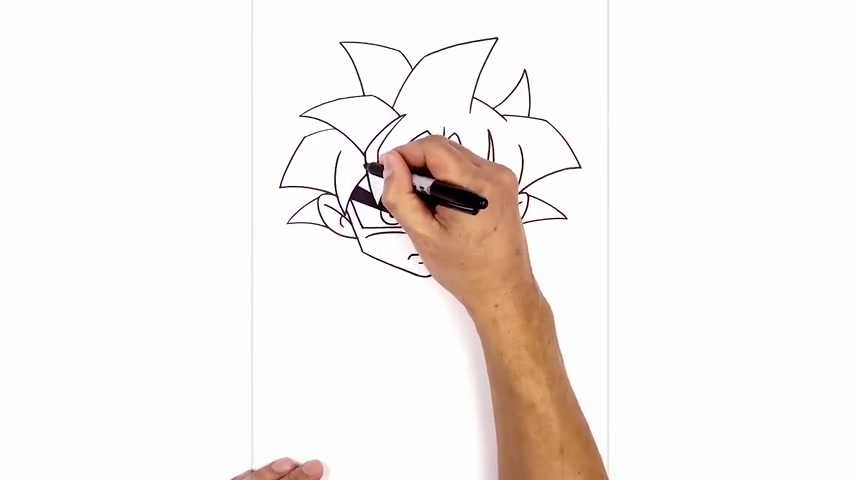
Let's add that trim to the side here , stepping up , go down and in and we're gonna taper up towards that point , we'll add that highlight to the sides here .
So just tracing that out on the inside .
Now , let's start trimming out the left side , we'll tuck this in behind .
I'm gonna do the same to here .
Now , let's do the large center spike and then right here , we're just gonna taper down towards the bottom .
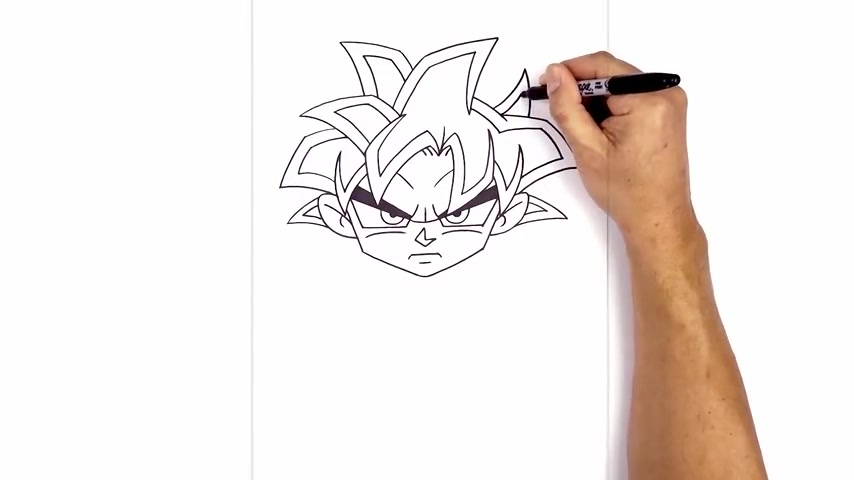
Now , we're just gonna merge these two areas here .
So stepping down , breaking down , go cross , then we're gonna tuck this back in and then finally this last point here , right ?
So now that we've drawn the head , let's work our way down the body .
We start with the side of the chest first .
So on the left side , just underneath the chair , we're gonna step down , curb out and then down , we'll do the same thing on the right .
So let's line this up , curb out and down .
We're gonna curve this down and then in for the first wrinkle .
Now for the corner , we're gonna step in to a short angle line going out .
Now , we're gonna connect those two points with a curve from down the middle and back up on the right now , let's go back up and draw on the color from left to right .
I'm gonna draw a curve going on across .
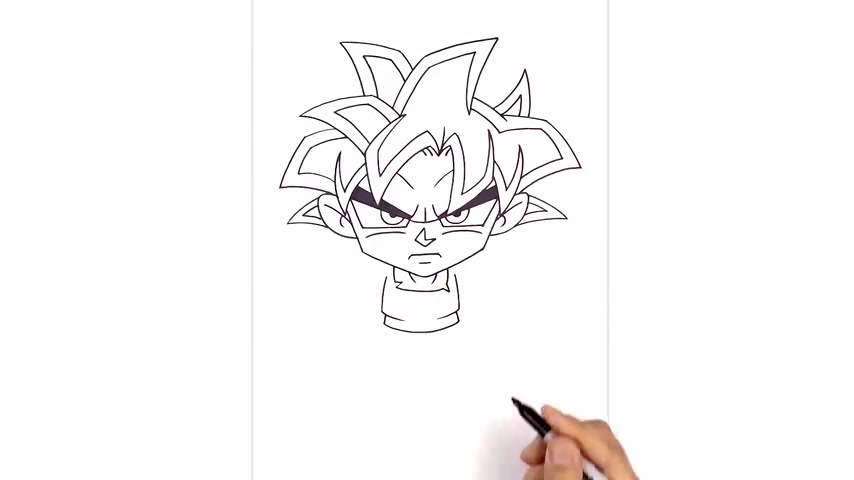
Now , right here , I'm gonna draw a little tear , a little V shape and then we'll curve that back up underneath the chin on this side .
We're gonna go in the opposite direction we're gonna go in and then back out and we will curve that back up underneath the chin .
Let's add the sides of the throat .
So on the left side of the chin and we're gonna curve down and then in on the right , we'll go in the opposite direction .
Now , in the center of the body here , we're gonna add one more wrinkle from left to right , we'll come down and then back up .
Now up here , we're gonna add the torn edge of the sleeve .
So from this point of the body , we're gonna step up underneath the head , curve out and down , we'll do the same thing on the right side .
We're just gonna tear up the edge of the shirt .
It's gonna do a angle back , going up down , do that smaller one right beside it .
And now I'm gonna curve that down and in behind the body .
Let's do the same thing on the right point up down .
We do the smaller one and then we'll curb down and in behind the body .
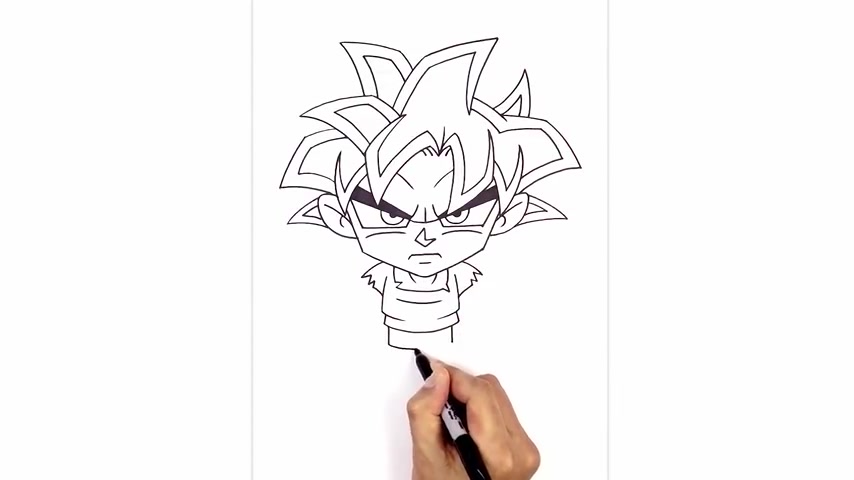
Let's continue working down with the belt .
So from these corners , we're gonna step in , got two lines coming down the side of the body .
We'll connect those two points with the curve .
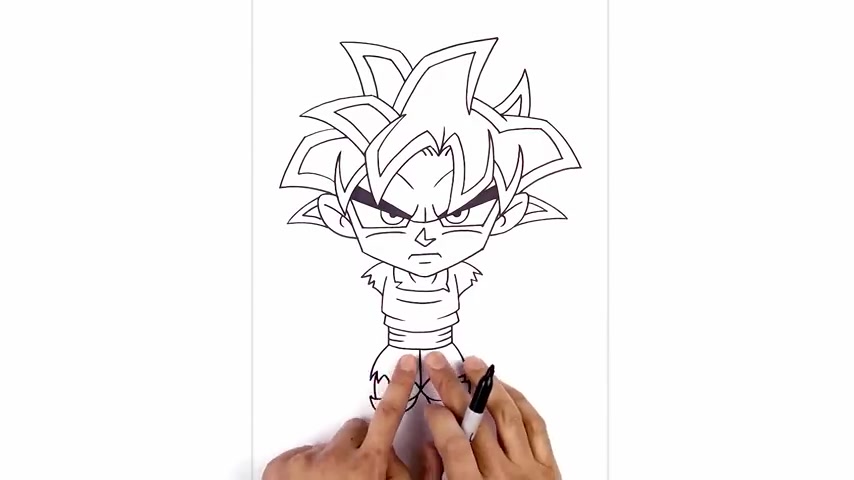
Let's add some wrinkles to the sash .
So on this side here , we're gonna draw two curves coming in and down .
On the right side .
We'll do the same thing now with the legs , I'm gonna start right in the center underneath the sash , draw a straight line coming down towards the lower torso .
From this point , I'm gonna curve up and out towards the left .
From the center .
We go up and out towards the right now from the center .
I just wanna draw a curve coming down and out on either side for the first wrinkle .
Now let's move to the outside and draw on the outer edge of the leg , but we're gonna add some tears along the way .
So from this hip and curve out and then down on the right , we'll do the same thing curing out and down .
Let's tear up the edge of the pant .
So we're gonna curb up and in and we'll hook it back down .
We'll do that one more time .
I'm going up now right here .
I wanna curve around and then back up towards the outside leg coming in .
I'm just gonna pull that up underneath this point here .
Now , right here , I wanna curve the bottom of the pan and pull that in towards the inside of the leg coming down .
And I'm pulling that up on this side .
We're just gonna draw one notch , we're gonna curb it down and in , we will taper that back out .
Now again , we're gonna curb the bottom of the leg and then pull that in .
Now , from these two points , I want to step in and just draw the side of the leg , start it from the top curve around , do the same thing on this side .
So step it in , curve towards the bottom .
Let's add a couple seats along the bottom edge of the belt on the left side , we'll just crib down and in , we'll do that twice on both sides .
Now , right at the bottom of the pan , we're gonna add the boots .
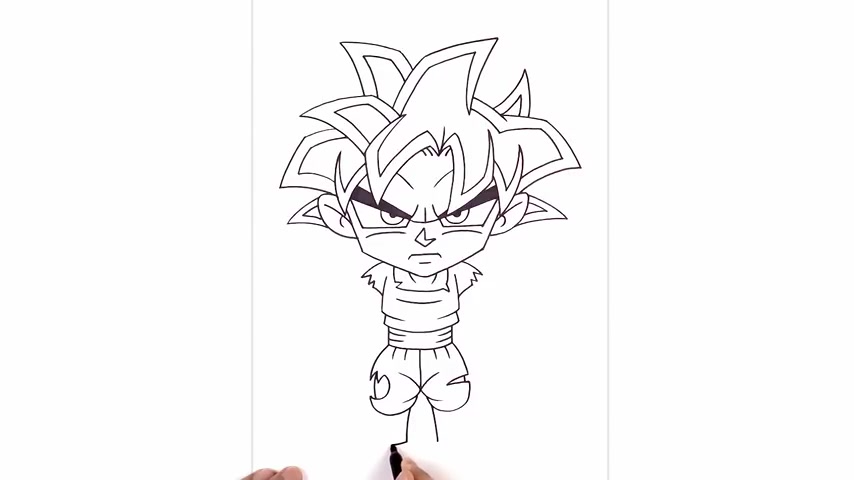
So on the inside edge of the left leg out and down towards the heel and do the same thing on the right , they're gonna round out the bottom of the feet .
So you heel to the toe , the cur down and then back up .
Now from the toe , I'm gonna curve up and in the top of the foot , we're just gonna curve up into right about there .
We do the same thing on the right side .
Now , I'm gonna curve in the opposite direction towards the inside of the leg .
So we're gonna curb it down and back up from this top point of the shoe .
It's gonna draw a straight line going up underneath the pant .
Now let's trim up a little rope .
So we step up , just follow that same curve going across .
Now , at the bottom of the shoe , we're just gonna step up and just follow that same curve to create the sole and then on the outside of the shoe , we're gonna add a stripe .
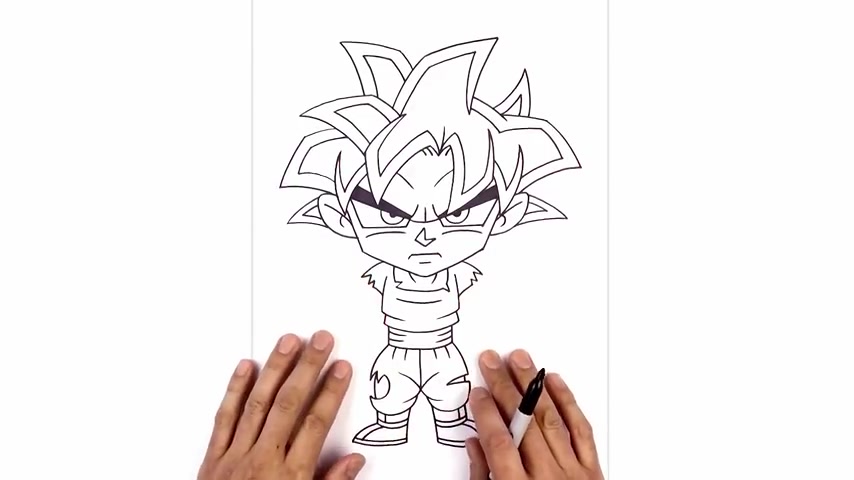
So this line , we're gonna step in , draw a straight line coming down in behind the rope and at the bottom of the rope we're gonna curb out and then down .
Now let's move back up and draw on the arm .
So I start on the side of the body right here , curb out and then down towards the wrist and do the same thing on the right side .
Nonetheless , I'm gonna draw on the thumb .
So a little half circle going around and back out at the end of the thumb , draw a bracket at the bottom curve of the thumb and go around the bracket and go up for the first finger .
Then when layer two more fingers on the outside , stepping down , curving around and then up and then the third thing is gonna go around and then in about halfway up , the arm gonna curve out .
I'm just gonna pull that in from here .
I want to step back out her out and then underneath the sleeve .
Let's do the same thing on the right .
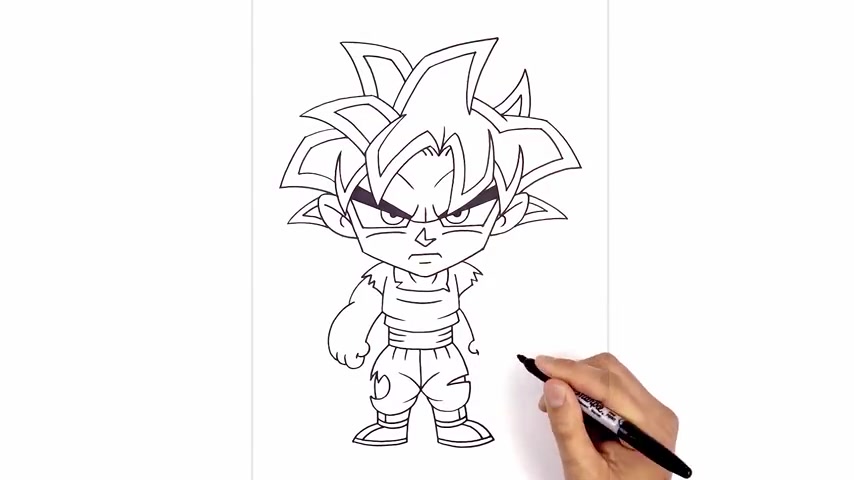
Start at the wrist , draw that small half circle for the thumb at the end of the thumb will draw a bracket at the bottom of the thumb .
We'll scroll around the bracket and go up .
You step down , curb out the second finger .
Now the third finger is gonna go around up about halfway up the arm out .
I'm just gonna pull that in and I'm gonna step back down and just bulge out the shoulder in behind the sleeve .
Let's add in the wristband from the inside corner .
Of the wrist , we curve up and then out and would duplicate that curve just above .
So up here , start from the outside , we curb in and then down do the same thing on the right side .
Now , the final thing I wanna do is add that glowing aura around the body .
So we start at the bottom corner just outside of the shoe , we draw a wavy line just so that it can be very random going all the way around the bunny .
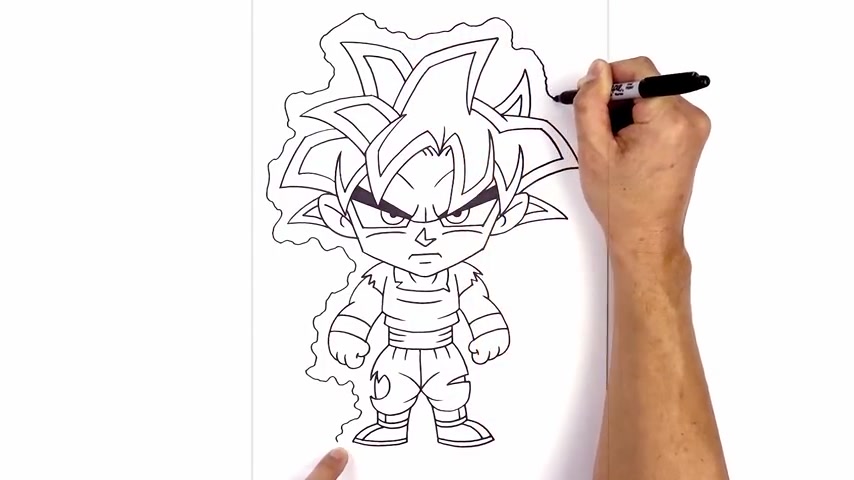
Now , this could be any shape you want .
You can go a little bit thicker in certain areas all the way down towards the right side .
Now , we're gonna connect these two points with a wavy line going across and then to finish this off , I'm gonna add some random circles all around my image starting on the outside .
I'm just gonna work my way around the perimeter of the aura .
You can space this out anywhere you want and then we're gonna go inside the aura and add a few .
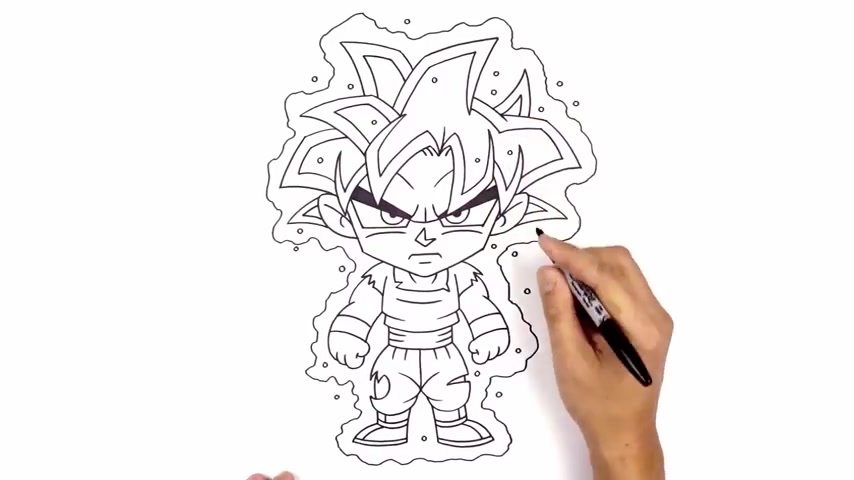
Now I'm gonna go in the hair area and add some more just in random areas out here , maybe add some across the body in the legs and that's pretty much it there we have it .
There is Goku in this ultra instinct form .
I hope you enjoyed today's lesson .
Make sure you subscribe and send me your requests in the comments below .
Thanks for watching and we'll see you again soon .
Are you looking for a way to reach a wider audience and get more views on your videos?
Our innovative video to text transcribing service can help you do just that.
We provide accurate transcriptions of your videos along with visual content that will help you attract new viewers and keep them engaged. Plus, our data analytics and ad campaign tools can help you monetize your content and maximize your revenue.
Let's partner up and take your video content to the next level!
Contact us today to learn more.