https://www.youtube.com/watch?v=Ke0noTnHLLc
Thai Banana Pancake Recipe (Thai Roti) โรตีกล้วยหอม _ Thai Recipes
So at welcome to Hot Thai kitchen .
Yes , today is the day everyone I am going to finally make probably the most requested dish ever .
It is a very popular snack in Thailand , especially amongst tourists .
It is what most people refer to as the Thai banana pancake or what we call .
Now , I know in different countries mean different things in Thailand .
This is what we are talking about and we are making today and is banana even though you can put whatever you want inside , but we're doing banana because it seems to be the only kind people ever request of me because it's probably the most popular one , right ?
So it's not super hard , a little bit of technique involved , but you can definitely do it at home .
Let's get started .
Let's make the dough first .
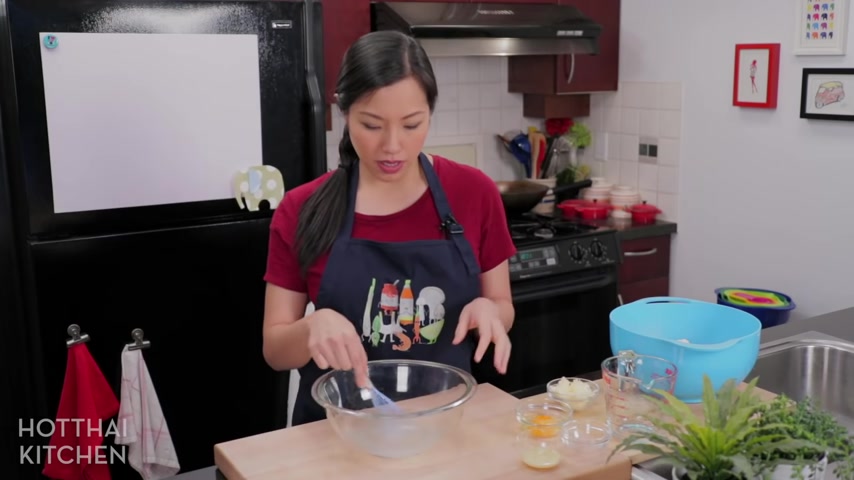
It's a very simple dough , no yeast , no leavening , no , nothing .
Starting with salt to dissolve all the salt .
Just add some water and I'm just gonna stir that until the salt disappears .
And would you look at that like magic , the salt is gone .
All right .
So for sweetener , I'm going to add some condensed milk which you will need for the filling anyway .
But if you just do sugar , the dough will still be fine .
Get that dissolved and an egg and a mini whisk is an absolute must .
Ok .
So once the egg has kind of disappeared , we'll set that aside and deal with the flour .
So I have got some all purpose flour here .
And what I'm gonna do is I'm gonna add my butter , which is soft at room temperature and I'm gonna rub it in kind of like when you make pie dough and then just use your hands to rub everything in so that the butter is dispersed in the flour .

That's good .
Little lumps are OK .
You just wanna break the butter up into small bits and now the hard part , you're going to put the flour in the liquid .
No , it's not the hard part .
It is the easiest part of this whole thing , right ?
And just mix that in with your hands .
So this recipe is awesome because you don't need any machine , any tools , equipment at all , just bowls and your hands .
But you can totally use like a stand mixer with a hook attachment if you want .
And at this point , all you're doing is just mixing until you don't have any more dry flour .
That's it .
And then just like my milk bun recipe , we're gonna let this sit in a process called Auto lease for at least 15 minutes .
You can do it up to 30 just to allow the flour to really absorb all that liquid first .
Before you start kneading , it will actually reduce the amount of kneading you actually have to do in the end and that will benefit the dough .
So the dough is nice and relaxed .
So at this point , we're just gonna continue to knead it .
Not until it's super smooth .
You only need about five minutes or so of kneading just until all the the texture of the dough is completely , even the moisture is evenly distributed .
And I do it in the bowl at first just to make sure I catch all the little bits of flour and then you can transfer it onto a cutting board .
So this is a pretty moist dough .
Um , but need it in the beginning first , just keep needing .
And if you feel like you've gotten all the dry flour out of the dough and it's still really sticky , have a little bit of flour on you and just Sprinkle it a little at a time to dry it out .
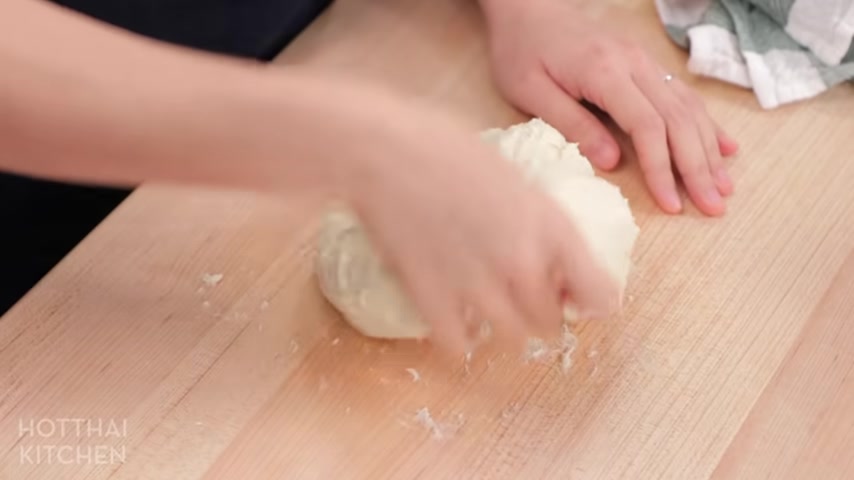
It should be quite moist but it shouldn't like stick to your hand too much like this .
So I'm gonna add just a little flour once I've given it a couple more needs .
Ok , see how like I haven't added any flour and it's already started to dry out a little bit because I've evened out sort of the moisture distribution inside .
So don't hurry with the extra flour .
Some people get really panicky .
Like , oh my God .
The dough is so wet and they add all the flour and then it becomes too dry .
I will add a little bit of flour and I find each time you make it , you're gonna need slightly different amount of flour because sometimes your eggs are a little bit bigger .
Older flowers .
A little drier .
The weather , the moisture in the air .
Ok .
I think that looks good .
It is not super smooth .
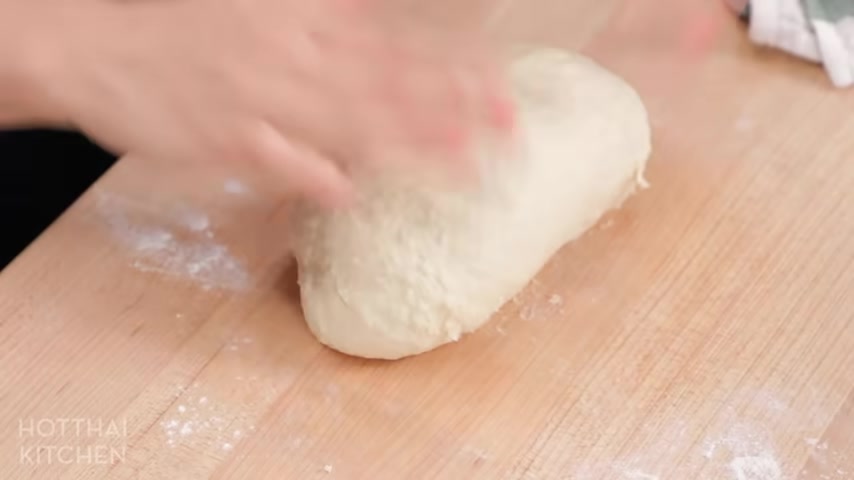
You can still see a little bit of roughness to it , but it's , the texture is even , it's a little tacky , but it's not really sticking to my hand anymore .
Um , you don't want to overwork this dough .
We want enough gluten so that it can stretch .
But I find that if you overdevelop it , it likes to shrink back and you'll have a hard time getting it to stay stretched .
So a good balance of gluten development is important .
Ok .
So now I like to let it relax for another 10 minutes because every time you work the dough , it gets really tight and it resists your , your manipulation of it .
If you let it sit for even 10 , 15 minutes , it'll be easier to separate into small bits .
But basically the dough is done .
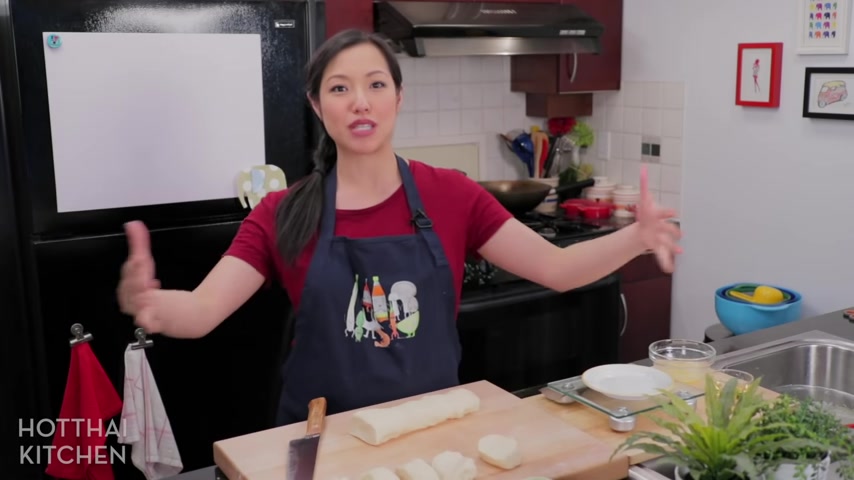
So I've just stretched my dough into a log .
I'm gonna divide them into balls and each ball is going to weigh 80 g .
62 .
The NPS is always a little too small .
Ok .
Close enough actually come to think of it .
The size of your dough really depends on the size of your pan .
So , as you see on the streets , they've got this big enormous pans which you and I don't have .
So I'm using my biggest one which is 12 inches .
Um And I think 80 works well for 12 inches for you .
If you have to make a tiny little one because you don't have a big pan , you have to make smaller dough .
So if you have a 12 inch , 80 is a good place to start .
So now I got my dough ball separated .
I'm gonna mix up some lube for our dough balls just to prevent them from sticking together when they rest .
So I've got some melted butter here and I'm gonna mix in some oil as well .
Just cooking oil , neutral flavored oil .
I'm using avocado oil and that's just butters for flavor .
The oil is to prevent the butter from solidifying once it cools down .
So it'll be easier for you to work with afterwards .
Ok ?
Be very generous .

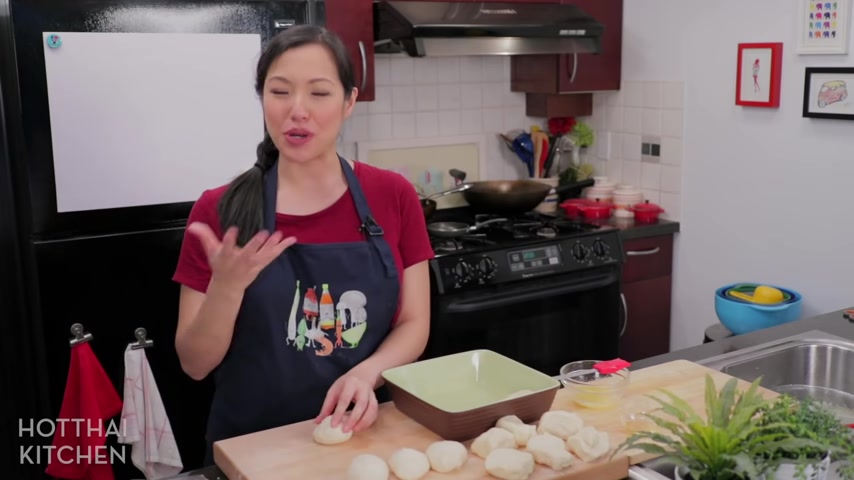
And now with the dough balls , I'm gonna form them from these weird mass shape into circles so that when we go to stretch them out , it stretches out into a circle .
And so the technique for that is very much like when I make my other bun .
So you just sort of flatten it out a little bit and sort of gather the edges .
So that it would then become a circular shape .
That's , it doesn't need to be perfect .
You just want to give yourself a circular start and then I'm gonna brush this very generously with the butter oil mixture .
So that when I put the other balls beside it , it does not stick together because trust me , they will fuse back together and you'll have to start the dividing process all over again .
So be very generous .
And then when you go to stretch it , it'll be your lubrication against the work surface .
So this butter serves many , many purposes .
And for our patreon members who have access to the show after the show today , I'm gonna show you a different variation of the one that I always got as a kid .
If you want to know more about how to become a member , you can check out the link in the description below .
So now these dough balls need to rest for at least two hours , preferably three .
If you've got the time , I like to do it even one day in advance , put in the fridge covered and then bring it out a couple of hours before you use it just to let it warm up to room temperature .
Um you want them to rest so the gluten will relax .
So when you go to stretch it , it will stretch with you and not fight you .
So these guys have rested for three hours .
Now we are ready to make the .
So if you've been to Thailand , you've probably seen them do this , like , flippy thing and it just stretches out to this big sheet .
Well , I'm not going to do that because I'm not good at it and I will only embarrass myself .
And if I showed it to you , many of you are probably not gonna be able to do it either .
So I'd rather show you a technique where you can actually do it successfully at home .
And that's just simply stretching it out .
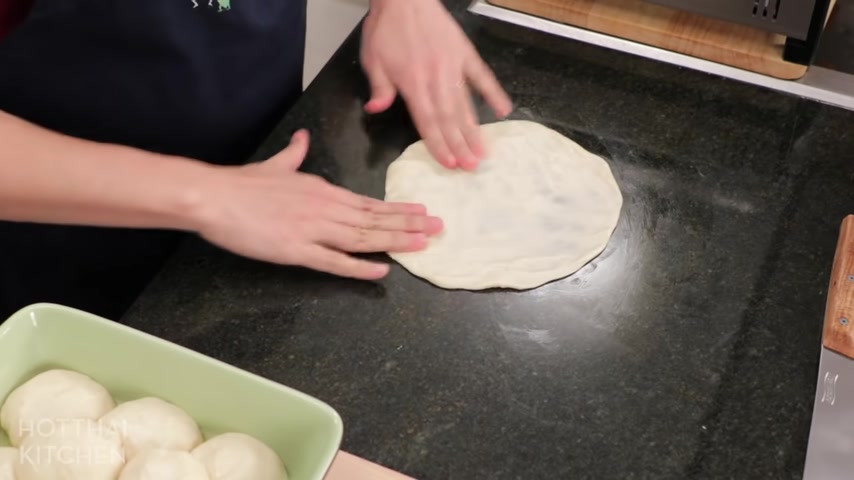
So we're gonna take one of these pressed it down into a disk .
And then once you get it down , relatively thin , you just lift and stretch , basically lift and stretch and like glue it to the end .
So it doesn't shrink back , lift and stretch until you get it .
Then all the way down there you go and be gentle with it .
Don't go rat one time you rip it right .
Um Just stretch a little bit at a time .
Again , the size of your pan is going to determine how big you want this to be .
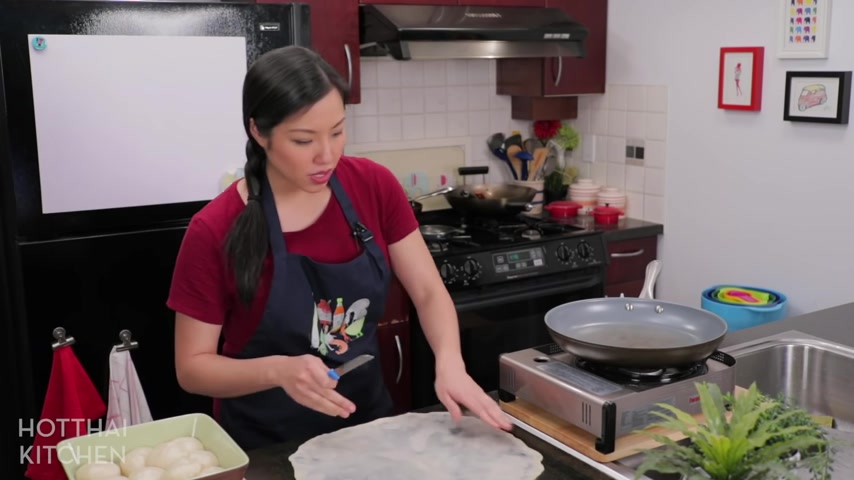
But you want this to be a little bit bigger than the pan because when you lift it and put it down , it will shrink back just a little bit , something that I do .
Um , you do not have to do .
This is , as you can see , the edges is a little bit thicker and it's naturally going to be a little bit thicker .
You can either try to get it super thin or I just go and I just trim off the very , very edge .
Then I don't have to worry about having any doughy bits .
If you do the flippy thing , I don't think you're gonna , uh , you might get a thick anyway .
I don't think it's gonna be as significant .
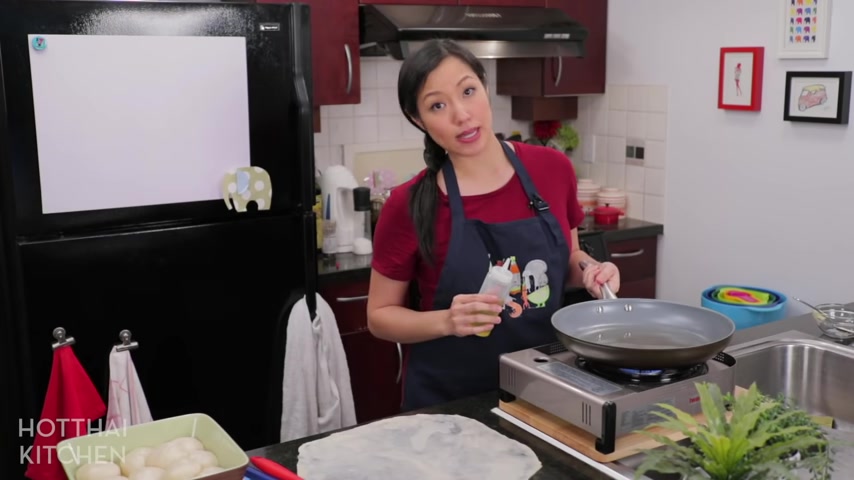
And now the pan I'm gonna heat it medium heat .
You don't want high heat on this or you're gonna burn the dough before it has a chance to crisp up .
And I'm gonna use some cooking oil .
And by the way , this is why I like making at home better than buying because when you buy , they always use margarine , not all of them , but most of the street vendors are gonna use margarine , which is not good for you .
Um But it's cheap , right ?
So when you're at home , you can use good oil .
You can use real butter much better for you .
And you do not wanna be stingy with oil about this because it really gets much nicer and crispier when you have a generous amount of oil .
So make sure you've got a nice coating all the way through .
This is not diet food , you guys .
So that scrap dough that I trim off .
I like to put it down as my heat tester .
So then when it starts to bubble , I know it's hot , it's useful .
So now it's starting to bubble .
I am going to go in with my dough .
Yeah , you don't wanna , if you get it super hot , it'll brown so quickly you'll be like , yeah .
So you try to get this thing up in big piece .
Try not to get it to fold over .
Too much , place it down .
It's going to shrink back a little bit .
Don't panic .
Go in when it's still not too hot .
Uh , stretch out the edges .
Try not to burn yourself .
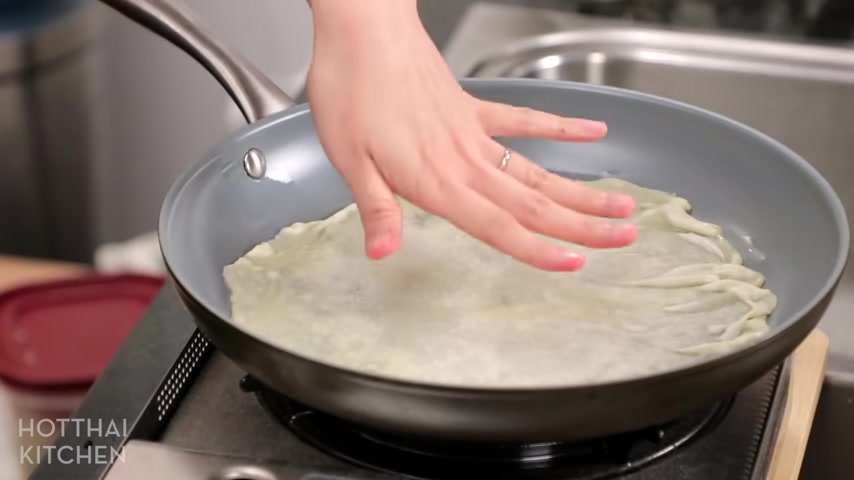
So this is kind of what you have to contend with with a homemade roti because obviously we don't have the big flat skillet that they use on the street and that amount of bubbling is perfect .
Now , filling goes in , I got my bananas and you don't wanna make this too big because you wanna make sure you can close it .
I've been over zealous with filling and then I can't close .
Oh my God .
I don't know if I've just overdone my bananas .
Well , we'll see .
And then you fold the edges and you wanna do this relatively quickly .
You wait too long and it will be too stiff and you will have a hard time .
Oh , man .
Come on .
You'll have a hard time folding a dough that has been cooking for too long .
Hi , you kind of have to have a bit of a heat resistant hand for this .
Ok .
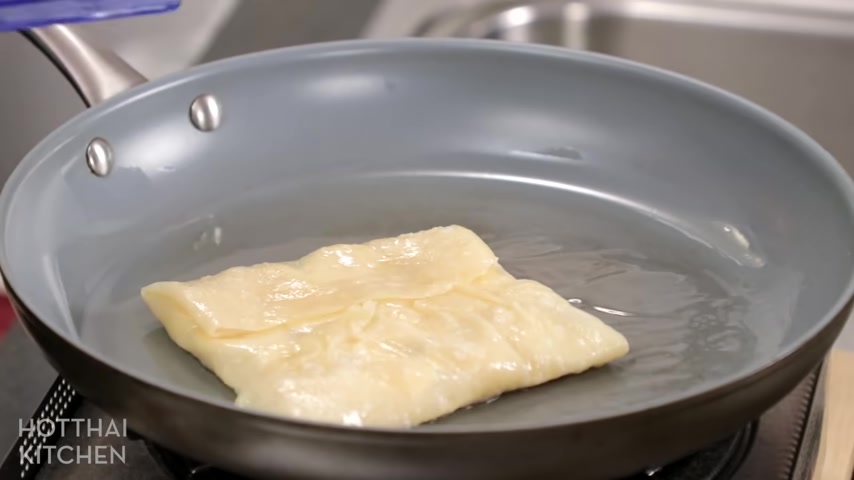
So now you want medium heat and you want it to slowly brown .
Ok .
Once the bottom side starts to brown a little bit flip it .
You wanna , oh , flip it back and forth .
I find it's better than just letting one side cook and then the other side cook .
And if you've been to Thailand and you've had one of these , tell me , what is your favorite filling ?
Let me know in the comments below .
Yes .
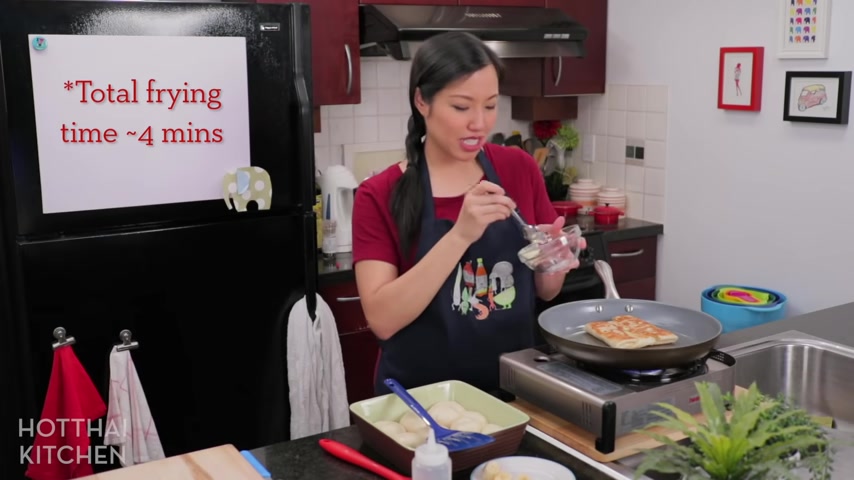
And another thing I prefer when making your own roti is you can take your time , get it really crispy .
Sometimes I find with the street vendors they're trying to pump them out so fast because you know they're trying to serve more customers and they're quick with it and it's not as crispy .
So I want mine really nice and brown .
Yeah , like that and I want the bananas nice and soft .
Oh I can feel it getting crispy .
You can hear that sound of crispiness .
Ok .
Right before you finish , I like to finish it with a little bit of butter just for flavor .
But you don't wanna use butter from the very beginning because butter will burn .
So you do that and you see the street vendors do this and then you put this on top of it , let it bathe in the butter .
The other side will bathe in the butter .
And if you hadn't got nice browning at this point , the butter will also help it brown quicker as well .
Yeah , but street vendors will use margarine which you can always tell because they're like bright yellow and I am done .
That .
Is it ?
You wanna prepare your cutting board and put it right here .
Look at that .
Oh , crispy , crispy .
You wanna cut this ?
Yeah , let's do four and four oh , maybe four and three 00 , that smells so good .
The smell of bananas .
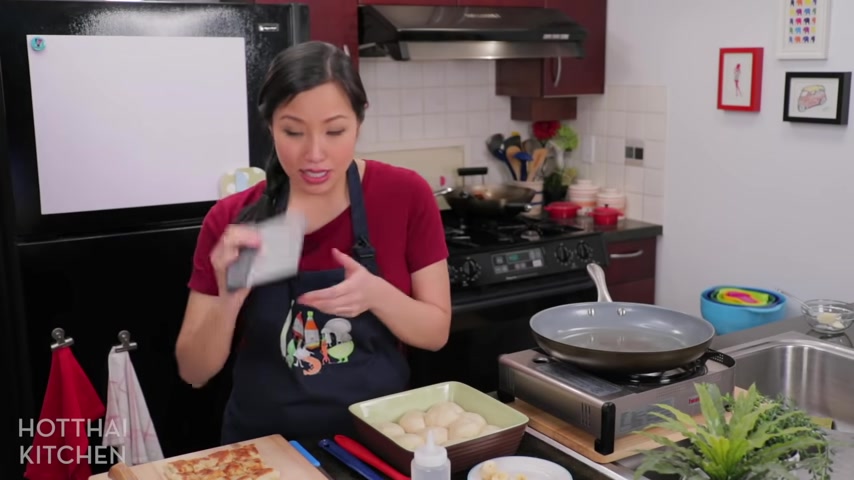
My God easiest transfer is with a bench scraper .
Oh , yes .
Baby topping .
You need a topping if you wanna go low sugar .
But I mean you're making Roy , why are you going low sugar ?
Um put some condensed milk on it .
Sweetened condensed milk in a squeeze bottle is better just because it's easier .
Oh my God .
And you can stop here .
But I actually like to also Sprinkle some granulated sugar on it and adding a little bit of sugar .
Sprinkles gives it a little crunchiness .
That's it .
You guys Street of Thailand in your home with only a little bit of trouble and now let it cool a little bit before you eat because cooked banana is really hot .
This piece right here .
Look at that nice crispy Roy .
A few layers .
You got soft banana going on .
Hm .
Too hot .
Mm But so good that dough is perfect .
Crispy on the outside and still nice and tender .
You get the bananas , condensed milk .
I don't have to say much about condensed milk .
I can just eat that stuff by the spoonful .
Mm .
That is so good .
So dangerous .
Like when I was testing this recipe , I have to really work hard to not eat too much of it because it is so hard to do .
So the recipe as always will be on hot Thai kitchen dot com when you make it , definitely send it to me .
I want to see what you put inside um on Facebook , Twitter or Instagram .
And if you have not subscribed to the show , make sure you do .
So you don't miss an awesome recipe like this and click the bell icon as well .
So you get a notification when I post a new video .
Thank you as always for watching and I will see you next time for your next delicious time meal .
Are you looking for a way to reach a wider audience and get more views on your videos?
Our innovative video to text transcribing service can help you do just that.
We provide accurate transcriptions of your videos along with visual content that will help you attract new viewers and keep them engaged. Plus, our data analytics and ad campaign tools can help you monetize your content and maximize your revenue.
Let's partner up and take your video content to the next level!
Contact us today to learn more.