https://www.youtube.com/watch?v=ZI8xqrDqGLA
How to Draw 3D letters Happy Birthday - Art for Kids - Birthday Sign Hand lettering _ BP
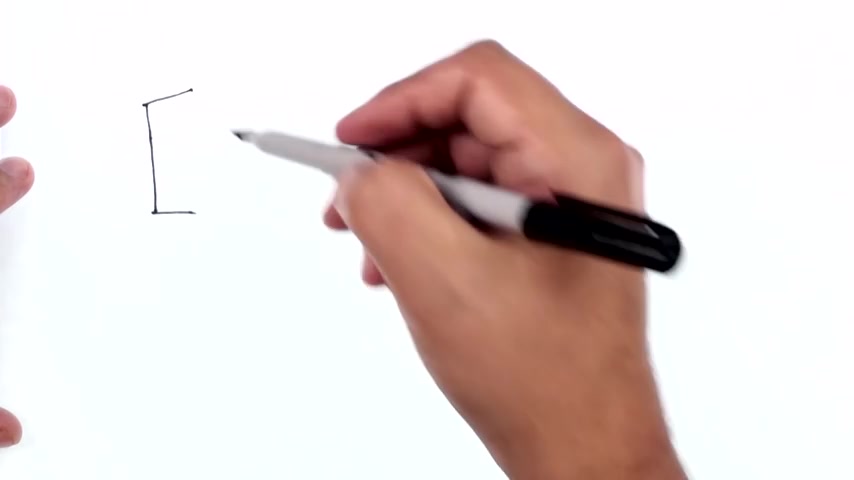
Hello .
Awesome art students Michael here with some uh 3d lettering that is uh well , perhaps useful to you and wishing someone a happy birthday and it's gonna be a loose 3D style .
We're gonna write Happy Birthday and by loose , I mean , we're not gonna worry about these letters being perfect .
In fact , we're going to even work at making them um at a little bit of an angle .
So we're gonna start with the H and we're gonna create a stroke like that and uh we're gonna let these edges even cross on this .
You see , this can be kind of cool and uh we're gonna draw a little bridge across there and now we're going to do you just like that , see , it doesn't even have to be perfect .
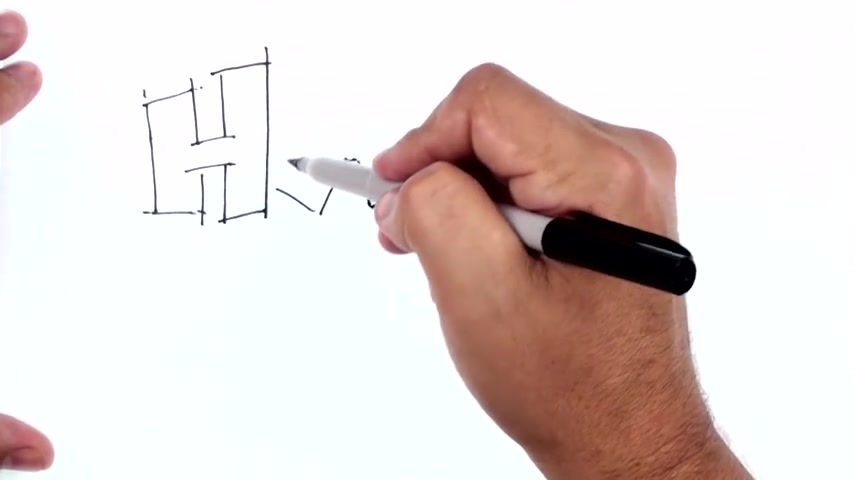
Now , we're gonna get an a in here and let this a do something like that right there and you're just gonna have the freedom here to not worry about everything being perfect .
So that's the way that's gonna work .
Now for the 3D effect , we're also gonna create a loose 3D effect here and where we mirror these here are these angles and edges and we'll shade that in this time , not worrying about perfection at all .
Sort of perfect imperfection .
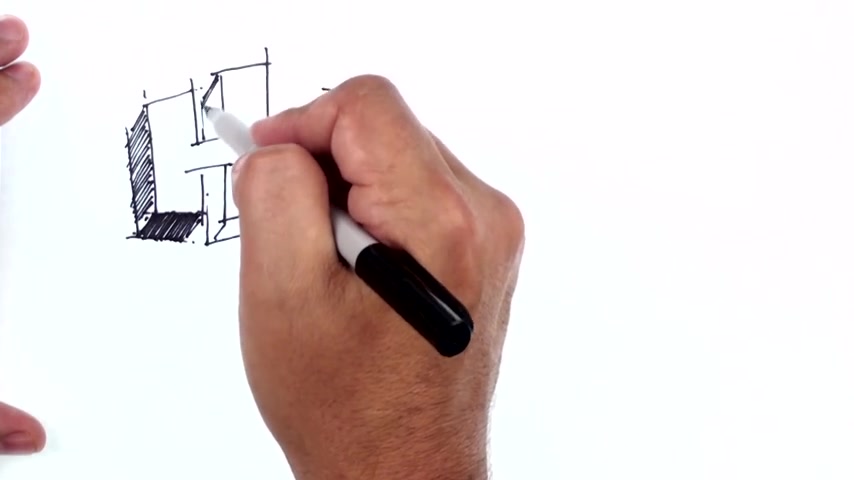
I mix these letters bouncy and fun like that right there and then go back and just true those up .
Make sure those corners are tight .
If you need to do a little on the edge , that'll help it pop out a bit and even do some extra hatching this way , just like that .
All right , same thing here .
Angle , angle , angle , angle , angle , connect , angle , feel free to just stop after each letter because I'm going to uh I've got a lot of letters here to work through .
I'm gonna go kind of quickly on these .
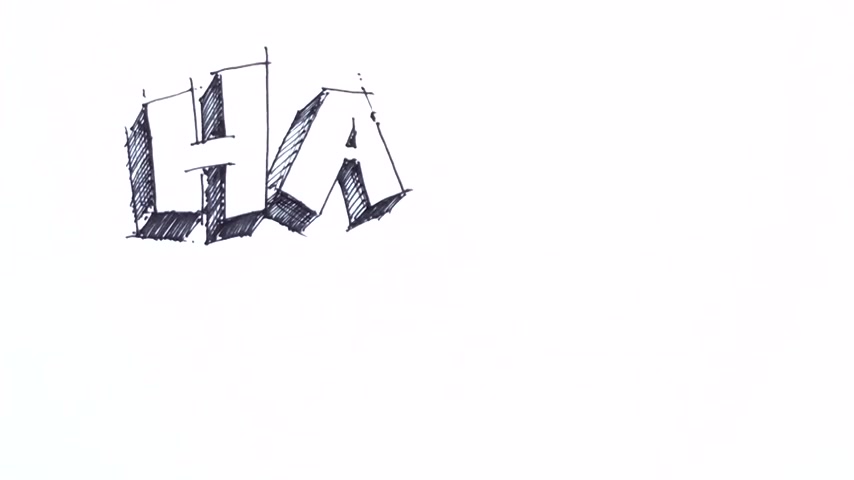
There's the a that'll be dark in there .
If I need to re up an edge here , I'll just do some hatching this way , something like that H A .
Now the P , let's see , I wanna do a have this kick out a little bit like that .
If we do something like that and let this come off around and connect up , I go have a small center there when you're drawing these letters , you kind of just gotta let them let them flow , you know , have fun with them .
I need to add a couple of little overlaps here just to make it consistent .
All right , and shade that in .
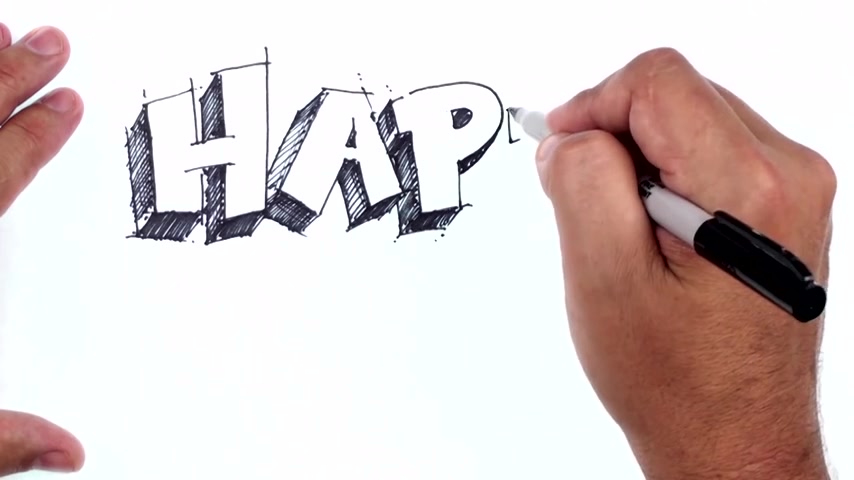
And this is going to give us a little additional uh 3d effect here .
I think it will .
All right , there's one P and now we're doing a similar p right here , you know , so this one didn't turn out to be exactly the same .
And that's all right .
Do the 3D effect on that shade that in a little bit of effect right here .
Extra dark , right down there .
Not as dark there , extra dark down on the bottom .
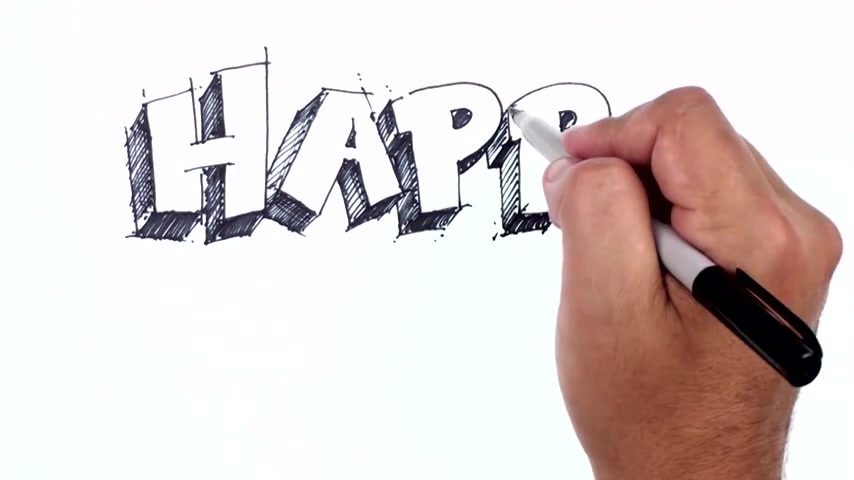
Kept that a little lighter so that you've got some light bouncing around in there .
There we go .
And now the y let's do something , something like this and our angles not being afraid to let him be loose and extra dark in here .
Oh , lots of letters here and Happy Birthday .
But we got happy down .
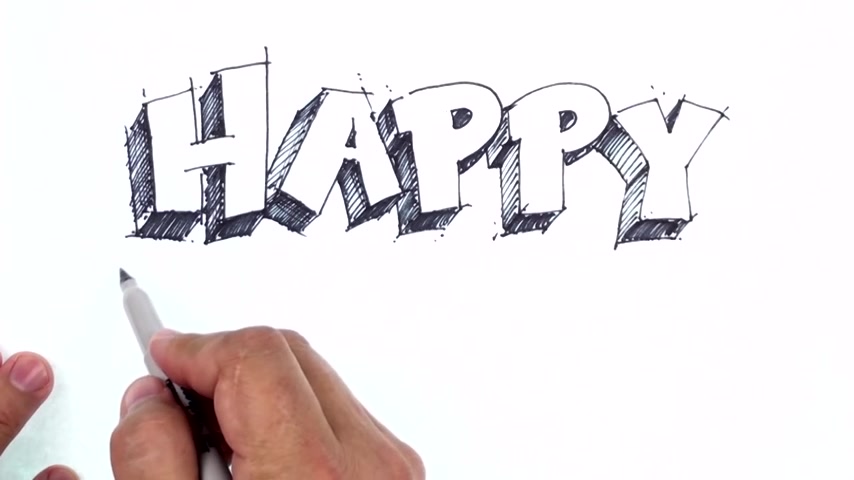
Now , let's go for birthday , something maybe like that .
I thought these would be small , makes it easier when we do the 3D effect come off these edges here .
You're just gonna roll right off of that down to there .
Connect , connect , connect , connect that a good arc darker under here .
Leave a little light on the side , a little light on the side darker underneath .
So you can use a couple of some hatching to chew up that edge .
All right .
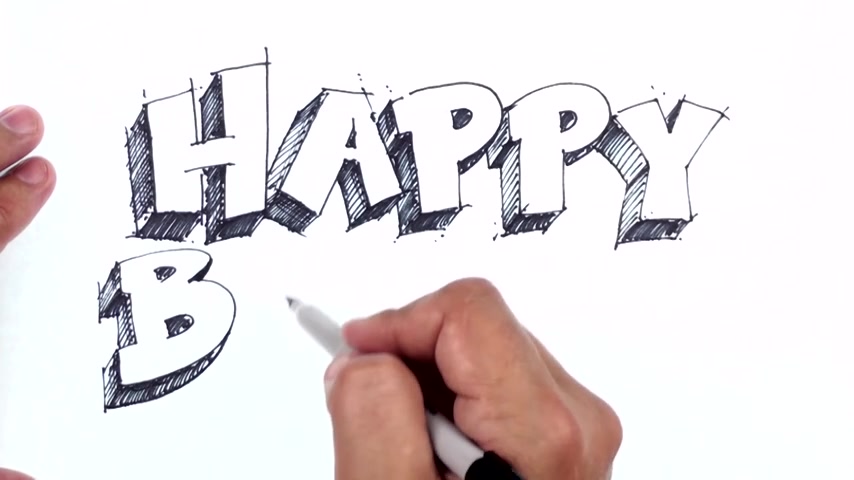
And to be a little bit coming down right under here right there .
All right .
So um rather than do a big eye , I'm just gonna do a stick eye here just like that .
And I'm gonna , so I have room for all my letters .
I'm gonna let these letters overlap .
Some come down with the 3D effects .
Connect the lines like that .
Now the Rs is gonna be a lot like the p so I'm gonna create that same little notch that I have right there .
And I'm gonna come around with that R I'm gonna come down with this part and then here I have to leave room to kick something out .
So I'm gonna have it just step out like that and uh be kind of tight there again .
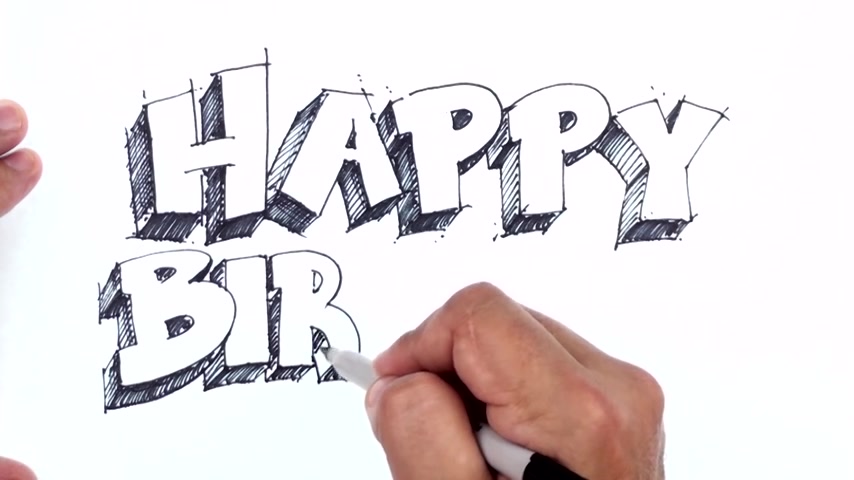
Some of this is just happening as I draw it , I'm going with whatever , whatever , whatever happens here , trade that in .
Yeah , it'll be just a little bit right in there .
That'll get dark in there .
OK .
Now , this is where the T can kind of fill in that gap .
We could have made that R a little thicker , but we've got a lot of letters to fit in here yet .
So this will come out just fine , 3d effect on that come down here like that .
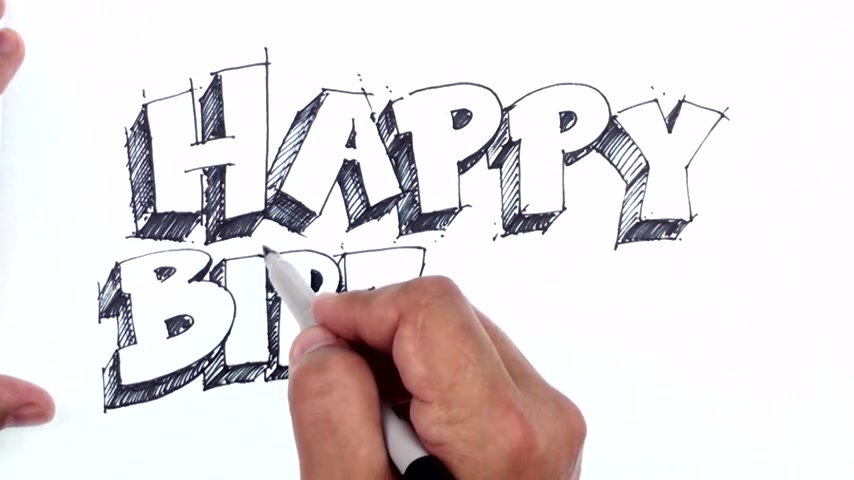
So I haven't been as loose with some of this and uh overlapping the edges .
So I'm just gonna come in and fix that by throwing a couple of longer edges here to keep this loose style .
And so that inconsistency is showing up now and I wanna have that loose energy coming off of the birthday here .
All right , you got an H to do , done an H up here so I can mimic that this one's going to be narrower .
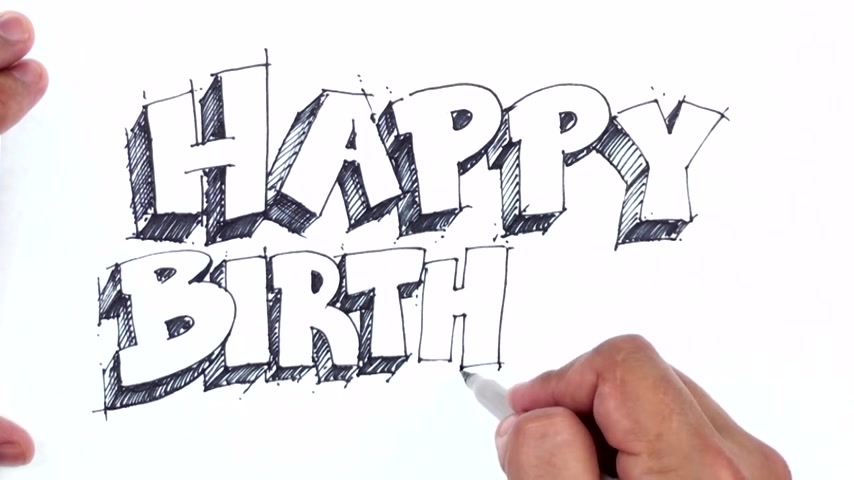
So that's similar and uh we'll just let those lines overlap a little bit and we'll come in and do the 3D effect like that right there .
Now , the D OK , do something similar to the B except it just has one curve instead of two humps just like that come in here and keep that pretty small .
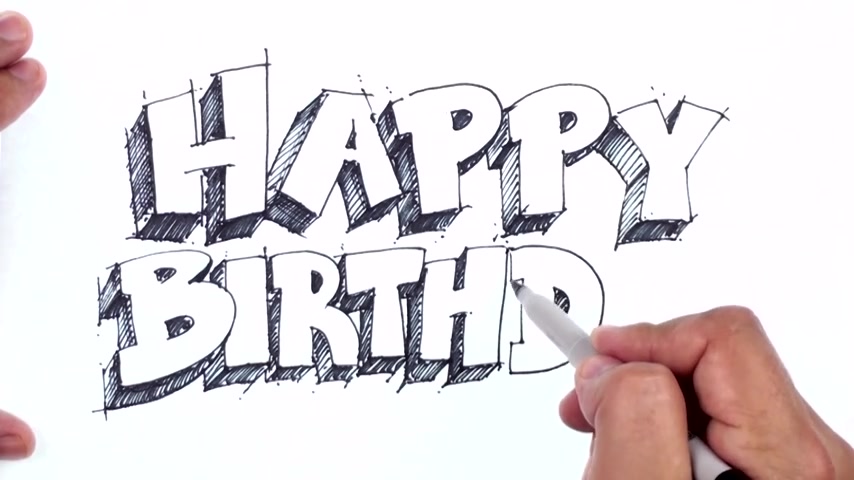
So we can go ahead and shade it in angle , angle , angle , angle , angle , it's gonna roll right off of here , factor there and don't mind being a little loose there .
Go ahead and connect that it's gonna be dark .
So because these spaces are all tight that not all light will bounce around in there .
OK ?
Now we got another a and we see an A up here .
So let's let it overlap a little bit .
I'm gonna try to mimic that .
A no , except make this one smaller , something like that .
Again , don't worry about going over a bit .
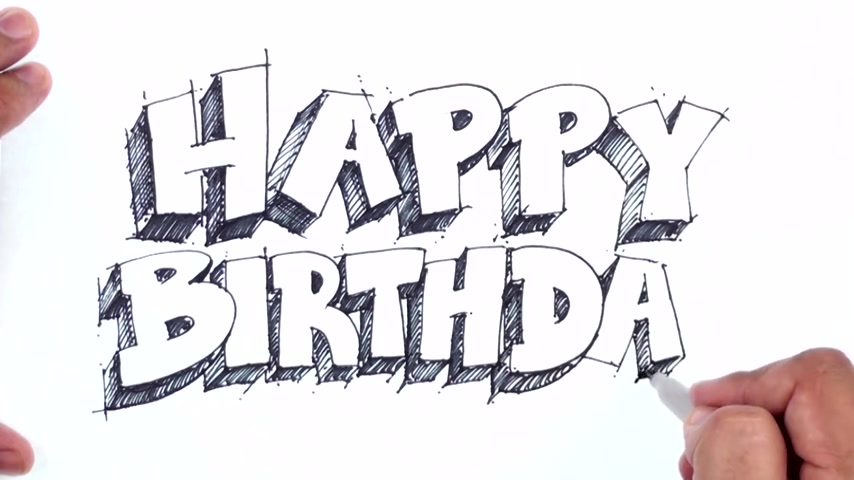
You actually want a little bit of that and go right there .
Come down and go right there .
Go right there by being loose .
It gives it sort of that fun party feel in my opinion .
And plus you have less stress over perfection .
So um now the why we've done a Y up here .
So again , we know what that's gonna look like .
Something like that right there .
Kick out our angles for the 3d effect dark on the bottom .
Don't worry about a little add , even add a little couple of extra effects there .
Keep this one just as messy looking as the others .
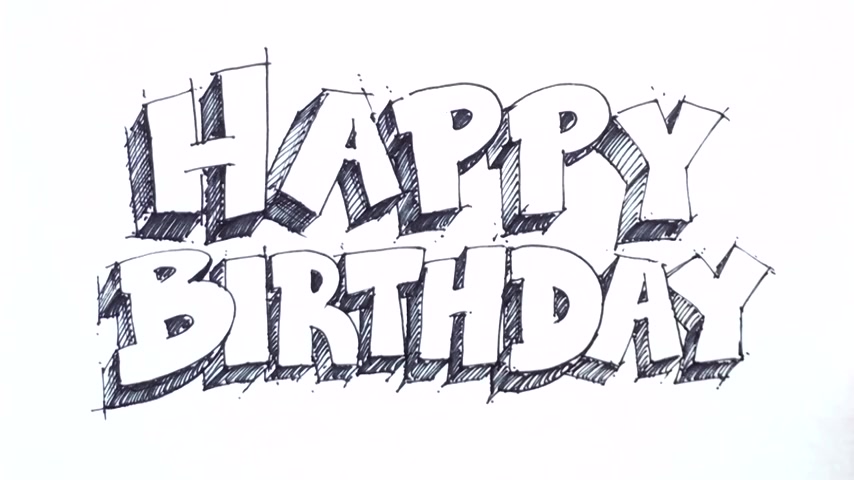
Um We're gonna have a little bit going on here , might wanna thicken that up a bit and um there yeah , we pretty much got it a a really funky fun happy birthday that you can use on a card or uh you know , something that you're making obviously for somebody who's having a birthday .
So uh here you go .
Thanks so much for watching this video .
I hope that you had fun drawing , Happy Birthday that you can give this to a friend .
We've got many other great 3d words that you can draw and uh so check out the how to draw and paint channel and be sure to subscribe to get all our latest and greatest lessons .
You have a great day .
Are you looking for a way to reach a wider audience and get more views on your videos?
Our innovative video to text transcribing service can help you do just that.
We provide accurate transcriptions of your videos along with visual content that will help you attract new viewers and keep them engaged. Plus, our data analytics and ad campaign tools can help you monetize your content and maximize your revenue.
Let's partner up and take your video content to the next level!
Contact us today to learn more.