https://www.youtube.com/watch?v=Ap-GQPb1Ak0
I Made a Cozy Little Christmas Village
How's it going ?
Everyone ?
Welcome back to boy I hobby time .
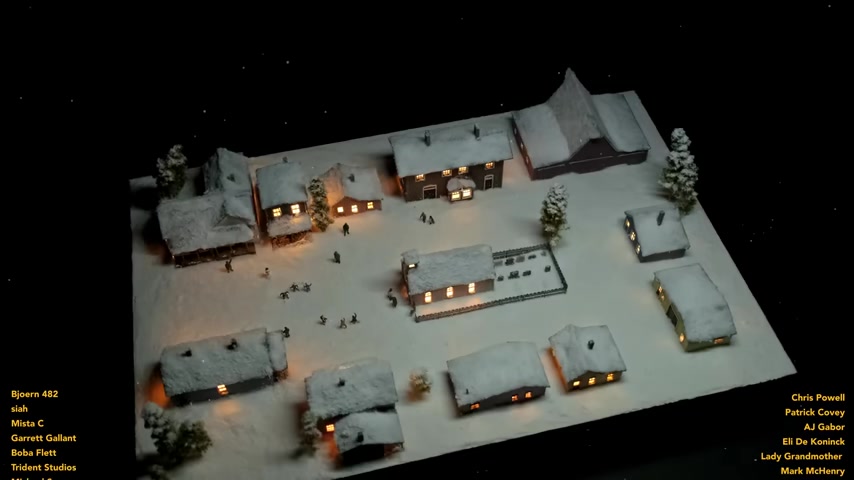
This week , I decided to create a little Christmas village somewhere in America .
Inspired by this Norman Rockwell painting .
I was recently given this knife as a Christmas gift from a friend of mine who runs a channel called Nine Times .
This is the jerry rig everything knife in case you're unfamiliar .
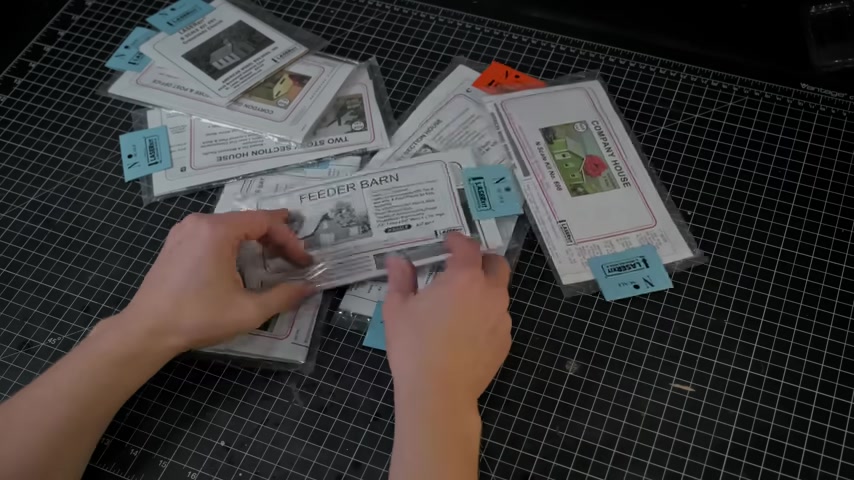
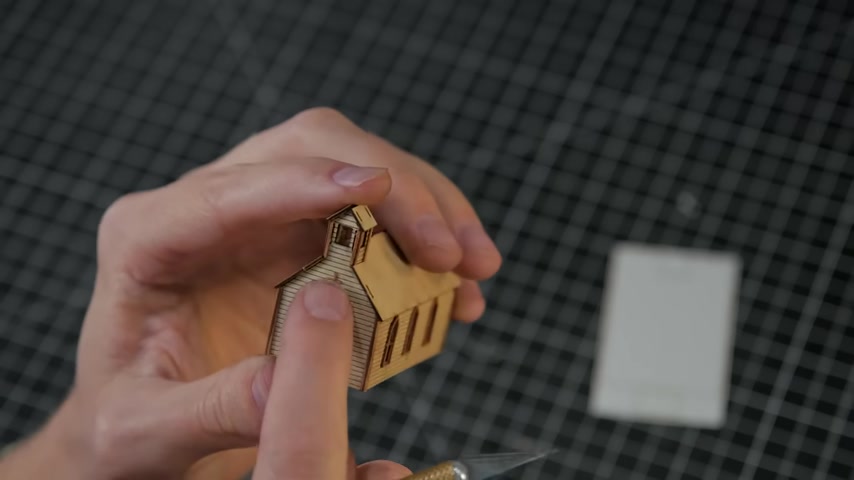
The kit I started with was the church .
Each kit comes with the walls cut from thin sheet of wood and some finer details on sticker backed card stock .
The buildings themselves are not too difficult to assemble but adding all of the little details became quite time consuming , especially after doing 12 in a row .
I did have a lot of fun throwing the tiny details in place .
I especially love how the windows and doors look .
Multiple layers of that car's stock makes for a very realistic effect .
After completing the church , I felt confident that I'd be able to move faster now that I knew how the buildings went together .
But the church was definitely the simplest structure that I put together .
So my confidence was misplaced .
The second building was the wood depot which had the most windows and a little vestibule out front because all these kits are laser cut , the sides of all the pieces are slightly charred .
So after handling them for a few hours , you can expect your fingers to become nice and sooty .
After completing the little house with the porch , I opened up this bag which came with three of the exact same kit .
So instead of assembling them like I did with the rest , I took a little shortcut after that was the barn and a country store .
And then I assembled the rest of the buildings off camera .
Once all the buildings were done , it was time to figure out the base .
I needed to lift it off the ground a little bit in order to hold all the electronics .
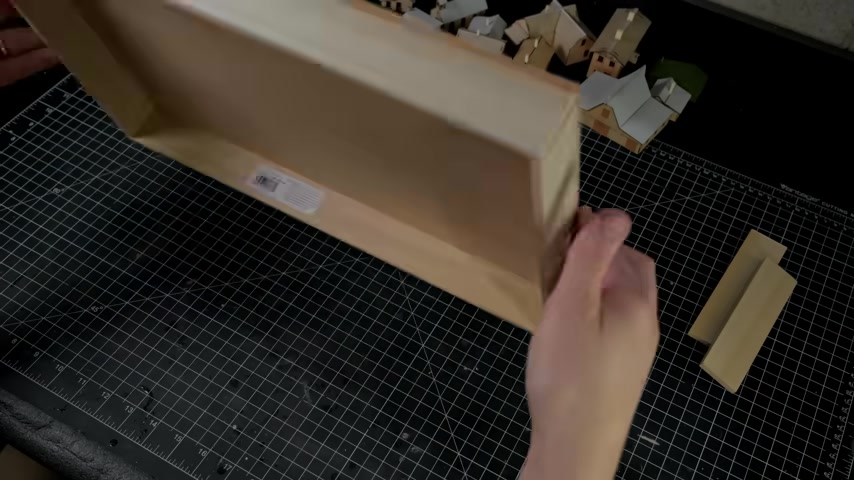
So I cut some strips of wood to the length of each side and I glued them in place .
After that , I decided on a layout for the town and I marked out where all of the holes needed to be for the led s under the houses .
I then drilled two little holes at each point to allow the negative and positive lead from my led s to pass through the board after I had dry , fit all of the led s into their positions .
I removed them and I took the base outside and I spray primed it white .
The reason I primed it white is because the snow mixture I'm using is slightly translucent and a white base color would be unnoticeable if it shows through .
It's also way easier to see all of the holes for the led s after the base was primed and all dry .
I took the buildings outside and I primed them as well .
I also primed all these little figures who I will be adding to the diorama .
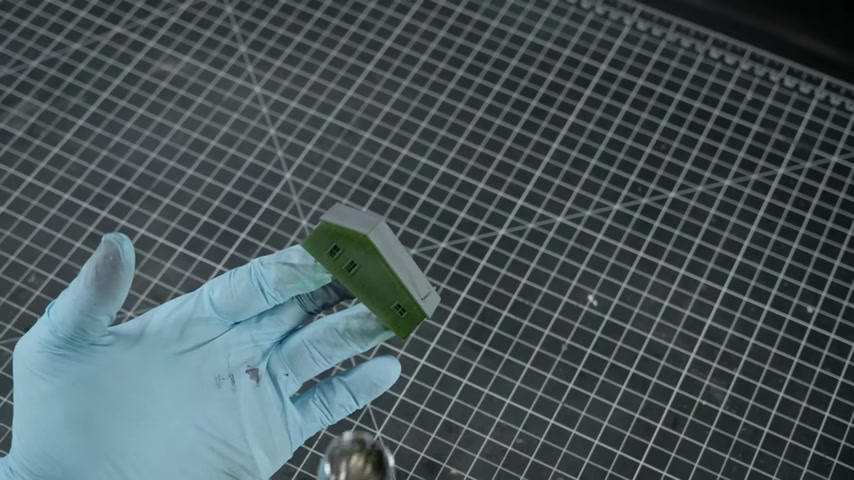
Later , I then began painting all of the buildings with an airbrush .
I wanted to apply a more muted color scheme .
So I had this similar look and feel to Norman Rockwell's painting .
I painted the roofs of all of the buildings with the same color gray .
And then I went over everything with a dusting of white straight from the top so that if anything showed through , it would look a little bit frosty .
After cleaning up my hobby , Matt , I moved on to painting the details on the buildings which was mostly trim pieces , window frames and the doors after the buildings , I painted the people .
There's not much room for too much detail on these little people , but I still enjoy the process of painting people this size .
After all of the painting was done , it was time to move back over to the lighting .
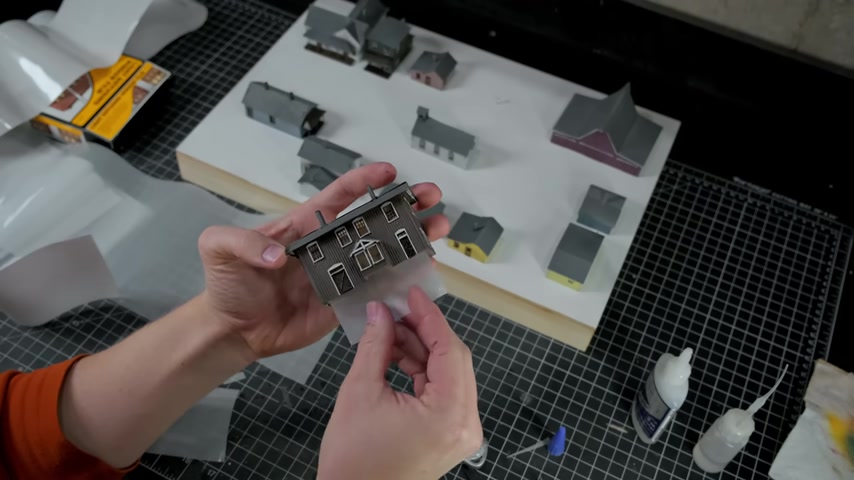
I bought this special diffusing film from Woodland Phoenix , which will help create an even glow from the full window instead of seeing a single point of light from the inside , I measured and cut all of the pieces necessary to fill all of the windows in every building .
And then once those were in place , I moved back to the base to wire up all the lights .
I of course , needed a way to turn this thing on and off .
So I drilled a hole on the front of the box .
I ran a little toggle switch through the hole .
After that , I glued a battery housing in place .
I then connected the switch and the battery housing together and I ran a positive wire to each of the positive leads on the LEDs from the switch .
And I connected a negative wire from the battery housing to all of the negative leads , creating a parallel circuit .
When I went to test everything out , I discovered something a little bit unfortunate .
I thought it wasn't working .
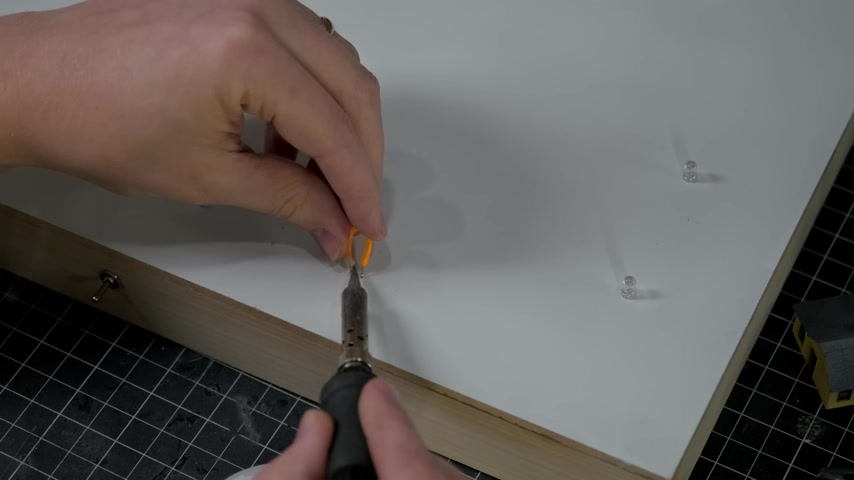
But then I realized that I purchased the world's Dimmest LEDs , turn the lights off just to be sure that they were actually coming on .
I was pretty bummed that that didn't work , but it's always good to pivot and be able to problem solve .
I didn't want to have to use my led filaments for this even though they are nice and bright because it takes a long time for them to arrive from China and I am running out .
But the situation called for it .
So led filaments , it had to be instead of drilling new holes to run the filaments through .
I simply pulled up all of the old led si clipped off the lamps and I saw the filaments to the old leads and that saved me a ton of time .
When I tested my circuit again , I was very happy to see the familiar glow of those nice bright filaments .
After that , I was then able to glue all of the houses in place and it was time to create some snow .
I got out a little mixing pot as well as some soft snowflakes and a jar of mod podge .
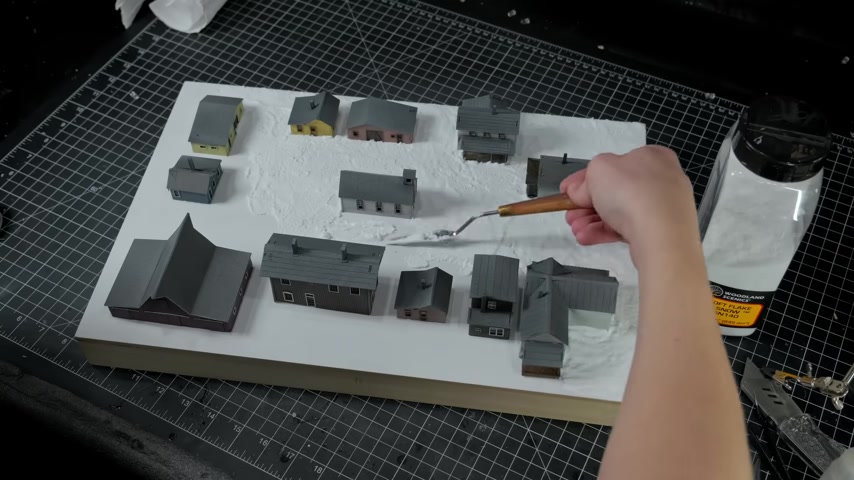
I mixed up a concoction of about one part snow to one part mod podge till I had the consistency of frosting .
I then printed out over the whole surface of the base with a pallet knife and brought back memories of my oil painting days after the snow had set slightly .
I got out some hairpin fences to build a little graveyard next to the church .
I then of course filled my little n scale graveyard with little gravestones .
It was then time to mix up another batch of the snow and frost the roofs of all the buildings .
I added some little bits of snow to all of the window sills as well with a toothpick .
I gave the snow 24 hours to cure and then I began to add some trees .
I broke out some tiny evergreens from my collection of miniature foliage given to me by Diorama per I'll link their website below .
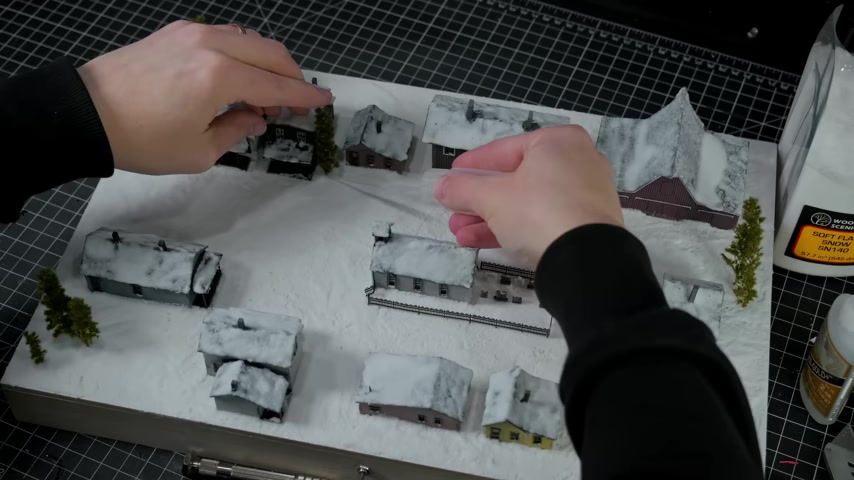
I trimmed the trees to a few different sizes I drilled some holes in the base and I glued all the trees in place .
I then went over the top with another layer of snow that I sprinkled on like powdered sugar .
And I stuck it all down with watered down glue and isopropyl alcohol .
After that , it was time to add some figures .
In addition to the figures I painted earlier , I also found this fun set of kids having a snowball fight .
It also included a little snowman , but we'll just pretend that he's Parson Brown .
The second to last thing to do was to glue all of the people in their positions .
And the last thing to do was to paint the sides of the diorama with black 3.0 .
After that , I called it good .
That is it for this video .
Thank you all so much for watching .
Hope you enjoyed huge .
Shout out as always to my patrons .
You guys are the best Merry Christmas .
Everyone .
Hope you have a Happy New Year .
I'll see you next time .
Are you looking for a way to reach a wider audience and get more views on your videos?
Our innovative video to text transcribing service can help you do just that.
We provide accurate transcriptions of your videos along with visual content that will help you attract new viewers and keep them engaged. Plus, our data analytics and ad campaign tools can help you monetize your content and maximize your revenue.
Let's partner up and take your video content to the next level!
Contact us today to learn more.