https://www.youtube.com/watch?v=4GauN168BXQ
🌷How i Draw [female] Bodies _ anatomy tips🌷
Hey , it's and today I'm going to be showing you guys how I draw female bodies a quick disclaimer though .
This isn't a tutorial .
This is just me explaining my process of how I draw bodies .
And even though this isn't a tutorial , I still hope this video helps you guys .
And yeah , let's get started .
So first I'm gonna be doing a simple standing body that's in like a straight view post .
So you guys can see how I draw all the body parts and I'll be showing you guys how I do dynamic poses later on in the video and they'll probably be time stamps in the description .
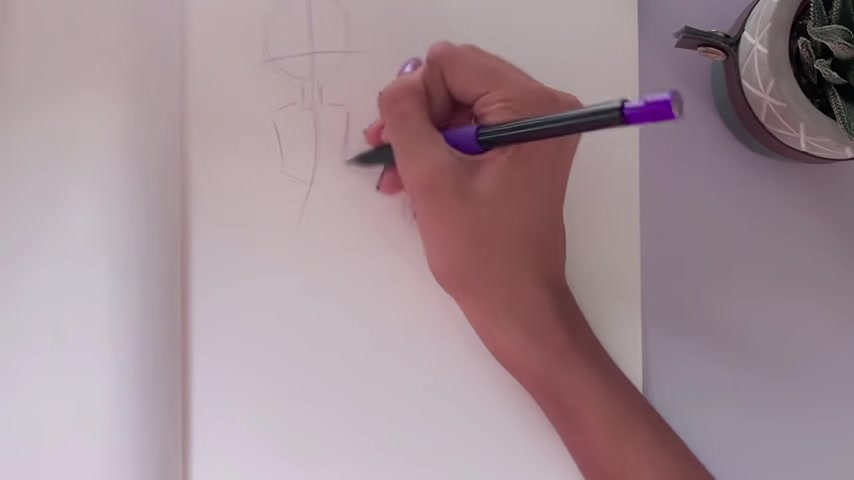
So if you want to check that out anyways , I start out by drawing the rough shapes of the body .
And before I go in with the actual details and I start out by drawing a circle for the head , but I don't actually draw like the head shape if that makes any sense .
So I can get a general feeling of where everything is .
I also do like a small line of action .
There isn't really much action .
I draw a rectangle for the to torso and the torso is something that I draw like in lots of different ways .
Sometimes I draw as a single shape like a rectangle like I'm doing now .
And other times I draw as like multiple different shapes all connected and intertwined .
And I don't know .
Uh I just , I don't know why , but I just draw it in many different ways .
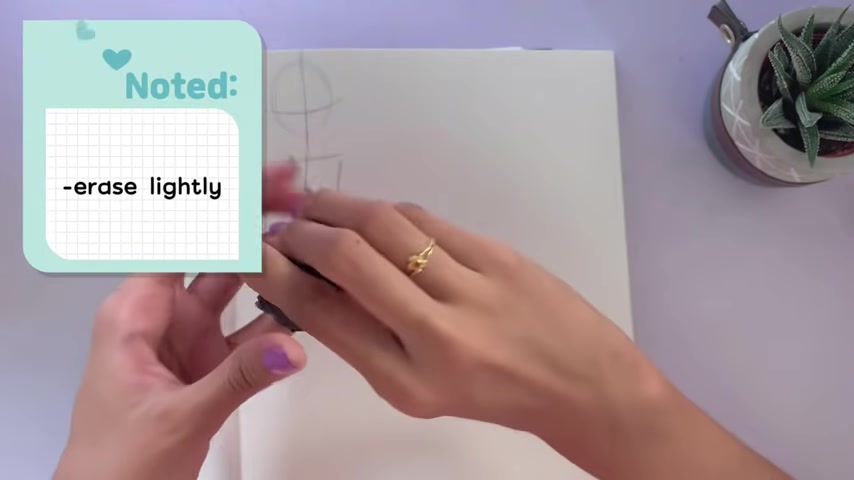
And so , yeah , so now I'm just gonna go ahead and erase this slightly .
So then I can actually draw on the curves .
I'm using my needed eraser , which is really good at raising some of the pencil lines .
Um But you can also use like a normal eraser , but just don't erase all of it .
So you actually like you can still see some of the pencil lines after you erase it .
So back to the torso , I'm just drawing it like this and the torso actually kind of curves inward and then it goes out again .
Um It's kind of hard to explain , but the arrows kind of demonstrate how it is .
And as you can see , I'm adding in like different parts of the torso as well .
Then I go ahead and I draw this sort of weird shape on that with like two curves on the bottom .
Like I'm doing right now to represent where the legs are going to go .
I'm sorry if I'm explaining everything like kind of weirdly , by the way , I'm not that good at explaining , but I hope by watching the video you guys get some idea of what I'm trying to do .
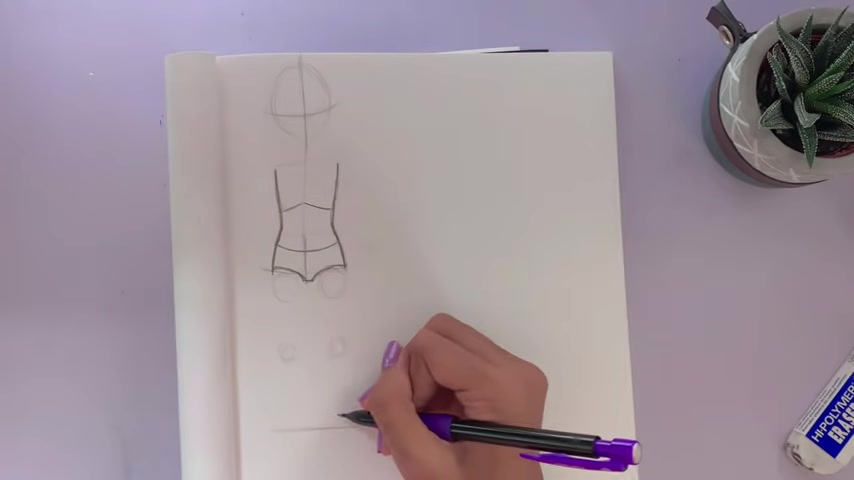
So the legs are actually supposed to be half of our body height .
So usually I see how tall the upper half of the body that I've drawn is .
And then I try to make the legs the same height .
Sometimes I draw the upper half of the body a little bit too long .
That's actually what I did in this drawing .
So I will go ahead and adjust that later on .
But I draw in the circles to see for like to see where all the joints are .
And this is kind of like a long process because you have to kind of measure out where everything is and it's just kind of like a trial and error sort of thing at this point .
And then I draw a line to connect all of the joints .
And after I draw the line connecting all of them , then what I do is I kind of draw the straight line and then for like the top half of the leg , then I curve it slightly inward for the knee .
And then after like right below the knee , I make both um sides of the leg , like kind of jutting jetting out in a way .
And then I make it go back in thinner when it actually reaches the shoe .
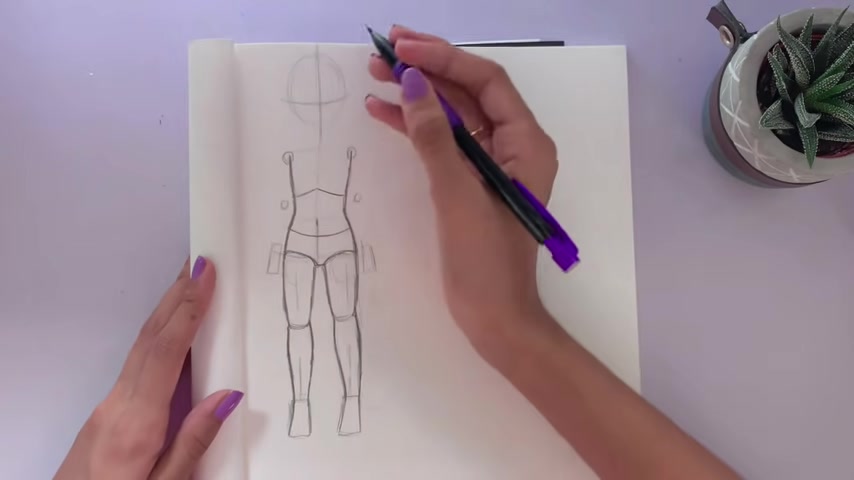
So now I'm going ahead and drawing the hands , the hands , I do pretty much the same thing that I do with the legs , I draw in the circles for act as like the placements where the joints are .
And because the hands are going like straight out , they usually reach like near the thigh area .
I did make them like a little bit too high in this drawing , but I think it looks fine .
I should have made them a little bit lower in this drawing , but I think that's fine .
So now I'm going in going ahead and I'm actually drawing the actual head shape and like kind of rendering everything out .
Um The reason I do this last is because a lot of times I make the head way too big .
So adding it in last helps me actually make it more proportionate and it actually makes it look like not too big and it doesn't make it look like a bobble head or anything .
So yeah , if you're struggling on making your , your like your head way too big compared to the body , I see this that you draw on the head last when you're stretching .
So it looks a lot better compared to the rest of the body .
I also added a how I draw a buzz shot because I think there are lots of people .
And so I do that a lot too .
So here's a quick time off of that .
I did a draw the head first , but I think it came out too big and strong .
And like I said before , you have a little bit of a problem with that , but I did adjust it later on and I think it looks pretty good on two dynamic poses .
These are a lot more fun to do because you can kind of play around with them a lot and there are a lot of different things that you can do with them .
And I do a lot of these in my sketchbooks when I'm drawing like fan art or other characters and everything .
So yeah .
Uh So first I start out with a circle for the head like I did before and I don't actually draw the final shape of the head yet .
And then I also draw the line of action and figuring out where the line of action is , is really , really important at the line of action to indicate where the bodies are like kind of turning and twisting .
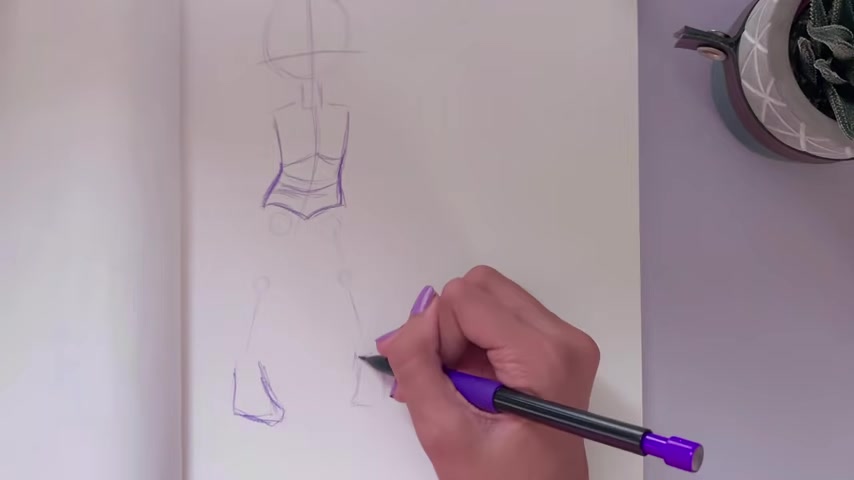
And this really helps her drawing seems like less stiff and it makes her drawing seem less stiff and more lively .
And also I did use a reference for this drawing .
I'll try and link it below if I can find it .
But Pinterest is a great place to find references .
And if you just search like dynamic pose reference , something you can find a bunch .
I also have a board which I will link down below again .
Um to my Pinterest where I have like a bunch of references saved for bodies .
I think that for references finding the right reference can be a little bit hard .
I suggest I use references of real people and not like drawing references if that makes any sense because that will help you figure out the actual like anatomy and proportions of the person .
After that I added in the torso like I did four and then I added all the joints in using circles and I've connected them like I did with the other drawing .
Most of my drawings looked really , really stiff .
Um Before I started doing this method and another tip that I have for you guys is to not make anything .
The body like a completely straight line because nothing in the real life is actually kind of like really straight in the body .
Um Before I used to make the legs like literal sticks and I didn't add any curves or anything .
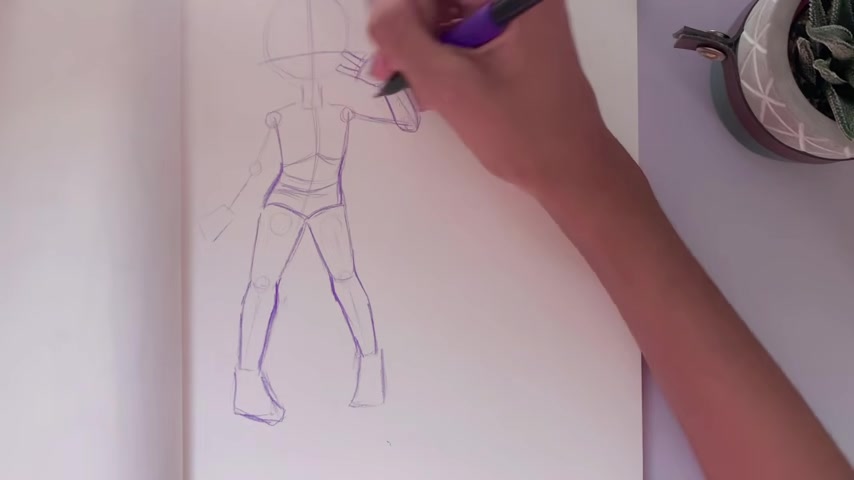
But after I started adding more curves and everything , it started making my drawings look a lot more realistic .
So if you want your drawings to look less stiff and a lot more lifelike , then try adding curves in your drawings .
So it'll look a lot better .
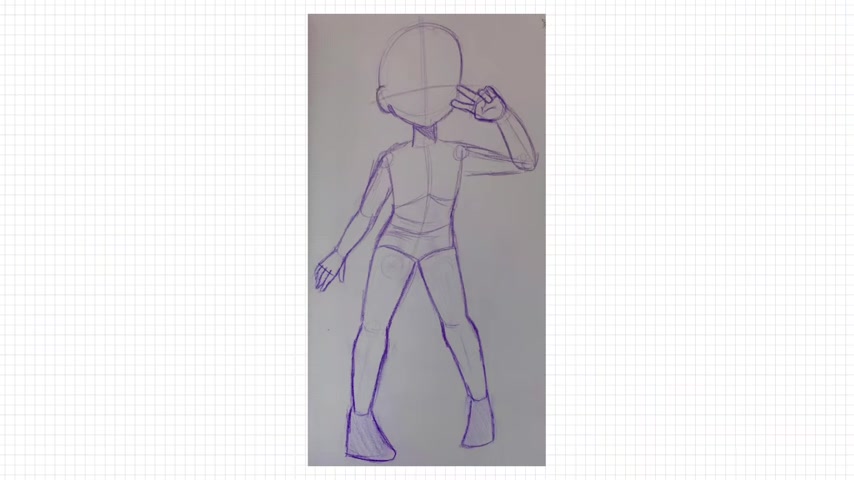
And finally , I sketched out like where the actual head is and how it looks .
And I did make this a little bit like a more childlike drawing , not like an adult .
And I made it a lot more chey than I usually draw , but I still like it .
And yeah , anyways , thank you guys so much for watching .
I hope this video helps you guys and I hope that your anatomy improves after you watch this video .
If you have any questions or if you want any tips , then um , comment down down below .
I'll try and answer everyone's questions as much as I can .
But yeah , anyways , thank you so much for watching .
Stay safe , stay healthy and peace up .
Are you looking for a way to reach a wider audience and get more views on your videos?
Our innovative video to text transcribing service can help you do just that.
We provide accurate transcriptions of your videos along with visual content that will help you attract new viewers and keep them engaged. Plus, our data analytics and ad campaign tools can help you monetize your content and maximize your revenue.
Let's partner up and take your video content to the next level!
Contact us today to learn more.