https://www.youtube.com/watch?v=LGWXXzH9e24
How to Solve a Rubik's Cube - Part 4 - Top Cross
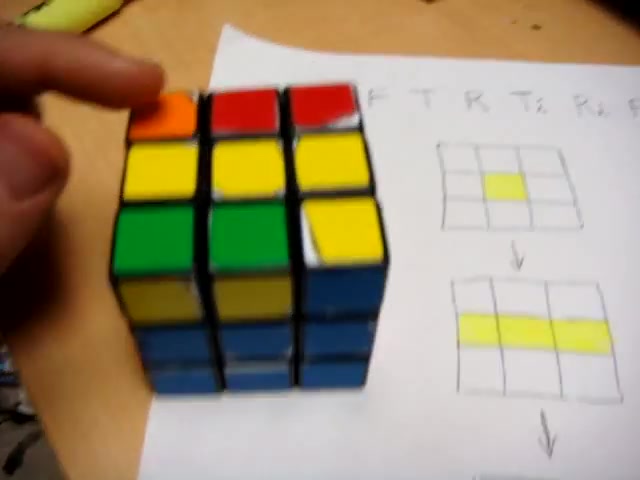
OK .
This is step four of how to solve the Rubik's cube .
What you should have now is you should have two bottom completed layers for the next step , what we want to do is we're going to place a yellow cross in the top layer .
Now for the top cross , you don't have to worry about corner pieces .
You just want to focus on the edge pieces and the central piece .
So what we first need to know is this algorithm and this is one of the moves that we need to know in order to get the final layer done .
So the move is front clockwise , top clockwise , right clockwise , top counterclockwise , right counterclockwise and front , counter clockwise .
The I stands for inverse .
OK .
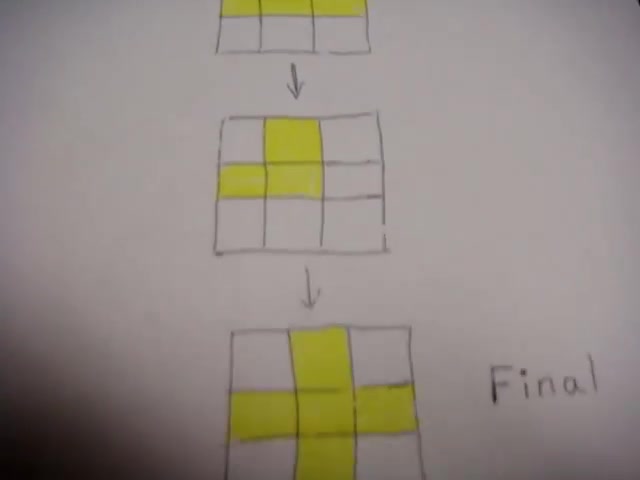
So if you look at the diagram I have , this is one of the occasions where you just have a middle central piece and there are no other pieces around .
You might have a corner piece or two .
But like I said , you don't pay attention to the corner pieces .
So doing this move once from this position will get you to a line , doing the move from the line will get you to what I like to call the L and then doing the move from the L will get you to the final cross on the top layer .
So if we look at the cube that I have and you just look at these edge pieces with the central piece , you'll see that I have the line .
So what I need to do is I need to do the move twice in order to get to the cross .
So if I do the move while holding the , you want to hold the line so that it's horizontal .
So you do front clockwise , top clockwise , right clockwise , top , counter clockwise , right , counterclockwise and front , counterclockwise .
What you now see is that we have the L , it's more like a backwards L and this is the position that you want to hold it in .
So you want to hold the line horizontal and you want to hold that L like .
So , so what you do from this step is you do the same move and doing the move from this position will get you to that cross .
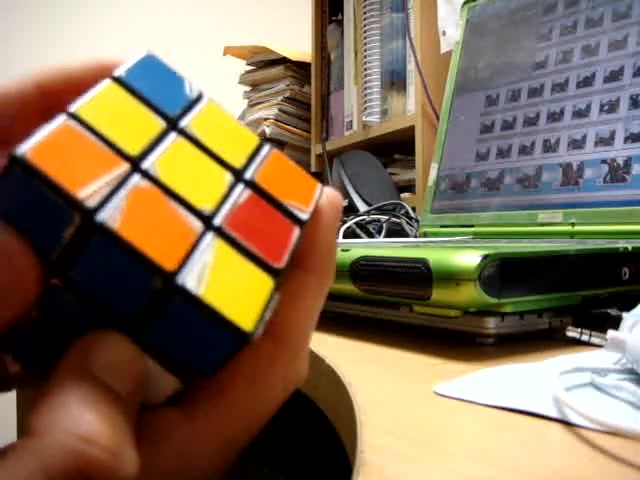
So it's front clockwise , top clockwise , right clockwise , top , counter clockwise , right , counterclockwise and front , counter clockwise .
What you now see is that you have a cross and you don't want to pay attention to this corner piece just yet .
Unless you have the cross .
Then the next step , we do have to pay attention to what is on the side here as far as the yellow pieces are concerned .
And also what kind of corner pieces we have on top next to this yellow cross .
So that concludes step four and it should not be too much of a problem .
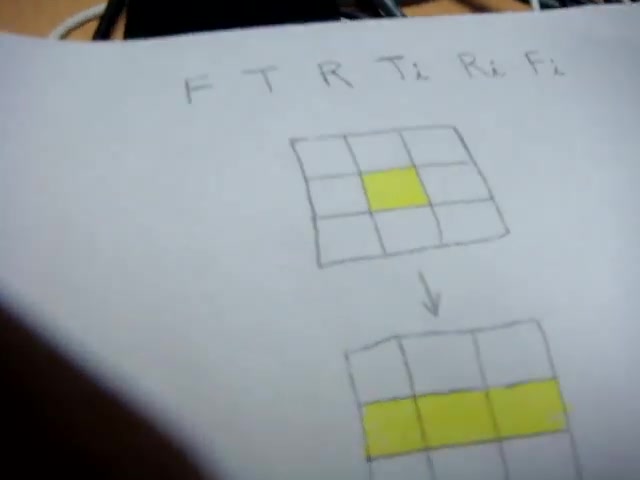
Just note that if you have , if you have a single central piece like , so you're going to have to do the move 1 to 3 times until you get that cross .
If you have this piece already , you want to make sure that it's in this orientation .
And then this would be your front side here .
If this is the top of the cube , this is the top of the cube in all cases .
And that is the move you want to memorize or you want to write down so that you know exactly what you have to do in order to get to the cross .
Once you have the cross , you're ready to move on to step five .
Are you looking for a way to reach a wider audience and get more views on your videos?
Our innovative video to text transcribing service can help you do just that.
We provide accurate transcriptions of your videos along with visual content that will help you attract new viewers and keep them engaged. Plus, our data analytics and ad campaign tools can help you monetize your content and maximize your revenue.
Let's partner up and take your video content to the next level!
Contact us today to learn more.