https://www.youtube.com/watch?v=joo2ulAaXZ4
How to Solve First Two Layers of 3x3 Rubik's Cube! (Tutorial)
What's up Cubers ?
Welcome to the simple tutorial on the first two layers of the three by three , Rubik's cube .
I've been getting a lot of comments on my original video telling me that I go a little bit too quickly in explaining how to solve , you know , the cross the first layer , the second layer and the third layer .
And I made last year a new video on how to solve the third layer .
It was a much longer video about 22 minutes and that video seemed to be quite successful .
And so I decided to make a quick , you know , first two layers beginners method uh video for you guys today while I have a little bit of time .
Uh just so that some of you who can't really follow the first video , which is completely understandable .
It's way too fast and sort of incomprehensible or just want to understand more of , you know what we're doing when we're solving the first two layers .
I want to make it a sort of a clarification video um or if you're a complete beginner and you have a little bit of time , this is the perfect video for you as well .
If you are beginning solving the Rubik cube , this is a great starting point .
I'm gonna show you how to solve the first two layers quite intuitively .
And then you can move on to my third layer tutorial , which I'll link at the end of the video and it'll probably also be on my channel or somewhere in the related videos tab hopefully in any case .
Um So this is not the intermediate F two footage method even though I've been getting a lot of requests on that .
Uh That is gonna be coming around middle or end of December once I get a little bit of time because I'll be off of school .
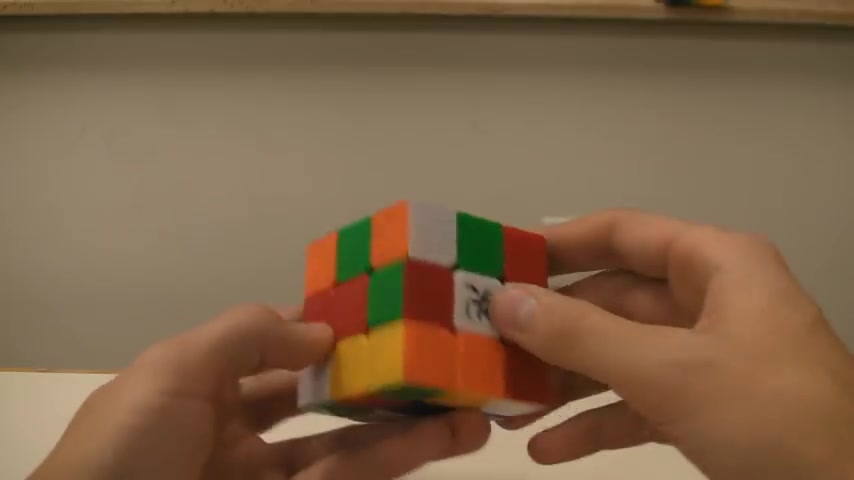
Um But yeah , without further ado , let's mix this cube up and get right into solving it .
All right , there we go .
I have mixed up my Cuban .
Now we're ready to get right into solving it .
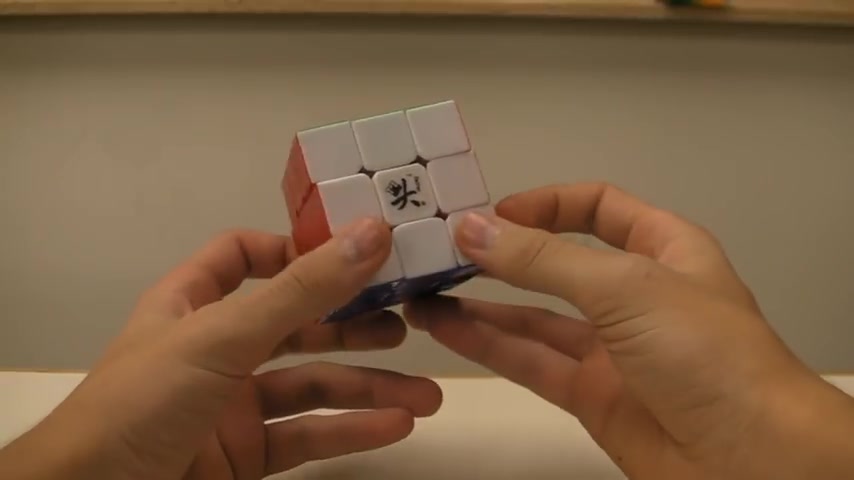
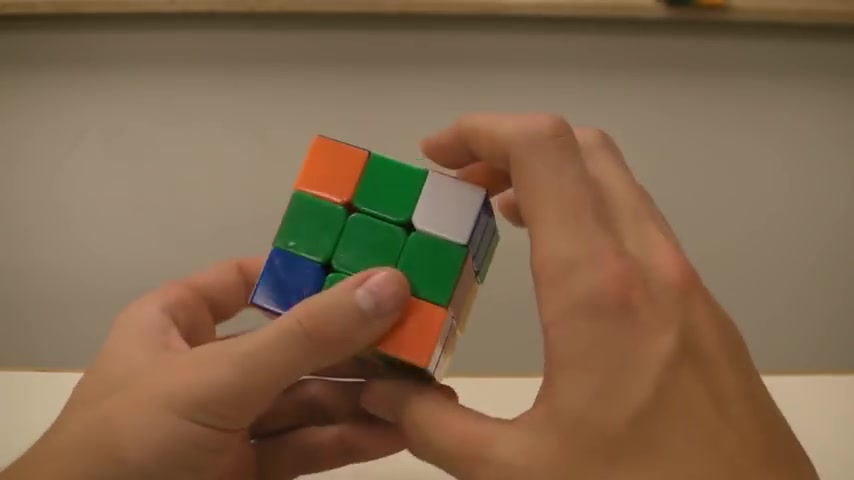
So we are going to begin our solution on the green side .
I actually personally now prefer the white side after all those comments that you guys left me .
But seeing as the original video was built uh starting with the green side and seeing as my third layer video is built with the blue side , I would much rather sort of stick to the classics and begin on the green side .
You can begin any where you want , you can begin on white , orange , yellow , it might be a little bit different for you .
Um You might be a little bit more confused , but uh hopefully we can power through it and we can solve this cube .
OK .
So let's get right into it .
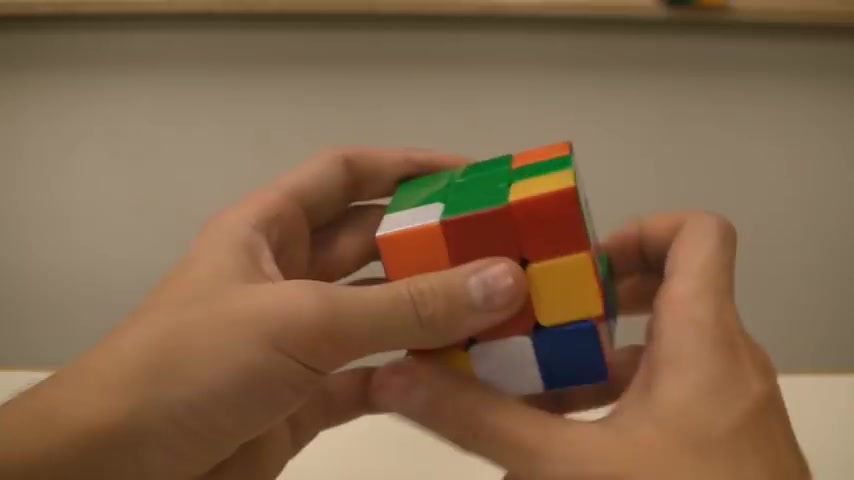
First of all , let's cover the basics .
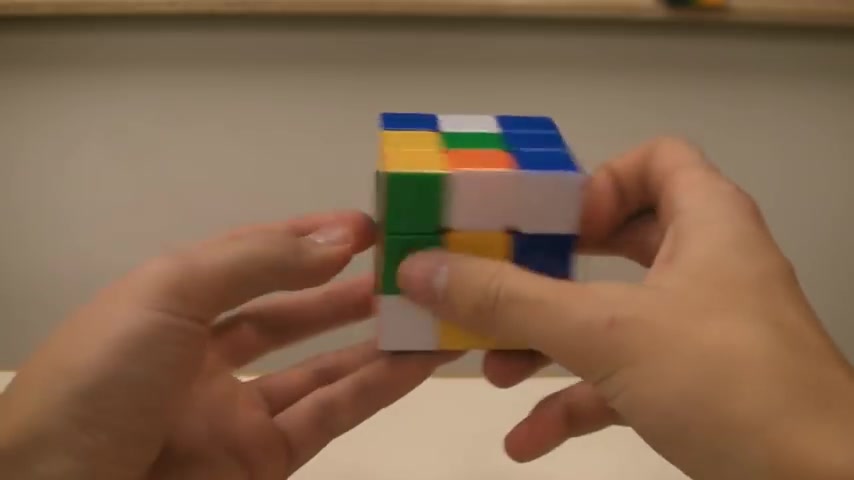
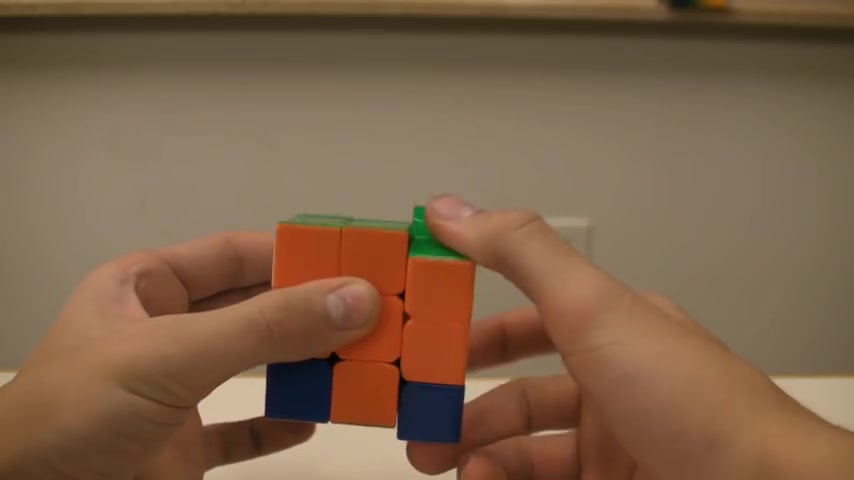
There are three different types of pieces on a Rubik's cube .
You have the centers , the edges and the corners , the centers have a single color and they never move .
They're all completely stationary relative to each other .
That means on my cube , green is always opposite , blue , orange is always opposite , red and yellow is always opposite white .
Your cube might have a little bit different configuration .
But this is sort of the standard uh configuration that the official Rubik's brand puts out .
By the way , if you want to know what cube this is .
Take a look at the description is uh Diane uh feel free to check it out on Amazon .
It's just a sort of a speed cube .
It lets you uh solve cubes a little bit faster .
But if you're a beginner , you don't worry about it .
Now , whatever cube you have in front of you is completely fine as well .
OK ?
So you have the centers which are one color , they never move , they're always opposite each other .
There's no sort of if white is opposite , yellow , yellow will never be in this , you know , middle layer ever .
It's impossible to move in there , then you have the edges which have two different colors .
So yellow , blue or red green , et cetera .
When then you have the corners which have three different colors , for example , the green , red , white or the blue , red , white or whatever .
So centers , one color edges , two colors , corners , three colors , easy enough to remember the edges and the corners are what we're going to be moving around the cube and placing in order to complete the solution of this Rubik's cube .
OK .
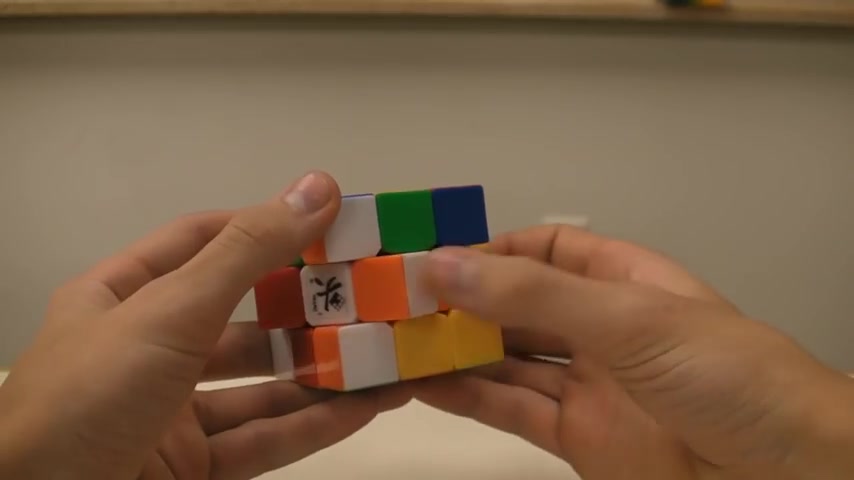
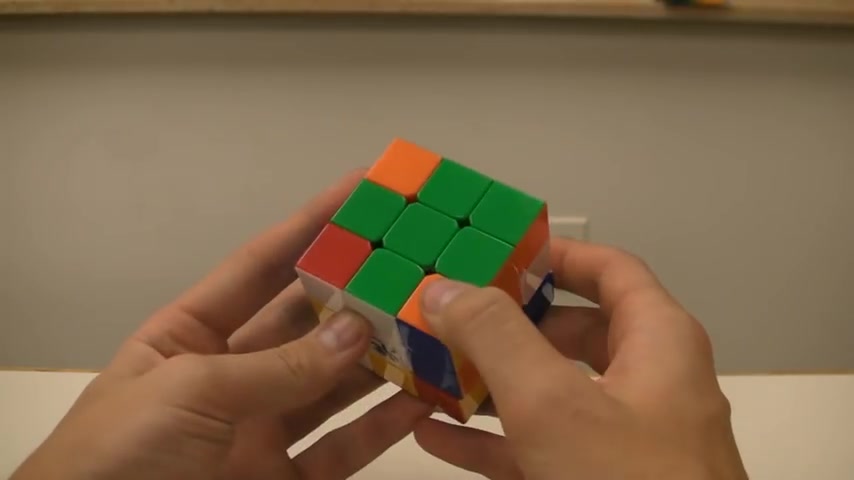
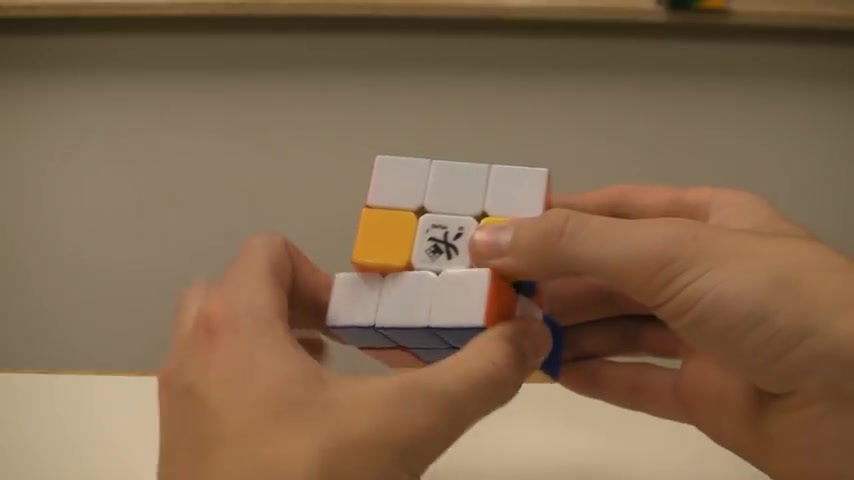
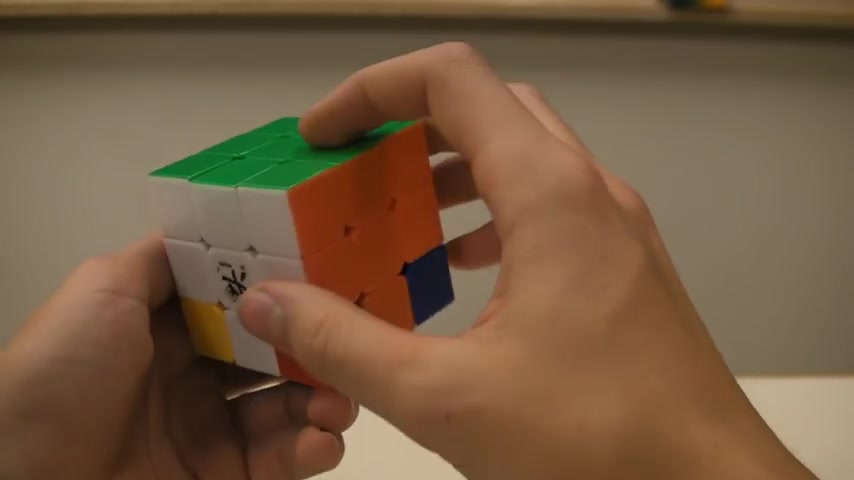
So the general idea for solving the cube is that we're gonna be solving the first layer and then the second layer OK .
To solve the first layer , we need to solve this top face while solving these this little ridge right here .
So we want this to be red to match with the center .
We want this to be white to match with this center , this to be orange and this to be yellow .
And we want this whole thing to be green .
So how do we accomplish that ?
Well , first we build the cross and in order to build the cross , we need to insert four edge pieces into the top layer of the cube .
So the top layer is the color that we're beginning on .
In this case , it's green .
And so we're inserting four different edge pieces .
We have the green yellow , we have the green orange , the green white and the green red .
OK ?
And so the first step to solving the cross is finding a green edge .
The second step is to connect that opposite color , whatever it is , either white or red or whatever the color is on the edge .
Apart from green , you connect that color with its appropriate center .
For instance , this orange is connected with this orange center .
This is what we want to achieve .
For step two , for step three , we want to connect the green piece of the edge with the green center , for example , like this .
And uh for the last step , if you happen to have made any mistakes while building your edge piece , you will want to fix them .
So we want to fix any mistakes we may have made .
Uh Now I just showed you a really quick example of how to insert this one edge piece .
We want to do this four different times .
Now , the easiest way to go about building the cross , I'm gonna show you right now , it's not the most optimal way , but it'll sort of give you a good understanding of how and why we build the cross .
And then you can sort of figure out your own little tips and tricks as you become better and better at the cube .
But for a general understanding this method is going to be very , very good .
So what you always want to do is hold the cubes that the green is facing up .
OK ?
Always hold the cube like this .
If you keep rotating the cube like this , you are gonna get lost , you're gonna get lost , you're not gonna know where anything is , where any of the edges are and you're gonna get really confused as to what to turn where ?
So you wanna hold the cubes that the green is always facing up .
That way you don't get lost .
Now , you want to find an edge , a green edge .
Let's begin with this green and red edge .
The goal right now in order to fulfill step two , which is to connect this red with the red center .
The easiest way to do that is if we're holding the green up , if we take this edge and put it down here in the bottom layer .
So here's the first layer that we're building and we want to put this edge down here in the bottom layer and we want to do this in a very special way .
We don't want to just , you know , ram it down there .
Oh Look there , it is the green red edge piece down in the third layer .
No , we don't want that .
We want to place it in there carefully .
And with a purpose that purpose will be to bring that green down to the very bottom face .
So for instance , if you do this , this is not what we want .
This green is not on the bottom face .
But if you turn the cube like this , then the green will be on the bottom face .
And I'll explain to you guys shortly why we want to accomplish this .
But we do , we want to take our edge piece , whatever , wherever it is , whatever we found , we want to throw it down into the bottom layer so that the green is facing down opposite the green center and always hold the green center so that it's facing up .
OK .
So we find an edge piece , say this green red edge piece , find it on your cube .
Now find the green red edge piece on your cube .
Now , it might be either in the first layer , it might be in this middle layer here , this middle wedge of the cube or it might be down in the bottom layer .
So in the first situation , if it is up here in the top layer , it might either be turned like this like minus where the green is connected with the center .
In which case all you need to do is grab your cube and do a turn like that .
OK .
That's gonna take your green red edge and throw it down to the bottom layer .
Uh The second situation is that your green red edge is up here in the top layer , but it's flipped .
So the greens are actually not touching .
And the way you'll go about getting this edge piece down here now is you move it instead of twice like we did .
For the first situation you'll move it down once and then you'll move it down once .
OK .
So that's two moves .
If it's in the top layer , you move it down once to get in the middle layer and then one more time to get it down to the bottom layer .
OK ?
And that ends you up with the green on bottom .
So those are the two situations you can run into , you can either have it like this where the greens are aligned .
In which case you just throw it down or you might have it .
So the greens are not aligned in which case you bring it down and bring it down .
OK .
In the situation that your red green edge pieces in this middle wedge like mine is you just figure out which way to turn it , either this way or this way , one of the ways we will end you up with the green on the bottom .
So you'll be all set .
And if it's in the bottom layer and say it's hypothetically turned uh like this where the green is facing at you rather than down below .
What you want to do is you want to grab this edge piece , lift it up into the middle layer and bring it down like so , so again , two moves .
OK .
So you're either going to make one move where you just rotate it down or you're gonna make two moves where you sort of lift it up , bring it down , you know , in this case , I messed it up .
So let's lift it up , bring it down and now we have it in the bottom layer does that make sense .
Great .
So we keep it .
So the green is facing up and we get our edge down here from wherever it is , it might be in the first layer , second layer or third layer .
Either way , get it down here , the third layer so that the green is facing down .
What is the reason behind all of this nonsense ?
The second step of solving the cross is to connect this color with the appropriate center .
So right here , red and orange are not connected right here , red and yellow are not connected , but right here , red and red are connected .
And so if you've placed your edge correctly into the bottom layer , you will very , very easily find this center connection .
And now you will also very easily make the third step connection , which is placing this green right up here to connect with the green center .
Let me show you that again , don't worry , that was a little bit quick .
Uh This green facing up this green facing down .
What you do is you hold your cube like this .
So you're looking at the color that you've built , you see you've connected this little edge and then you take this whole face and turn it like that .
And as you can see , we've made the connection between the green and the red and we've actually successfully placed this edge piece in .
OK .
And that's it .
Those are the basic steps to placing an edge piece in they are not optimal , they're not very precise uh because you can do it in far less steps .
But for a beginner's method just to sort of understand the general concept , that's what you want to do .
So say we take this yellow and green piece .
Remember what I showed you previously , what we do if it's up in the top layer and flipped , what we do is we turn it once and then we turn it once more to bring it down .
And now you see , we've ended up with our green yellow edge piece down below where our green centerpiece is up here .
What you'll notice is that we have ruined this red green edge piece connection , but we're not gonna worry about that for now , that's gonna be for step four when we fix any mistakes we have made .
So don't worry about that quite yet .
OK ?
Now we do step two .
So we , we look at our , our edge piece , we've brought it down to the bottom layer .
We do step two , we connect this yellow with the yellow center .
So we move it until they're connected and then we connect the green with the green center again , hold this that you're facing this yellow and make one turn like that .
And so this connects this edge piece .
Now , for step four , we fix any mistakes we have made .
We did make this mistake here where we temporarily moved the red green edge out of the way .
So let's lift that back up .
And as you can see , we now have our green red , our green , yellow and our green orange that I made in the beginning of the tutorial .
Ok .
Now we do our final edge piece here .
We have a green white in the middle layer .
So again , we want to throw it down here because it's in the middle there .
We don't want to do with this because that's gonna get it green up .
We want it to be green down .
OK ?
And then we want to do step two , which is connecting this white center .
But then what you'll notice is if you try to do step three , which is doing this full rotation , you've actually completely destroyed your uh green orange edge piece .
And so that's fine .
That's not , you know , a terrible consequence .
You can still do that .
Um It will take a while to get this orange green edge piece back here .
Um You'll have to bring this down and then bring it over and then reconnect and all that stuff , which is fine , you know , it's good for practice .
But in terms of just uh a quicker solution to the cross , if you , you end up in a situation where 3/4 of your cross are completed and you have an edge piece that's in the middle layer or somehow ends up in the middle layer , perhaps it's in the top layer but flipped and you bring it down to the middle layer .
When you bring it down like this and you make this white connection .
Don't go ahead and do the third step yet .
Don't , don't turn it to connect the greens quite yet .
Make sure you reconnect this green , orange edge piece because that's gonna save you a big headache .
So sometimes you'll have to move the fourth step or just fix any mistakes we may have made uh up one step .
So uh let me show you that again .
So again , if you've got your cross built , sometimes you want to sort of rearrange the last two steps a little bit .
So instead of bringing it down , bring it over step two , doing step three and then trying to fix any mistakes .
Why don't you fix your mistake first and then do the last step , which is connecting the green with the green .
That's the basic theory of how to build the cross .
Hopefully , that makes sense to you .
Please , please , please please mix up your Rubiks cube right now and try and solve this cross again .
And if you didn't catch some of that , uh please do rewind so that you can comprehend how this cross is built .
But that's the general idea .
And if you want to start doing little tips and tricks to try and make the cross faster , like I just showed you there where you , you know , connect the green after you fix the mistake , which saves you a lot of time , feel free to experiment with those .
But the essential point is that you get this cross done so that your reds and greens are connected , your reds and yellows are connected , your reds and oranges are connected and your reds and whites are connected .
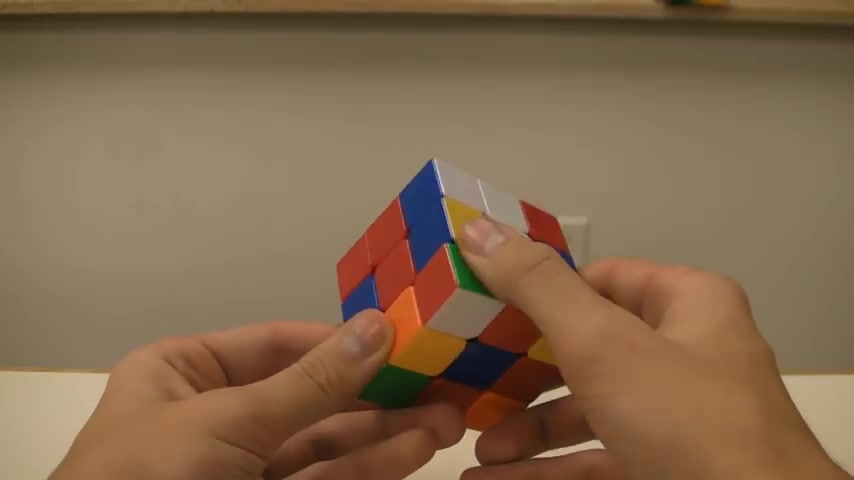
Now we move on to the corners .
Now , for the corners , we look down here in the third layer again , we're holding it .
So the green is facing and we're looking down here in the third layer for a corner that's in the optimal position .
What I mean by optimal position is that it's got a green eye green , meaning this color that we begin with green eye looking at you like this .
So this is not in the optimal position , this is not in the optimal position because it's up here in the top layer .
But this is OK .
And I will show you right after this how to get corners out of the optimal position , but hopefully you have a couple corners in the optimal position .
So we can just get started on the general theory .
OK .
Now , once you found a corner in the opal position , that's step one , step two is placing it in between its two colors and step three is inserting it into its location .
So those are the three steps finding optimal position .
Optional step two is putting it in the optical position .
If there's nothing in the optimal position , step three is placing it in between two appropriate colors and step four is inserting it into the slot .
So let me walk you through those steps really quickly .
So we find our corner piece .
I'm gonna go with green , yellow , orange .
That's the one I have .
You might have some other optimal position corner elsewhere .
OK .
Now we look at these other two colors .
What are they for my cube ?
It's yellow and orange for you cube .
It might be something completely different and we move this bottom layer over and over until these two colors match up the colors of the center .
So in this case , we have orange and yellow in between red and yellow .
That's not what we want .
Here .
We have orange and yellow , between red and white .
Nope .
Here we have orange and yellow between orange and white .
Nope .
And now we have orange and yellow between yellow and orange .
OK ?
So step one , find a corner in the altern position holding it so that the cross is facing up .
Is there a green eye that is looking straight at you if there is , you go to step two place the corner down here in the third layer in such a way that it is in between its appropriate colors .
So yellow and orange is in between yellow and orange .
Now we do the insertion .
So the I will either be on your right side or on your left side when you're looking straight at the cube .
OK ?
In my case , it's on the right side .
So here's what we wanna do .
We want to move it away to the left .
We want to bring down the right , we want to bring this back .
You see , so that we insert this corner in and we lift it up .
So what has that done for us ?
That's actually inserted the corner for us .
Uh Now let me explain a little bit of the intuition because this might seem like an algorithm , but really , it's quite an intuitive move .
So let me just reverse what I just did .
So here we have our eye right here .
We have our optimal position .
I , and it's got the yellow and the orange , we put it in between the yellow and the orange .
If we lift this up , you can see that this is exactly where we want this corner to be .
Unfortunately , simply lifting it up actually moves away this edge piece , which is not what we want .
So in order to avoid this , we want to move this corner away , bring this edge piece down this edge piece where we want this corner to sit , we want to bring it down and then we want to insert that corner into where we wanted it to be and lift it up .
OK .
Uh Now , if our optimal I had been over here on the left side , we would have done the same thing as that .
We would have moved it away to the right , brought down the left , put it in and lifted it up .
OK .
Does that make sense ?
Perfect .
So again , we have our optimal position on the right side , move it away to the left , bring down the right , insert it in and lift it up .
OK .
Let's do another corner .
OK .
So we don't have any more optimal position corners .
In fact , we have one corner that's up here in the top layer and two corners that are down here in the bottom layer .
All right .
So in this situation , you might run into two different situations .
Actually , either the green piece is gonna be on this left side or it's gonna be on this right side .
Now , if it's on the left side , all you do is you bring this down .
So , so you hold it so that it's on your left side like this , you hold it cross up green piece on the left side , you bring it down , move this over .
You see it's in the optimal position now and lift it up .
OK ?
That's fantastic .
Now , let's take a look at this other example , say for instance , it's on the right side instead of the left side .
So here we had it over here on the left .
Now , for instance , if you have it on the right , you hold it like this again , you bring this down , move it over so that it's in the optimal position and lift it up .
So getting a corner out of here is quite easy .
You just bring it down , move it away , lift it up and that just pops the corner straight out .
Say , however , hypothetically , you have a situation like this where the green is actually completely opposite to your cross .
So it's not in the top layer , it's in the bottom layer , but it's not in the position down here on the bottom .
What you want to do in this situation is find one of these holes , you're guaranteed to have a hole into which you have not inserted a corner correctly yet .
So this is not a hole , but these three are holes .
And what you do is you place this piece underneath one of these holes .
So I'm gonna choose to place it underneath here .
So here's our hole , here it is .
And now what we do is we bring this down , ok ?
In such a way that this green actually gets pushed like this into the obsolete position , we can also do this as well .
It doesn't , it doesn't really matter .
You bring one of these edges down and you give the bottom layer two spins so that you actually get to see this eye looking at you , ok ?
And that gets your corner into the optimal position , right ?
Perfect .
Fantastic .
Now that we have another corner in the opal position , we again follow the steps .
So one find a corner , two place it into in between its appropriate centers .
So we have the yellow and red , we place it in between the yellow and red .
Now it's on our left side .
This eye is on our left side .
So we move it away to the right , bring down the left place this in and lift it up .
So it's the same thing we did last time except on the opposite side .
So let me show you that one more time .
So we have our eye .
It's here on the left , we move it away to the right , bring down the left place it in and lift it up and that gives us the corner in the exact position where we want it .
Let's find another position corner .
Perfect .
We have the green , red and white .
So we put it in between the red and white , which is fantastic and then it's on the left side .
So we move it to the right , bring down the left place it in and bring it up .
You see , I'll be going a little bit quicker now because it's fairly similar .
All these steps are fairly similar .
It's pretty much the same thing .
Again , we find it , it's on the right side , place it in between orange and white and then it's on the right side , move it to the left and bring it down , place it in , lift it up .
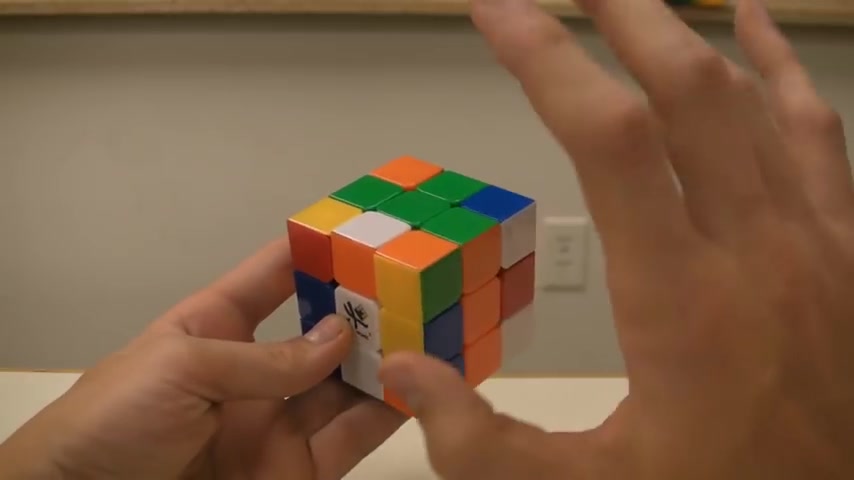
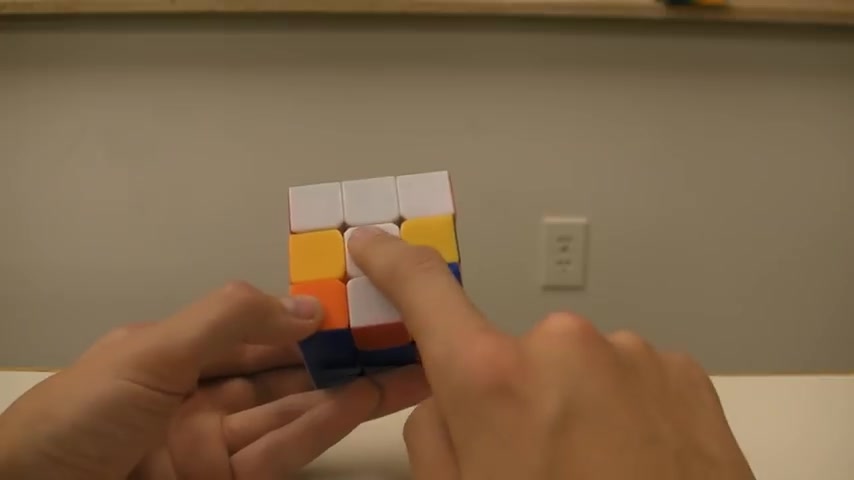
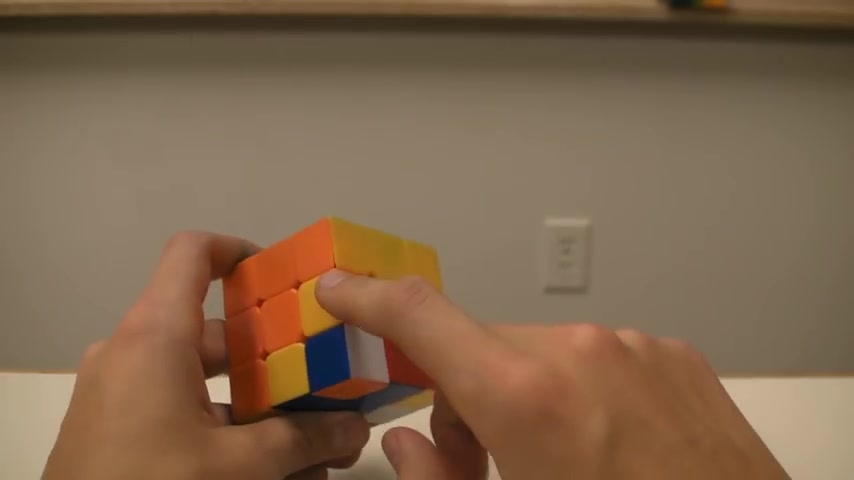
And now , as you can see , we've successfully completed the first layer , which is what we set up to do .
I strongly recommend at this point to mix up your cube entirely and start from the very beginning , start solving a cross and then putting in the corners .
And if you get lost , come back to this video , because only when you fully understand how to solve the first layer , will you be able to go on to the second layer and actually be able to solve this eventually without any sort of guides .
OK .
Um But if you feel like you're ready to move on to the second layer , we can do that now .

So when we begin the second layer , what we notice is that there are four edge pieces , 123 and four , OK .
And these four edge pieces , none of them will have any blue on them because all the blue pieces are going to be down here in the bottom layer .
So uh these are only gonna have yellow , red , white and orange colors here .
OK .
So what we need to do is just four simple moves .
We want to place this edge piece in this edge piece in this edge piece in and this edge piece in and that way we can fill the entire second layer .
So we begin with the first step being finding an edge piece down here that doesn't have any blue on it .
OK .
So let's do that .
Uh This has blue , this has blue .
Uh Let's take this one .
I have white and red .
You find any edge piece that you have on your cube right now and follow along .
Now , this is almost as easy as putting in the corners .
It might take a little bit of time to get used to , but it's fairly , very easy .
Again , we hold it .
So the green is on top , we always hold it so that the green is on top until we get to the bottom layer .
Now , we want to build a sort of T shape .
We want to connect this color to its appropriate center .
So this is wrong , this is wrong , but this is right .
As you can see , we build this sort of T shape and don't worry about these corner pieces , just make sure that this is connected to the center .
OK ?
And most likely it'll look like a T or maybe some demented looking eye or whatever .
But anyways , just connect this edge piece to the appropriate center .
OK ?
That's step one for step two , we take a look at this opposite color , this other color .
So we found our edge piece right .
We figured out that it was white , we connected it with the white center .
Now we take a look at this other color .
This other color is red .
This color is guaranteed to show up either on the right side or on the left side .
In my case , obviously , we have red on the left side , it could have also been on the right side .
It doesn't really matter .
OK ?
So we see this color and what we wanna do is we want to move this bottom layer now away from its color .
So I had this white red edge and the red center was on the left side .
And what we wanna do is we want to move this edge piece away from that red center .
So we have our white red , move it away from the red center .
So towards this opposite color .
OK .
Now we keep track of which direction we moved it in .
So in our situation in my situation , I move it away to the right .
OK .
Now I bring down the left side , OK ?
It's , it's very simple .
You connect the whites , you move it away from the red and you bring down the opposite side .
So we moved it away to the right .
So we brought down the left .
OK .
Now we simply reconnect the whites and lift this back up .
All right .
It's a very simple set of steps to remember .
And now what we've noticed is that we've misplaced this corner .
So we want to place that back in .
So if you remember from your first layer , all we do is since it's on the right , we move it away to the left , bring this down , place it in and bring it up .
So it's just another corner insertion , pretend as if uh we're resolving the first layer and you're just doing the same exact corner movements .
And what you'll notice is by this magic , the red white edge actually ends up in between the red and white centers , which is amazing , right ?
It's incredibly easy and we just , we can just pop in these edges one by one .
So let's take this orange yellow and we'll do this one later .
This one has blue and this one has blue .
So let's take this orange , yellow .
OK .
So first we connect the orange with the orange again , we sort of get our little T shape .
OK ?
Got that sweet .
This is yellow and yellow is here on the right .
So last time we had to move it away from the left because the yellow was on the left .
Now we move it away to the left like this , we move it away to the left .
So this is yellow , this is the yellow center and we move this away to the left like .
So since we moved it away to the left , we bring down the right .
Now , we reconnect the orange centers and we lift this up .
OK .
That's it .
Four moves connect , move it away from the yellow , bring down the opposite side , reconnect , lift it up , that's it .
Now we just do the familiar corner placing algorithm .
We have our eye on the left side .
So we move it away to the right , bring down the left , place it in and lift it up .
OK ?
And successfully , we have placed the second edge .
Now we just have two edges left .
So let's take a look at this orange white edge piece .
Let's connect the orange with the orange .
And again , see this doesn't really look like A T .
But if you ignore all of this stuff , you will see that we have created a T shape .
OK .
So we connect the orange with the orange .
Now , where is the white ?
The white is over here on the left .
So we'll move this away to the right , bring down the left , bring this back to reconnect these oranges and lift this up .
And we're done .
We just got to place this corner in .
So it's on the right side , move it away to the left , bring it down , place it in , lift it up , done beautiful .
And we've now placed the orange white edge piece .
Now we have the final edge piece left , which is this red and yellow .
OK .
So we connect the red with the red and the yellow is on bottom .
So yellow is over here , white is over here .
So we move it away from the yellow , bring down the opposite side , reconnect the reds and lift it up .
And now just a simple corner , insertion corners on the right .
So move it away to the left , bring this down , place it in and lift it up and there you have it , we have successfully completed the solution of the first two layers of the Rubik's cube .
Now you might happen to run into the situation where for instance , your edge is already placed in right and all the other edges are placed in and there's actually nothing here in the bottom layer that doesn't have blue .
This has blue , this has blue , this has blue and this has blue .
If this is the case , then you simply take any one of these , say for instance , this yellow blue and pretend that this is the orange color .
OK ?
So what you wanna do is you want to take this edge piece , you connect it with the yellows , OK ?
And you can , you can do this with any edge piece .
I can even do this with that .
OK ?
And pretend that this is a yellow and this is an orange , it doesn't really matter .
Just make sure you connect these two colors , move it away from the color where your edge piece is stuck .
So move it away this way .
So it's as if you , we're inserting this edge piece in here .
So we move it away from where we want to insert it , bring down the left side since we move it away to the right reconnect and lift it up .
And now we place this corner in .
So we move it away , bring it down , place it in and lift it up .
And now we've put our blue white bogus , you know , into our edge slot and we have this final edge piece which is this yellow orange .
So we connect the yellows , move it away from the orange , bring down the left reconnect , the yellows lift it up and now we have the corner piece which is on the right side .
So we move it to the left , bring down the right reconnect and lift it up .
And again , we have successfully completed the first two layers of the Rubik's cube .
One last time , I can't stress this enough .
Please mix up the cube right now and try solving this again if you can successfully complete the first two layers without following this tutorial .
Now , I recommend moving on to my next video and figuring out how to solve the bottom layer of the Rubik's cube .
All right .
And that's it .
So now that you've solved the first two layers , feel free to move on to my third layer tutorial , which I've also linked down in the description in case mobile users can't click on annotations .
But other than that , please do mix up this cue one more time and try this again without my help .
Uh Once you can solve this independently , then you can move on to the third .
The third layer has a lot of different algorithms that you have to memorize .
So please make sure you feel comfortable with solving the first two layers .
Other than that , I really hope this helped uh leave me a comment if I missed anything and let me know what sort of videos you want me to do next .
And thanks for watching
Are you looking for a way to reach a wider audience and get more views on your videos?
Our innovative video to text transcribing service can help you do just that.
We provide accurate transcriptions of your videos along with visual content that will help you attract new viewers and keep them engaged. Plus, our data analytics and ad campaign tools can help you monetize your content and maximize your revenue.
Let's partner up and take your video content to the next level!
Contact us today to learn more.