https://www.youtube.com/watch?v=xf6YM_l2M-s
How to Draw Deadpool _ Deadpool 3
Hey everyone and welcome to the club today .
I'll be showing you how to drop Deadpool from the Deadpool two movie .
Let's get started in the center of our face with the eye .
So I'm gonna start on the left side with the curve of the upper eyelid and I'll start on the outside , just curve it down and in from here , it's going to turn it up for the little frown line .
It's doing a hard turn going up .
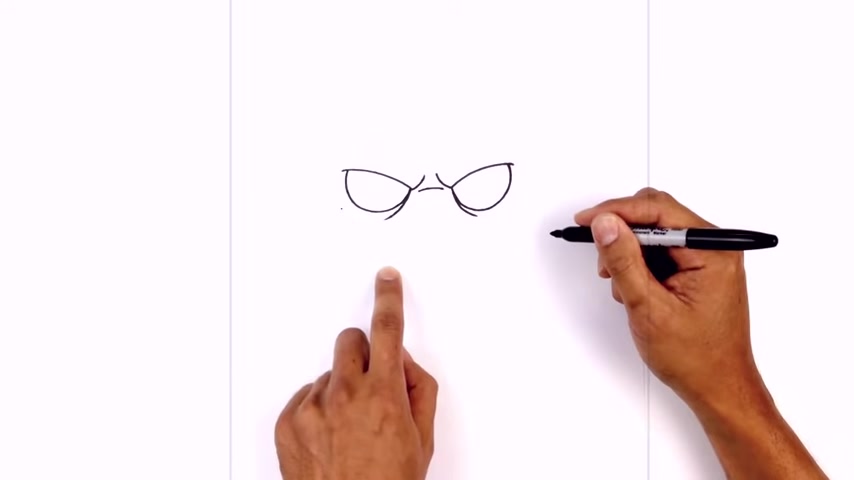
We're gonna leave a little gap in the center and do the same thing on the right .
So we line up the top of the frown line curving down and over towards the right now .
I'm gonna curve the upper eyelid going up and then out , we're gonna tuck the bottoms of the eye underneath the eye lid .
So it's basically a half circle starting from the outside and the left , we're gonna step in to leave a little bit of an overlap , curb it down and we're gonna pull that up towards the frown line and do the same thing on the right .
Start it from the inside down and I'll just tuck that in underneath the eye bid let's go ahead and add a little bit of an eye bag .
So from the inside , I'm just gonna curve down and out .
We can do that on both sides .
Now , in between the eyes , I just want to do a little curve from left to right , just going across .
Now from here , I'm just gonna draw on the bottom part of the head .
So just on the left side of the eye , I'm gonna draw a little point from here .
It's gonna curl around and down toward the chin .
Now , we're gonna work our way back up towards the right side .
They're gonna gap .
Now we can draw on the top of the head .
So we're gonna take these two points that connected with a large circle all the way to the top of the head here , starting on the left , we're gonna curve around the eye .
I'll just pull that in all the way towards the top .
But at the top , I want to leave a little bit of the gap .
So I'm just gonna curve it over just a little , we're gonna step back and draw that little hood tip .
So we step over towards the left , curbing it up .
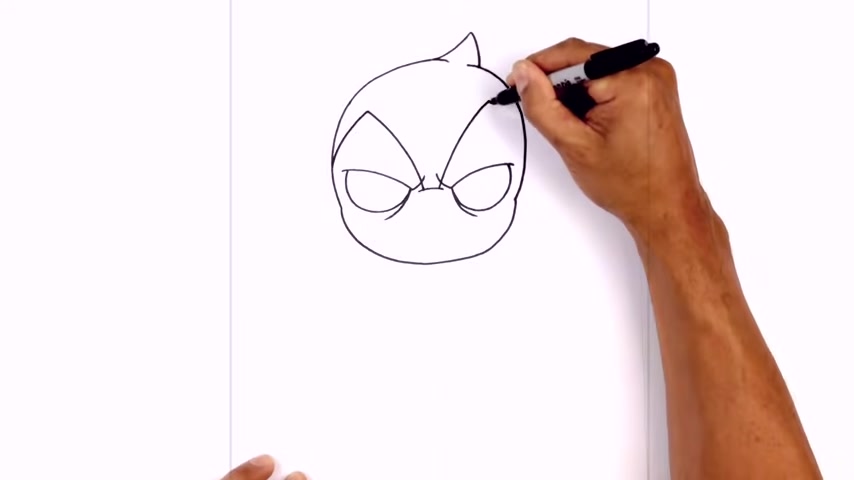
Now I'm gonna curve that back down to taper it down to right about here .
I'm gonna continue the curve .
So I'm gonna step in curve over that line around the eye and then down towards the cheek .
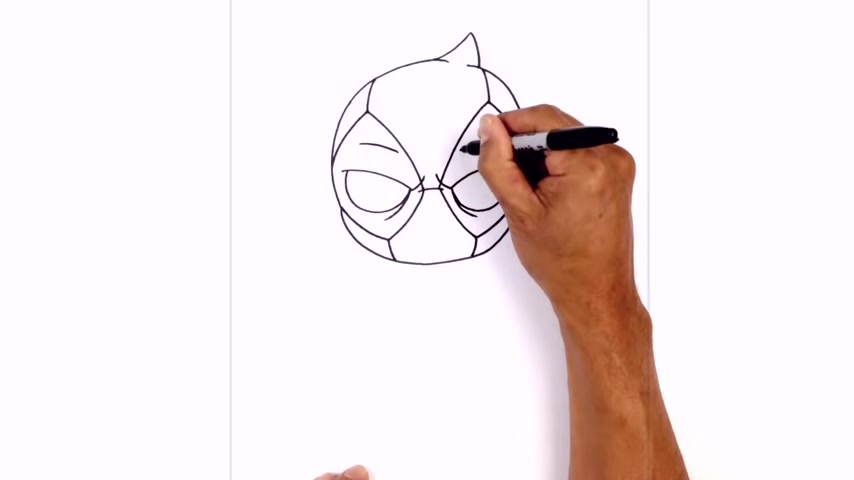
Now let's add the little patches around the eyes So on the inside , from this point , I'm gonna step in towards the right curve over the eye and go out and do the same thing on the right , stepping in , curving up over the eye and then out would curve out towards the side of the head .
Now , from the top , so I just wanna curve up towards the top of the head here .
So from this point on the left , we'll curve up and in the same thing on the right side , now we're gonna draw on the bottom part of the eye patch .
So from here , we're gonna curve just below the eye , just curving out .
We'll do the same thing on the right side occurring out , then curve these in towards the side of the head up .
I'm just gonna aim towards this tough point of the cheek and then from the bottom point , it's gonna curve down towards the chin coming in .
I'm gonna add two curves above the eyes just to accentuate the brow starting on that .
We just the curve across , you do the same thing on the right side .
OK .
So now that we've got the head and let's work our way down the body .
So just below the chin , below these two lines , we're gonna step down and draw on the side of the body .
So on that side , I'm gonna step down , curving out and then down towards the hip doing the same thing on the right side .
Now , before I connect those two points .
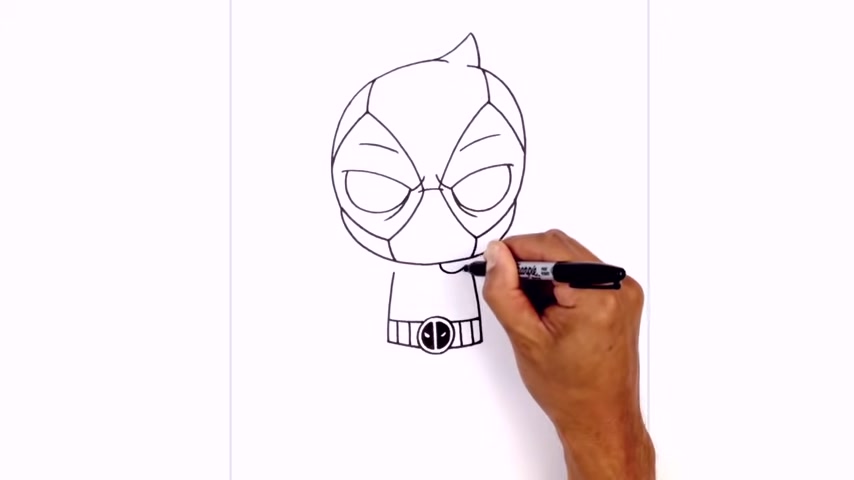
I want to draw the big belt buckles .
It's basically a circle starting from the top , the way around to the bottom and then back up towards the top .
Now I'm gonna take these two points and curb in behind the buckle , we're gonna step up and curb in behind the buckle at the top .
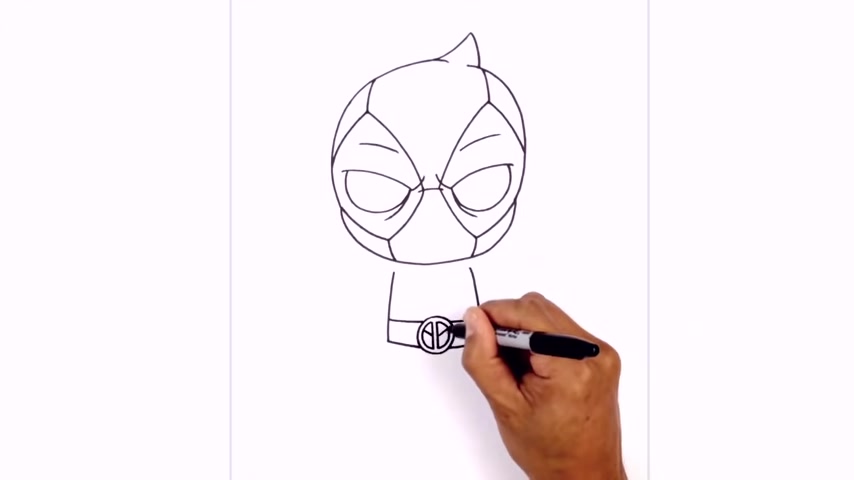
Now let's add the detail to the buckle here .
So I'm gonna drop two straight lines down the middle , leaving a gap along the top and bottom .
Now I'm just gonna take the top and just round out towards the bottom on the left and we'll do the same thing on the rape , gonna have the little eyes on the side .
So in the middle and the left , we're gonna angle in and down anything on the right now , we're gonna connect those two points with a curve for the bottom of the eye .
Now I'm gonna color the top and the bottom in black .
Let's add some lights to separate the little pouches in the belt .
So on the left , I'm gonna drop two lines coming down .
We do the same thing on the right side .
Now , he's got the strap that goes across the body .
So up here , I'm just gonna draw a curve from the center of the chin , curve down and then up on the right side .
Now we're gonna add two lines that curve across to the hip .
So we're gonna start the hip up I'll step down , draw that same curve going up in the middle of the bottom .
We're gonna draw a straight line going in behind the strap all the way down towards the bubble .
Now , let's add some of that detail to the suit .
So I'm gonna start on the left side here and come down .
We're gonna go across to the straight line and then we'll come down behind the strap .
We're gonna do the same thing on the right , right underneath this little strap , we're gonna come down , go across with a short line and then down towards the belt , I'm just gonna trim it up on the inside .
So stepping in just gonna follow those lines all the way down .
We'll do the same thing on the right now right in the middle here just behind the strap .
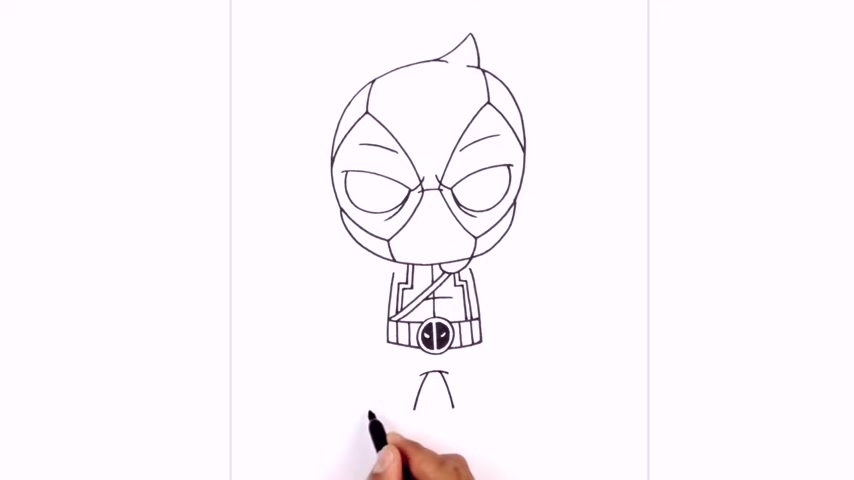
I just want to draw a little curve to accentuate the chest going across like that .
Let's continue working our way down the leg .
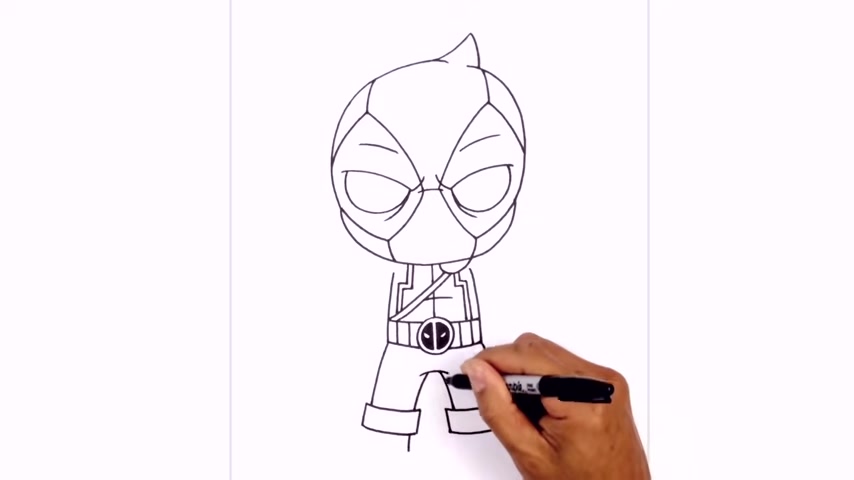
So in the middle here , just below the belt buckle , I'm gonna draw a curve from left to right , going across .
Now , on the left side , I'm gonna step in and curve down towards the top of the boot .
We do the same thing on the right side .
Now , from here , I just wanna overlap that line with the top edge of the boot .
So from left to right , I'm gonna draw a curve that just goes over that line .
Do the same thing on the right side .
I just close off that gap now from the hips , I just wanna curve down and just leave a little overlap at the top of the boot her out and the down do the same thing on the right now from the inside of the boot cuff .
I'm just gonna angle it down the straight line going upwards .
We'll do the same thing on the outside .
Now , I'm gonna connect those two points with a curve .
Let's continue down with the feet .
So this inner part of the leg , this line is gonna go in behind the cuff and continue down towards the heel .
We'll do the same thing on the right .
So there's a little bit of an overlap .
We'll draw on the bottom of the feet .
So from the heel to toe , we're gonna draw a curve when you cross me .
Now we're gonna curb the top of the food in behind the boot cuff going up .
Then and again , you wanna leave a little bit of an overlap on the boot cuff at the bottom .
We're just gonna add a little trim and then we'll add a little toe cap .
So on the left side , on the top of the foot , we're gonna go straight across and it will come down at an angle , do the same thing on the right way straight across and down in the angle .
I got two straps on the thigh here .
So from left to right cur across , step down .
Do I try that again ?
We do the same thing on the right side .
Now we're gonna continue this little pattern down the legs up , uh just above the strap .
So right here we're gonna angle down .
Now we're gonna angle in when you step in , it will do the same thing and they'll shrimp do the same thing on the right coming down at an angle then across and then just trace it on the inside .
OK ?
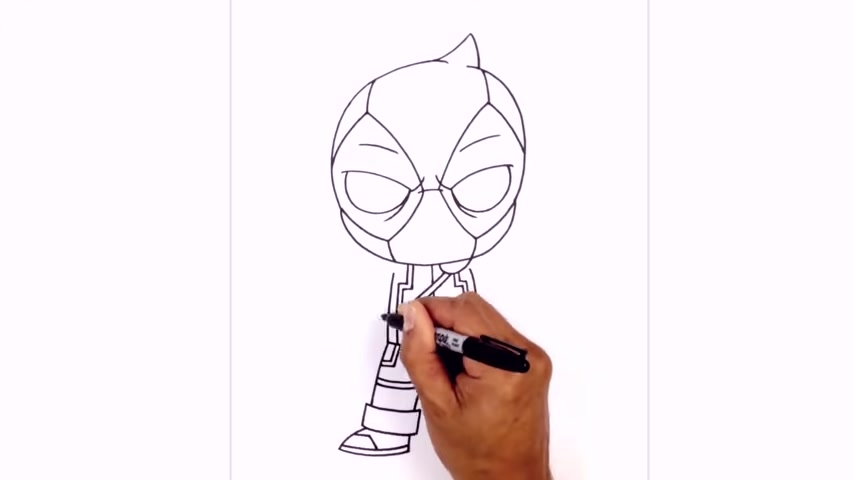
So now that we've got the body , let's go in and draw on the arm , I'm gonna have the arms hanging down , holding two pistols .
So on the side of the body here about halfway , I'm gonna curve down and out towards the thumb .
I'm gonna round up the thumb with a little half circle .
Now , before I draw the fingers , I wanna draw the top of the gun .
So right in the middle of this half circle , right up here , we're gonna draw an angle line going out from the top .
I just wanna draw a straight line going across .
I do that at the bottom as well .
Now I'm gonna connect those two points with a straight line .
This is the top of the gun .
Now , I want to show a little bit of perspective .
So from these two top corners of the gun , we're just gonna angle slightly up over to the left and do the same thing at the bottom .
Now , we just want to connect those points with a straight line .
This is a very simplified gun .
At the end , we're trying to draw the little nozzle .
So we step in , draw a straight line from the bottom corner .
We'll step in , draw a straight line .
We'll connect the bottoms with the curve .
Now , we can go in and start layering the fingers in behind .
So we step down here , we draw on the index finger , a little curve that goes up like this .
Now , you can see that finger sort of poking out on this side .
So gonna draw a little half circle on the end , I'm gonna stack the fingers in this way .
So halfway down the finger curve up .
Now the third finger , we're gonna go all the way up towards the shoulder .
I'm almost halfway up the arm .
So going out and then we'll pull that in .
We're gonna overlap that line stepping down and round it out in behind the face .
Now , I'm gonna add the little detail to the shoulder curve towards the inside of the arm and would curve up in behind the body .
I'm gonna trace this out just like we did with the body occurring first on the inside .
And then uh we'll have a little wristband in here .
So from the top of the thumb , we'll curl out towards the outside of the arm .
We draw that twice just above it .
Let's take that arm and flip it over on the right side .
So we start with the inner part of the arm first coming down and out .
We got a little haser ball for the thumb .
Now we're gonna go up in between these two points .
Do you want an angle line going down towards the tip of the gun ?
Now , from the end , we go across the top and bottom , we'll connect it with a straight line and I want to show a little bit of perspective .
So for these two top corners , we go up in a slight angle , we do the steam with the bottom and then we're going to collect those two points with a straight line and then along the top .
Now let's draw on the little bottom here .
So we're gonna draw two lines coming down on the tip connected with the curve .
Let's go back up and draw on the fingers .
So we're gonna sort of line up the index finger on the right side .
So curve out and up and here we're gonna draw a little half circle for the index finger and then we gonna stack the fingers up .
So about halfway down the curve , go up , third finger , gonna go around and pull this up in towards the shoulder about the same height as we have a left .
And now I'm gonna overlap this , stepping down , curving around the shoulder and behind the head .
And then we're just gonna add that little detail curving in and curve up in , in behind the body .
Then we'll just trace this out down across from this wrist line , go across to the outside , step up and then go towards the outside .
It's gonna add a little bit of detail around the body .
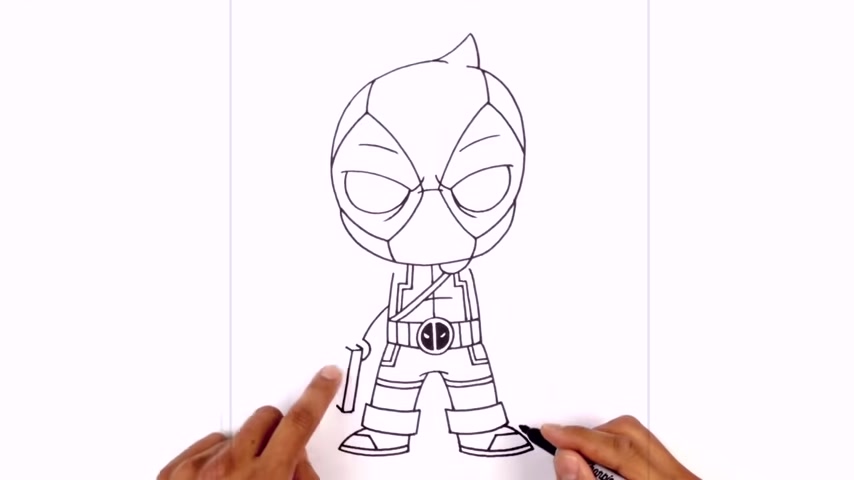
So let's start with the hips first .
We're gonna add two little pouches sticking out from the top of the belt .
We're gonna go out with a straight line .
The bottom will go out with the straight line , connect it with the straight line coming down .
We'll do the same thing on the right .
Add two more pouches just on the side of the straps .
So we'll do the same thing .
Two lines coming out connected with a slight curve , the same thing on the ray .
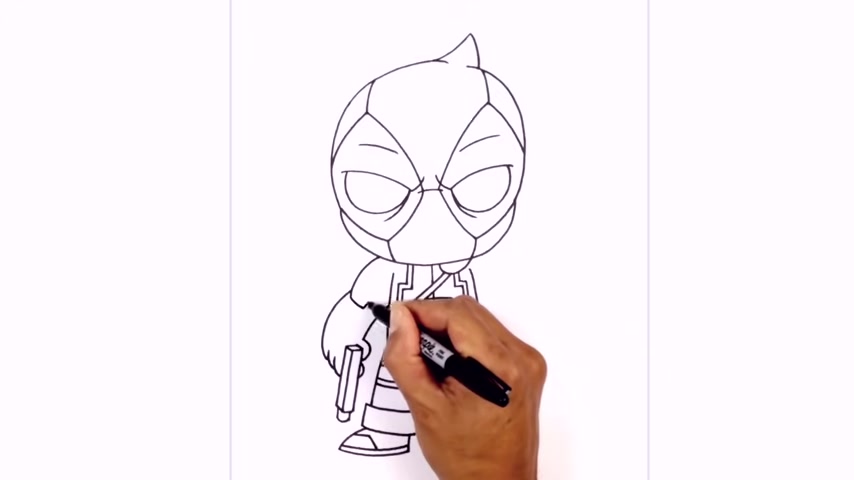
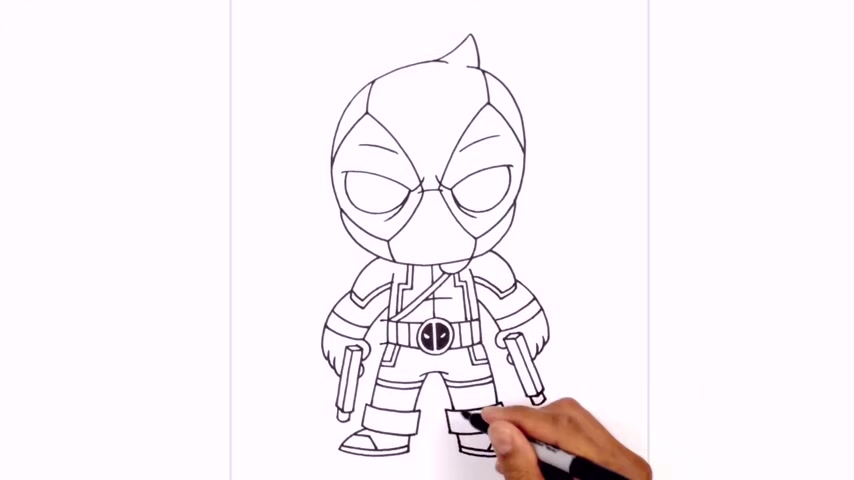
And they're gonna stick the sword handles in the back beside the head .
So we start on the shoulder and come down in the angle right beside the head .
We draw that twice and then we'll close off the top with the curve .
We do the same thing on the right , starting from the shoulder up in an angle just beside the head .
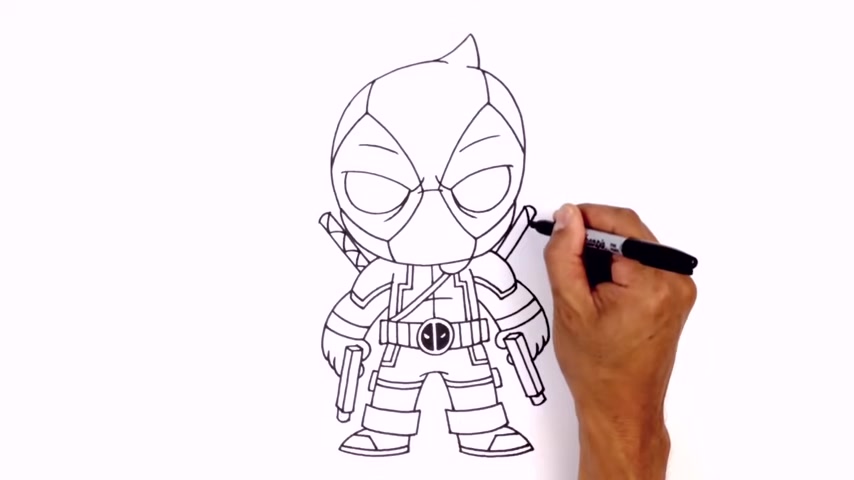
You know that twice , it'll close off the top with the curve .
I wanna add a little bit of that group detail .
So from the top corner on the right , we'll curve down over across , we're just gonna repeat this pattern all the way down the handle in behind the body .
Let's do the same thing on the right side .
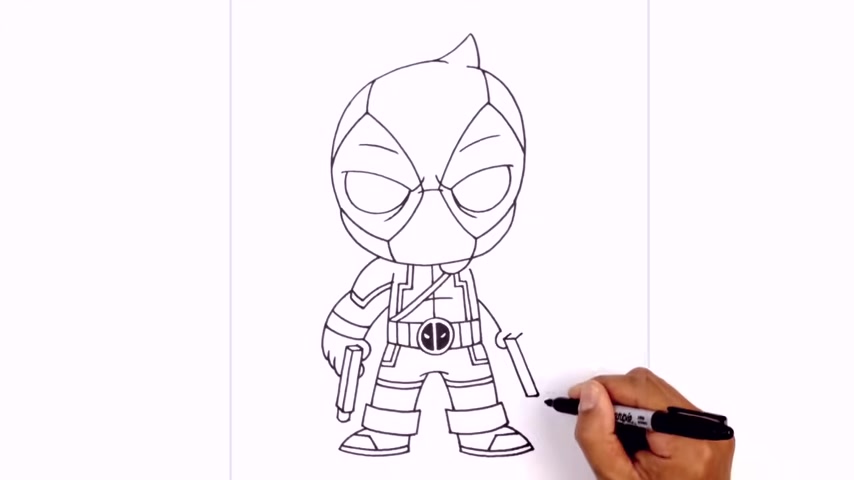
I'm gonna start at the top curve down to the inside , down behind the shoulder and that's pretty much it there .
We have it , there's Deadpool from the Deadpool two movie .
I hope you enjoyed today's lesson .
Make sure you subscribe and send us your request in the comments below .
Thanks for watching and we'll see you again soon .
Are you looking for a way to reach a wider audience and get more views on your videos?
Our innovative video to text transcribing service can help you do just that.
We provide accurate transcriptions of your videos along with visual content that will help you attract new viewers and keep them engaged. Plus, our data analytics and ad campaign tools can help you monetize your content and maximize your revenue.
Let's partner up and take your video content to the next level!
Contact us today to learn more.