https://www.youtube.com/watch?v=wjfnpL2Ptbg
Claire Makes 3 Kinds of Homemade Pasta _ From the Home Kitchen _ Bon Appétit
I just think if you're gonna try to make something healthy , don't eat pasta .
Not that pasta isn't healthy .
I mean , it's not , but we're eating pasta .
Ok .
Hey , everyone , I'm Claire .
I am at home in my kitchen and today I am going to be making some homemade stuff , pasta , making pasta at home .
It does require a few steps and a piece of equipment .
But you know , everyone being in the kitchen more , it's actually pretty doable .
So up until recently , I found homemade pasta .
Very intimidating .
It was something I would watch chefs make on cooking videos .
And then I kind of thought figured it's just dough and , you know , shaping them together .
There's a lot of pastry skills that overlap .
So I decided to try it and I thought it was actually really fun and more doable than I thought it was .
Ok .
So I'm gonna grab my flour and my eggs .
This is just all purpose flour which is totally fine .
Don't look in this fridge .
This is the disaster .
So I'm actually making a double recipe so I can have a lot of dough .
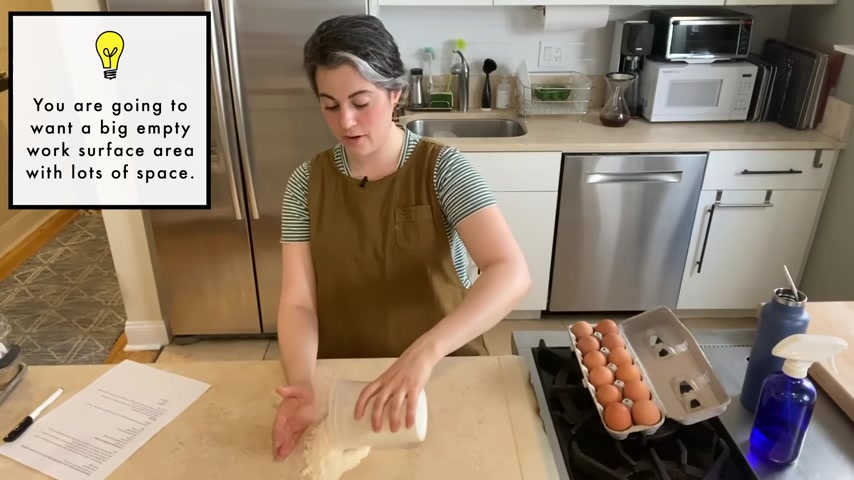
This is a time where people are finding comforting carbohydrates and I don't think there's anything wrong with that .
So I'm making a , well in the center , I am going to add four eggs and 10 egg yolks .
Again .
This is a double recipe .
So , if you're making it at home , you're starting with eight ounces of flour and it's five yolks and two large eggs .
All right .
So this is gonna take me a second because I'm doing 10 of these .
All right .
So that is all the eggs , obviously , that's a lot .
So now with the fork , I can kind of start breaking up the eggs and the well is just there to keep the egg contained .
And the whole technique here is to incorporate more and more flour from the edges and then you bring a dough together and start to need .
All right , I think I'm basically at the point where it's set enough , I can bring the flour back in and really start to bring the dough together .
Ok .
So I'm gonna get rid of my fork and now I'm really channeling cooks at home everywhere because this is not my area of expertise , but again , it's dough .
So if you've worked with dough , if you've made bread before , you know , it's not , um I actually think it's easier than that in a lot of ways .
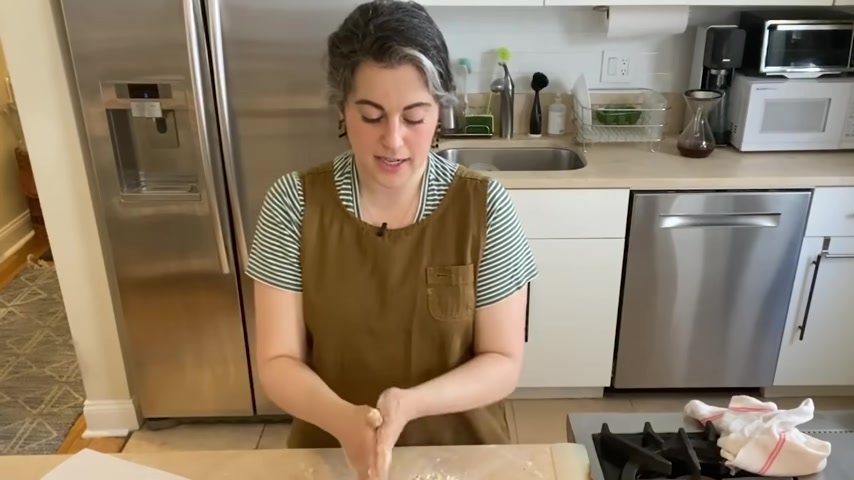
Now with pasta , the real idea behind pasta is that you want to develop as much gluten as you can .
So , working gluten , you know , all I'm really doing is needing the dough until it's super , super supple and smooth and that can take a long time .
So what I like about fresh pasta is the act of making the dough .
That's kind of why I'm making it .
So this is the dough at the moment .
It is a bit wet and sticky and not terribly smooth .
I am just going to be here needing it and adding flour little by little .
I mean , not more than a pinch or two at a time until it's very smooth and supple .
Now , I actually need to cover it and let it rest before I can start rolling it out .
So that's it .
And so I'll let this rest 20 to 30 minutes and then once the gluten has relaxed a little bit , I can start rolling it out .
So I just want to show you what the texture of the dough actually looks like .
Um , you can see on the surface there that there's these tiny little air bubbles and the whole texture is just very , very smooth and supple and sat and that's kind of the best way to describe it .
So I'm needing it , it's firm , but it doesn't really hold cracks like it doesn't look dry .
Um And that's basically it , you explain why your hair is .
Now .
We , I don't want to explain the problem because it's embarrassing .
How many days later was it ?
A week later ?
After much back and forth and looking back at all the footage we confirmed we do not have a recording of me making the ricotta filling .
So I'm using whole milk ricotta .
This is a pound of ricotta .
I mean it makes quite a bit of filling , then it gets bound by one egg and that is just to kind of keep it all together as it cooks .
So I have some red pepper flakes , a generous pinch of that because I like a little bit of heat .
The ricotta is very mild .
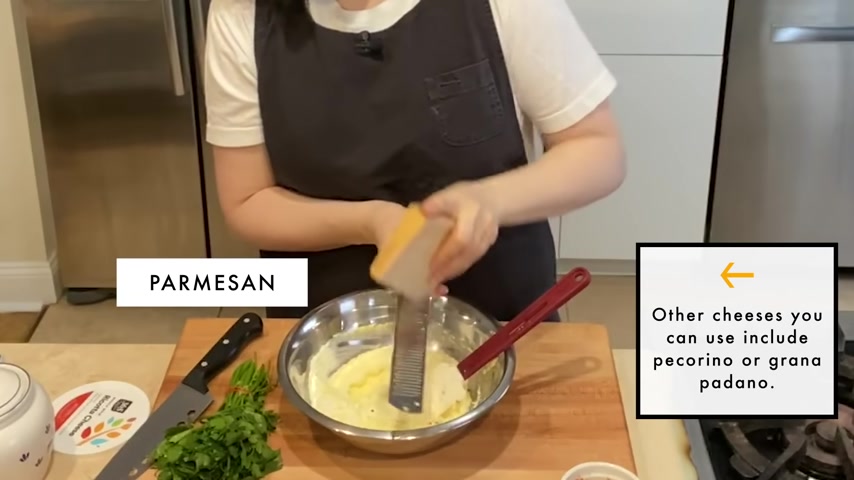
So using kind of a sharp salty flavorful cheese is a good combo .
So I'm gonna use a little bit of garlic powder with I think just doesn't quite have that raw burn and bite .
So I'm gonna finally chop this parsley again .
The herb piece is fine because I don't want like big shaggy bits that are going to be hard to enclose in pasta for a little bit of brightness , which is lovely and I , I do happen to have a lemon here while I have my micro plan out .
I'll throw in a little zest .
I have just a little tiny , I guess it's a seed nutmeg .
Just this little rat crater .
I think you want kind of a mild , I mean , it should be well seasoned , but I think you want something creamy and a little bit mild so that you're not overpowering the rest of the dish .
So I'm gonna transfer it to a pastry bag .
I have like a million of these deli quart containers , which are so convenient .
This also helps eliminate air bubbles .
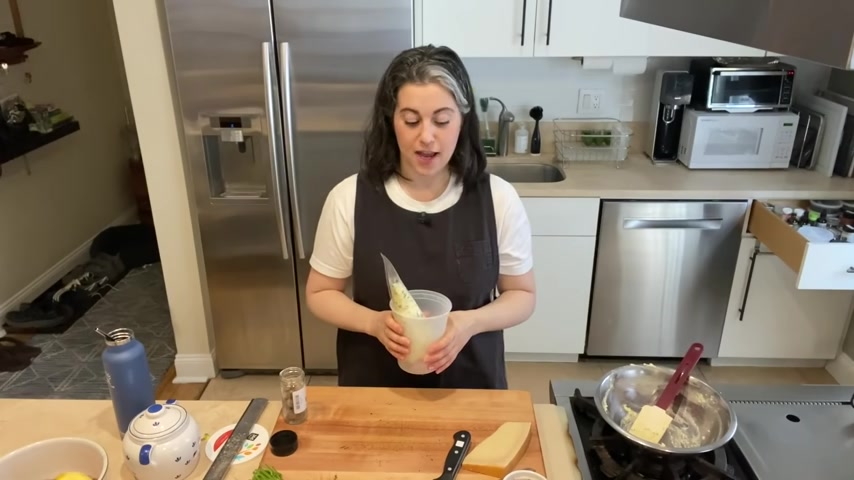
When I make the anti , you'll see , I have to pipe a long even tube of filling and if there's air bubbles , it causes a break and it's just not quite as easy to work with .
And then there it is all evenly filled , just a little air pocket out at the bottom .
But that's ok .
It stays in place because I haven't cut the end and then it's ready to be filled .
All right now I'm going to travel back in time and show you how to make the filled pastas that I actually did .
One week ago .
Here is the dough .
You can get a nice close look at it .
It is firm but still soft .
You can see how it kind of holds an impression on my finger .
So right here , I have my Kitchenaid mixer , which has a , an attachment that goes into the front of the mixer and in front of the mixer , it spins the wheels of the attachment and it's basically two rollers that I can adjust the thickness and it makes beautiful sheets of pasta .
You don't have to have a kitchenaid to do this .
There are great models that just kind of anchor to the countertop and their hand crank .
Those are great too .
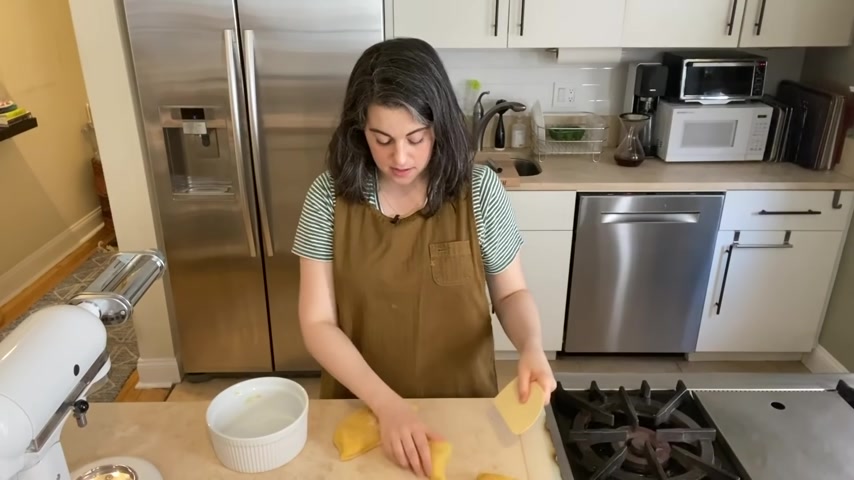
This is , as I said , a double batch of dough .
So I'm going to divide it in half and then into thirds so you can roll the pasta by hand .
That is not something that I'm going to opt to do because it does take , I think quite a bit of skill and practice to be able to roll out such an even large sheet , make sure that you're getting really squared off sheets of dough .
I think it helps to kind of the dough into a rectangle from the start and then I'm going to start rolling .
So I just pass the dough through the roller and I do it several times on the widest setting .
You can see that it already sort of turned into more of an oval shape .
I fold the ends together like this and kind of mush them .
So you'll notice on the first couple of times when you pass it through that the dough kind of gets a rough texture that's normal .
Now that I've rolled it out several times and the dough has a nice eating consistency .
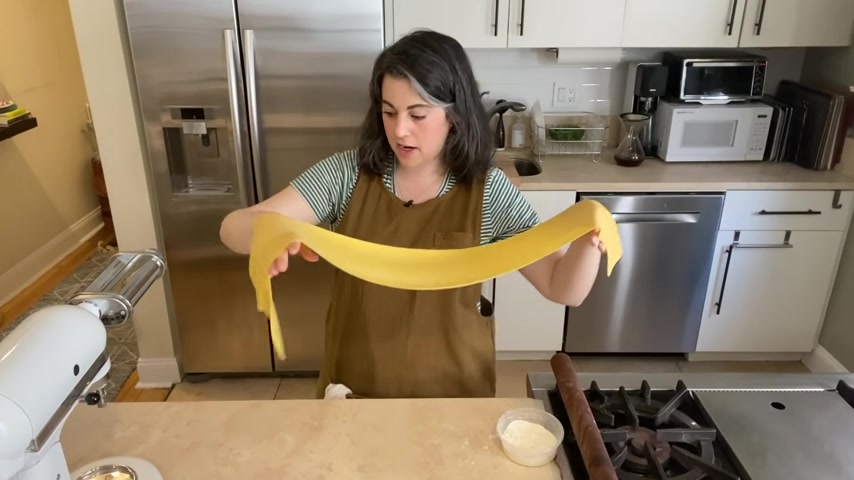
I'm just going to keep going 11 setting at a time .
Ok .
So I'm getting toward the thinner side and this is about as manageable a size as I have found it comfortable to work with .
I don't want to have like an 8 ft long thing of dough .
This is seven out of eight in terms of level .
And I also want to make sure that I'm getting the dough to start feeding through the machine all at the same point .
Ok .
So there we go .
I am going to turn off my mixer and I'm going to cut the dough in half , actually an eyeball half way .
Ok .
So for ravioli , I am going to start to pipe .
Not too big .
Really ?
Maybe I would call that a tablespoon .
Ok .
So I have 2468 , 10 , 12 , 14 that I've piped to seal the dough .
I just use water and I just spritz kind of all across one side of the dough .
And now I'm going to lay the second sheet of pasta over the first , just gently draping .
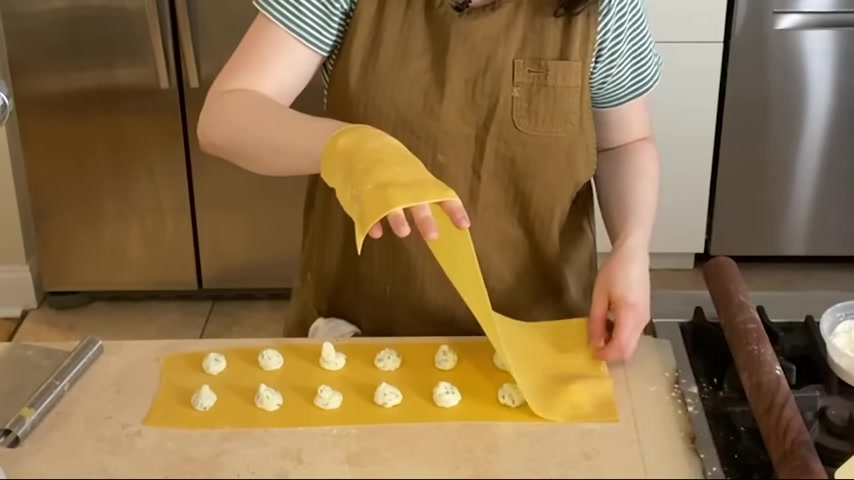
And I think the trick here is not to stretch the dough too much , not to really stretch it over the filling , but to let it drape itself right here , I have an air bubble .
But if that's the case , my little cake tester , what you can do is actually burst it and then get the air out and then pinch it back together so that the dough seals , I'm just going around each one and pressing out all of the air .
Now , I have this fluted cutter .
It's a fluted pastry wheel or sometimes they call it a pasta wheel and I'm pressing really firmly and the fluted edge is there to really crimp the layers of pasta together and seal them .
If you have a little round cutter like this , it's a fluid cutter , but I'm actually using it for the dull edge like that .
You can use this to mound the filling , you kind of work it very gently around the filling and that pushes the filling into a nice even circle .
I also think it helps to press out the air .
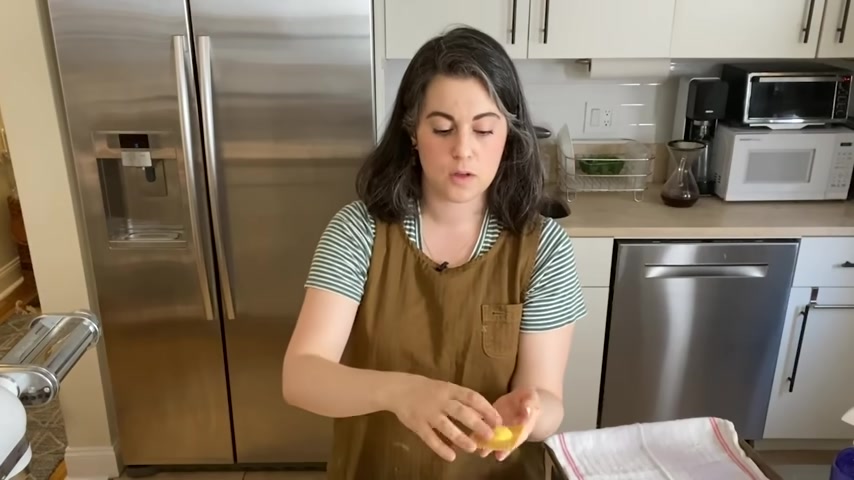
So it gives , I think a very finished like professional look to the ravioli .
So here's one and hold it up to the camera .
You can see it so cute .
So the idea for this next step is to let them dry out a little bit .
And at this stage , once they're dried out , you can also freeze them .
So this is a great thing to use to stock your freezer a little bit .
So the second shape I'm going to show you is anya lotti again , just myself learn how to make these .
So I feel like we are in it together , same process of rolling out the dough .
I'm going to move my roller back to the widest setting .
I found it helpful to use the back of your hand to catch the pasta because your fingertips are less likely to want to poke through the dough as it gets thinner on .
I just learned this shape and I fell in love with it .
It's so fun to make .
So I'm going to cut these in half lengthwise because I really only need a two inch wide strip to take my filling , which has that same size opening .
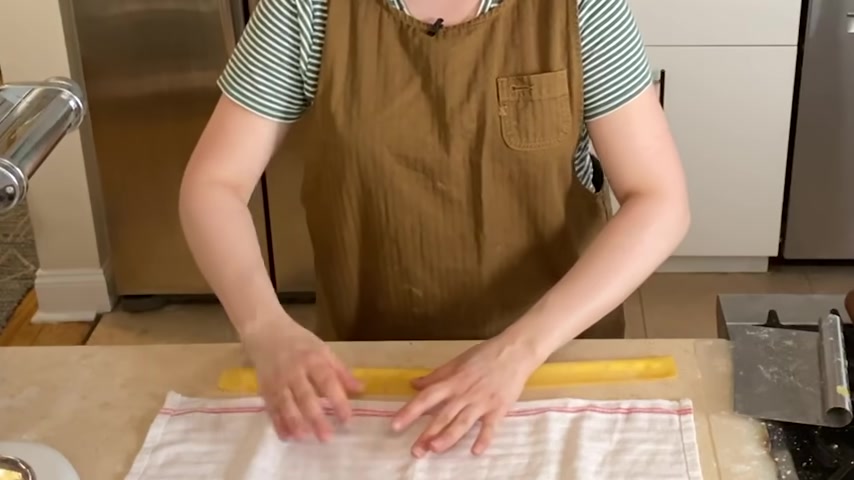
It's probably like a half inch opening that I snipped and I'm going to pipe a snake of filling all the way across .
All right .
So I am applying even pressure to the piping bag and piping a long snake of dough .
I mean of dough .
Sorry , I keep saying dough of filling .
Now my spray bottle just so the dough sticks to itself and I'm going to fold from one side over the filling so that it meets the other side like I did for the ravioli .
I want to press out any air .
So I'm going to run my finger alongside .
Ok .
So now here's the fun part with a lot .
I am going to pinch to basically squeeze the filling from between the pieces of dough and I'm going to make like little cute purses .
So now with my cutter , I'm going to treat off this rough edge and make it nice and straight .
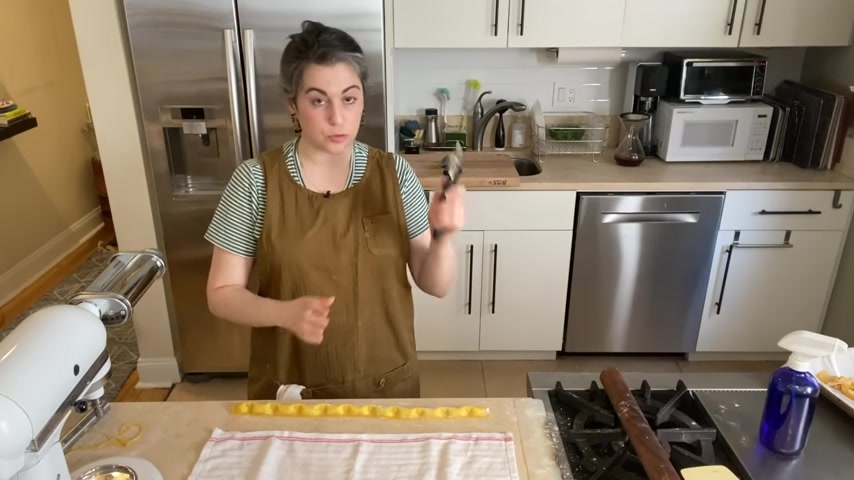
So now the last step in forming the anti , I'm going to use the cutter to cut in between each little area where I pinched .
One thing I was doing that is helpful is to kind of press each little anti down so that there's contact with that lip of dough .
This is an any lotti shape you can see it's like this little purse with that little lip and you know , similar to a ravioli .
So there they are next to the ravioli .
I didn't think you need to see me roll out the dough a third time .
So I have the same thickness of pasta dough rolled out .
I'm going to show you the third shape , which is Mezzaluna .
I'm going to just pipe similar sized mounds of dough as the ravioli .
Ok ?
Now , same as the ravioli a little spritz .
And now , instead of putting a second sheet on top , I'm just going to fold the dough over .
Ok ?
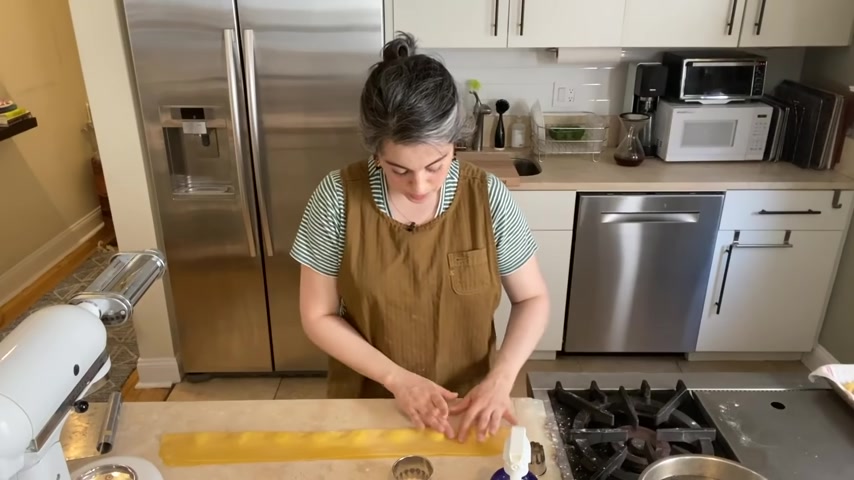
I'm using a smaller cutter to just form the filling into like a little , its own little half moon shape .
I also poked a tiny little hole in between each mound of dough and that is just helping me eliminate all those air pockets .
This is a larger fluted cutter .
So now I'm going to basically use half of the cutter to punch out these little half moon shapes .
One thing if you want edges to seal when you're cutting is press down and then once you hit the surface twist and basically you have a Mezzaluna , a little half moon .
You can see that very , very cute .
Ok .
So I made three shapes of pasta with one filling and one dough .
I made mo most of the anti .
So I'm gonna cook some of those .
So I'll do you know a handful of these guys pasta going in .
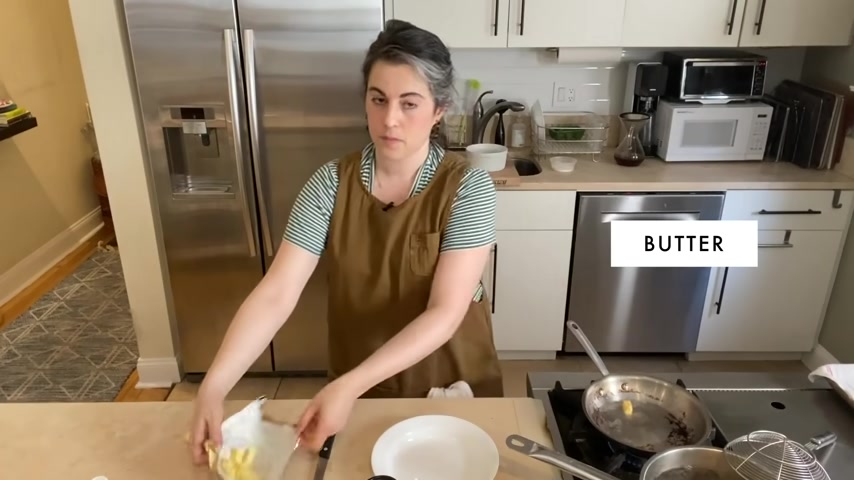
So I have a little bit of water in the skillet and I'm adding some little pieces of butter .
I didn't use salted water here , but it is salted butter .
So you can see it just really simple and I'm gonna add the pasta .
I can turn off that water really kind of bat it in .
All right .
So here's my little aglo swimming around in their bath of butter into the shallow bowl .
We'll squeeze the lemon , tiny bit of salt .
Why not ?
So , here is this beautiful fresh homemade pasta aglo with the ricotta filling ?
Hm .
So good .
What I think is fun about making pasta at home is there are really kind of endless variations that you can try .
I also think that it is a relatively forgiving process .
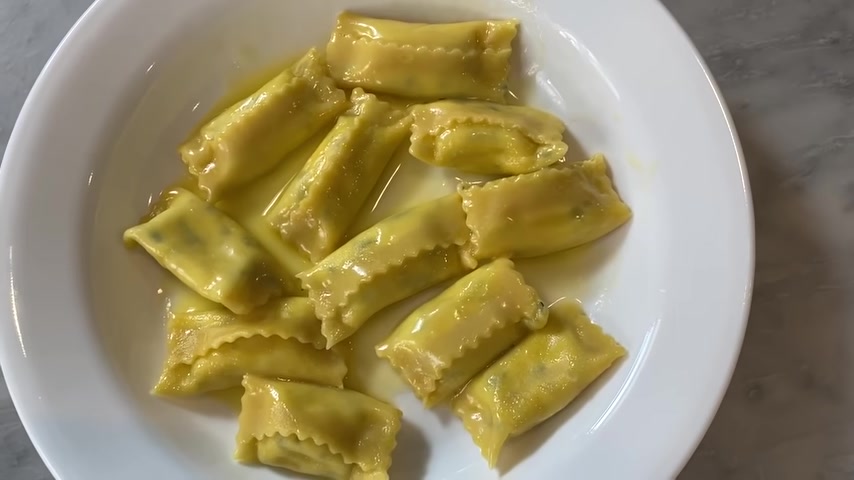
I think one thing to remember is when you're making pasta at home , even if your ravioli open up or your pasta is a little wet , it's gonna be fine and it's gonna be delicious in the end anyway , even if it's not perfect , it's really just there as a fun activity and if they're not perfect , it's fine .
These are just the most delicious little buttery pillows .
They're so good .
They're slamming , you're gonna put that in there , aren't you ?
Yeah .
So actually one thing that I keep right here that I use all the time in the kitchen is a little spray bottle of water .
I also use it to spray my cat when he's on the countertop because that's not allowed .
But I also use it in cooking because my cat is literally glaring at me .
He said , I wish you could see it .
He's glaring at me .
He's so mad .
I think as he saw me pick up the water bottle , he does not like this .
If I , if I point this at him he'll run away .
Kill it .
Yeah , he ran away when the pasta is being boiled .
You guys , the cats are freaking out .
Felix .
I have to spray them Felix .
Stop it .
Kitty .
If I show him the spray bottle , I'm so stuff kitty .
But yeah , now he's freaked out .
They don't get along .
It's really intense in this house .
Ok .
I'm done .
Are you looking for a way to reach a wider audience and get more views on your videos?
Our innovative video to text transcribing service can help you do just that.
We provide accurate transcriptions of your videos along with visual content that will help you attract new viewers and keep them engaged. Plus, our data analytics and ad campaign tools can help you monetize your content and maximize your revenue.
Let's partner up and take your video content to the next level!
Contact us today to learn more.