https://www.youtube.com/watch?v=CbYKLNpdci8
How To Draw Naruto (Young) _ Step By Step _ Naruto
Hey everybody .
Welcome back to another drawing tutorial .
So today we have Naruto , Young Naruto .
I realize that I have done a lot of narrow to draws but never just did normal standard young Naruto .
So someone reminds me in the comments .
Uh Thanks for that .
So um we're going to start resigns .
So yeah , so we're going to center point to my page is about here .
So we just come up a little bit , his nose will probably be in the center point maybe or just like his nose might be a bit lower .
That's about the center point of my page .
I think just there the eyes are just over to the right hand side .
Could we go up or the eye ?
The first eye is we go up and over .
So he's big wide eyes when he's young , he's a young , wide eyed idealistic kid .
And then this comes down like that .
We had a little bit of a spike or a hook down here and then you thicken up this eyelid line .
So it's pretty thick black line like so and then bottom of my lid comes across and be so real big eyes .
So the Iris , then just here a full sort of big circle going the whole way around .
So if you're not great at doing circles , I'm not that great .
Um Free hand , you could use a compass or a coin or something just to try and get it as circular as you can .
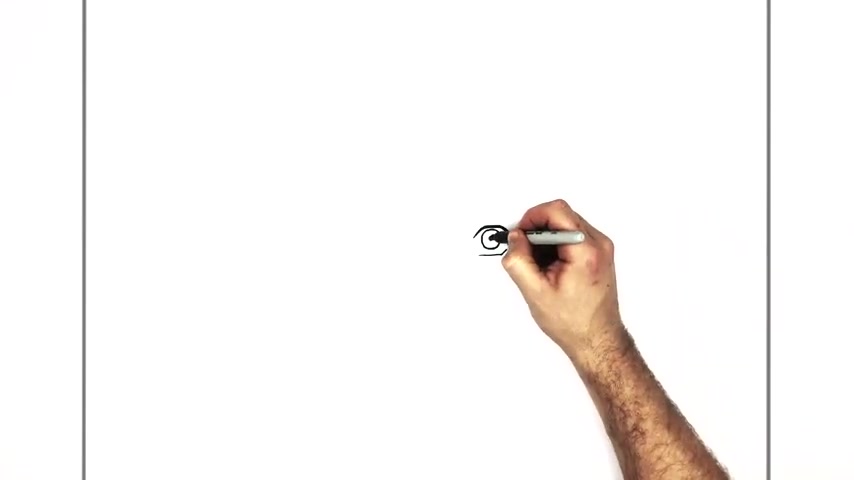
And then the pupil .
So once you get the circle , the pupil is just in the middle .
OK .
So then the other eye , so eye distance across , so the width of his eye will fit in between his two eyes .
And that's where the next eye will start .
So just here we got this distance , you can fit a whole eye inside here , right ?
And his next eye starts just there .
OK ?
So here to here you can fit that whole thing inside .
So then curve it up and over and let me go down like so thicken this up , got like a bit of a hook coming down the back here , similar sort of shape to the other side .
And then the bottom eyelids just down here , you leave a bit of a gap and then we go over to there and then , and again , we're going to attempt to do a perfect circle for his eye .
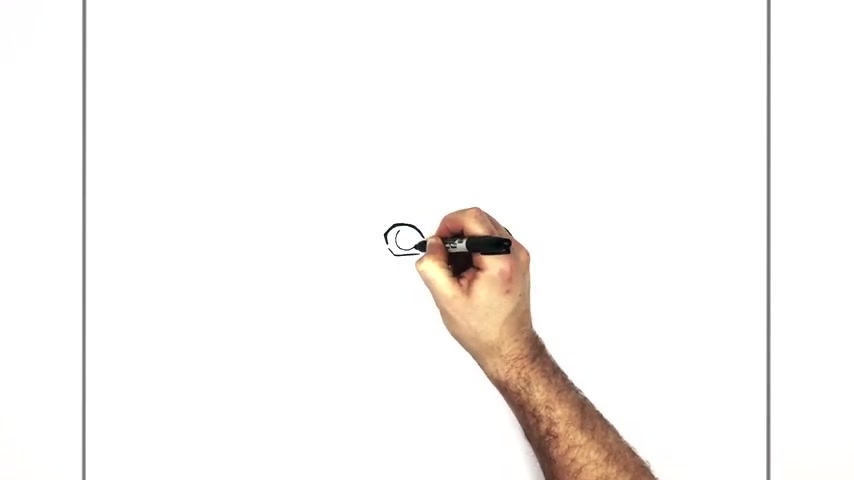
So go around , not bad , not bad .
So and then a pupil in the middle .
Ok .
So his eyebrows just like ticks right close to his eyelids just goes up like , so it stops about there because it goes underneath his headband , right ?
So you have just a tick like that and then the head band will go across the whole way across the top , right ?
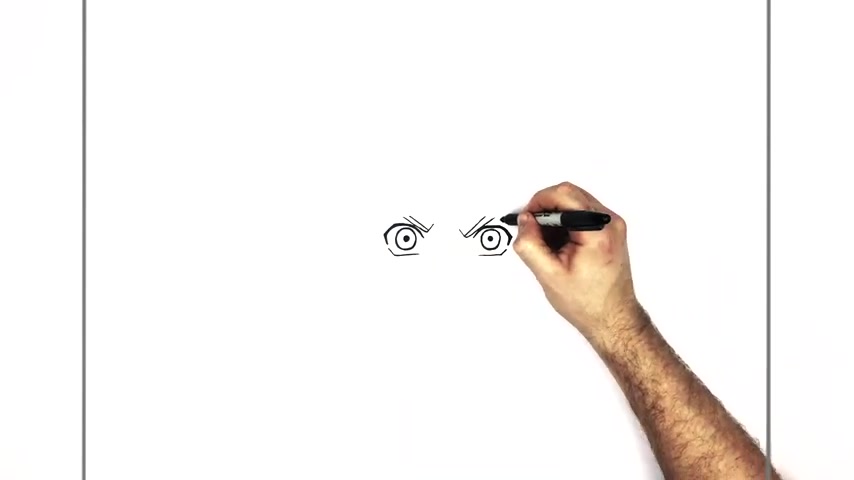
That on both sides , we might as well do the head .
But now , so it comes all the way across the top of his head .
Like so and then his nostrils just down here , curve line like so everyone here and then his mouth , he's got like big smiling mouth coming across .
Yeah .
Uh So like kind of looks closed at the minute , but we'll open it up just to show some teeth because you go down the side , bring it across here .
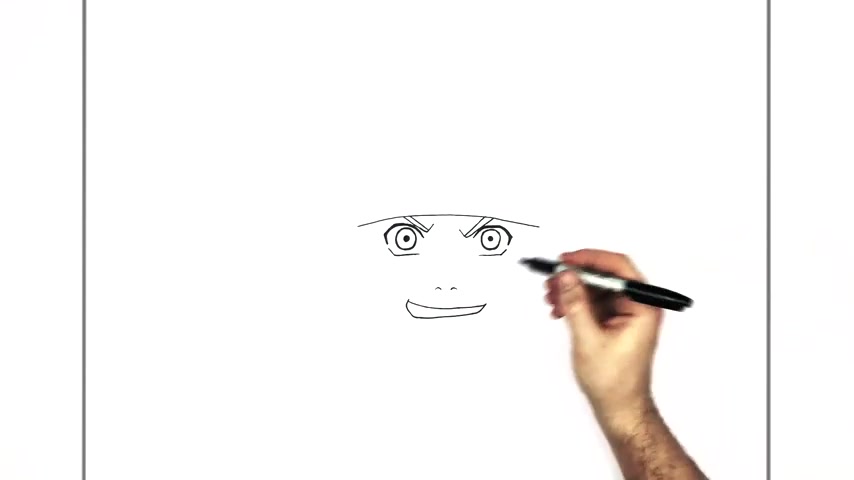
Yeah , I was there , let me do can just see some teeth just in the side here comes across , it wants to come down , back up and across .
So you don't have to go the whole way across .
You just add a little suggestion of teeth , maybe something similar coming across in there and then a shadow just there , right ?
So then his chin just there , I can check the proportion .
So I middle of his eye to his nose is about the same as nose to chin .
So here to here , it's about the same as here to hear , ok .
And his bottom lip is halfway between the nose and the chin .
So here to hear about the same as here to here .
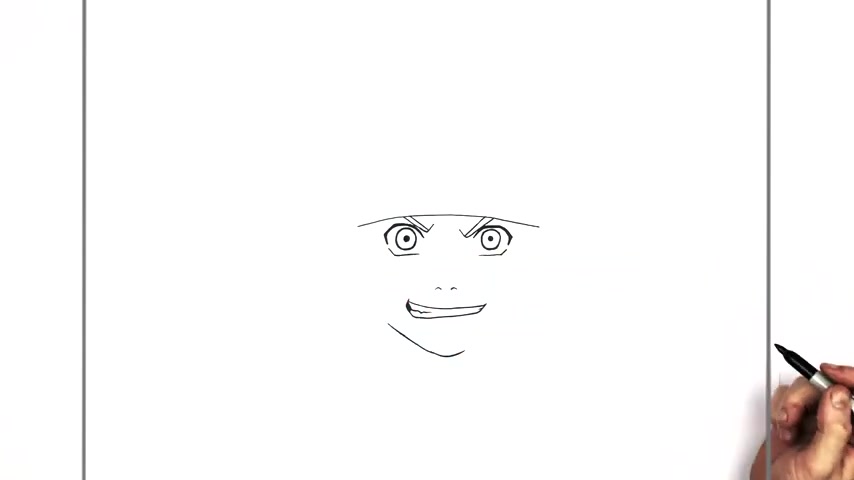
So once you get those proportions , then we can go up the side of his face like so stop just underneath the edge of his eye because that's where we changed direction .
OK .
Similar on this side just underneath the edge of his eye and then we're going to turn the corner and go up the side of his face and we're going to go example up the side of his face .
So in the picture I'm drawn from this one doesn't go up as high .
For some reason , you can , if you want , we might as well we'll just keep it even a bit simpler .
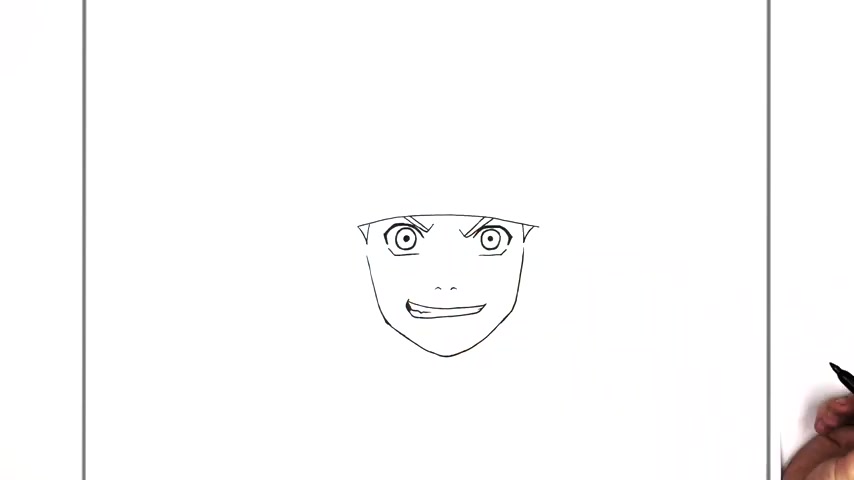
And then his sideburns just up here underneath his headband and beside his ear , think so and then those cheek marks so like one to three and another three on this side .
01 to right and then his ear damn like so into there lines up with his nose just here , the earlobe does and the other side comes up and around , it's there and then bones and ligament lines inside .
So the easiest way is the letter J .
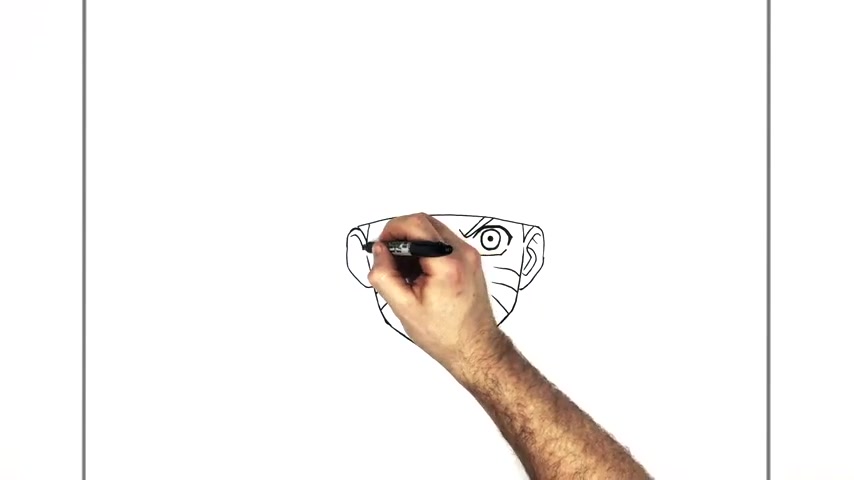
But if you want to add more detail detail , you can lines like this .
So again , the easiest letter J , but of course , and more detail if you'd like like so , so the head band comes up the side like that kind of got a bumpy sort of edge because it's fabric wrapped around his head and then it's going to come across the top like , so then you got the metal plate in there .
So it's just like a rectangle with curved edges .
Ok .
Just like that .
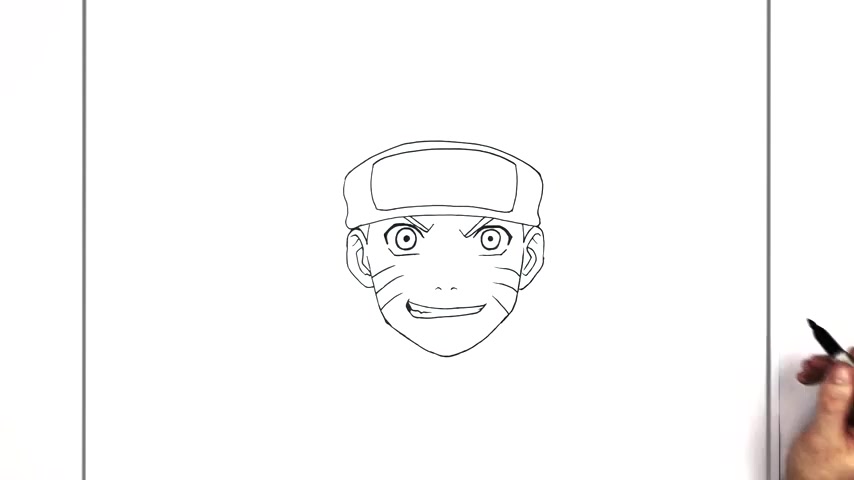
And then the metal comes across the top right there and the bottom part similar like , so , uh and then we got the bolts on the edge 123 , 123 and the spiral for the leaf .
So this is like embossed .
It's like scratched in metal into the thing and it's a double line , but I can't do a double line with sharpie just ends up bleeding together and becomes one mess big line anyway .
So you just do a spiral .
I'll just do a single line .
And if you want to do a double , you can , you just do spiral like this and it has a tail and then a beach sticking off there .
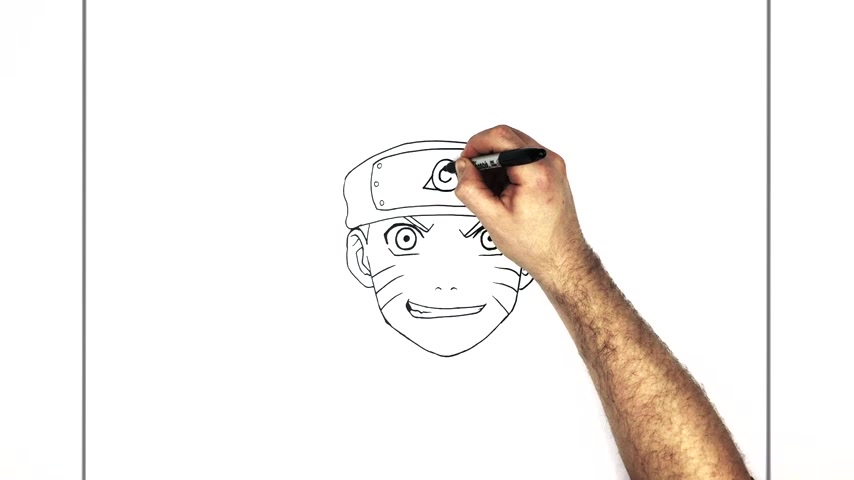
Now again , if you wanted double that line up just to make it look like it's sticking out of metal .
I was just sleeping like that and that is here .
So classic , NATO not complicated hair really .
It's just like spiky like this and they gradually kind of get bigger as we go up except this one which is smaller .
That's classic .
Just as I say , if they're going to get bigger , there's a smaller one .
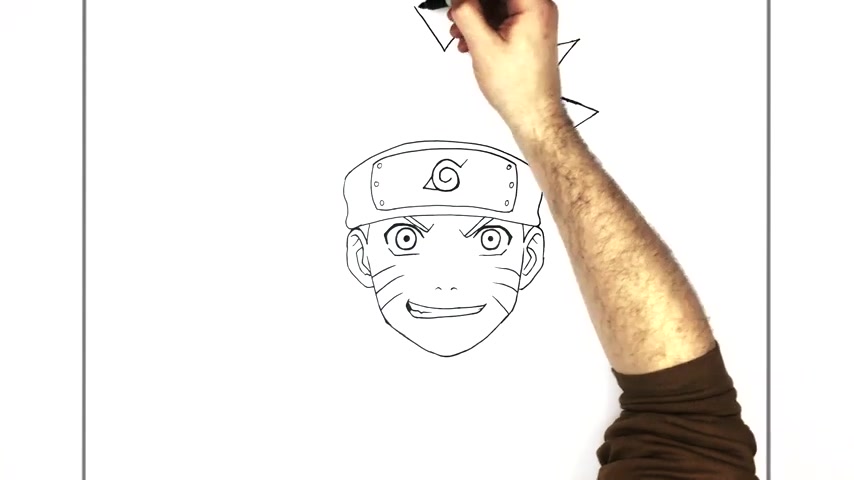
So and then one here in the middle and then we go oh Down all the way around this minutes .
Mhm Yeah .
And that is Nick down here .
Two lines down .
So and then we got some hair coming out from behind his neck up into his jaw .
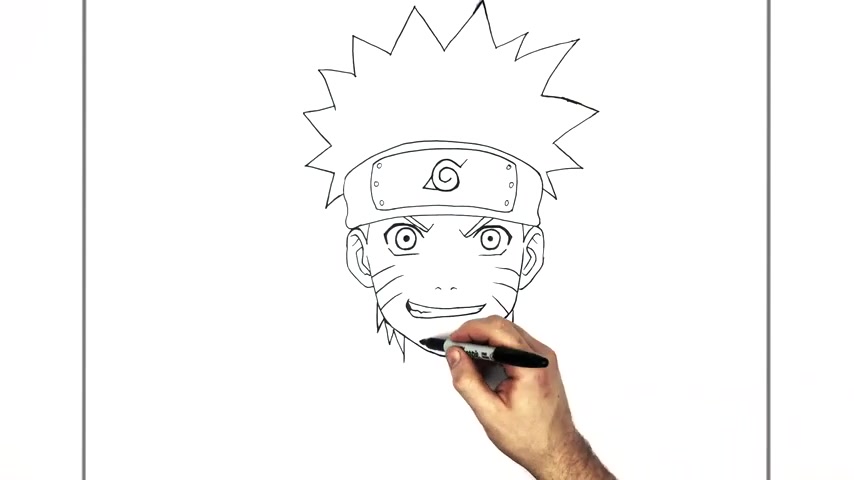
So and So he's got that wooly sort of collar going the whole way around , but it's got like a zipper in the middle .
So it's got like two orange parts , a zipper and then a white part going around .
So we'll do the orange parts first .
No , we'll do the zipper first because it's easier straight down the center , two lines down like soap and then we got the orange bump around here .
Think so zipper then just in the middle there and then we have this white bump that goes all the way around his neck , right .
So it comes out from his hair here .
So just this bumpy sort of thing here with a line down the side .
It's like a big collar and then the side like that and then we join that down into here .
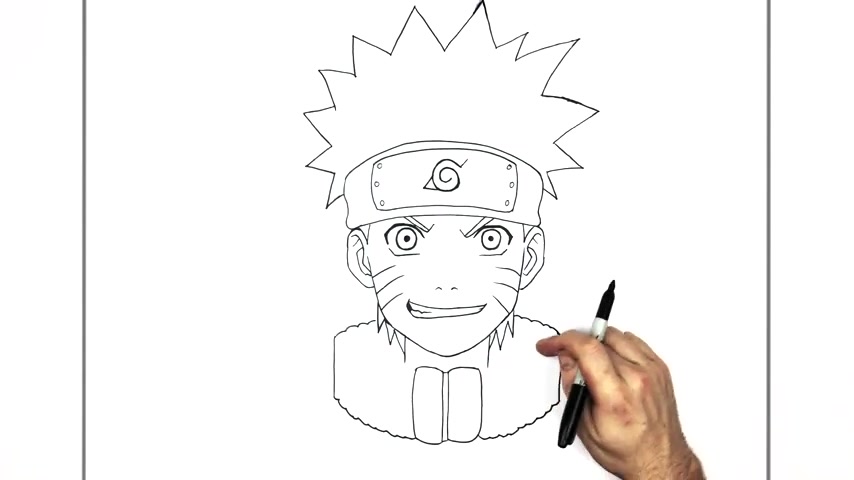
So and we got a layer just on top like that and maybe some lines coming up like so yes , like that .
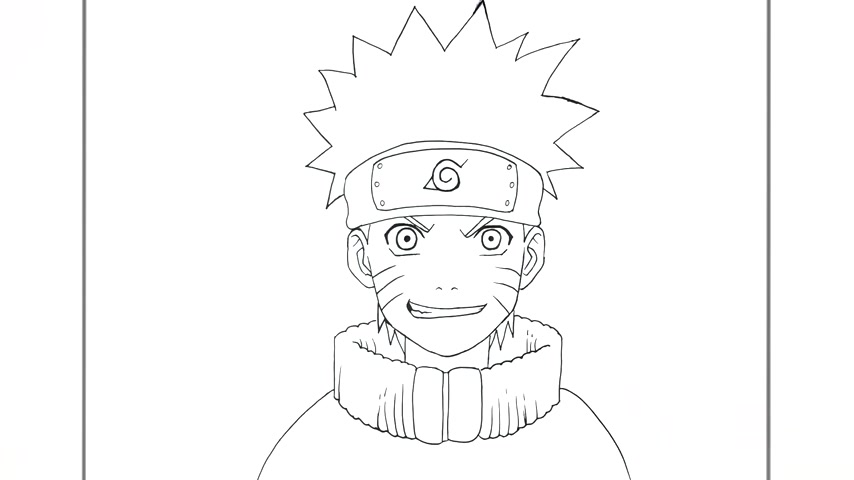
So then his shoulders so comes down not too wide because he's just a kid so narrow enough shoulders down like that .
And in the center , orange part with the zip coming down the middle and we got a blue section , I think just here and that comes across the other side as well .
It's true .
It's true .
Armpit sort of lines there .
Um And he's got that sort of pad on his shoulder with a spiral inside .
So let's see if we can get this .
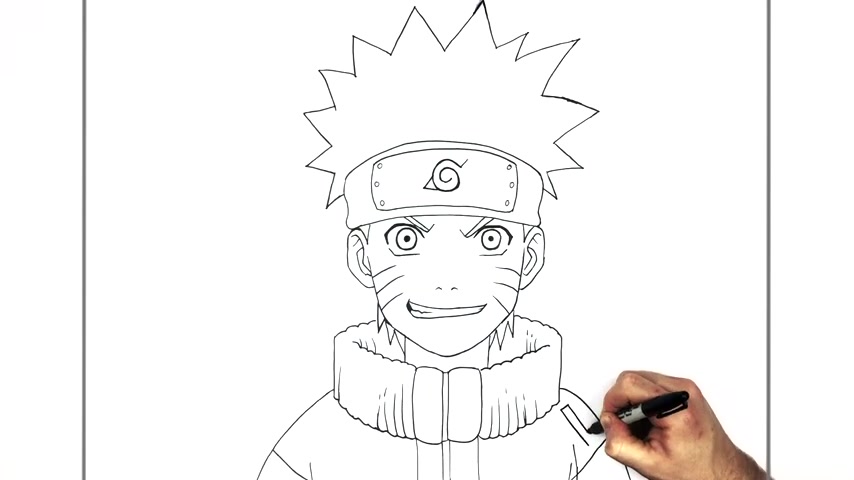
So it's got like a scroll just here with that top on it , that top on this one and then there's like a disk or a circle or something just here .
OK .
Like that .
I think that's got like a spiral inside , something like this .
It's got more lines put back .
It's a bit complicated .
So I'll just make it , try and make it as easy as I can excel and then strings coming down here like soap .
Um , But I think that that's everything .
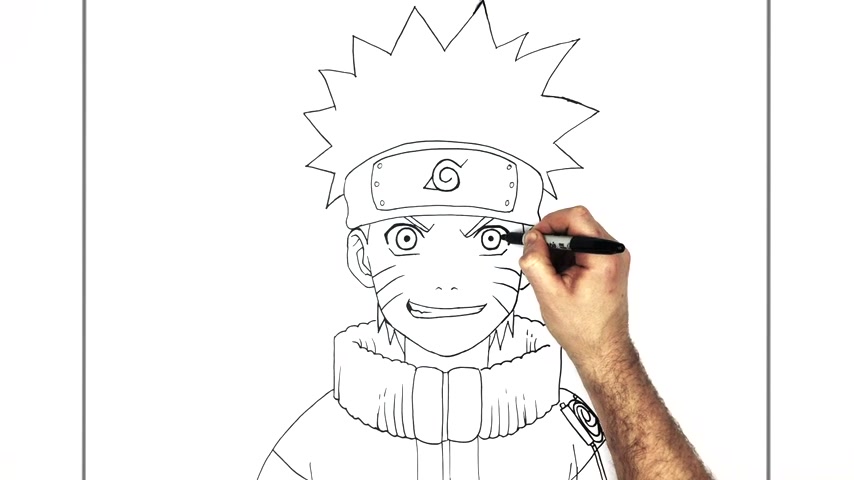
So I'd say the hardest part is probably going to be the eyes getting them sort of circular .
It's tricky to draw perfect circles .
But uh yeah , there you go .
How to draw young Naruto from Naruto .
Thanks for watching guys .
See you in the next video .
Are you looking for a way to reach a wider audience and get more views on your videos?
Our innovative video to text transcribing service can help you do just that.
We provide accurate transcriptions of your videos along with visual content that will help you attract new viewers and keep them engaged. Plus, our data analytics and ad campaign tools can help you monetize your content and maximize your revenue.
Let's partner up and take your video content to the next level!
Contact us today to learn more.