https://www.youtube.com/watch?v=K_u9xXTL_s4
How to Draw Children (Cartoons) - Easy to Follow Tutorial
Hi , my name is Christopher Hart .
I'm a cartoonist and the author of many books on how to draw cartoons .
And today I'd like to show you , give you a kind of a tip on drawing that I think is a helpful one .
And that is that we sometimes make the hair go completely to the side in a front view .
So things don't stay symmetrical .
If it's everything is symmetrical , it's kind of boring .
So let's let's start off with this kind of like fun kid character here that we will draw nice big rounded head , sort of like an oval .
And here is the center line .
I I'll do this over again in marker .
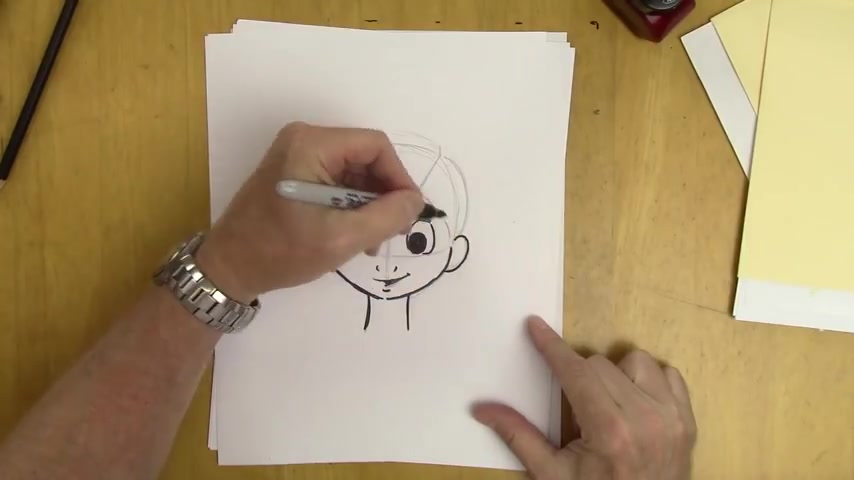
So you'll see it at the end be bolder and the eye line is very low because he's a young character .
The younger you are , the lower your eyes are relative to the size of your head .
Sure , give them some nice big eyes staring straight ahead and bring those pupil , make big pupils and make them make them a little bit a little bit cross eyed .
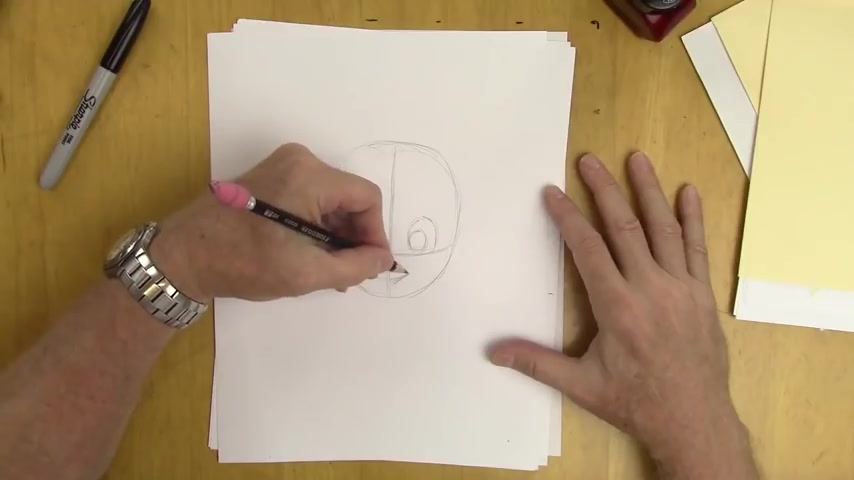
This is a touch just for a stylistic look when characters looking forward right .
Then I'll give him just a , just a bit of the nostrils because he's young , going to define the nose .
You lost little smile to the side again , not completely symmetrical .
Everything else is very symmetrical .
So you wanna , you know , stay away from making everything just completely , you know , like a formula .
The same thing with the eyebrows .
You can tilt this one up a little bit , this one's a little straighter and she comes out down to the rounded chin , thin and long neck and a boy character .
Again , I'm gonna go with the marker and darken it .
So in afterwards for a little bit of emphasis , ears and , and these do have to be symmetrical .
It's not , not a great idea unless you're really kooky drawings , which you can do uh to make the ears at different levels , the eyes at different levels .
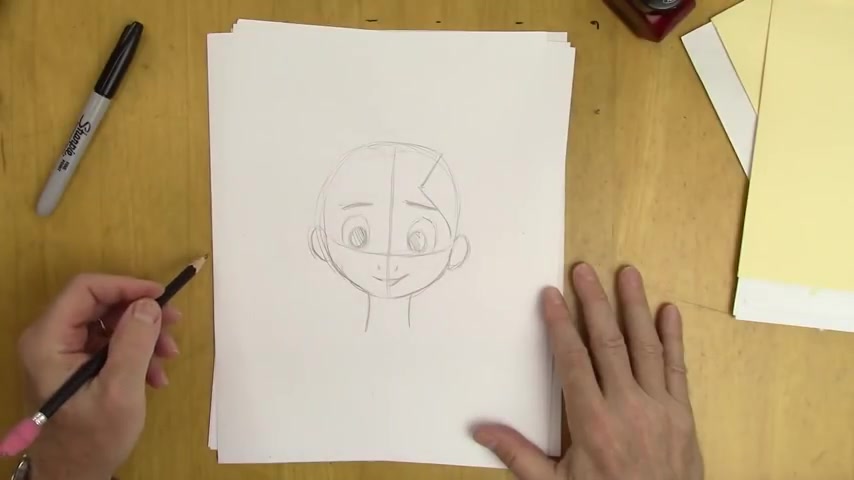
I am however , going to accentuate the different levels of the eyebrows a little bit .
All right , here we go .
Here's the hair I was talking about , start with a diagonal for the part and bring it back in right , right in front of the ear have build it out in back of the head .
You see it adds more , more mask to the head .
So that's why the top half of the head looks bigger than the bottom half of the head .
A lot has to do with the padding of the hair .
Now , we're going to have this come off the side , build this up right over here .
A little more padding up here like this .
All right .
And now that we have this pretty , pretty much in good shape , we , we will start doing it over again in black and white because that was pencil looks like black and white , but it's actually not , it's gray and white .
That's the great thing about scanners though .
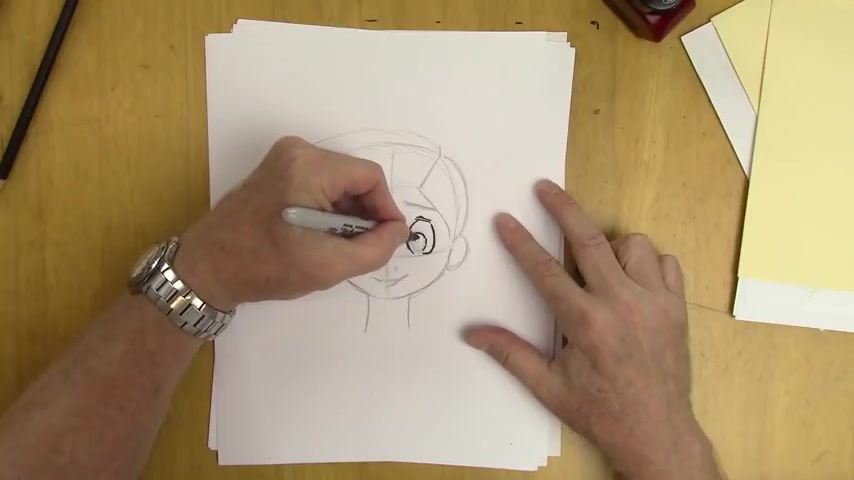
You can scan your art to look black .
Only drawback is if you do that gray look that soft look , you fall in love with , with your pencils won't show it'll all be black , it doesn't selectively do it .
So there's some tricks for that and I will go into those later .
A nice big smile and I'm gonna favor one side of the face again .
A little bit of a lower lip , a small lower lip flatten out this side of the face .
But I'm going to round out this side of the face because this , this cheek is pushing this out .
Everything has an action and a reaction .
It's sort of cartooning according to Newton Walls of motion .
And let's see here .
No real interior details for the ears .
Don't really don't really need them .
Is that part and bring it down here .
Feather this out a little bit , a little extra bits of hair showing like that's build it up , make it look very natural .
And there you go .
There is your boy character and a few ideas on how to draw it in the front of you and keep it interesting .
I've got tons of hints like this on drawing faces for cartoons with my book , Cartoon Faces by Crystal Hart .
That's me .
I'm that guy .
So it's a fun book .
It's got tons of hints on all sorts of techniques .
You're not gonna find other places .
I hope you enjoyed this and I enjoy doing it .
Thank you for joining me .
Subscribe .
You'll get new videos each week .
Bye bye .
Are you looking for a way to reach a wider audience and get more views on your videos?
Our innovative video to text transcribing service can help you do just that.
We provide accurate transcriptions of your videos along with visual content that will help you attract new viewers and keep them engaged. Plus, our data analytics and ad campaign tools can help you monetize your content and maximize your revenue.
Let's partner up and take your video content to the next level!
Contact us today to learn more.