https://www.youtube.com/watch?v=25wLNHgQaUg
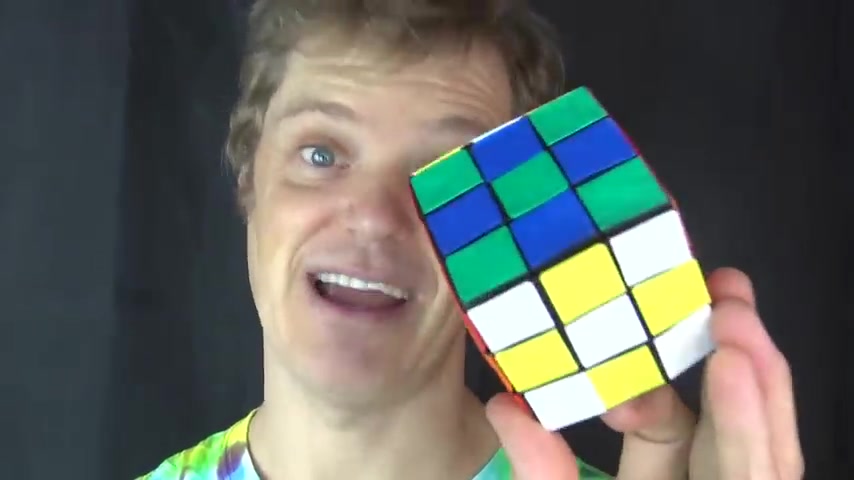
Origami Rubik's Cube - No Glue - From 6 Squares of Paper
वो एक पेपर का है , उसको काट कर दिया है और उसमें ऍम और हाँ काल इट बट दी है और कुछ इस तरीके से छोड दिया ऐसे ही मुँह तो फॅस जी शुक्रिया पहली वाली ट्रिक तो ईजी है वो एकदम हाथ की सफाई हो गई ऍम ट्रिक भी बहुत ही मुँह थर्ड मुझे समझ नहीं आया यार कि कैसे पाँ सबल हो पाई ।

आपको पता है विडियो में सिखा चुका था त्रि साइड सॉल्ट ऍम सॉल्ट इसमें कुछ न कुछ क्यूब ऍम फेर बदली है ।
स्टीकर्स को निकाल दिए इधर या इधर कुछ भी हो ऍफ है इसमें क्यों रखा हुआ है वो पूरा सॉल्व हो गया यार ये मतलब बिल्कुल भी समझ नहीं आया ।
बाकी सब तो समझ में आती है ।
बिल्कुल भी बहुत ही ज्यादा ऍम बाल लग रहा था और जस्ट ऐसा एक है ।
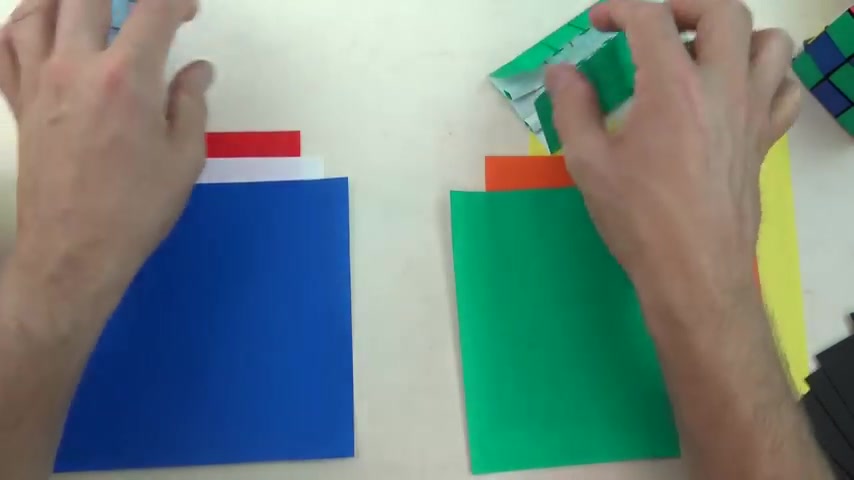
And so this is going to be three squares of red , white and blue for this side and then three squares of green , orange and yellow for this side and for the red , white and blue , we want to use a left hand model for the green , orange and yellow .
We want to use a right hand .
Now , what does that mean ?
It means that with the white lines on the top , a right handed model has the big flap on the right and the left hand has the big flap on the left .
OK .
So I'm first going to do the right handed model .
So here it goes .
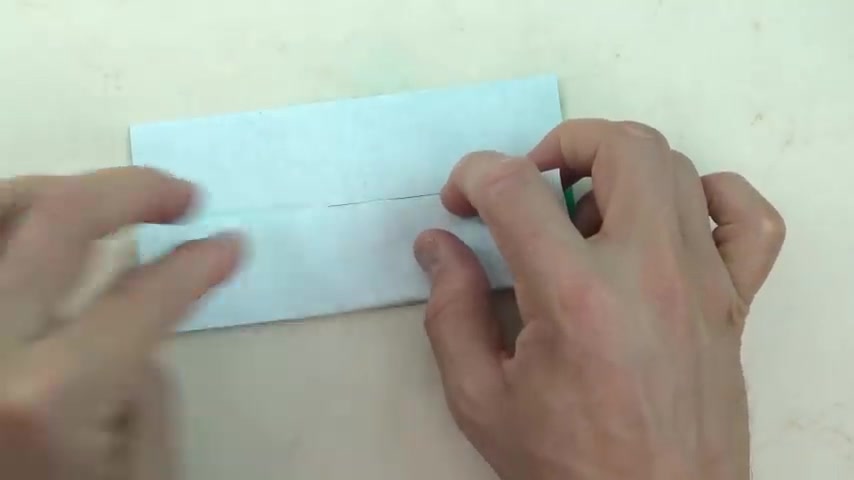
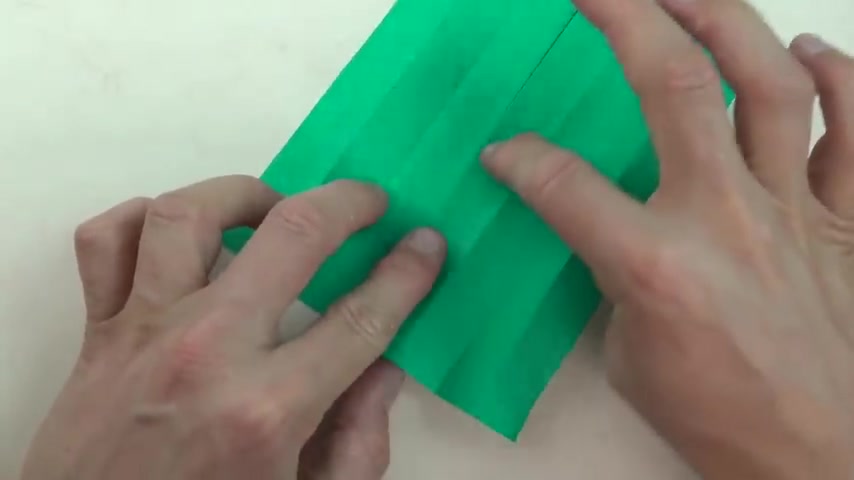
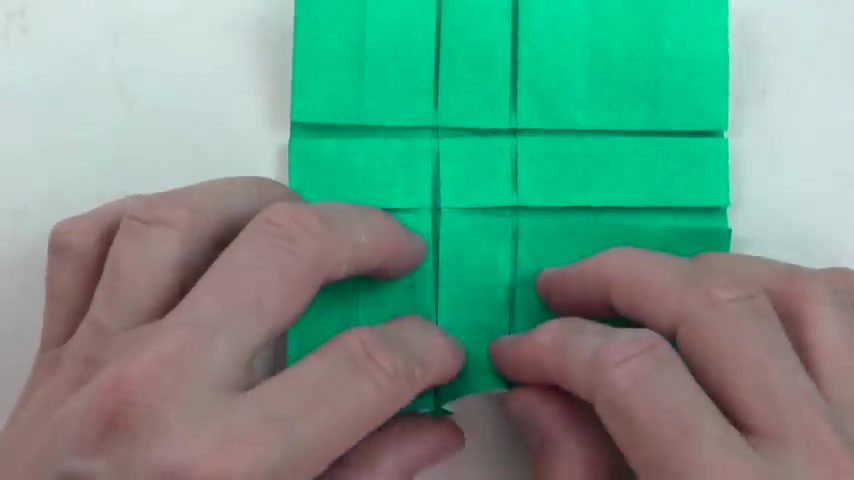
So let's begin white , side up and fold in half and unfold in both directions that make really precise folds and crease sharply .
Now , you could use printer paper , cut square , but it's nice to have six colors .
So it'll look more like the Rubik's cube .
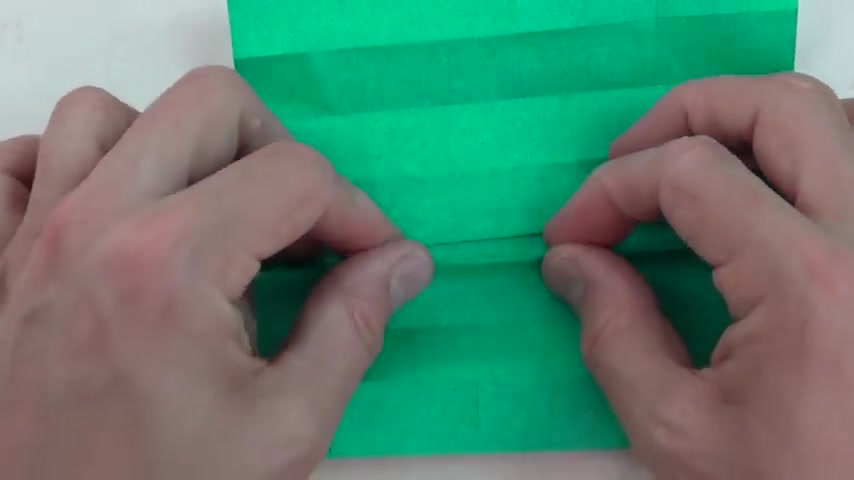
Now unfold and turn over and fold to the crease .
We're going to make an eight by eight grid .
इनके पीछे रखा हुआ था और बाॅय मुझे बिलकुल भी समझ नहीं आया कि कैसे हॅाल हो पाया ये तो आपको ये बताना पडेगा इसमें बहुत ज्यादा मुझे दिमाग लगाना पडेगा मिलते हैं नेक्स्ट विडियो में तब तक के लिए मैं सोचूंगा और आप भी सोच के बताओ मैं ॅ करो यार ये कैसे ?
पाँच डबल हुआ ॅ विडियो में यदि मुझे जिसका भी कमेंट पसंद आया मैं आपको वहाँ पे मॅन करके विडियो बना लूँगा और ऍम सब्सक्राइब कर दो ऑॅफ इनको कौन कर देना ऐसी मोर इंट्रेस्टिंग मुँह देखने के लिए और ऍम कर ही दिया है ।
बहुत मजा आया आपको बहुत बहुत ऍम ।
Now , when it's all lined up like this , lift up , just this flap and make it sharp underneath that way , we don't end up making an extra line on the top because uh we want this to be crease free if possible .
OK .
Now unfold and remake the middle crease and this time fold it onto the crease that we just made , but don't fold it , exact fold it about a millimeter away .
Now , this is going to be to taste .
We're just making the spaces between the squares .
If you folded it exactly , then you wouldn't have the black lines .
So this is really to taste .
But about a millimeter if you want something like this and maybe a half a millimeter if you want it to be a little bit closer .
OK .
Now , once again , make it sharp , lift up , thanks .
Hold it like that .
Now , rotate 100 and 80 degrees and repeat on this side .
So we're folding about a millimeter or a half a millimeter from the crease .
So there is our thickness that is the thickness of the space in between like that and fold it underneath .
OK .
Now , here comes the crucial turn .
If you wanted it to be a left hand model , then you would turn 90 degrees to the left .
But we want it to be a right hand model .
So turn 90 degrees to the right and now find the middle crease and fold it up to the next crease above it .
And this time fold it exactly to the crease .
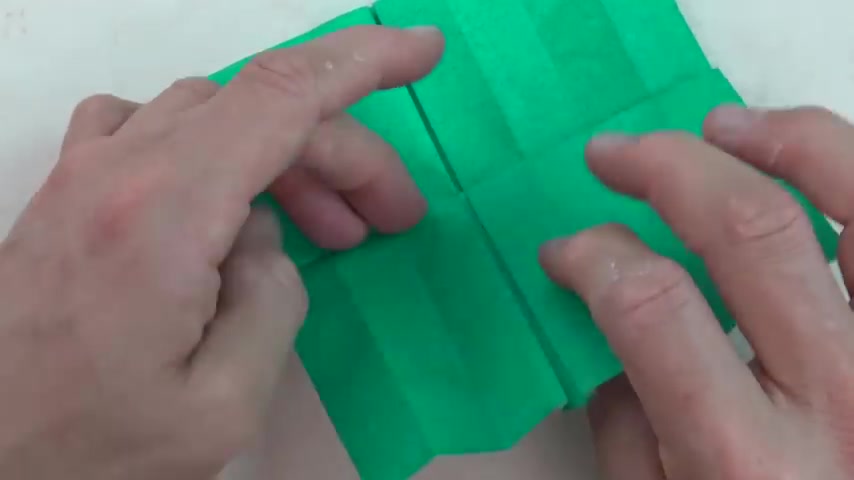
And once again , fold it lightly and lift up and fold it sharply and unfold and lift up the middle crease again .
And this time fold it almost to the crease , either a millimeter or half a millimeter from the crease and lift up and fold it sharply and rotate 100 and 80 degrees and repeat on this side .
So this is going to be our middle square .
Let's rotate 90 degrees clockwise and lift this crease up and fold it to the next crease up .
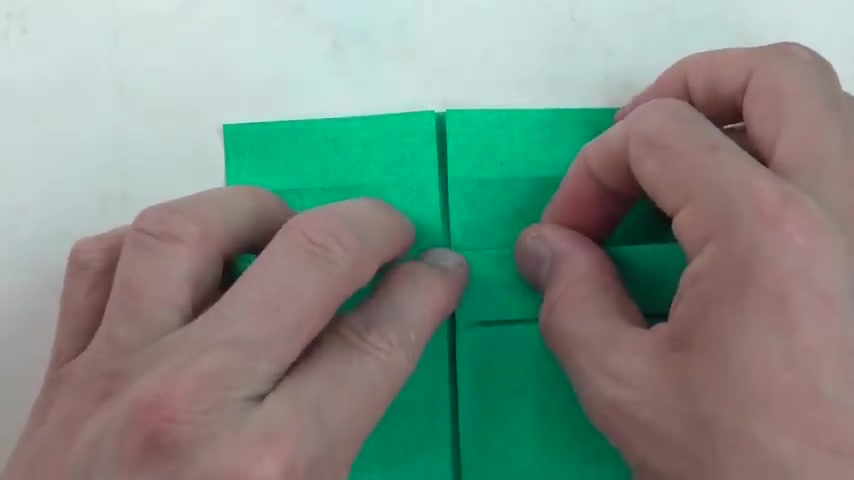
Fold it lightly , fold it exactly to the crease .
Lift up and fold it sharply and now unfold and fold it almost to that crease and pulled it lightly , lift up , fold it sharply and rotate 100 and 80 degrees and lift this crease up and pull it almost to the crease .
Lift that and fold it sharply .
Ok .

Now , rotate 90 degrees clockwise and make the fold and bring it up exactly to the next crease and like up , fold it sharply unfold and fold almost to the crease to lift up and fold it sharply and rotate 180 degrees and bring this fold up almost to the grease .
Lift up and pull it out .
Please .
Now rotate 100 and 80 degrees and fold this flap up to the first crease and fold it exactly .
Now rotate 90 degrees clockwise and fold this flap behind and pulled 100 and 80 degrees and fold two units behind and 90 degrees and for one unit behind and you can just let this be at 90 degrees and rotate and F 1.5 units .
So it's like that .
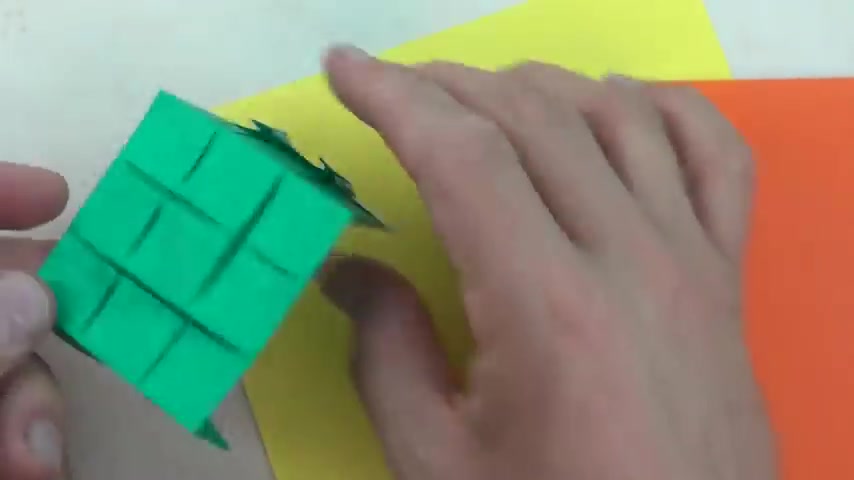
And here is the finished right hand unit .
So now we have to do that two more times with the orange and the yellow .
OK .
So all three right hand modules are complete .
Now , we're going to do the left hand modules .
So let's do the same thing .
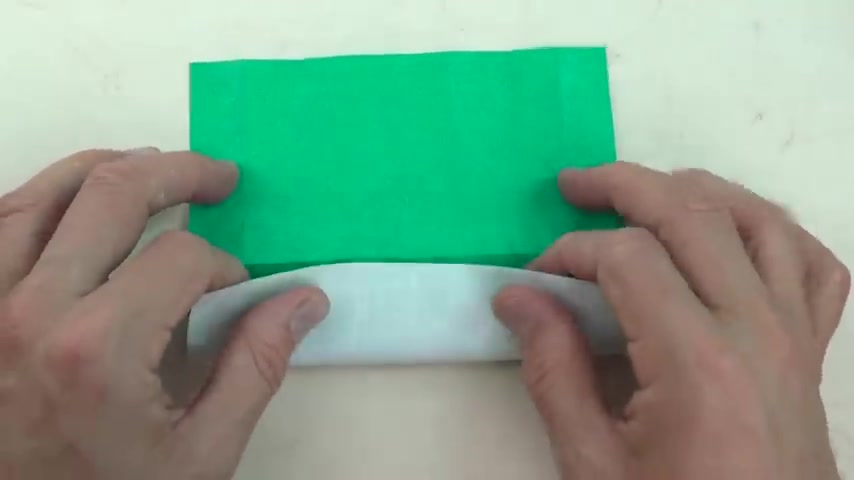
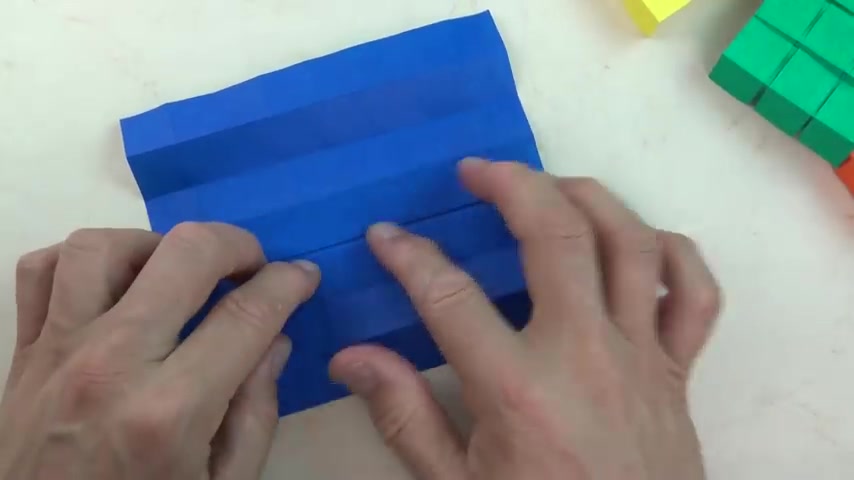
I begin white side up and fold in half and unfold in both directions .
So this is the same sort of model , but we're just rotating the left every time .
OK .
Now , here's where it's crucial that we rotate counterclockwise for the left-handed unit .
Now , like the middle crease up and fold it exactly to the crease , fold it lightly , lift it up and fold it sharply and unfold and now fold that middle crease up almost to the crease .
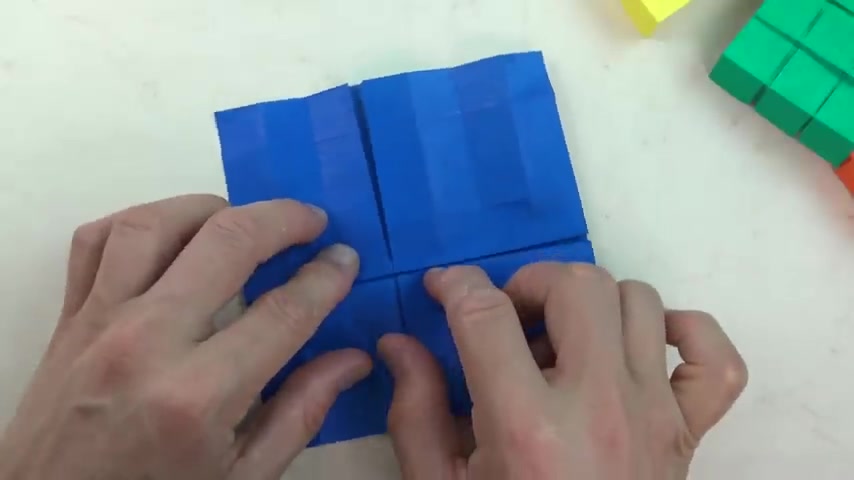
And so here's our middle square , let's rotate 90 degrees and rotate 90 degrees and now rotate 100 and 80 degrees and fold the bottom edge up to the first crease .
And here we have the left hand unit and repeat that with the red and the white and I'm gonna fast forward this part .
OK .
So we have all the left hand modules and we have the right hand modules .
OK ?
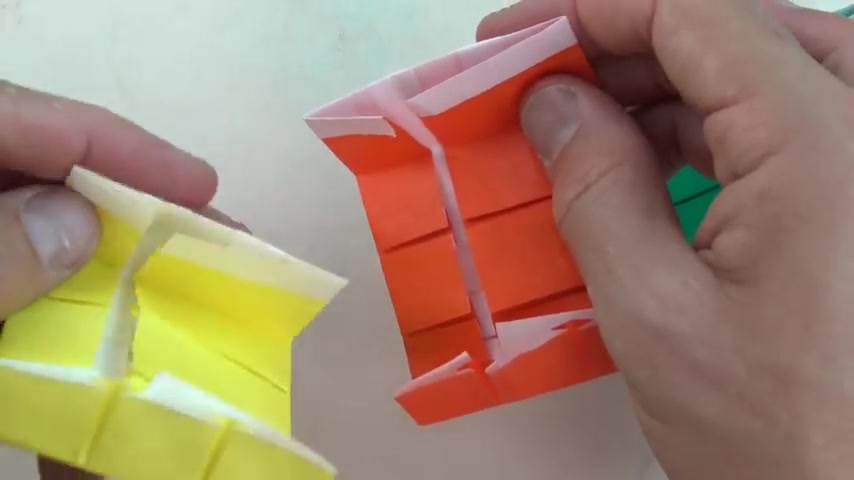
So I'm going to start with the right hand modules , yellow , orange and green .
Let's fold the white strips down , actually make them stick up so that they're 90 degrees and do the same with the bottom flaps .
And now take the white strip of the yellow module and stick it underneath this big flap .
So it's like this and you'll notice it kind of locks .
I mean , it can't go to the left because this edge and that edge , but up against each other , now we're going to stick this orange flap into the green pocket .
So it's like this and it locks in place there and now stick this lab underneath the yellow big pocket and just make sure that it comes to a point right there and you can lock it better by folding these flaps over like this .
And there we have the locked first units .
If you want to lock it a little bit better .
There's a little extra thing you can do , but this isn't required and do that on the other two places as well .
And it's tricky though .
So once again , that's not required .
Ok .
So there is the first three right handed ones .
Now I'm going to do the same thing with the left-handed ones and I'm gonna fast forward this part .
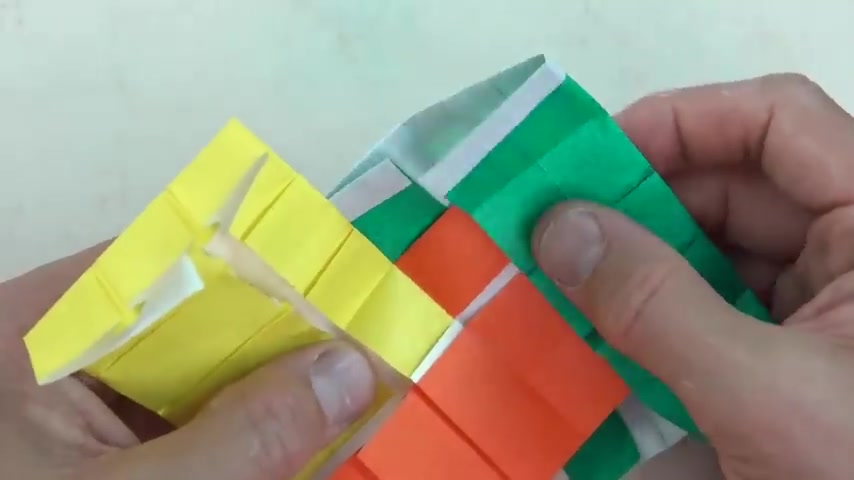
And here we have the second trio and now it's time to put together the two trios , let's put it together so that the yellow is opposite to the white and the red is opposite to the orange and the green is opposite to the blue .
So place the yellow into this slot and the blue goes into this slot , the orange goes into this slot , the white goes into this slot and we're just rotating the cube , the green goes into here and the red goes into here .
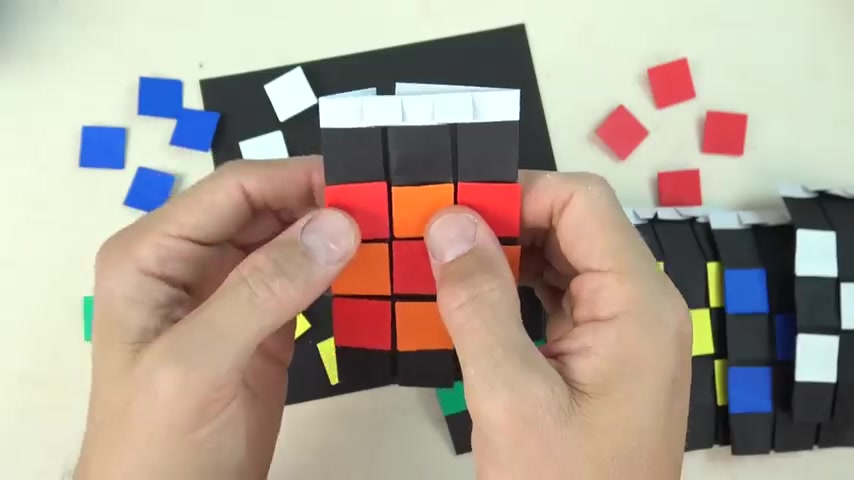
It's kind of tricky but there it is and that's the solution and you can just kind of pinch the corner so that all of the edges line up to make it look a little cleaner and there you have it .
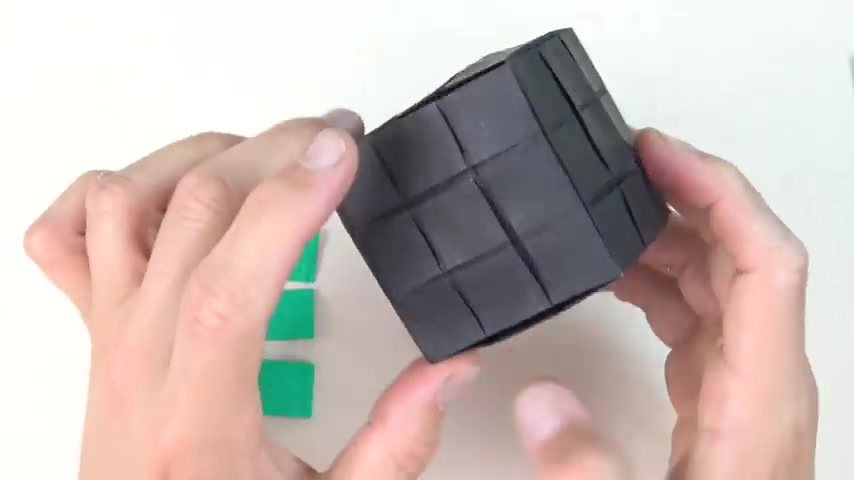
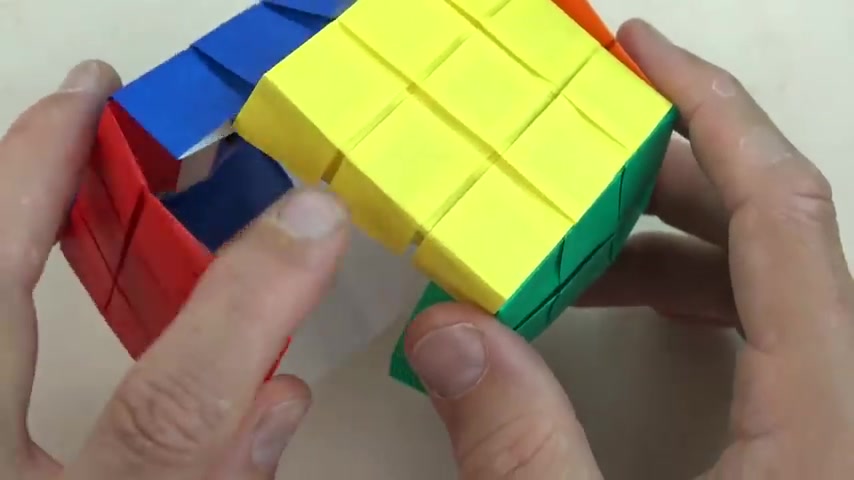
So if you like it like this , you're done .
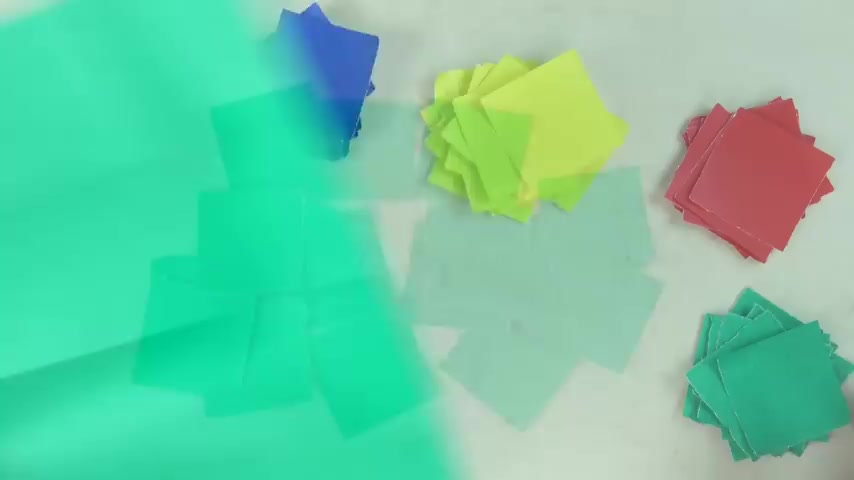
But if you want it like this , then we need 54 little squares to cover this thing .
Now , if you folded the cube out of all black , then you need nine little squares of each color .
And so that's 54 in total and each six inch square you can get 16 .
So I'm not gonna show you how to do that .
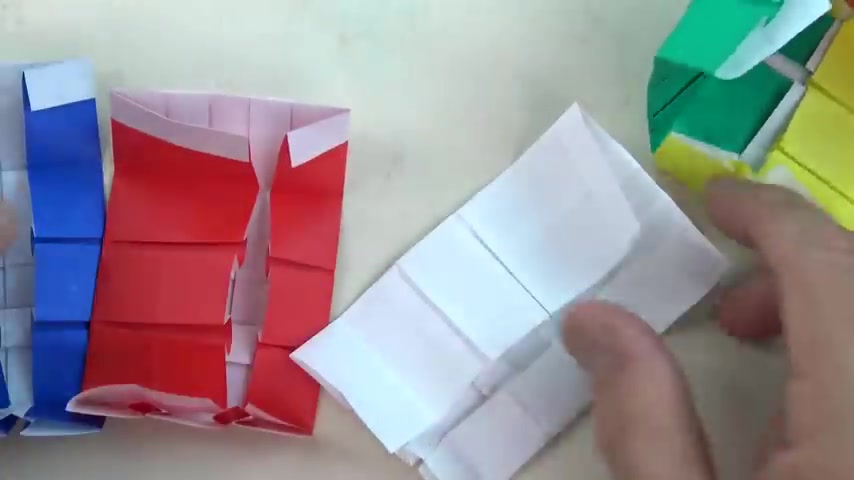
So let's begin with the white side up and fold a four by four grid .
You can either use scissors or you can use just tearing and I'm gonna just show you how to do tearing because I imagine you understand how to do the scissors and now just make sure that your creases are really sharp .
So just crease it again in both directions .
OK ?
Now , with the colored side up really carefully , make a little tear right at the crease like that and just go around the perimeter making little tiny tea .
Now holding it like a ridge , separate your hands and the hair goes all the way down and do that here too .
16 squares and do that with the other colors .
So if you divided each square into 16 , then you should have 96 squares .
But we actually only need nine of each , which is 54 .
So now I'm gonna show you how to make each one of these little stickers .
So , since we don't want any creases on the top , let's just turn over and fold the two corners like this .
So we're gonna blin it without any PreCrea just do your best .
And now crease all of those nice and sharply and now blend it again .
Yeah .
And grease flow sharply .
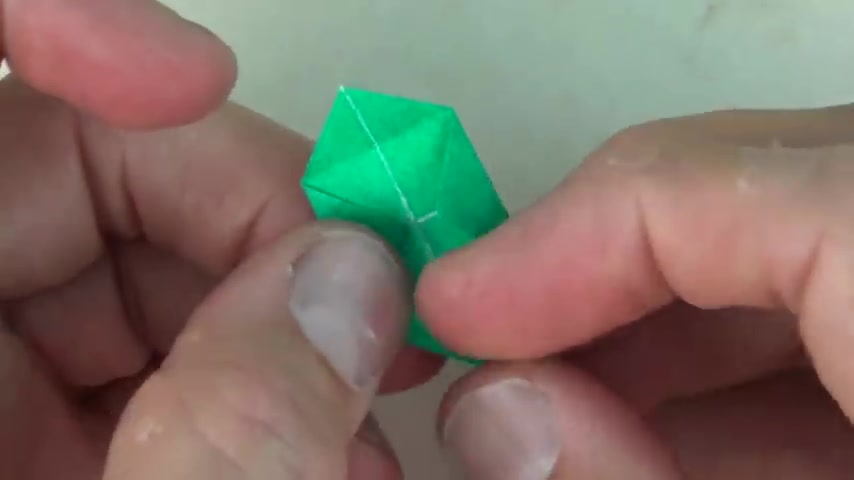
Now unfold two opposite corners and fold so that the corner passes the crease .
So there's the crease and it just passes it by a little bit and same on the opposite side and now fold this up like this .
So you're folding like that and one module is done platin it nice and well and it spins and now I just need to make 53 more or it can also be a spinner root or of course , a flicker .
All right .
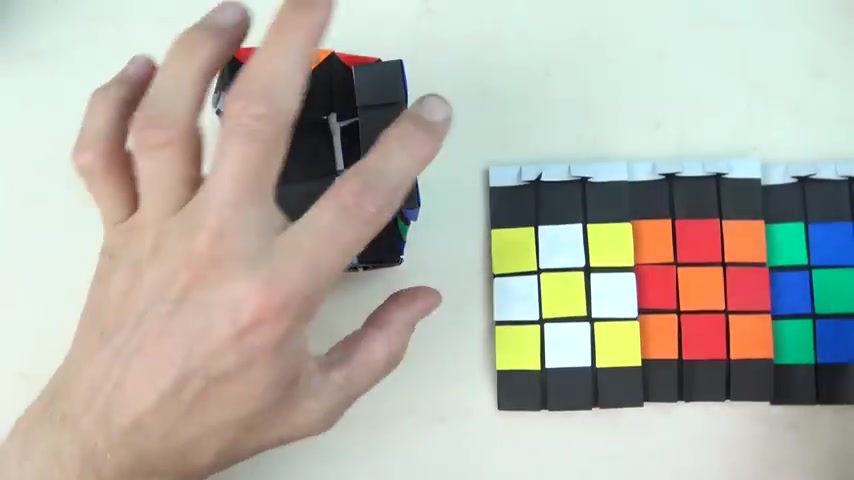
So I made all 54 stickers .
So I can completely fill up the black cube and I'm gonna make the easy checkerboard pattern there .
And I made six extras and I'm going to use these six squares to make the six spots pattern on this one .

And normally I would recommend dismantling the cube and applying the stickers because it's a lot easier .
But I'm going to try to put this sticker on the middle without taking it apart .
So what you wanna do is take this flap and stick it into that pocket and then take this flap and wrap it over the edge .
So it's like that and that sticker is in and you see , I'm already having trouble .
OK .
There it is .
And uh OK , I'll do the rest of this cube like that , but I'm gonna fast forward it .
There it is .
And to apply the rest , I'm now going to take this one apart .
All right .
So I'm first gonna put red , white and blue on the centers of these lefties and again , they're called lefties because with the white , the thick is on the left .
So here goes red .
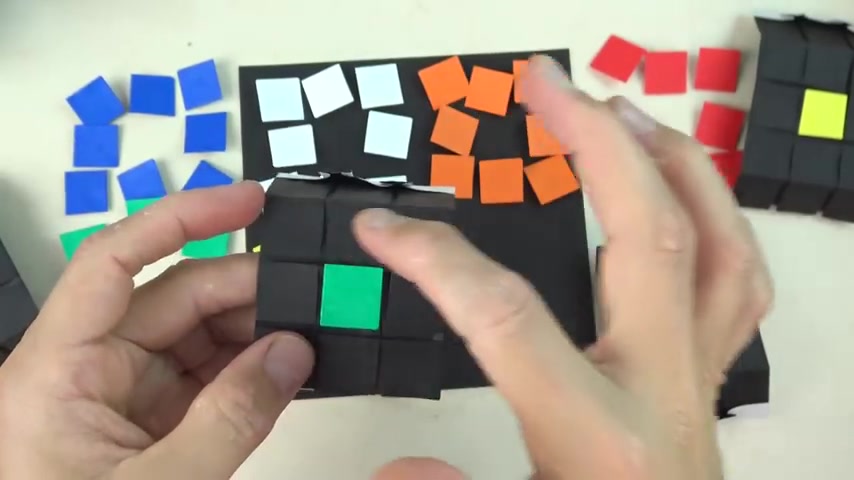
Oh , that's , that's a lot easier things up flap .
And now since it's going to be the checkerboard , this is going to be green , green , green on the corners .
And so just took it like this .
OK .
So we have the red , white and blue and the yellow , orange and green .
Now I'm gonna put these orange squares on the remaining four squares of the red , the yellow goes on the white and the green goes on the blue .
OK ?
OK .
And just slide things around so that the black lines are even OK .
That's good .
And on these three righties , we put white on yellow , red , on orange and blue on green .
All right .
So just focusing on the centers of these sides , I've oriented the lefties in the form of red , white and blue and I've oriented the righties in the form of yellow , orange and green .
And now I'm going to put together this trio like this and one sticker came off .
So that's not so bad .
OK .
This one's done and now we're gonna do the same TV .
So , all right .
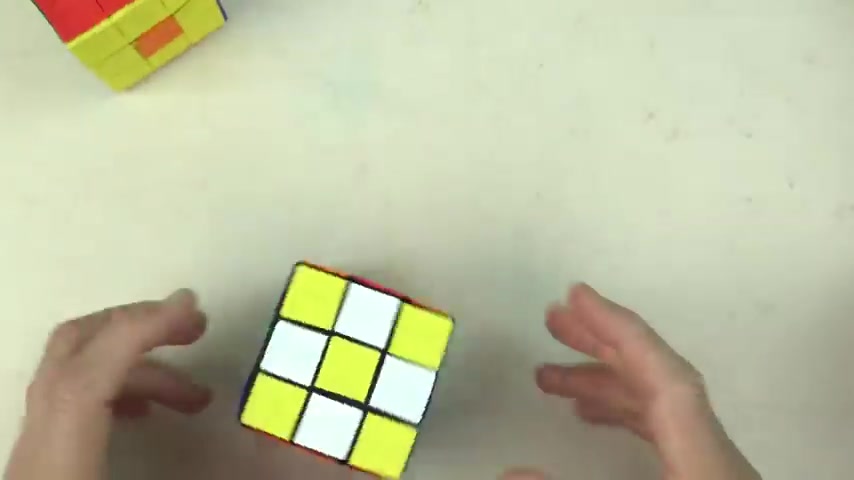
So they're both done and now we just put opposites to opposites .
I like this .
Bye .
All right .
So there you have it .
Well , this was a major challenge .
I hope you were able to fold it .
And if not , well , I have another really simple version of the seamless cube modular and for that tutorial click here .
All right .
I hope you guys enjoyed that .
And I'll see you guys later .
Yes , they do move , they definitely move all over the place .
All right .
See you guys later .
Are you looking for a way to reach a wider audience and get more views on your videos?
Our innovative video to text transcribing service can help you do just that.
We provide accurate transcriptions of your videos along with visual content that will help you attract new viewers and keep them engaged. Plus, our data analytics and ad campaign tools can help you monetize your content and maximize your revenue.
Let's partner up and take your video content to the next level!
Contact us today to learn more.