https://www.youtube.com/watch?v=uDTVHI8DJfw
Make a Quick and Easy One Sock Gnome_Christmas Gnome_Craft Fair Favorite
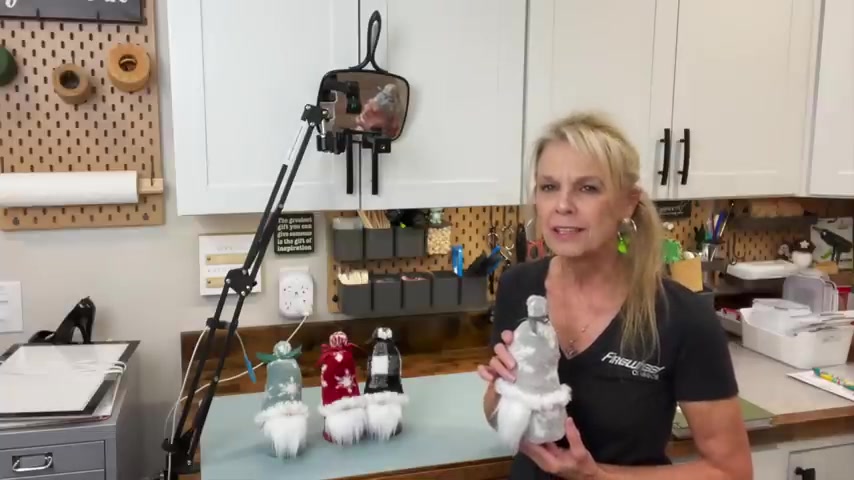
Hey guys , welcome back to my channel .
And if you're new here , I'm Patty .
And on Mondays , I make gnomes and on Thursdays , I do budget friendly home Decor .
A lot of you have been watching my one sock gnome video from a couple of years ago , but you are having a hard time finding the sock .
So today I'm bringing you a new one that I made and these socks right now are available at target dot com and they're probably in your store as well .
I'm using a new technique in this one .
I'm not using any seeds or any rice .
It's a little bit different .
If you want how to make them stick around .
I'll show you how thank you so much for watching .
Love you guys .
Ok .
You need some faux fur , some stuffing , a couple of nuts , four of them , some rubber bands , a ribbon , a nose , some string , a sock , couple of pipe cleaners , some cardboard and some felt .
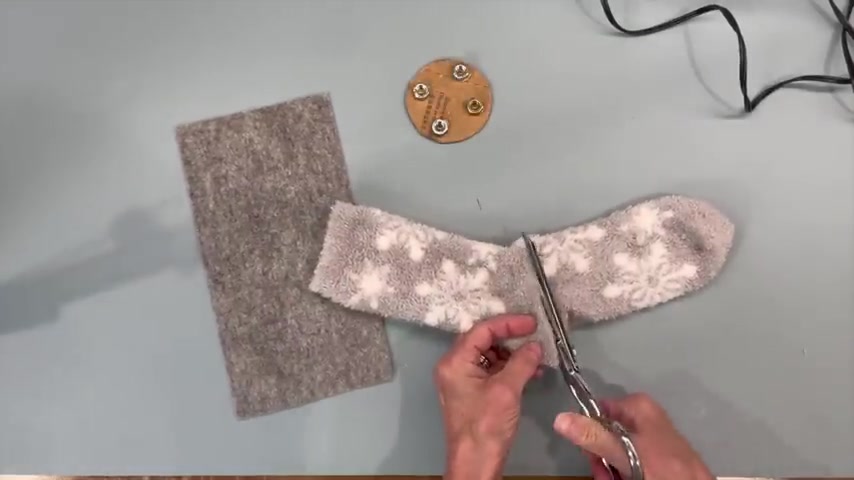
So you're gonna have set my um , compass to one and a quarter because I want a 2.5 inch circle and then I'm just gonna cut that right out of the cardboard Ok .
Next , we're gonna take 4 , 5/16 inch nuts and we're just gonna attach them in four different places on the , on the bottom of this cardboard .
Then we're gonna go ahead and take our sock and we're gonna cut straight across the heel all the way across and then we're gonna cut this side straight .
Ok .
Next , we're gonna take our felt and we are gonna start at the edge and we're just gonna roll our piece of cardboard along the bottom edge of this , just go all the way around it until it seals up .
And then we're gonna go ahead and glue the front .
Now this is , lets you be able to control how much stuffing goes in your , into your gnome .
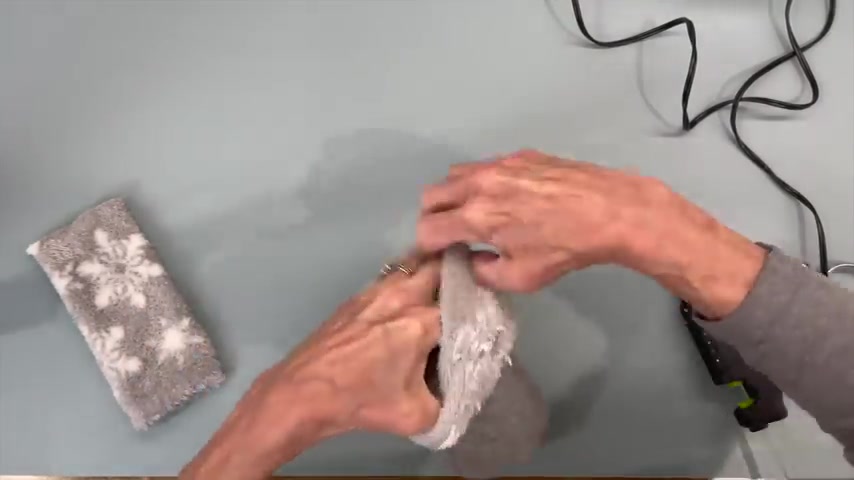
Next , we're gonna take our sock and we're just gonna put it onto the bottom , pull it up until it is completely straight and then we're gonna start adding poly all the way till you get to the top ledge of that felt .
OK .
Next , we're just gonna take a rubber band and we are gonna tie that around the top part here , just make sure that you get the belt inside that rubber band as well .
So go down far enough to get that belt put in there as well .
And then we're gonna tie this off and don't skip this step because these rubber bands will break .
If you don't tie these off , eventually they will , um , get weak and they will break .
Ok .
And then go ahead and cut off the top , leave about a half inch at the top .
Then we're gonna take two pipe cleaners and we're gonna fold them in fours and that's what's gonna go down into the center of our gnome right here to hold our hat up .
So just push it right in there , put a little bit more glue in there and just squeeze it all together .
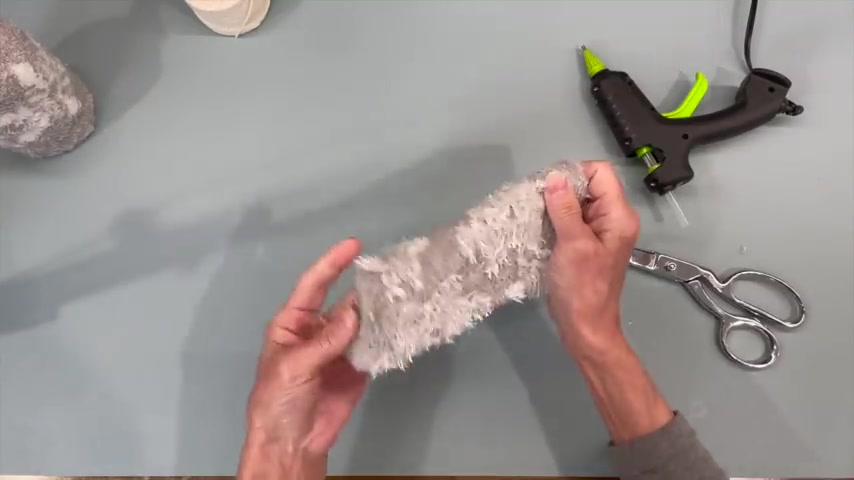
Next , we're gonna take our hat .
We're gonna turn it right side out or inside out .
And we are going to go on the raw edge and tie a rubber band around the top part of it .
And then we're gonna also tie a string around it just to make safe , make sure it stays together .
Ok ?
Next , we're gonna turn it right side out and we are going to stick it over the top part of our pipe cleaner and have some filling ready because we are going to go ahead and stuff the hat .
But we're gonna wait till we get it onto the pipe cleaner .
Pull it on down , get the pipe cleaner centered and then we're gonna just gonna make a little ball at the top , kind of like a little pom , pom at the top .
Ok .
Next , we're gonna set that aside .
I'm gonna go ahead and cut the beard start with an even edge and then we're gonna cut the beard at 2.5 inches by 2.5 inches , so 2.5 inches wide by 2.5 inches in length .
And I'm just gonna do a little mark on here and then I'm gonna turn it over and I'm just gonna make a U shape .
So I have a guide to go around to the opposite side .
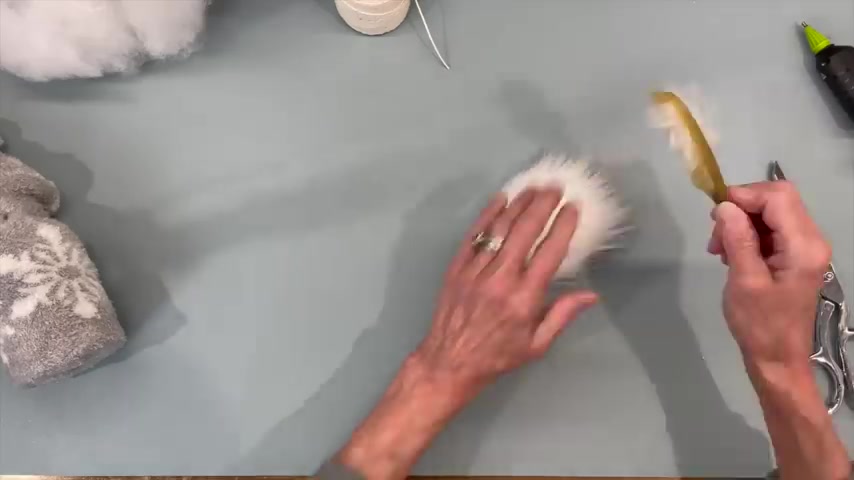
And then if you just cut behind the faux fur only , I know y'all heard me say this before it , if just cut behind it , don't cut through it and then go ahead and clean any excess fur off .
Ok .
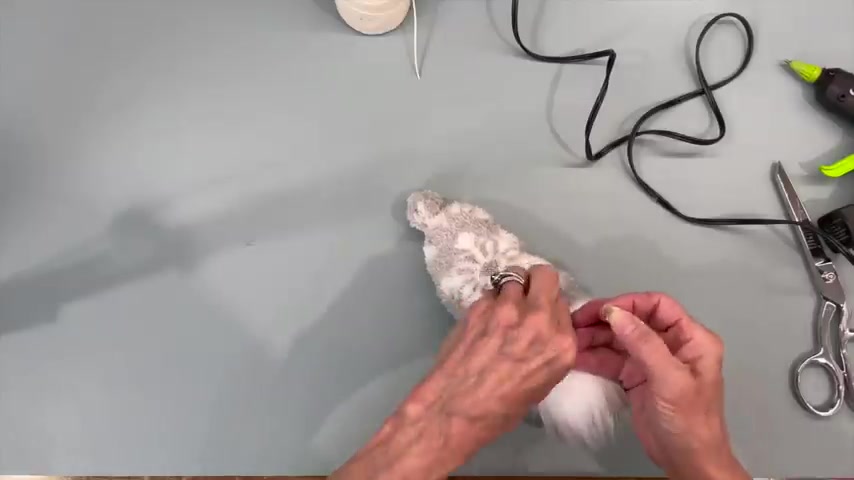
Next , I'm just gonna go ahead and attach it to my um body .
I'm just coming right down where the bend bends just gotta figure out a spot that has a pretty back on it .
So when you're the Beno is backwards , it still has a pretty , um design on it and then go ahead and glue the , the beard down .
Then we're gonna go ahead and pull the hat down and then I'm gonna start stuffing it with a little bit of stuffing just to kind of fill it up .
And I'm gonna start in the back on one side and then the back on the other side and then just kind of , you know , wiggle it around in your hand until it kind of gets even just kind of shape it there a little bit kind of pull it apart and then just kind of roll it in your hand just to kind of get a little bit even .
Ok .
Next , I'm gonna pull the back down pretty far and I'm gonna go ahead and glue that down and then I'm gonna start gluing the sides down .
Don't glue the front down yet because we still got to add the nose and then I'm just gonna pull the front back just a little bit and I'm just using a 15 millimeter half deed right in the center .
And then I'm gonna put a little bit of glue on the top part of the nose and attach the hat to that .
OK ?
Then I'm just gonna take a ribbon and I'm gonna just tie around the top part and I'm just gonna tie it in a bow and you can add more decorations to these if you want to .
I mean , you could do a lot of different things with this one pattern .
OK ?
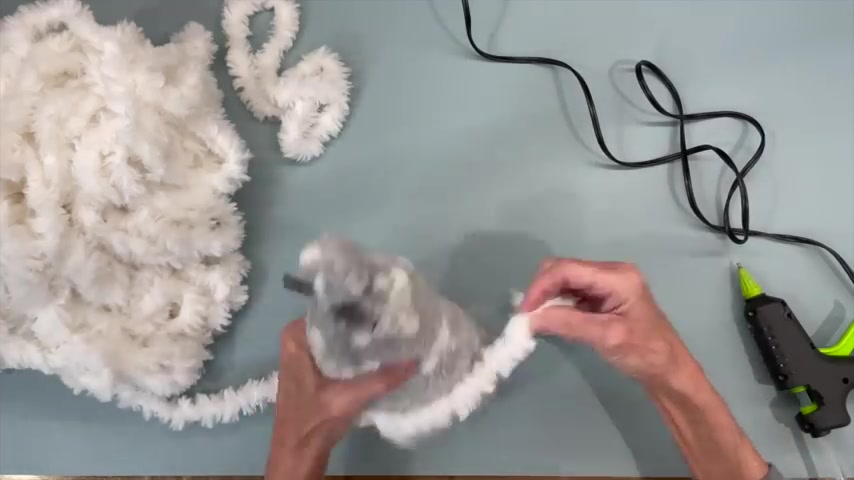
And that's what it looks like , but I decided to go back in and add a little bit of fur around the top and I'm just coming in about a 12 inch piece of fur and this is a yarn and I'll give you the link for that below , just wrap it around , find your center point and then just glue that in the front , start in the front on your gluing and just kind of make sure that you get real , real close to the bottom of that um , sock so that it does cover up that sock and then let me know in the comments which one you prefer with the fur or without the fur .
I'd love to hear your opinion .
I just think it would , made it a little bit more festive for the holidays .
All right .
That was pretty easy if you like these kind of videos hit , like if you want to see future videos hit , subscribe .
If you wanna be notified when I have another video hit the bell .
Thanks so much for watching .
Make sure you make plenty .
Are you looking for a way to reach a wider audience and get more views on your videos?
Our innovative video to text transcribing service can help you do just that.
We provide accurate transcriptions of your videos along with visual content that will help you attract new viewers and keep them engaged. Plus, our data analytics and ad campaign tools can help you monetize your content and maximize your revenue.
Let's partner up and take your video content to the next level!
Contact us today to learn more.