https://www.youtube.com/watch?v=C9YvIVTrC6w
How to Draw ET _ The Extra Terrestrial
Hey everyone and welcome to the club today .
I'll be showing you how to draw et the Extra Terrestrial .
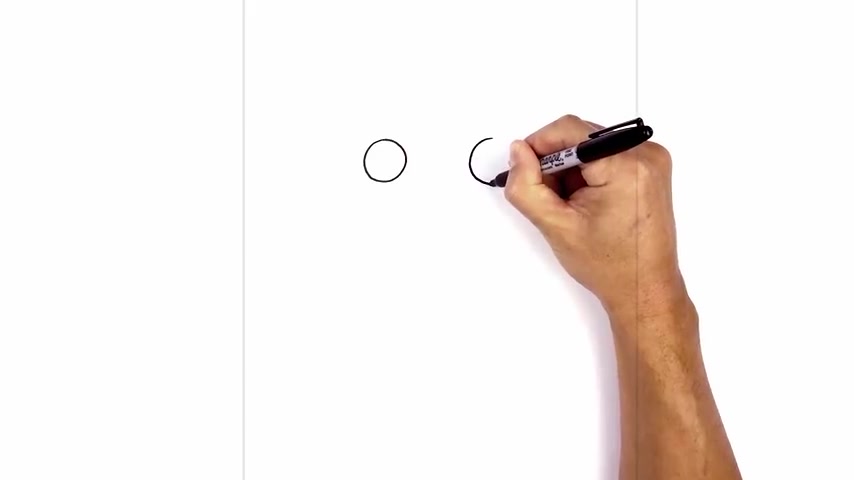
Now I'm gonna get started at the top of my page with the eyes .
So let's get started on the left side by drawing in a circle .
So we're gonna start at the very top and just work our way around counterclockwise all the way around towards the top .
Now , I'm gonna leave a large gap in the center and do the same thing on the right side .
So let's line at the top .
You got to draw in that same circle on the top , left side of each eye .
I'm gonna draw a small circle for a highlight .
So we're just gonna tuck this up against the side , just draw a small circle .
We do the same thing on the right side in the center of the eyes .
I'm gonna draw a smallest circle tucked in behind the highlight for the pupil .
So start at the bottom here and work our way around .
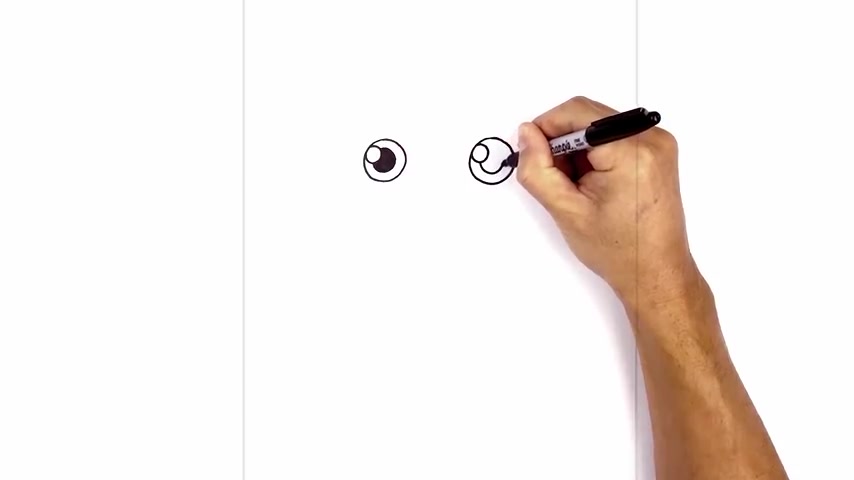
We wanna leave an even space gap all the way around and we're gonna fill that in black .
Now , let's do the same thing on the right side .
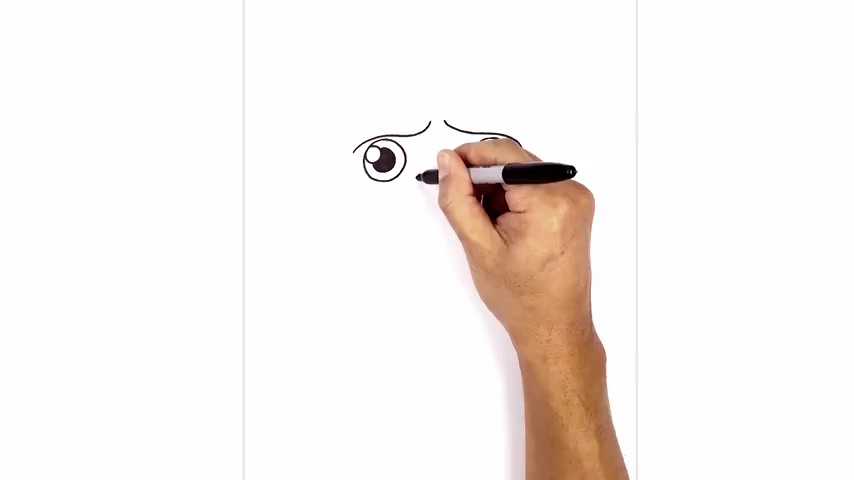
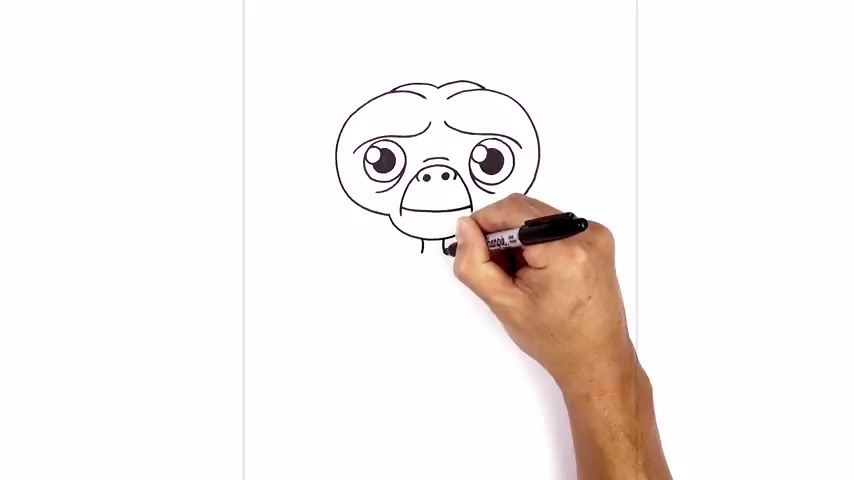
Now , just above the eyes , you're gonna draw the lower edge of the brow .
So we start on the left side of the eye , we're gonna curl up and over and then we'll pull it back up towards the center .
So start on the side , we're gonna go over the eye .
We're gonna come in and we're just gonna pull that up and we're gonna leave a small gap in the center and do the same thing on the right side .
So lining up the top curve down over the eye and then just pull it around the side in between the eyes .
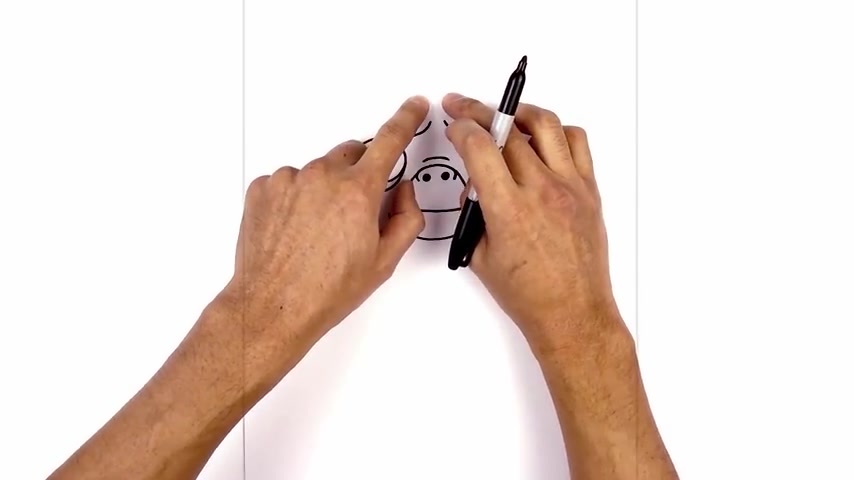
I'm gonna locate the notes .
So we start with two circles for the nostrils , one on the left side , leave a gap and then one on the right and we're gonna fill those in black now around the nostrils , I'm gonna draw on the side of the nose .
So we're gonna step over , draw a curve going over the top and then around on the right side .
Now directly above the nose , I'm gonna add a little wrinkle .
So starting on the left , we curve up and then back down .
I wanna give eta little bit of an eye bag .
So we start on the inside edge of the left eye with a curve down and then just pull it out .
Do the same thing on the right from the side of the nose , we're gonna curb out and then down to the chin .
So let's start on the left side here , I'm gonna curb out and then just pull it down .
Now , we're gonna step up from the bottom and draw a curve for the mouth starting on the left .
I wanna step up , just draw a curve coming down in the middle and back up on the right now , directly to the side of the mouth .
We're gonna draw a curve for the chin .
So let's step over towards the left curve down towards the bottom of the chin and then back up on the right side .
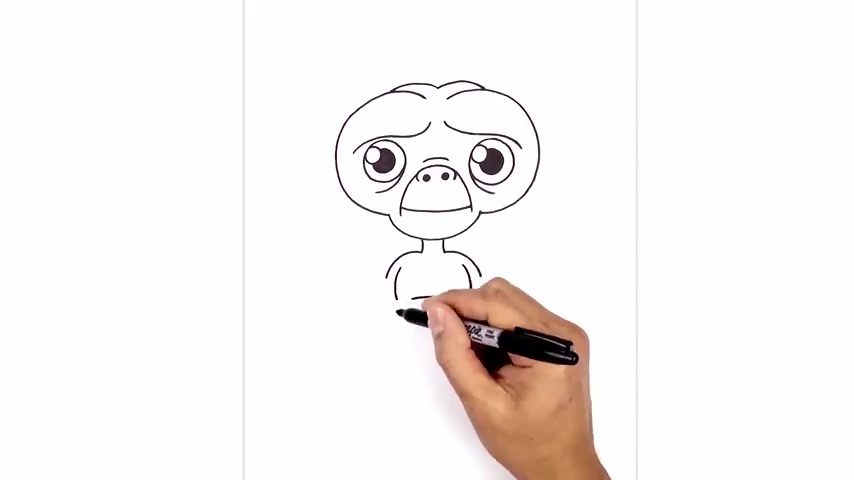
Now , from the bottom corners of the chin , I'm gonna go around the side of the head and then back up and in .
So I'm gonna start on the left side , I'm gonna work my way around the eyes .
So I'm gonna start by going out around the eyes and then above the brow and then right here , we're just gonna pull it down and do the same thing on the right side .
But I'm gonna start at the top , I'm gonna leave a little gap , curving up and out , go around the eye and then I'm just gonna pull that in towards the side of the chin .
Now at the very top , you're gonna close off the top of the head .
So in between these two points , we're gonna step up and draw a point from that point I wanna curb up and then back down in behind the brow , do the same thing on the rate now that we've got the head , let's work our way down the body .
I'm gonna start with the neck first in the center here .
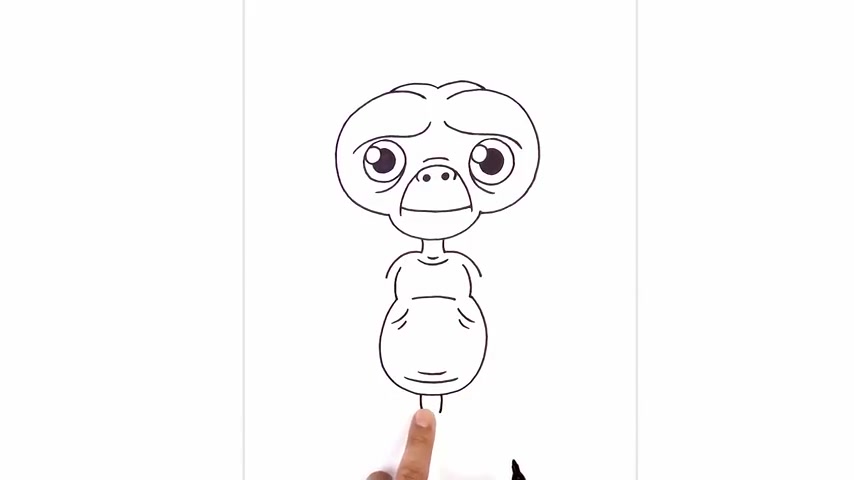
So on the left side of the center , I'm just gonna curb in and then back out , gonna do the same thing on the right and then I'm gonna round out the shoulders , starting on the left , curving out and then down from the edge of the shoulder , we're gonna step in and draw the side of the chest .
So let's step in just underneath this curve , go round and then back down , then in between these two points , I draw the center line for the chest .
So we're gonna leave a gap on either side , just gonna draw a curve going up and then back down .
Now from the bottom edge of the chest , we gonna round up the belly starting on that side , I'm gonna curve out and then pull it down towards the bottom .
It's almost like a pear shaped body going out and round up the belly and I work my way back up on the right side .
Now , just down here , I'm gonna add a few wrinkles .
So we follow that same curve just above , we'll draw one curve and we'll draw a shorter one just above it .
And then on the side , I'm just gonna give it a few little ribs .
So right down here , I'm gonna curb down and then out and the same thing on the right side , we'll draw a smaller one just below it , just a little curve and then at the base of the neck , I'm gonna add a few more wrinkles .
So in the center , I'm just gonna draw one little curve , step down and draw a slightly longer one going across .
Now , let's continue down here with the feet .
So I'm gonna leave a gap in the center on the left side , I'm gonna curve down and in , we do the same thing on the right side .
Back on that side , we're gonna curve down the bottom of the foot and then round out the toe .
So for the heel , we're gonna curl down , going out .
Now , I just want to curl this around and then back in , I'm gonna stack the toes this way , starting at the bottom of this toe .
I'm gonna curve out and then pull that back in .
We'll do that one more time .
Let's go to the right side and do the same thing on the heel and gonna curve at the bottom of the foot .
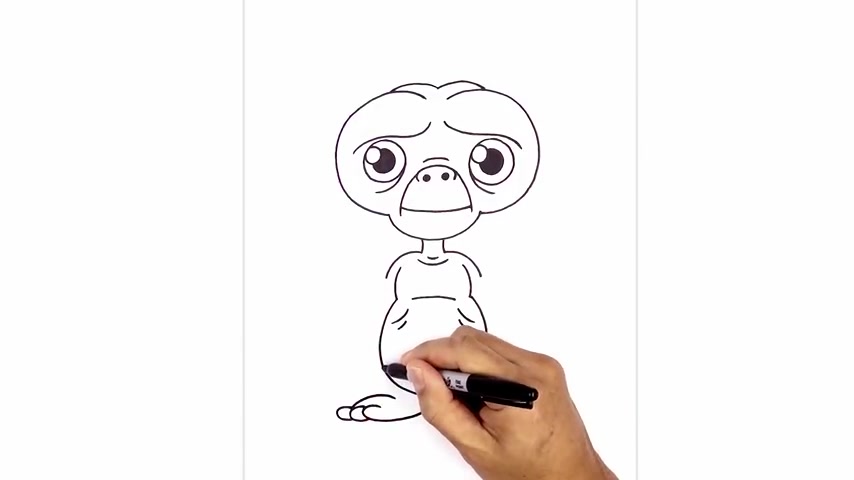
And then I'm just gonna round out the first toe , we step down to the bottom for about a second toe and then one more in between the last two toes , I'm gonna curl the top of the foot going over the first toe and then down , do the same thing on the right curve it over and then down and it's just gonna draw on the side of the leg So on the side of the body here , it's gonna curve down and then out to the top of the foot .
Now let's move back up and draw on the arm .
So on the left side , I'm gonna have his finger pointing up .
So we're gonna start at the edge of the shoulder , draw an angle line going down and out towards the left .
Now we're drawing the forearm with a curve going up towards the wrist and then we're gonna draw on the thumb .
This is gonna get wrapped around the hand .
So from here , we're gonna curve around , back out .
And now I'm just gonna pull this in , just hook it back in from this point , I'm gonna draw a hook coming down towards the wrist .

Now we're gonna layer the finger in behind the thumb .
So let's stop at the top of the thumb .
We're gonna curb up .
I'm gonna round up the fingers , a large curve coming around and I'm gonna pull that back in behind the thumb .
So taper it back in .
Now I'm gonna wrap the fingers in behind here .
So on the base of this finger , I'm gonna draw an oval , curving around and then back in behind the thumb , we'll do that one more time .
And then at the bottom of this finger , I just gonna hook the bottom edge of the palm , so curving in towards the wrist .
Now I'm just gonna fall this curve on the top along the bottom of the arm coming down towards the elbow directly below this point here .
Now , from here , I'm just gonna curve up in behind the body .
Now , let's go over to the right side and draw on this arm .
So I'm gonna have this arm hanging down .
So on the side , bottom edge of the chest , I'm gonna curve out around the belly and then down from here , I'm gonna draw the thumb curb down .
I'm just gonna hook that back up .
I'm gonna wrap the fingers around the thumb .
So we're gonna curve down and in gonna round up the finger and then pull that back up .
Now we're gonna move to the side , drawing a second finger coming around and then back up .
We'll do that one more time .
Now , this one , we're gonna pull all the way up towards the wrist coming in .
Now we're gonna connect the bottom edge of the shoulder to the wrist with a curve coming all the way down and that's pretty much it there .
We have it .
There's et the extraterrestrial .
I hope you enjoyed today's lesson .
Make sure you subscribe and send me your requests in the comments below .
Thanks for watching and we'll see you again soon .
Are you looking for a way to reach a wider audience and get more views on your videos?
Our innovative video to text transcribing service can help you do just that.
We provide accurate transcriptions of your videos along with visual content that will help you attract new viewers and keep them engaged. Plus, our data analytics and ad campaign tools can help you monetize your content and maximize your revenue.
Let's partner up and take your video content to the next level!
Contact us today to learn more.