https://www.youtube.com/watch?v=udYwueJZAqU
How To Draw A Camera Emoji
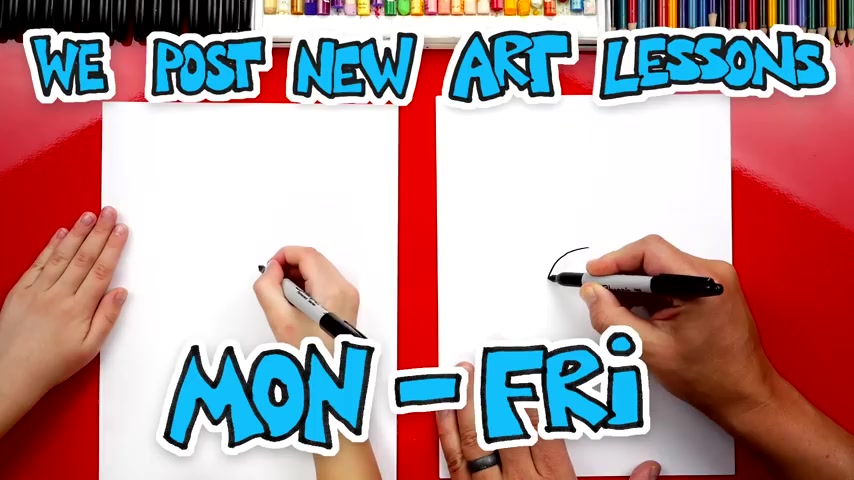
Hair camera emoti Yeah .
We hope you get a follow along with us .
You need something to draw with .
We're gonna use a marker , some paper and to color with .
All right , let's get started .
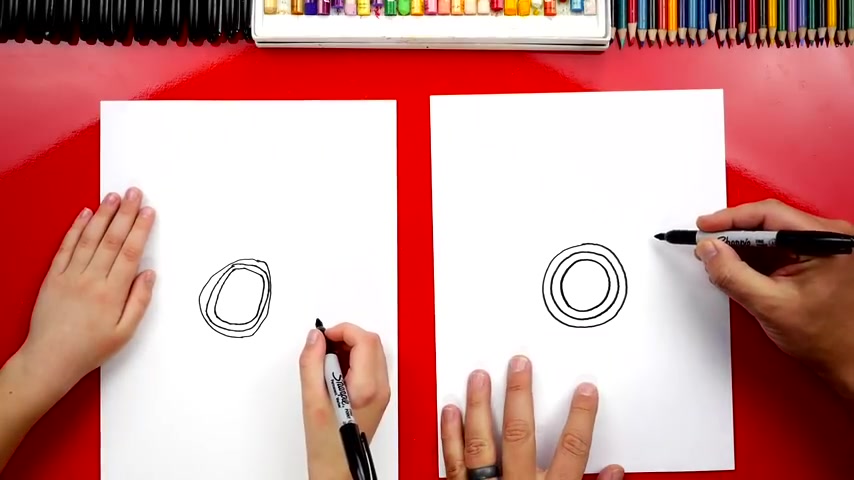
Let's first draw the lens .
We're gonna draw a circle for our camera and we're gonna draw in the middle of our paper .
We're going to draw a circle about this size .
Now , I can drop it right about right about there .
Nice .
Now let's draw another circle inside of that first one .
We're gonna draw it right next to it .
Yeah .
All right .
Now let's draw one more circle inside .
This is for the actual glass part of our lens .
Yeah .
All right .
It's fun .
Practicing circles .
Yeah .
OK .
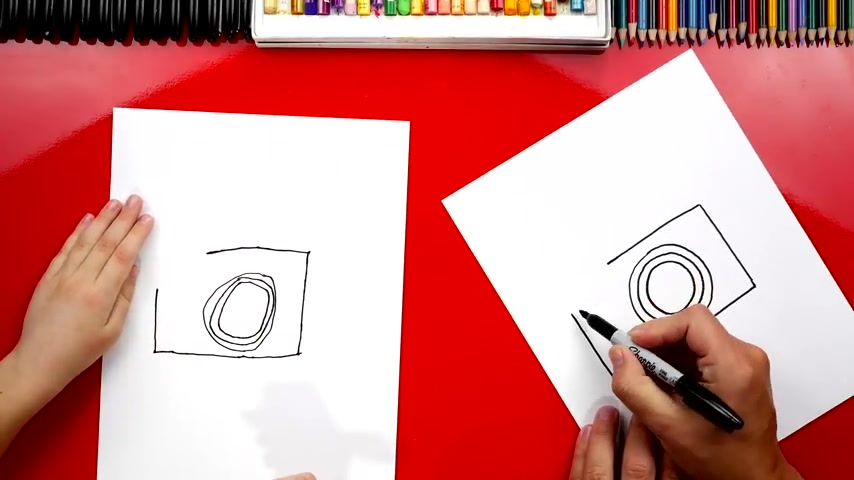
Now , let's draw the body to our camera .
We're gonna start over here and we're gonna draw a line that comes straight down and we could drop right about here .
Let's see .
We're gonna start , we're gonna be higher than the circle and we're gonna come down straight and it's gonna end right below our circle .
There you go straight down .
Yeah .
All right .
Now we can draw a line that comes underneath this .
The lens , we're gonna draw a horizontal line that comes across .
Yeah .
And I'm gonna draw mine a little bit longer and you could draw yours maybe out to there .
So there's more space on this side than there is on the right side .
Now , we're gonna draw the top of our camera .
We're gonna draw a line that comes straight across and I'm gonna end right in line with the circles .
Good .
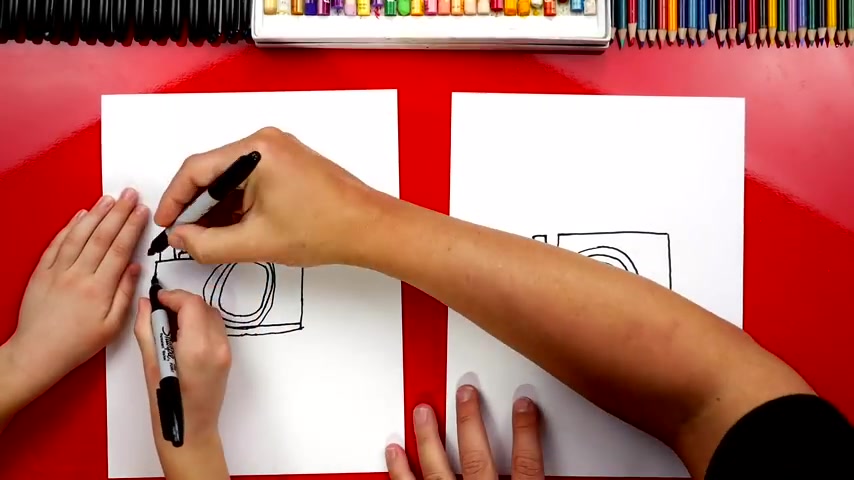
Now let's draw a line that comes up and it's not as high as the line on the right side .
Perfect .
Now , let's draw a line that comes across and up to connect .
All right , let's add the buttons .
Next , let's draw one square over here .
So we go up over and down and the height of the button is the same height as the camera .
Now , let's do another one .
Now , this time we're gonna draw one that's shorter .
So it looks like a rectangle up over and down .
Then we're gonna draw another button on top that comes up to the same height .
Yeah , it's starting to look like a camera , don't you think ?
Ok , let's add more details .
Let's add a line that goes across the bottom .
There you go .
Keep going .
Then let's also add a line up here .
Now we're gonna draw this line all the way to the lens so you can start , start there and go straight across .
Then we're gonna imagine that going through the lens and coming out the other side .
Yeah .
OK .
Now , let's draw a button .
We're gonna put a button right here circle .
Now we're gonna draw a flash .
We're gonna draw a rectangle right here on the right top right corner .
So I drew an L shape and then an upside down L to connect .
And then let's add one more little detail right here .
It's gonna be a long rectangle above the lens .
So I'm gonna draw a short line and then a long bottom for L and then do the opposite upside down to connect it .
Austin , we did it .
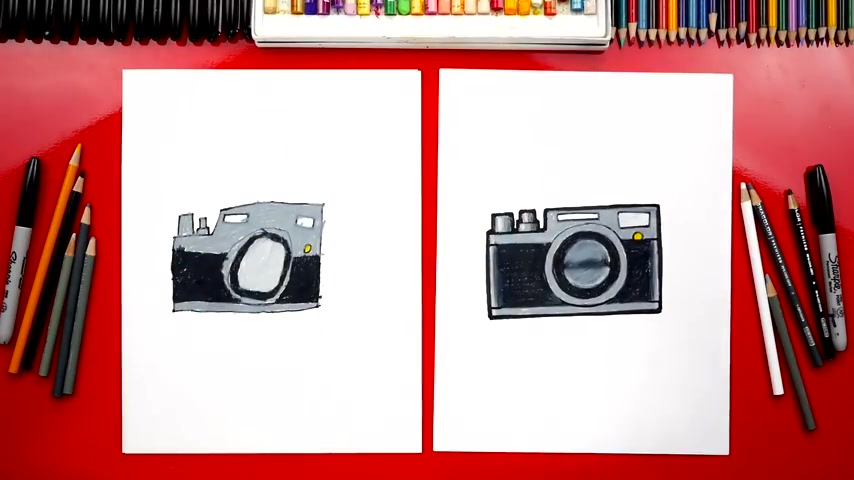
We finished drawing our cameras and yours turned out so cool .
Except it's gonna look even better once we do what color color it ?
Yeah .
This part we're gonna fast forward but at the end you guys composite to match the same coloring you're gonna fast forward .
Awesome .
We did it .
We finished coloring our cameras .
How old are you ?
Seven ?
You can be super proud of your camera cause you did .
Awesome .
We hope you enjoy your camera .
Yeah , we do .
We hope you had a lot of fun and we'll see you later .
Our friends .
Goodbye .
Are you looking for a way to reach a wider audience and get more views on your videos?
Our innovative video to text transcribing service can help you do just that.
We provide accurate transcriptions of your videos along with visual content that will help you attract new viewers and keep them engaged. Plus, our data analytics and ad campaign tools can help you monetize your content and maximize your revenue.
Let's partner up and take your video content to the next level!
Contact us today to learn more.