https://www.youtube.com/watch?v=EuRofLGv_c8
How to Draw a Henna Mehndi Hand Design Art Lesson Tutorial
Hi there today .
I'm going to be showing you how to draw some hand art , some Hanna hand art .
So it's something that I , um , I haven't done yet on youtube , but I'm looking forward to it .
It's a little bit more complex and it takes a little bit more time than my normal project .
So please keep that in mind .
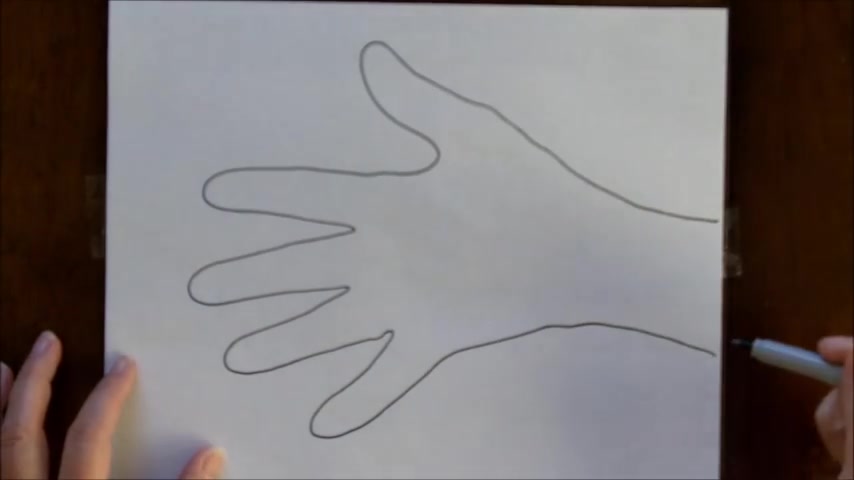
The first thing that I've done is I've outlined my hand with the sharpie marker and it's not the normal sharpie marker that I use .
I usually use the one that's a little bit fatter , the fine point , but this is the ultra fine tip and it will let us have a little bit more detail with our project .
So you'll want to outline your hand .
And if you're younger then maybe you can get a friend or a sibling or your mom or dad to help you with this because it can get kind of tricky .
See like right here , I have my , my ring right here so it can get a little bit tricky .
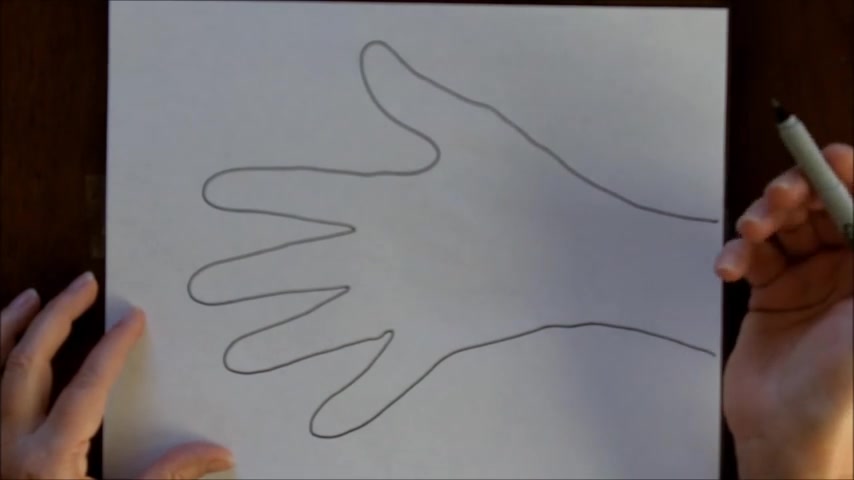
And if you'd like to do it in pencil first and then out line it with marker , that's a good idea as well .
So let's get started .
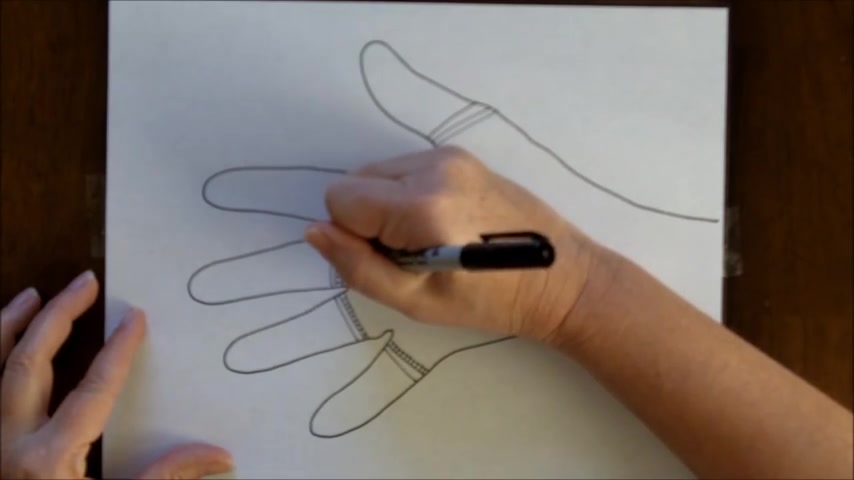
I'm gonna start out with the fingers and at the base of each finger , I'm going to make two lines just like this .
And I'm pretty much going to go and order and go systematically from finger to finger and keep in mind if I get going too fast for you , then just pause the video and until you catch up .
So that's our first step .
Now we're going to make another line on top of that first line just like that .
And then inside the lower lines , we're gonna going to make some straight little lines going perpendicular to the first lines .
This is pretty detailed .
So as I said before , it takes a while , but the effect is really , really outstanding and I know that parents love this project because it has to do with a child's hand .
All right .
So the next thing you'll wanna do is go underneath and make a little scallop , little use connected to one in another just like that .
I hope you can see my scallops here .
I know my hand might be in the way .
OK .
Now we're going to move up into each finger .
So the first thing that we're going to do is we're going to make it , I guess it would be called a clover shape .
So we'll do that on each finger .
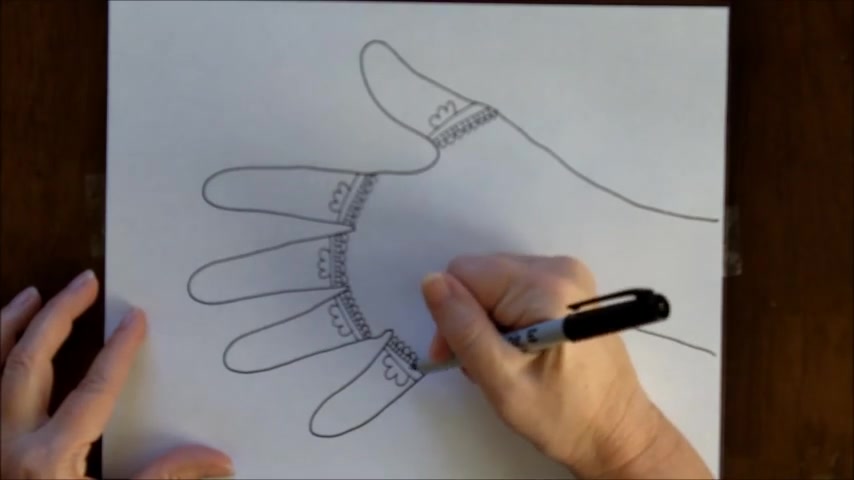
And what I like to do with these clover shapes is I like to fill them in with marker .
I'm not going to take the time to do that .
But I think it looks neat if they're really dark .
So , coming down to the clover shape , you're going to make some squiggly lines , but we're not going to go all the way up , not going to go all the way up because at the very tip , you're going to make something different .
You want to leave a little bit of room for that .
So just some squiggly lines that are attached at the top .
Now , let's go to the very tip and we are going to make , I guess you can call them similar to fingernails .
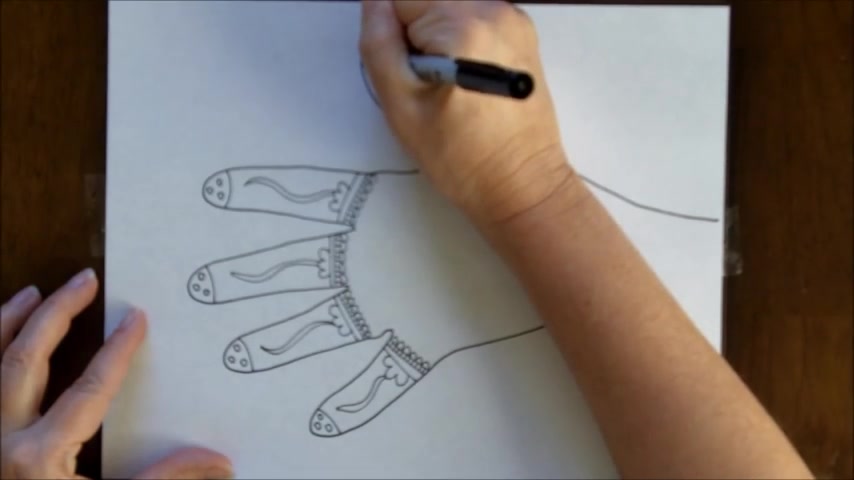
And then inside of those tips , you're going to make some circles three or four , it's up to you .
I'm going to make three today .
Now , outside these circles , I think it looks really neat if you could color this in with your marker , but don't go inside the circle .
So you'll have a little white dot That's showing that takes a little bit of time .
So I am actually not going to do that right now .
I'll do that a little bit later .
But if you'd like to stop the video and if you'd like to do that , that would be a great idea .
All right .
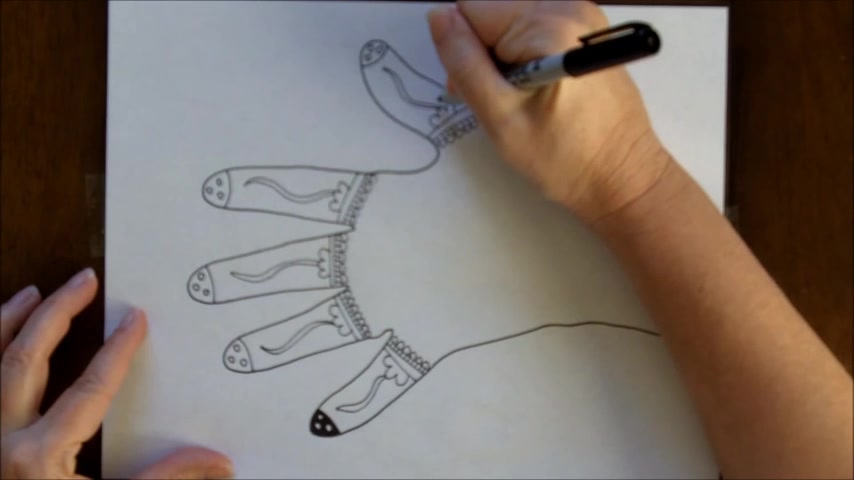
Now , coming out from each one of these squiggly lines , you're going to make some straight lines coming out just like this all the way up and down the other side , all the way up and down the other side .
So I'm gonna do that very quickly .
Just make sure that they're straight and they're coming out and my hand might be covering up my work right now .
Sorry about that .
But I think that you probably get the idea and I just keep going .
It's actually kind of relaxing if you start making these hand to hand patterns .
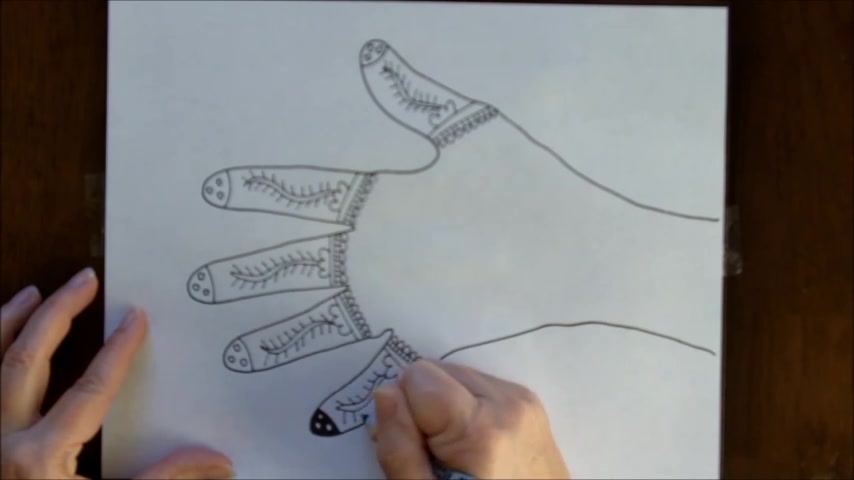
Now , at the tip of each one of these lines , I think it looks neat if you put a little circle , a little circle and this also takes time .
So I think what I'll do is I'll just do one of these just to show you the effect and then you can stop your video and you can finish that up .
All right .
So we color this in all around the dots and then you color this part in right here .
OK .
Let's move on to the center of the hand and we're going to start at the center and we're going to do our artwork from the center out .
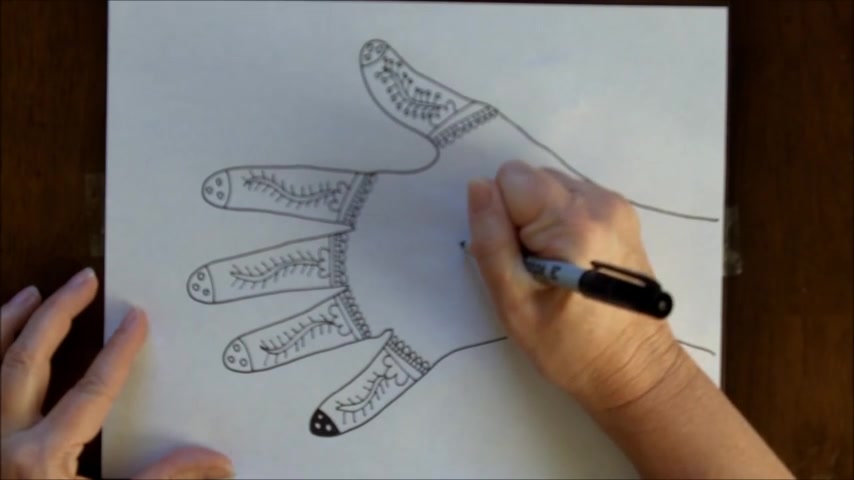
So what I'm going to do on this particular one is I'm going to create a swirl like this and then I'm going to stop it just like that .
And it's going to basically , I don't know , it kind of looks like a snail shell and you close it up and then I'm going to go over it to make it a little bit thicker and then I'm going to fill it in , fill it in .
So you have a series of lines that are thin and then some that are thicker .
And then I'd also like to go around this one as well and then fill that in .
Keep in mind you don't have to stick with my exact design .
You can do whatever you want , whatever you think looks good .
You might want to put some dots in here .
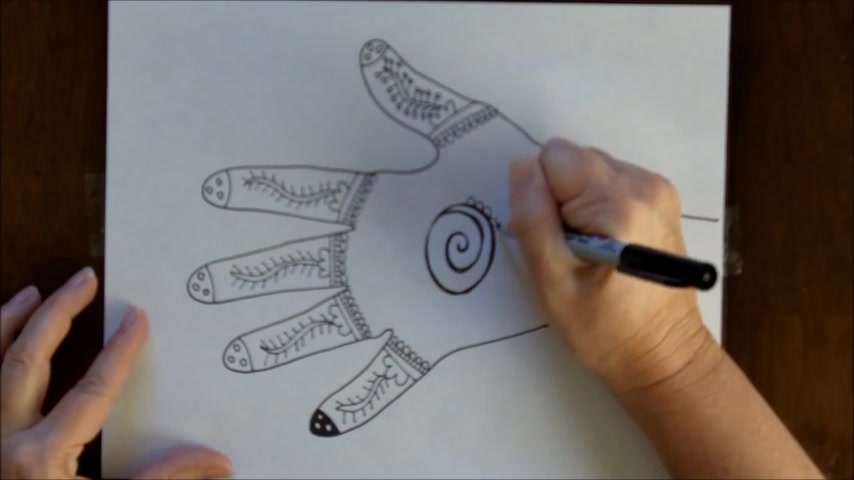
You can do anything that you'd like .
Now along this circle , I like to add some more scallop edges .
OK .
And then I hm let's add some little flower type petals .
So basically curve line in curve line out , then let's curve the line in , curve the line out and we just keep doing that over and over again until we get around the page .
Well , that one is a little bit different , but that's OK .
That's the neat thing about art .
That's what makes it unique and special .
All right .
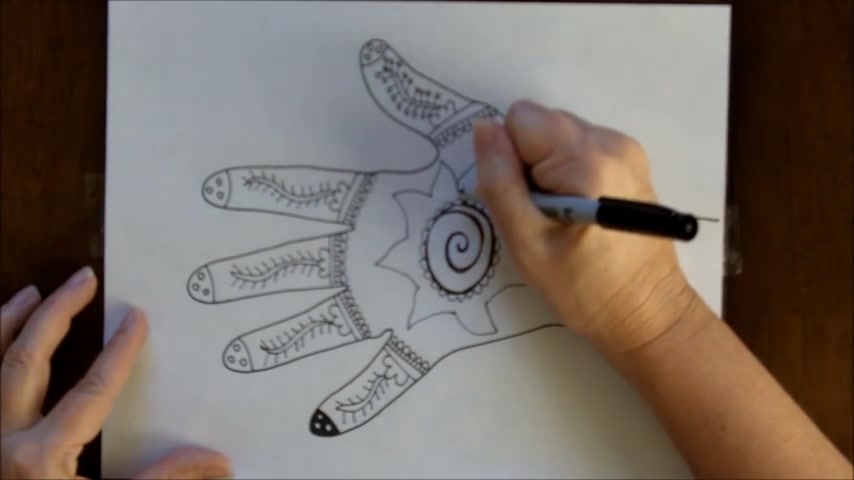
So at the tip of each inner part of these little leaves or little petals , I'm going to put a circle and then I think I'm going to double this up to make it look a little bit more interesting .
So I just follow the initial line like this .
Oh , it's looking good .
OK .
So inside each of these little petals , I think I'm going to put a circle and then I'm going to turn that circle into a little daisy to give it a little bit more detail .
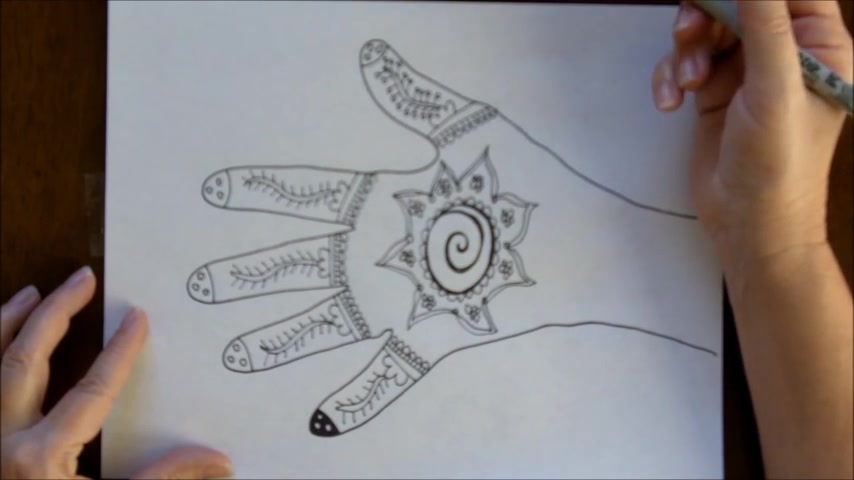
And I'm working pretty quickly if you can slow down a little bit .
Your work will look the best that it can look .
Right .
I think what I'll do along the outer edge is I'll put some more scallops .
I think that would look really nice .
So I'm just kind of going with , um , anything that kind of pops into my head .
Scallops are always a really neat thing to make .
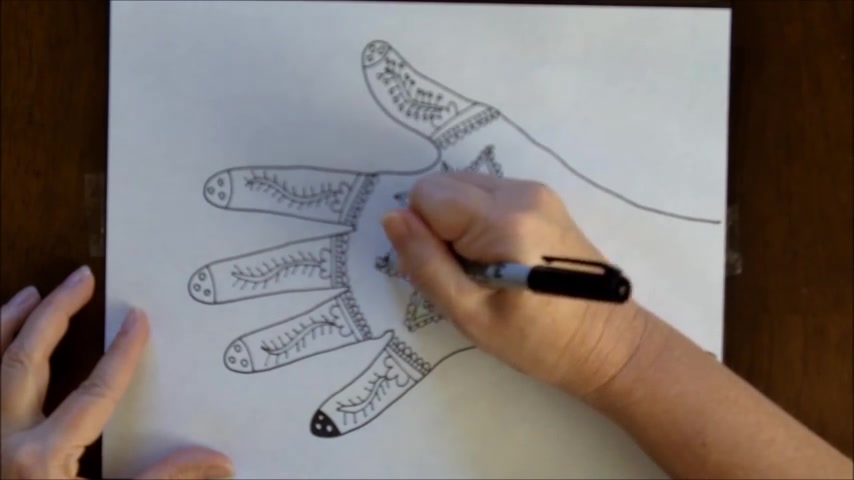
I'm just going all around these outer pedal lines , almost done .
Yeah .
Ok .
I'm trying to think of something to put here along the outer area .
So I really like swirls a lot .
So I think I'm gonna make some swirls just like that and maybe I'll make them doubled .
So they're , they stand out a little bit more .
I think that will look really cool one right here .
Hm .
I think I can fit a small one here , maybe one here .
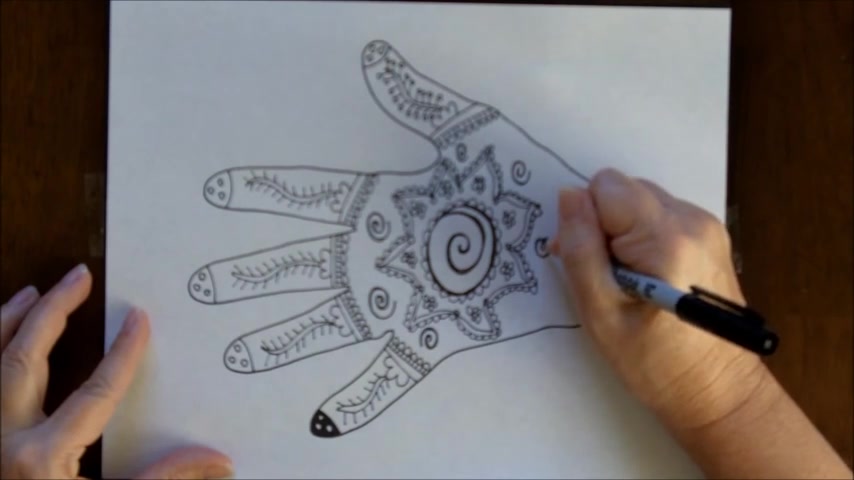
Now , your area , if your hand is smaller than mine , you might not be able to do this stuff , but you might , or you might want to put some dots or just some circles , it's up to you .
You might have run out of room by now .
All right .
So let's move down .
Excuse me , let's move down now to the wrist area .
This is the wrist area .
So , what I think I'll do here is I'll find the middle of the wrist and I will make four circles and I'll put those circles together just like that and inside of those circles , I'll make a smaller circle and then I'm going to fill them in just like this .
So that way , actually , it'll look a little bit different than the four initial circles that I made to look like one shape .
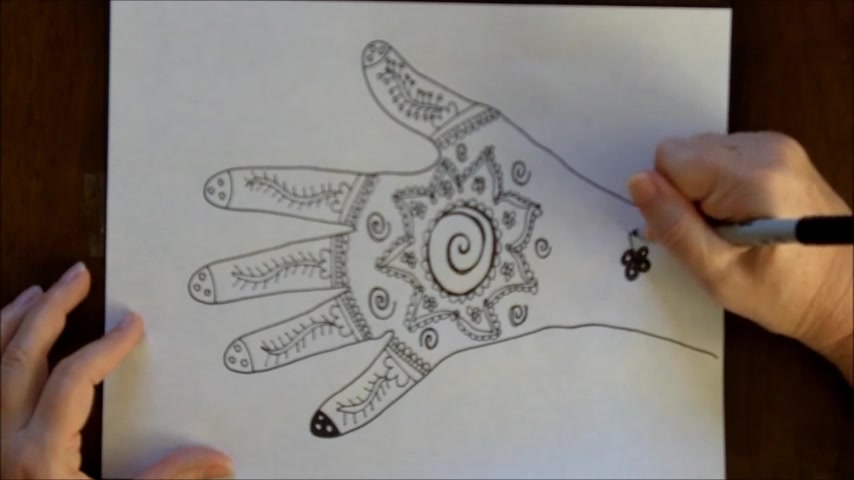
OK .
From there , I think what I'll do is I'll make some straight lines coming out , y'all make three .
And then on the lower line , maybe I'll fill that in with some black , make the contrast a little bit higher and I'm not filling it in very carefully .
You'll want to do that very carefully .
And then on the upper line , maybe some tiny little lines .
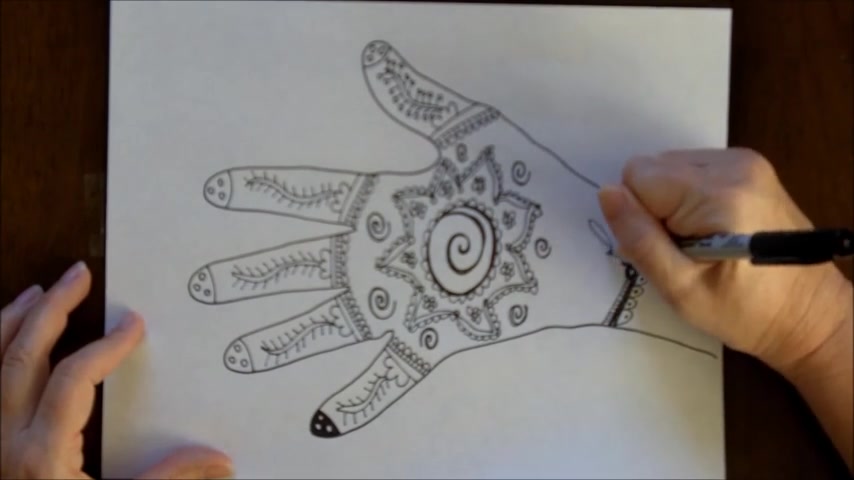
Um hm How about some scallops , some larger scallops here underneath some dots in the middle and then maybe some teardrop shapes right here .
Three tier up shapes .
Now , as I said before , you can add anything else that you'd like .
I think that I like the way that mine looks right now , so I'm going to stop .
Uh I hope that you had fun with this and I hope that you liked the project .
I appreciate you watching and I hope you have a good day .
Thanks .
Are you looking for a way to reach a wider audience and get more views on your videos?
Our innovative video to text transcribing service can help you do just that.
We provide accurate transcriptions of your videos along with visual content that will help you attract new viewers and keep them engaged. Plus, our data analytics and ad campaign tools can help you monetize your content and maximize your revenue.
Let's partner up and take your video content to the next level!
Contact us today to learn more.