https://www.youtube.com/watch?v=GaobsIefc2M
HOW TO SOLVE A RUBIK'S CUBE (Layer 3)
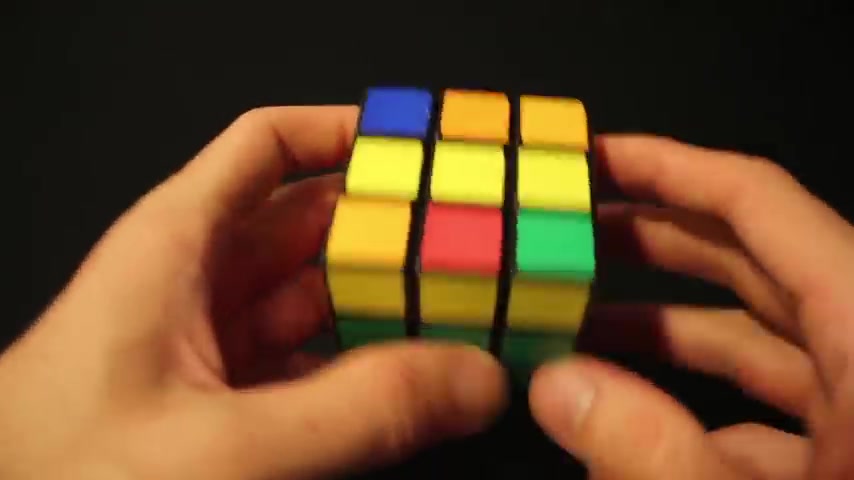
Welcome to the final tutorial part three .
If you want to call it layer three of this tutorial series of solving a three side Rubik's cube .
If you follow it along with the last two tutorials , you should be here with these two layers solved and on the last layer .
So for this layer , we again need to make the same T or the cross that we made with the , the original layer , original side .
And the way to go about this is now we're getting tighter , more confined .
Starting to worry uh what how can I start to solve this without screwing up what we've already done ?
Well , that's what the algorithms are full .
So you got to find yourself in one of two situations .
When you come to this layer , you may find that you have a straight line , you may find that you don't have , you only have one side of the yellow done or my favorite .
You may find that you have like a small little L shape .
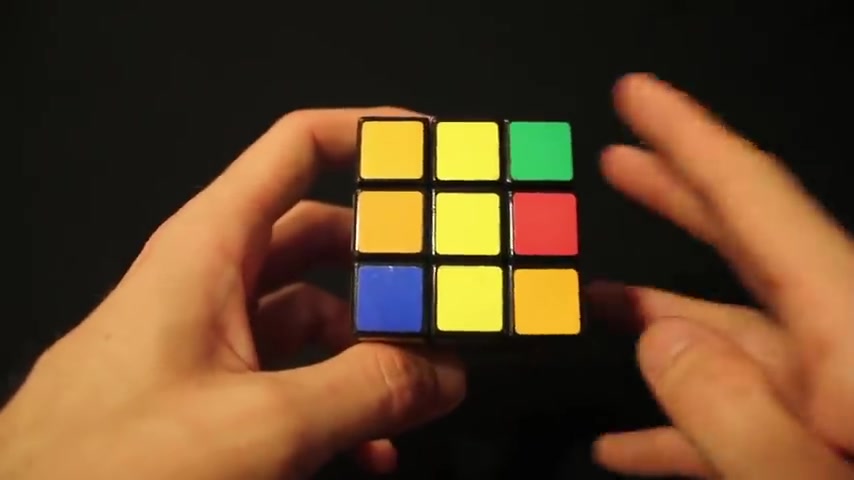
In this case , we have a cross and I'm going to try to show you the different ways to fix or start creating this T that we need So with this , if you have the straight line , what you want to do is put it .
So it is horizontal .
And the algorithm for that with this , with that yellow side facing up is front , right oh right , inverted up , inverted , front , inverted .
So boom , don't , don't mind this yellow piece here as far as aesthetics , but we do have our cross , we have the t that we need .
The other situation that hopefully you find yourself in is this L shape .
So you'll leave a straight line across of the solid color or the color that you need the centerpiece or you'll have an L .
The other situation you may find yourself in .
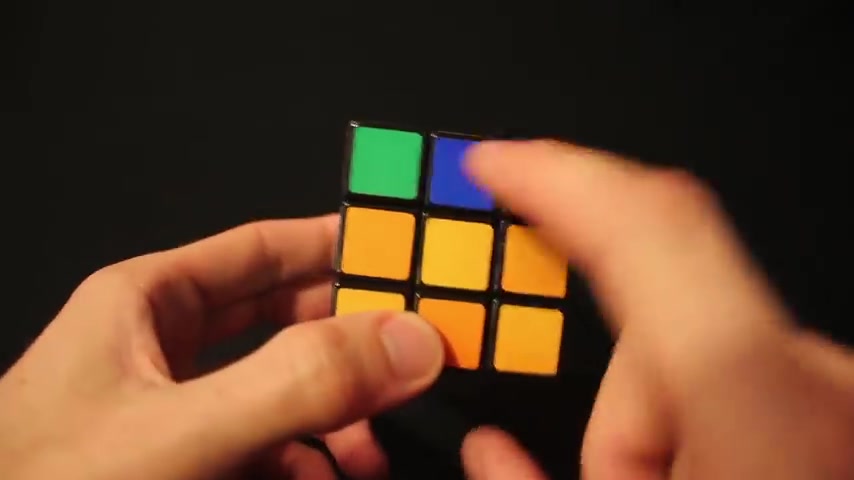
If you don't have a straight line across is here with an edge piece centerpiece and then another edge piece directly next to it .
So put this in the upper left section and the way to go about doing this is front up , right up , inverted , right , inverted , front , inverted .
So now we have our cross , but again , we're trying to get our edges lined up much like this red , one is aligned with this one .
And the thing that you'll find when you get to this piece is at least two , if you rotate this any which direction two layers will correspond at some point .
So only the green fits here .
But if I keep spinning orange and blue , so there's , there's our moneymakers .
So we're going to position them .
So they're on both the back end and the right end for this algorithm .
And what this is going to do is essentially switch these two pieces with each other .
Welcome to the final tutorial part three .
If you want to call it layer three of this tutorial series of solving a three side Rubik's cube .
If you follow it along with the last two tutorials , you should be here with these two layers solved and on the last layer .
So for this layer , we again need to make the same T or the cross that we made with the , the original layer , original side .
And the way to go about this is now we're getting tighter , more confined .
Starting to worry uh what how can I start to solve this without screwing up what we've already done ?
Well , that's what the algorithms are full .
So you got to find yourself in one of two situations .
When you come to this layer , you may find that you have a straight line , you may find that you don't have , you only have one side of the yellow done or my favorite .
You may find that you have like a small little L shape .
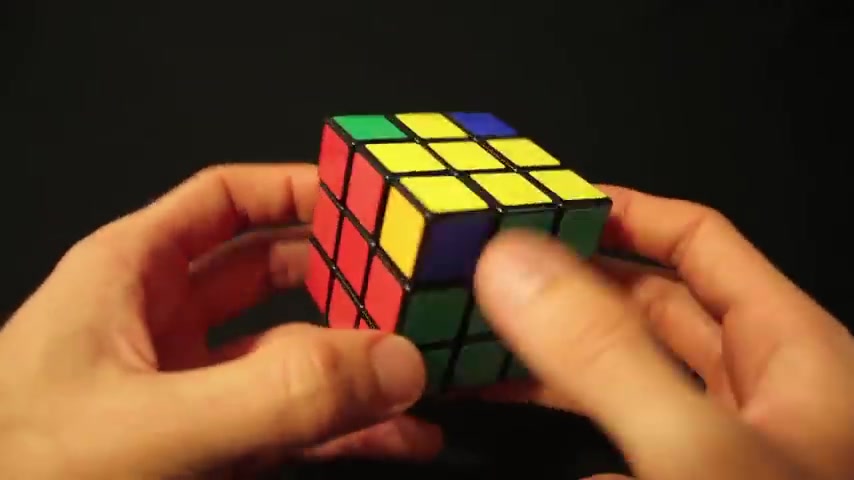
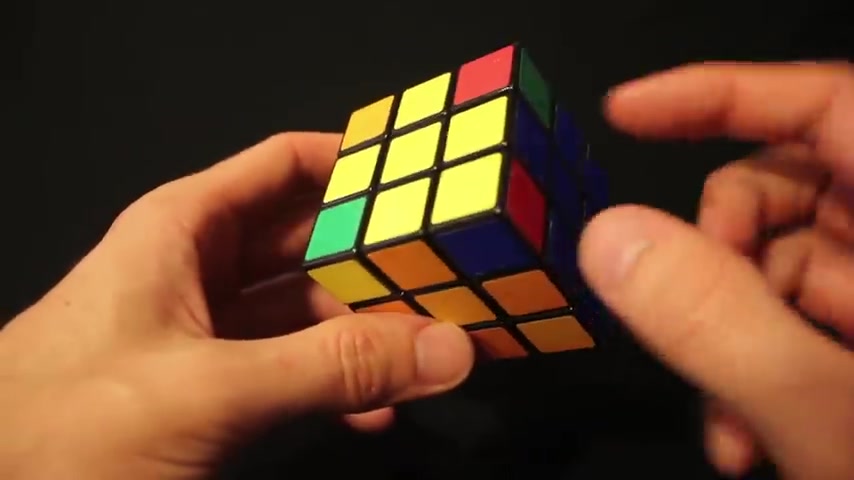
And again , you put them both in the back and to the right , you do that same algorithm right up , right , inverted up , right up , up , right , inverted and then give it that last rotation and boom , you will be back to where we started initially with all of our edges being correct and all to solve left is our corners .
Here .
I have all four corners arguably incorrect except this piece is correct .
It is where it needs to be .
It's just facing the wrong direction , we have blue red and the yellow side .
So if you already have that correct piece again , put it to the lower right .
And if you found your correct piece that you need to work off of , then put that in the lower right sector as well .
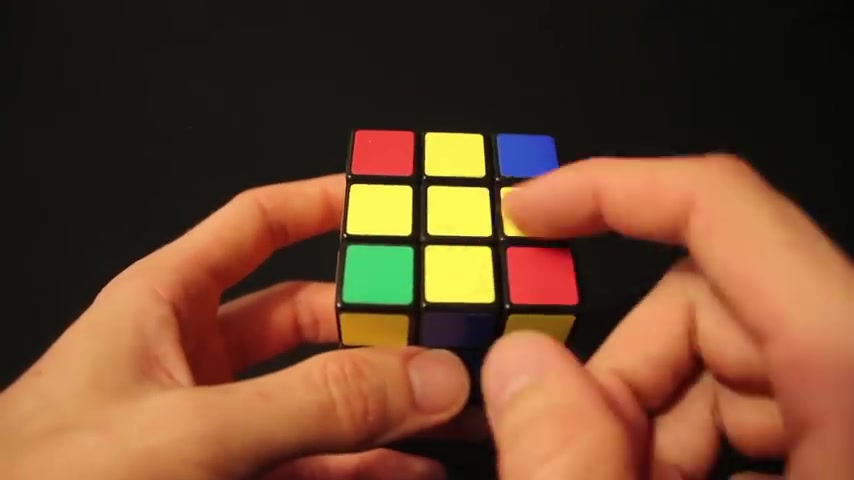
In this case , we have a cross and I'm going to try to show you the different ways to fix or start creating this T that we need So with this , if you have the straight line , what you want to do is put it .
So it is horizontal .
And the algorithm for that with this , with that yellow side facing up is front , right oh right , inverted up , inverted , front , inverted .
So boom , don't , don't mind this yellow piece here as far as aesthetics , but we do have our cross , we have the t that we need .
The other situation that hopefully you find yourself in is this L shape .
So you'll leave a straight line across of the solid color or the color that you need the centerpiece or you'll have an L .
The other situation you may find yourself in .
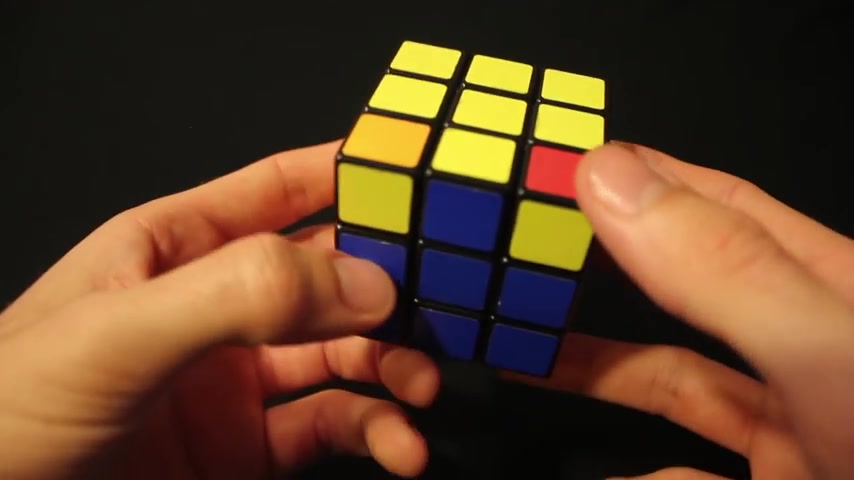
And the algorithm is right up , right , inverted , up , right up , up , right inverted .
So it doesn't look like we did much .
But if we rotate it one side , green with the green , red , with the red , blue and orange altogether , and now all we have to do left is solve for the corners every now and again , you may find yourself in a situation where the two correct edges are actually opposite of each other as opposed to being side by side .
So the way to fix this is just put them .
So they are one side is facing you , you do the same algorithm right up , right , inverted up , right up up , right .
And then all you do from here is these two pieces should now match or you find the two pieces that coincide with each other .
Well , you just keep doing it , Renford down right down , right down , right down Rainford down right down .
So boom , that yellow piece is correct .
But now we have this all solved up and this is where it's almost like magic .
So right inverted down , inverted , right down rain Vert down right down , boom foam .
And there it is just like that .
That's all she wrote .
Ladies and germs .
That is how to solve a three sided Rubik's cube .
I'm Jari 1 20 .
I teach powerful magic .
Integrate with social dynamics on the channel how to disturb reality .
But you know , this is something I've always been interested in helps your memory for short term memory loss .
And uh just like magic , it gives people the illusion that you're smarter than you are .
So it's another reason why it appealed to me .
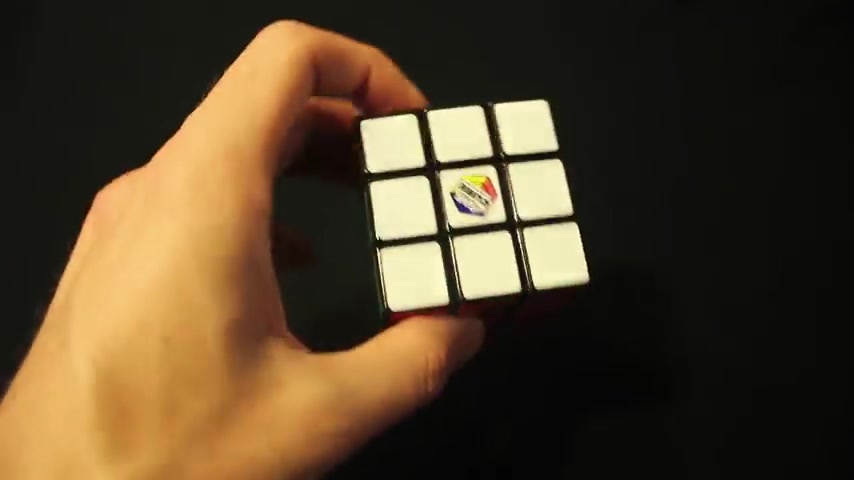
And if none of the pieces work , just do this algorithm with any side at any corner , at any location , as long as the yellow is facing up , and then you'll get to a point where you will find a piece that is much like this or ones that that's already correct .
So while you're here with your correct piece in the lower right sector up top , the algorithm is up right up inverted , left , inverted up , right , inverted up , inverted left .
Now it looks like it may not have done much and it may not have for uh for various different reasons .
And this time around it didn't look like it did .
So again , the way to fix this do the same algorithm up right up , inverted , left , inverted up , right , inverted up , inverted left .
And now if we look around our piece boom , we have two pieces already solved and these two pieces that just need to be fixed and hopefully you run into the same problem .
Are you looking for a way to reach a wider audience and get more views on your videos?
Our innovative video to text transcribing service can help you do just that.
We provide accurate transcriptions of your videos along with visual content that will help you attract new viewers and keep them engaged. Plus, our data analytics and ad campaign tools can help you monetize your content and maximize your revenue.
Let's partner up and take your video content to the next level!
Contact us today to learn more.