https://www.youtube.com/watch?v=JhVw981DlJg
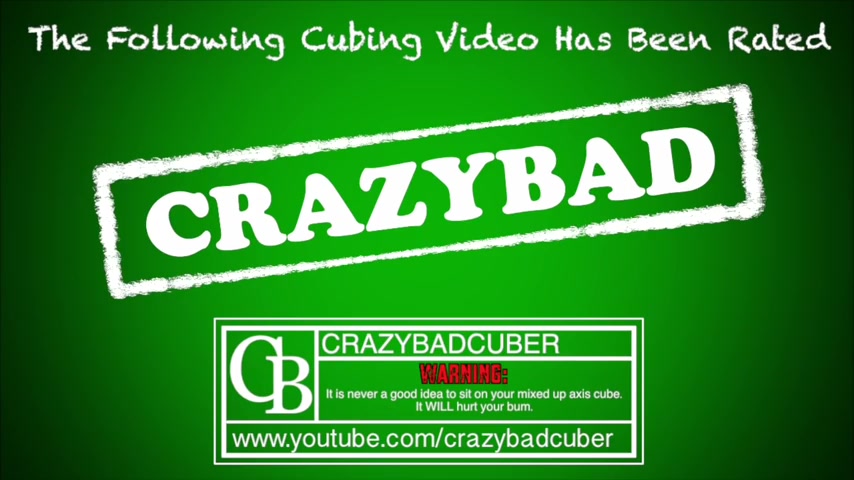
How To Solve An Axis Cube (Axel Cube)
Hello , everybody and welcome to my tutorial for how to solve an axis cube .
A lot of people also know it as the axle cube , but that's OK .
The name doesn't really matter .
The puzzle is what we're trying to solve .
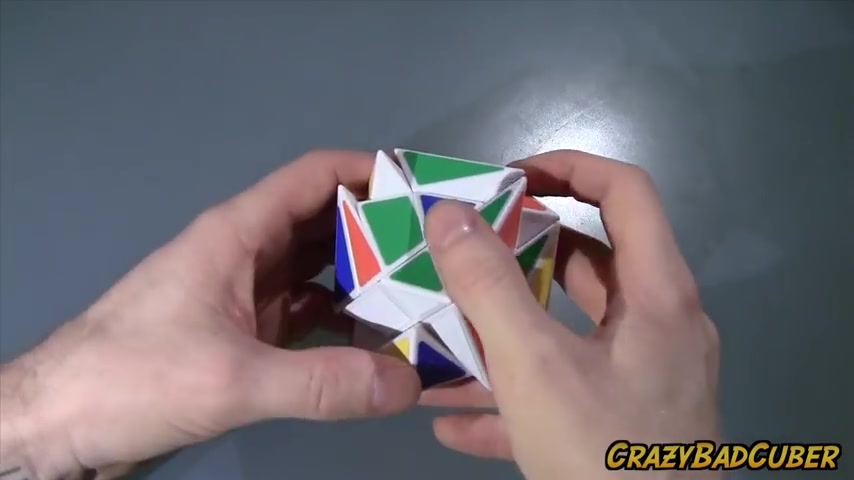
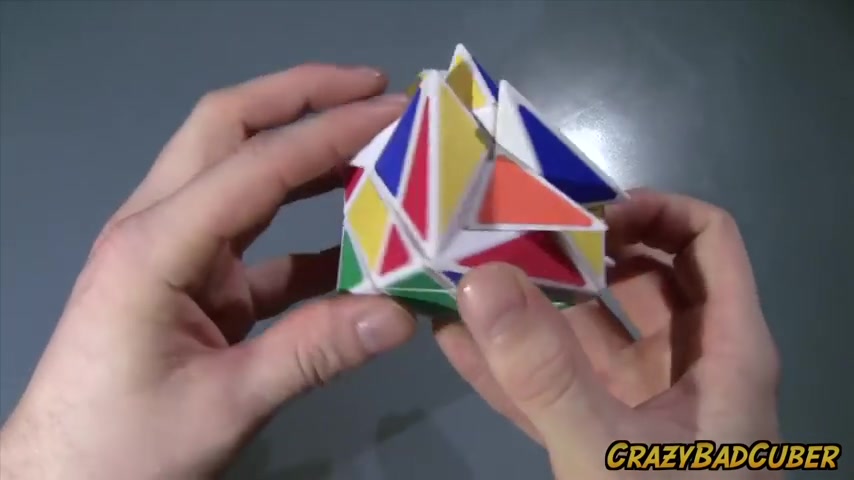
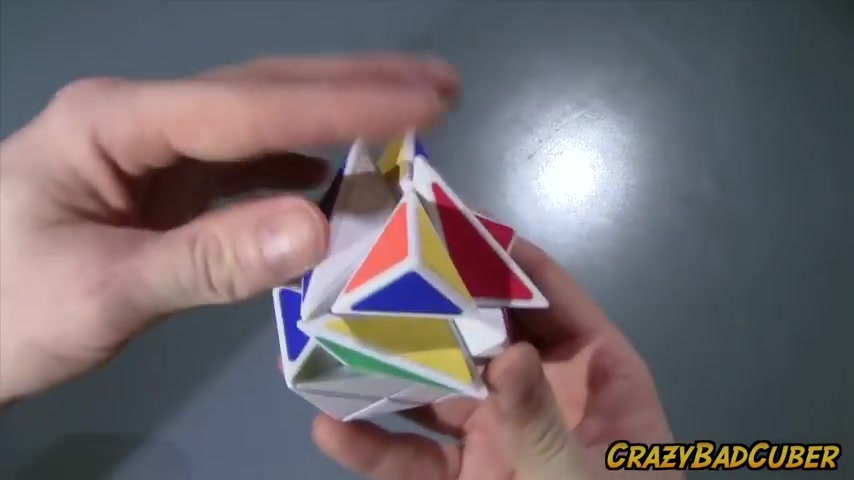
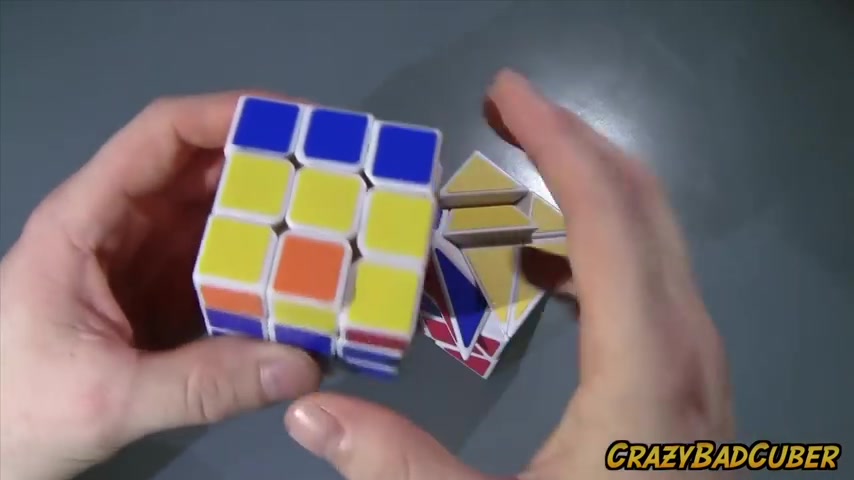
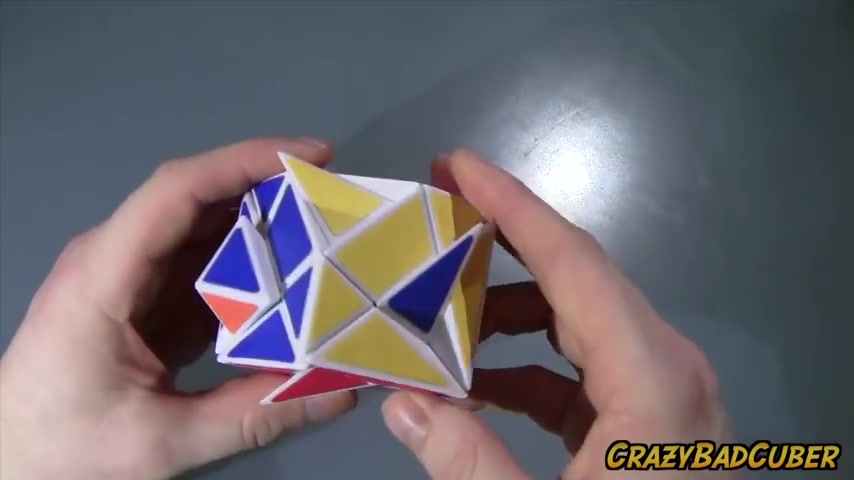
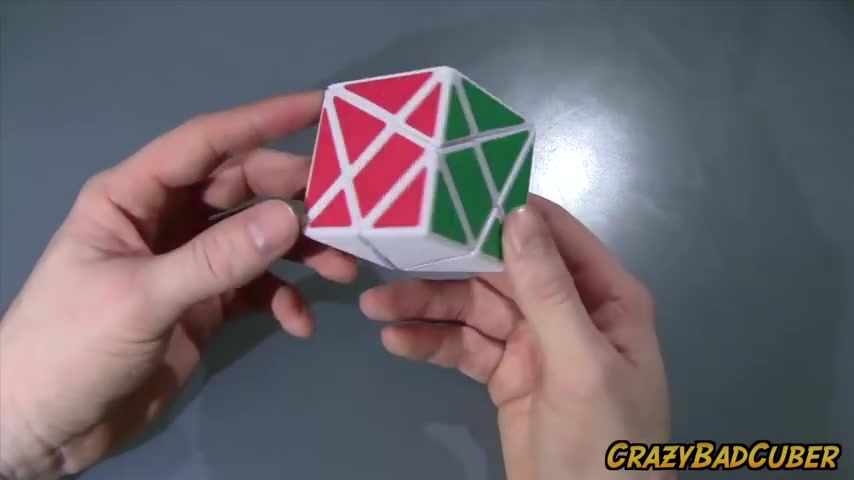
Uh So basically what this is is uh it's a very intimidating looking three by three mod .
And uh so if you look at a regular three by three , you can see that there is a center , four edges and four corners .
So let's take a look at this .
As you can see here , we have a center , we have four edges and in this green piece , this yellow piece , this red and this orange , these are corners and you have it on this side and this side .
So you can see that it is a three by three shape mod .
So it's gonna be a little bit difficult to wrap your head around at first , but I'm gonna see if I can help you through it and get your solved along with mine .
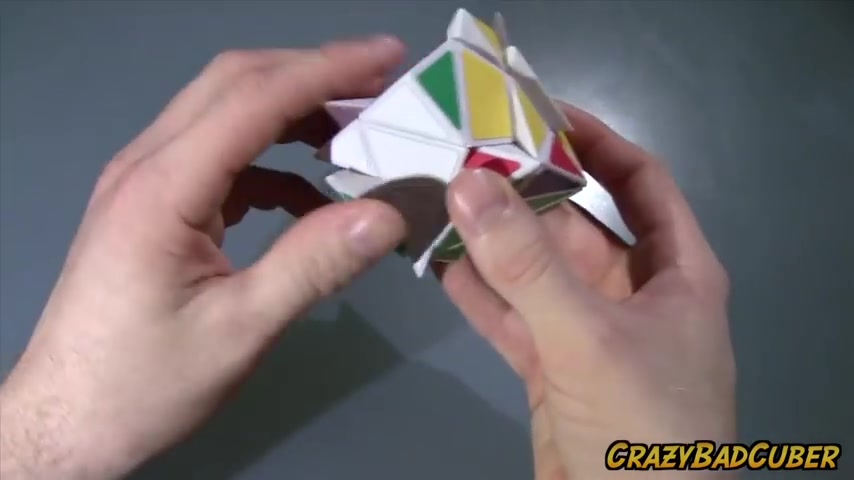
So if you're following along , the first thing you wanna do , if uh you're gonna do it with me is look for the white and the green centerpiece .
So I've located mine here and I'm going to find , um , there's a piece that sort of looks like this red one here where it's long on one side and it's shorter on the other , but it's green and I wanna try to locate that and here it is here .
So , what I wanna do is , uh , I wanna put this underneath this piece and so it can be spun up if needed as you can see , but it doesn't belong here as you can see .
Um this is a different kind of green piece because it goes up a little bit higher than this one .
So let's just move it back down and move the other green side there and now let's move it up again .
OK ?
So this didn't work either because um it is in the proper place .
But if it was flipped over , so this long piece would be up here and the short piece would be just down in there .
You could see that that would work .
So in a case like this , what I want you to do is flip the cube over so that the center is on the bottom .
I want you to take this green piece and flip it up to the top layer .
I want you to put it to the right .
So it's over here .
Now , I want you to put that right side down .
I want you to put the face clockwise so it can match up with this and the right side back up .
Now you can see that that is uh flush and that's exactly what we're looking for .
So the one that comes here as you can see is uh gonna be exactly the same shape except white because this is the white side .
So let's take a look around the cube for that same piece but white , I'm gonna keep my thumb on this so I can remember where I am .
Here's the white piece here .
So let's put it over top of where it needs to go .
So it needs to go .
As you can see , I'm locking up a little bit needs to go right here because this is where we're trying to put it .
So let's just do a 180 degree turn on the face and see if that's correct .
Yep , that is correct .
So now we have a little bit more of a grasp on what is our side .
So here we have our white side and here is our green side .
So let's just put white on the bottom like we would any other cube and because white is on the bottom and green is now in front of me .
I know that orange is on the right .
So this piece here that belongs to this blue one is gonna be the orange and green piece and here's an orange and green piece here .
This one can actually be just be spun in and that is correct now .
So that's good .
A lot of the time you're gonna find that , that the piece is right next to each other .
If you , um , had to search somewhere else for it , just use your own intuition .
It's not gonna be too hard now that you have a little bit of a grasp on how we're building a cross .
Um So the next one we're gonna look for is going to be white and orange .
That looks exactly like this .
And here it is here .
So again , it needs to be here .
So let's put that at the bottom and let's move this piece over it .
Now , swing this into position and see if that's will fit properly and it does fit properly .
There we go .
So now you might think that , you know , now that the cross is done , we have to put in these corner pieces , but there's one thing we have to do first is we have to make sure that these centerpieces are spun correctly with these pieces we put in .
So we kind of look around the cube and uh we try to find where these pieces might have gone .
Um I can see that this one has orange and so does this one , but this one is orange and this one doesn't .
So let's move it over one more time .
We can see that this one has orange and so does this one and this one has orange .
And so does that one , but you can see that the centerpiece needs to be rotated .
So what we're gonna do is exactly that we're gonna move this piece up to the top layer and we're going to move it out of the way with 1 90 degree turn .
Now we're gonna move this , we're gonna rotate this .
And now when we move it back , you can see that it is flush and now we can put it back at the bottom .
So let's go to this side .
This again is incorrect .
So we put this out at the top , move it out of the way , move this one up .
And as you can see , I didn't do it again , we have to actually make sure that the correct green side is facing on top and that's the correct one .
So we put it down .
Now , let's do the last one and we have to do the same with this one .
So we put the white on top , move it out of the way and turn this piece so it can be flushed with it .
And now we can put it at the bottom .
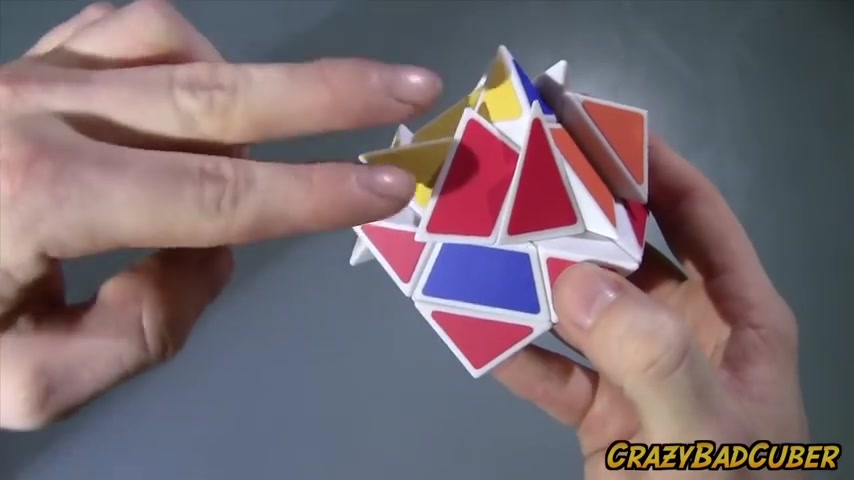
So now you can see we've kind of sort of what it looks like is an extended cross because we can see these pieces .
So it's this really long piece all the way down .
Now , we can start putting these pieces in .
So here we go .
Um You can see that this piece that belongs with this green one is this piece um except this needs to be kind of rotated this way .
So this corner is up here because you can see this triangle shape of the piece that it needs to be , but that is flipped incorrectly .
So we need to get it out of there by putting it in the top layer , getting it out of the way and putting it back .
Let's take a quick look real quick at how these pieces um can be inserted .
So I can either bring this piece up , which means that the long piece of this green needs to be facing upwards .
So the small base is , is flat against here because you can see when we bring this up , that the small piece will be here .
Another way that we could do it is we can bring this piece up and match it .
So when we bring it down , it brings it in .
And if that's the case , we need the , the long um piece , the the point of the triangle to be on the right because that's where this will be .
And it just happens to be that the point of the triangle is on the right .
So there we go , we can bring it in .
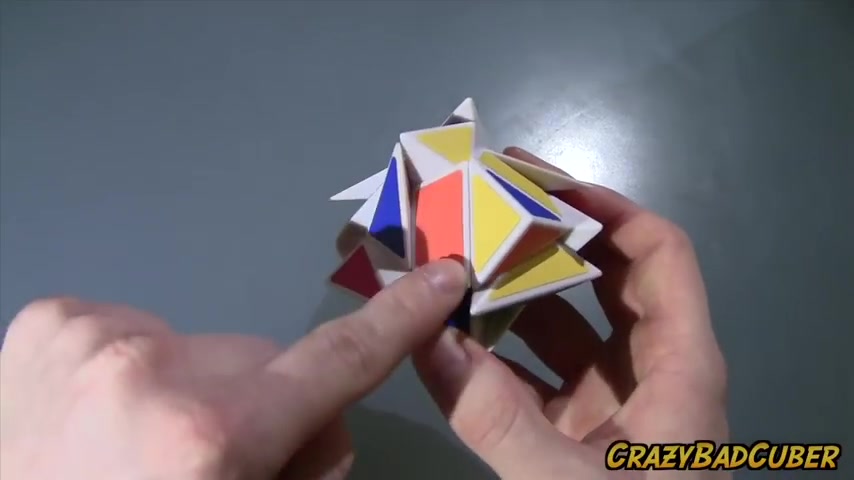
Let's look around the cube a little bit more .
Here , we have a um another one that you could see would replace this one and it is a small triangle that is exactly the same one that we put in for the green and it's actually here , this is the white one we need .
So we need to get it out of there by putting it in the top layer , moving this over and bringing this down .
Now , this can be put into here .
So let's take a look at this again , we can bring this side up and we need the point to be here on the left , but it's on the right this time .
Let's take a look at this way .
If we bring this side up , we can see that we need the point to be upwards like this .
So if we can stand this on end , so it stood like this , that will work .
So we can actually do that .
We can actually stand it up , we can get it out of the way and we can put this one back .
And now you can see that when we bring this piece up , we can attach it perfectly just like that and bring it in .
Let's take a look at another one here .
We have the ex another one which is sort of similar .
Um This one is exactly the same style of piece except orange .
So let's take a look around the cube and see if we can find it .
Well , here it is here in this position .
So we need this to be in the top layer again , bring it up , put it over and bring this down .
Now with this piece .
Um Now we can pay attention to how we can insert this one .
Well , if we bring , we know that the point is gonna be downwards .
So if we bring this piece over and up , we can see that the point needs to be on the right .
If we bring this piece up , we can see the point needs to be on the left .
So let's take a look at where the point is on the piece that we brought in .
What's on the right .
So we know that we need to bring this piece upwards to connect it to .
So we put that over , bring this piece up and now we can align that and bring it down .
And uh let's take a look .
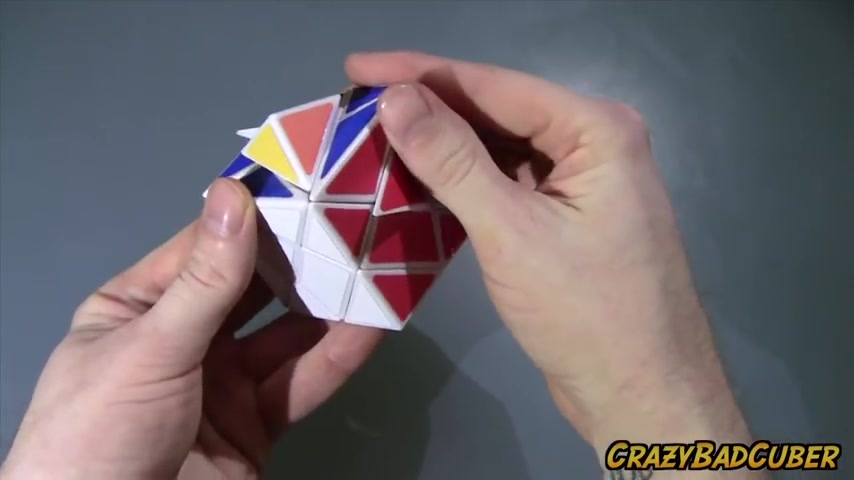
This is the other corner , but this one is shaped a little bit differently .
This is like an actual corner .
So what we need here is the green , white and red and we just happen to have the green and white and red in there , but it's not flipped correctly .
So let's get it out of the way by getting it out just like we did .
The other ones , move it , put it back , let's put it over top .
Now you can see that the um bottom color of this is white and the white is on this side .
So we move it away from this side .
Now we bring that side up , put it over top and bring it down .
So what we've effectively done now is , we've created a whole side which is basically like one side of the Rubik's cube .
So let's uh continue on and we will get the next pieces in .
Let's get this red one in .
Now , as you can see , there's two different um sizes of this red , there's this long side and the short side , whatever side this piece is that you're connecting it with , this will be the long side because this side is this piece here .
This red one at the bottom is too long to fit on the short side .
So it must be here because this is gonna rotate down into there .
So if that's the case , uh I'm gonna teach you a little bit of a trick that I know .
And I want you to put the side that belongs down here closest to that .
So I'm gonna put it here because this side is closest to this to where it needs to match up .
If I put it over here , well , then this side is further away than this side .
So we need it closer just like this .
And since this is on the right side , I want you to turn it one more time to the right .
I want you to bring the left side up and I want you to turn it towards that piece .
You just put out .
I want you to put this back .
Now , now I want you to put the corner , you just took out back over top of the , of where it needs to go .
And I want you to put , turn this towards that piece that we kicked out , which is gonna match it up as you can see , and I'll bring it towards us and bring it down .
And here we brought in this piece .
So let's take a look over here for the orange one again , as you can see , um , the orange has a long side and a short side .
And of course , here the short side is gonna match up this time .
So we're gonna keep that closest to it .
If it was over here , that would be further away than this long side .
So here we have closest and we're gonna move it away .
Again , we're gonna bring the left side up , put it towards that piece , we just moved , put this back , put this uh corner piece back over where it needs to go and turn it towards that piece we kicked out and now we can bring them in together .
So here's a different kind of piece .
Here's a green and a yellow piece .
So we don't have it in the top layer , which means it's got to be on the opposite side of the cube , which it is .
So in taking this one out , we're gonna put in this one which is the yellow and or sorry , the white and blue .
So here's the white and blue piece here .
Um Again , I have a little bit of a trick for this .
Um You can see there's two colors on here and whatever color the bottom one is , you want this color to be closest to that one .
So here we have white and white .
So I wanna put this one on the left because the white is now closer to the white .
If it was over here , you would see the white is further away from this than the blue is .
So here's the white and again , you wanna turn that away one more time .
This time , we're going an opposite way , which is good .
You wanna bring this up , turn it towards the one you just kicked out and put this back .
Now , put that corner back over top where it belongs just like this .
And I want you to turn this towards the one we kicked out and bring them both towards us and insert them as a pair as you can see that put that edge piece in , let's go on to this side .
Now , now the one that was we needed here should be in the top layer because it was here and we replaced it with this .
So here we need the yellow and green and here's the yellow and green .
So take a moment and figure out does this piece need to be here or here ?
You guessed it , it needs to be here because we're looking at the green side and the green is over here .
That means we need the green to be closest to it .
If we put it over here , the green is now further away from this than the yellow is .
So we need it to be closest to it .
And we're gonna do the same thing that we did with the first two that we put in .
We're gonna turn it away one more time , bring this piece up , move it towards that piece , bring this down , put the corner back over top of its location .
And we're gonna turn this uh corner piece over towards the side that we kicked out that last piece and bring them in as a pair .
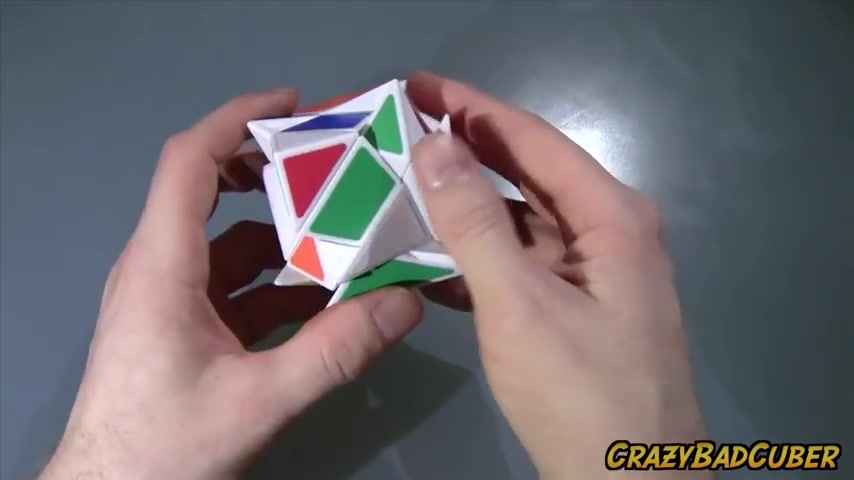
Now , we're on our last layer and this is where it gets a little bit tricky .
So um basically , what we're gonna do is use um beginner's method algorithms and I'm gonna show you what I mean on this cube here .
OK .
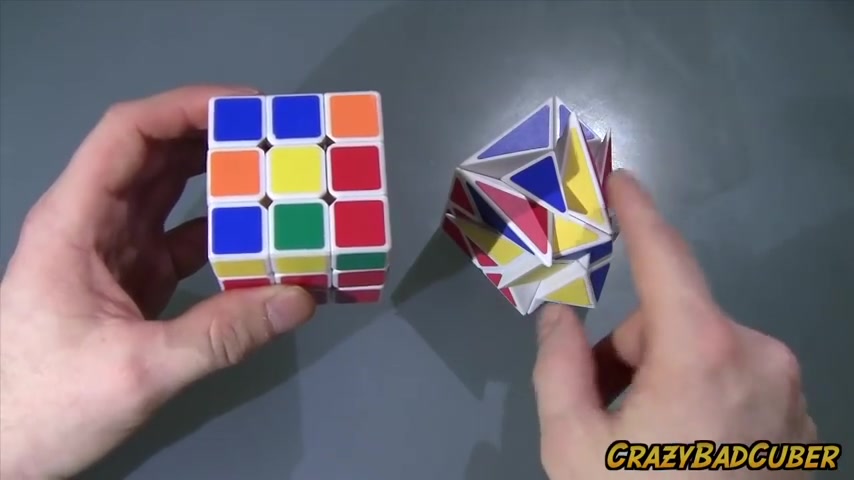
So , as you recall in the beginner's method of the Rubik's cube , um Sometimes when you're doing the last layer , what you look for is either a dot or you look for a line or you look for a little triangle here and you perform an algorithm that goes over and over and over again until you get your cross .
And that's exactly what we're doing here .
However , there are some complications here because on a regular Rubik's cube , you can see that there are two colors and uh I can see that none of these edges are oriented properly .
And the reason I know that is because no yellow is on top of any of them .
So on here , it's hard to determine if these are correct or not because there's only one color , there's not two colors .
So I'm gonna teach you some algorithms that we can go through and uh see if we can get you to finish the top layer .
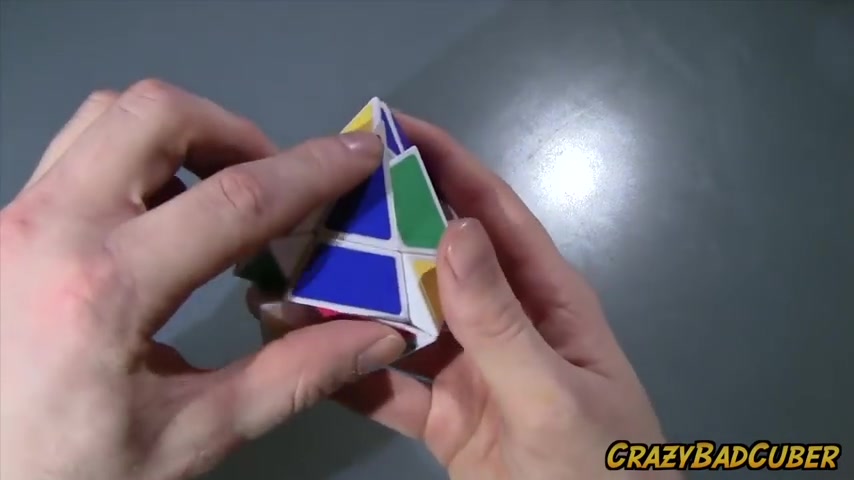
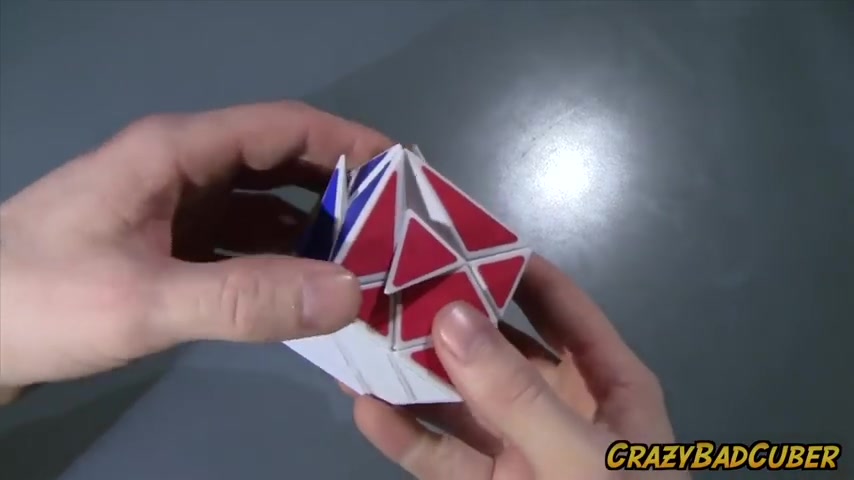
So now you want to hold the cube sort of like this .
I know it's a weird way to look at it , but this is the way that you're gonna wanna see the cube for the top layer just like this one .
Here , here's the top layer and that's why this is a shape mod because it's shaped a little bit differently .
So here we can see that this um this red and yellow piece is in fact in the correct place because it is flush with the center .
And if you move it to the red , just like that , you can see that it is correct .
We want to see which ones are flipped correctly and which ones aren't .
And one thing I can tell right away is that this piece here is definitely not flipped correctly because there's no red in the centerpiece .
So this red side will never be able to match up with that , which means that this piece here is flipped incorrectly .
It means that on a regular three by three , it would be sort of like this where the yellow is on the side and you need to flip it up this yellow piece .
Uh , let's see if that's flipped correctly .
Now , I know that this piece is incorrect .
This sorry is correct and this piece belongs here and that needs to be flipped over as well .
So , so far I know that this yellow and red piece are the only ones that are flipped correctly and these two are out .
Let's check this blue one real quick .
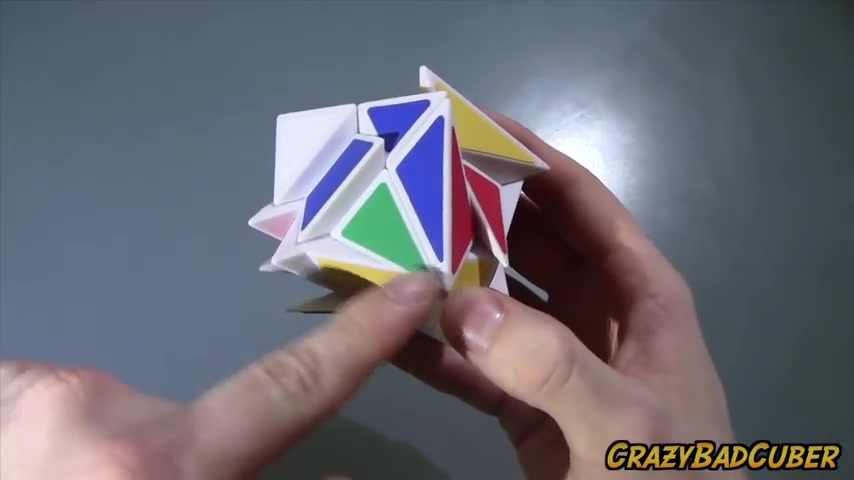
So this blue one can go here and I can see that this one here is flipped correctly , meaning that um these two are correct and that gives us our L shape as you can see .
So I'll show you a real quick on here that if I do an algorithm that brings us to our familiar line and we do it again and that brings us to our L shape and uh once we do it one more time from here , it will give us our cross , which is what we're looking for .
So that's what we're gonna do here .
We're gonna have our L shape like this and we're gonna do the algorithm to flip these two over .
And the algorithm goes like this F Ur U prime R prime F prime .
As you can see , it's created our top cross .
Now , I'm gonna show you one more example of that just so uh we can make sure that you're familiar with it .
OK .
So here we have another example where nothing is correct with the top and automatically , I already know that this piece is not flipped correctly because there's no red in the center .
Now , let's take a look around the cube .
I can see that this yellow and red again , this is correct .
And I look around the cube and this is correct as well .
Let's take a look that we know that that's not correct .
And uh I know that we can't have three correct and one incorrect , which means that this one is also incorrect .
But let's take a look just to make sure .
And indeed , there it is incorrect .
So we know that this blue one again , this blue and this red are correct , which gives us our um familiar algorithm that we have to use when we have a line because that's essentially what we have here is a line .
So we're gonna do the algorithm with the line this way and we're gonna go F Uru prime R prime F prime .
And we know that once we do that just like on this one , it gives us our L .
So it's , we have to look for the L on here now .
So here we know that this piece is incorrect .
OK ?
Because we , there's no red on top .
This is also incorrect .
So no red on top .
And I'm willing to bet that these are both correct .
And as you can see they are because this is flush where it needs to go and so is this , so we're gonna do the , the algorithm we get with the L here , we're gonna go Furu prime R prime F prime .
So now they are all oriented properly , meaning that they are all flipped upwards sort of like this , but it doesn't necessarily mean that they are where they're supposed to be , which is permutation .
So we need to permute them as you can see this red one on a regular Rubik's cube is where it needs to be .
But this one isn't and this one isn't and this one isn't .
So let's take a look at which one is in and which one is out here .
Well , here we have a yellow one that is correct .
So let's put that over where it's supposed to go just like this .
And so now this is correct , which means that these three have to be rotated around .
And I know that this blue one needs to go here .
So it needs to go here and then here .
So the algorithm I'm about to show you we need to do twice because it needs to be moved twice .
And what the algorithm does is it moves this piece to here , this piece to here and this piece to here .
So I'm gonna teach you that algorithm now and I want the piece that is correct to be in front of you because it's protected here and you might already know this algorithm .
It's called the soon .
But this is how it goes rur prime ur to you our prime .
And as predicted it rotated these .
So now we want to do that again , Rur prime ur two ur prime .
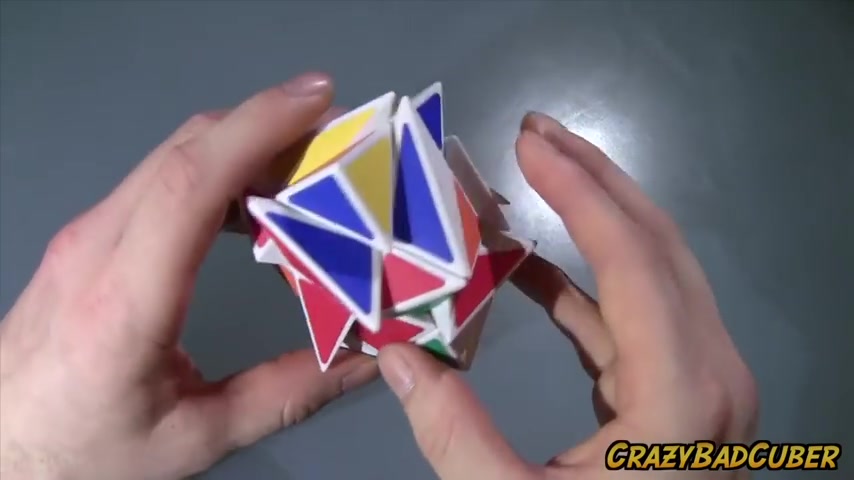
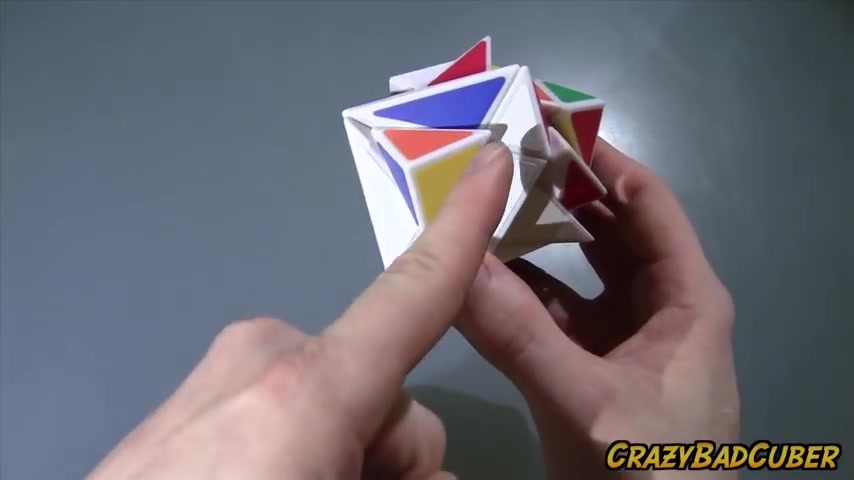
And now you can see that we do have our cross and we've got these pieces sticking out at us here .
So now what we wanna do is we want to put these pieces where they need to be .
Well , the red is already on the red side .
It just needs to be flipped around .
This blue needs to go here .
Uh The yellow needs to go here and this corner piece needs to go here .
And the algorithm I use does it in a clockwise position .
So we're gonna have to do it twice because the algorithm will put this one here and we'll put this one here .
So the blue needs to go here and then here and same with the rest of them are on the cube .
So now we have to shift our perspective and we have to look at the cube as the top layer again .
So , so we know that this is the top layer so we need to hold it .
So it's like this .
So the top layer is in front of us and the algorithm is gonna protect what's ever on the top , right , which is this red piece and we need to protect that because that's where um you know it's already in place and it's gonna spin these ones around .
And the algorithm for this is Uru prime L prime Ur prime U prime L .
And as predicted it did um move these around .
So let's do it one more time .
Let's go you ru prime L prime Ur prime U prime L .
Now you can see that these are all where they need to be , they just need to be spun into position .
So what we need to do is hold the cube , the exact same way that we just were .
So the top layer is here and the one we want to spin is gonna be in this position here and it's gonna create a bit of a mess down here .
But don't worry , uh we'll , we'll fix that up as we go .
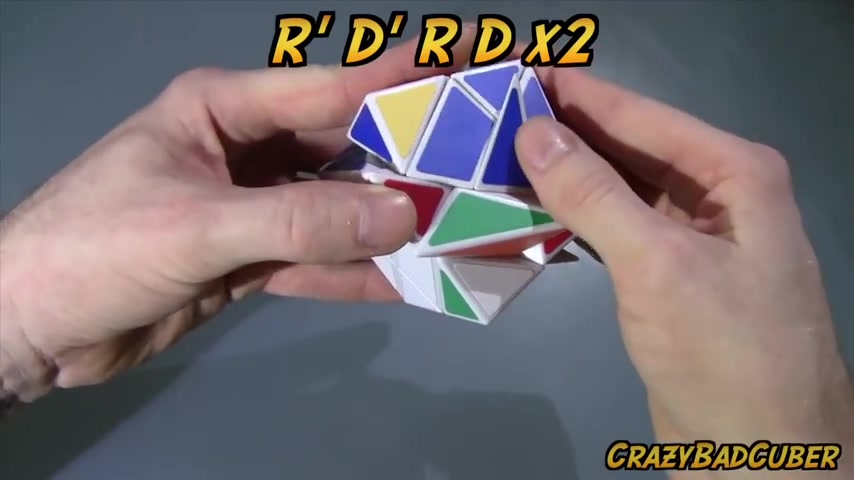
So what we wanna do to spin these in is to go R prime D prime RD , do it again .
R prime D prime R and D .
So you have to complete the algorithm twice to do a full cycle .
And I can see that I need to do it again because this is still not um put in correctly .
So R R prime , sorry D prime RD , R prime D prime RD .
So as you can see that is correct and all this is still messed up , but that's OK .
We just move another one into position and we start doing it again , rotating this piece in just line this up and we go R prime D prime RD , what R prime D prime RD .
And we have to do it again .
R prime D prime RDR prime D prime RD .
And it did indeed put that in .
So now we move , move the next one in R prime D prime RD , R prime D prime R D and now we move the last one in R prime D prime RDR prime D prime RD .
Now we can just do the last move and we have solved the access cube .
All right .
Hopefully you are able to follow along all the algorithms will be in the description .
And uh I will see you on my next video .
Are you looking for a way to reach a wider audience and get more views on your videos?
Our innovative video to text transcribing service can help you do just that.
We provide accurate transcriptions of your videos along with visual content that will help you attract new viewers and keep them engaged. Plus, our data analytics and ad campaign tools can help you monetize your content and maximize your revenue.
Let's partner up and take your video content to the next level!
Contact us today to learn more.