https://www.youtube.com/watch?v=J9NG-h5_j4o
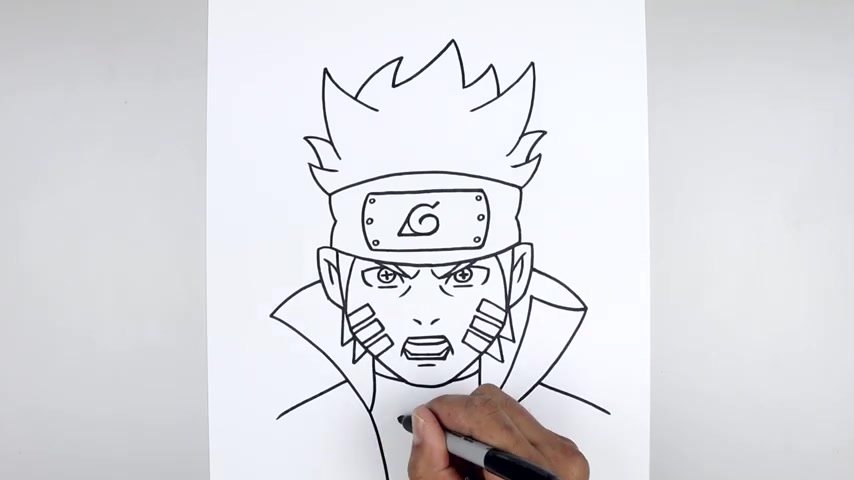
How To Draw Naruto _ Six Paths Sage Mode
What's up everyone and welcome to the club in today's video .
We drive Naruto six path stage mode .
Let's get started in the center of our page at the bottom edge of the headband .
We start on the left side , we draw a curve that comes down the middle , just gonna run this out , pull this out and up on the right .
I'm gonna add some subtle folds along the side , going back to left , go up within that in and then from here we're gonna curb out and up toward the top of the headband .
Let's connect the top with a curve starting on the left when you go up in the middle and then bend that back down .
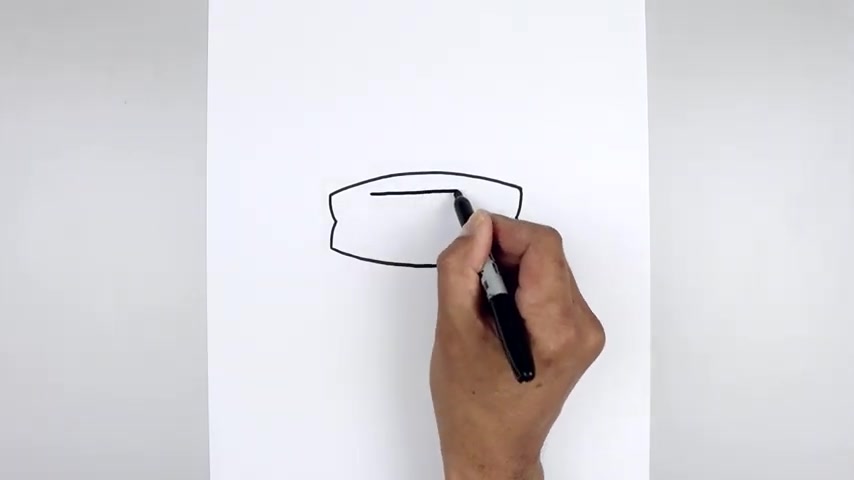
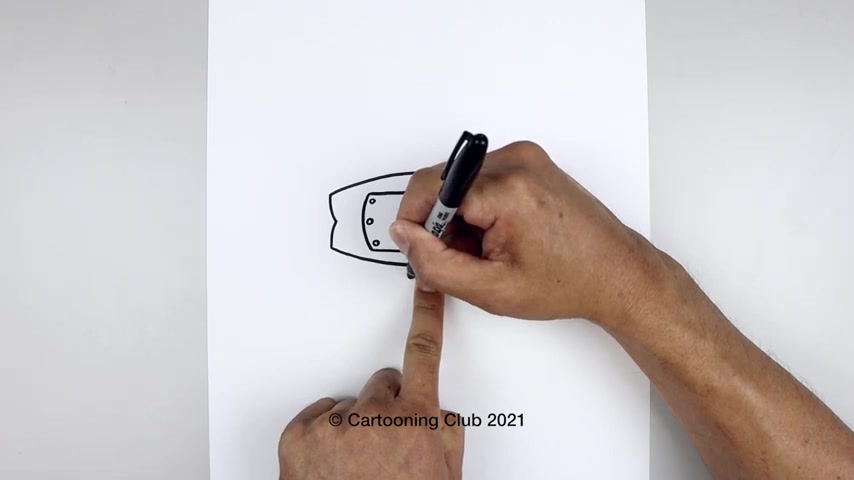
Let's add that metal plate in the center of the headband and start on the left side , draw a straight line going all the way across towards the right and I'll round out the ends , going back to the left , cut this out and then , and just up above the bottom and I'll close out the bottom with another straight line .
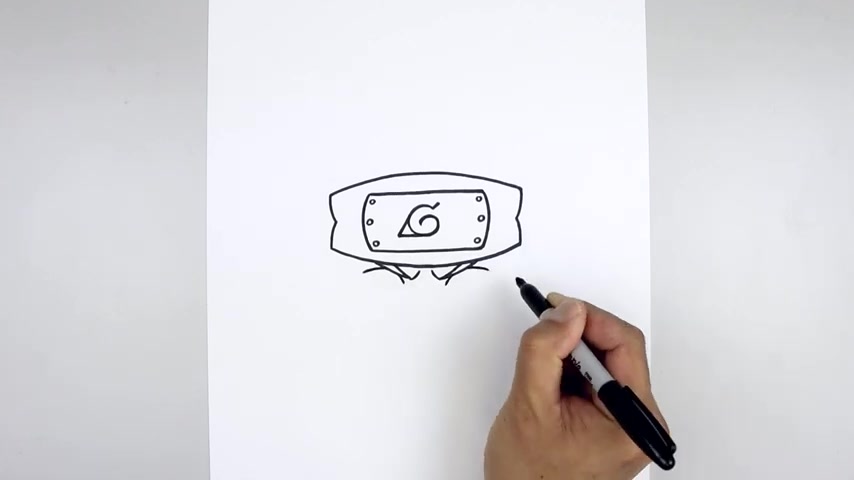
Let's add three small rivets on the side of that metal plate starting from the top for a small circle , do the same thing on the right and another one on the bottom corners and then one more in between , let's go to the center and draw on that symbol from the middle , go over to the right .
You curl this around , almost like drawing a circle come down to the bottom .
That's gonna pull that down on the inside .
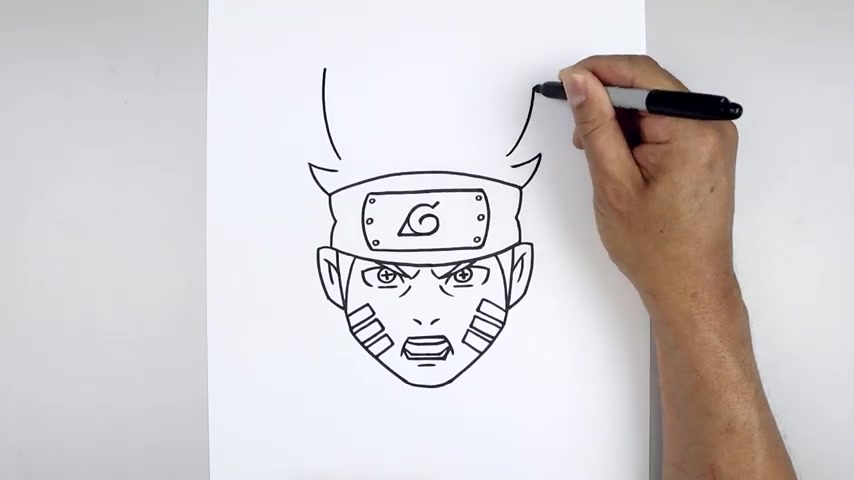
Let's go to the top right .
Draw a short angle line going up and out , go to the left side and go down and out and then pull that straight in towards the bottom .
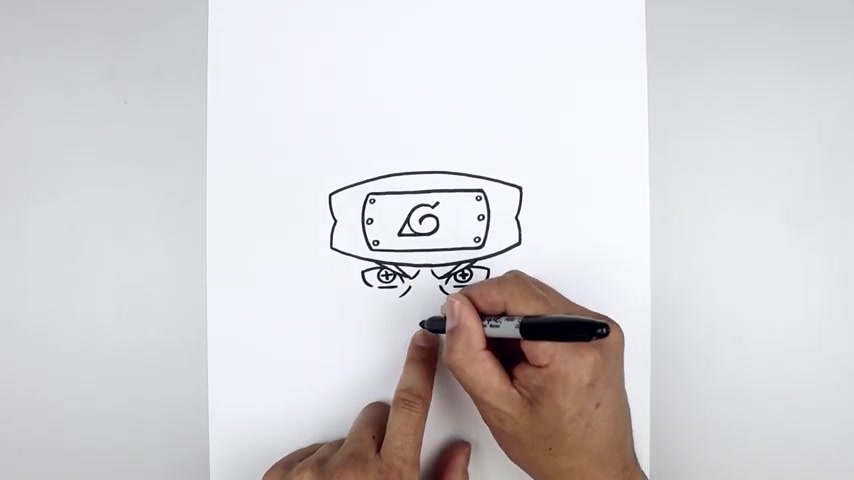
Now , from here , we're tuck the eyebrows in underneath the headband , leave a gap in the center .
Let's go to the left side , cur the eyebrow going out and then up line this up on the right going out and then up , let's go back to the inside and curl up the brow , put it in and then up with the short line and it will thicken up the eyebrows , strengthen that bottom point just teen this up underneath the headband and we're also gonna tuck the eyelids underneath the eyebrow and the bottom point .
Let's step out , curve in and then down on both sides .
Let's go up to the top , put the eyelid going out and then down and I'll go back up to the top and draw a small circle for the pupil .
Start from the very top , go all the way around and pull it back up .
Let's add a plus symbol in the center of the eye .
Start with the straight line coming down .
I'm going to cross vanilla .
Let's round up the side of the eye , start it on the left , come down and just bend that in .
Let's leave the gale on the bottom step and draw a straight line coming in the same thing on the right .
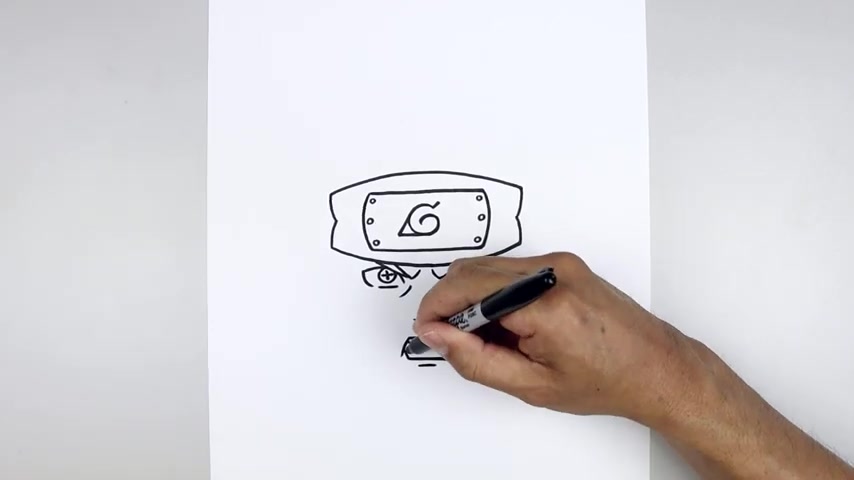
I'm also gonna add a fold on the inside of the eye underneath this point , go down and then out , let's go back to the center , step down and draw on the nostrils and we move over toward the left .
Turn this up and out line this up on the right , go up and out from the tip of the nose .
We're gonna step down to a straight line going across the top of the mouth .
Then from the end cur the mouth going out and then down , I'm gonna tuck the bottom of the mouth underneath and this bottom point will step up and down the in , close off the bottom with a straight line .
Then from the center step down , draw a short line going across to the lower lip .
Let's go back up to the top and draw on the teeth on the left comes down , coming back up and then from the corners of the mouth , draw a short angle line coming in , close up the bottom with a straight line .
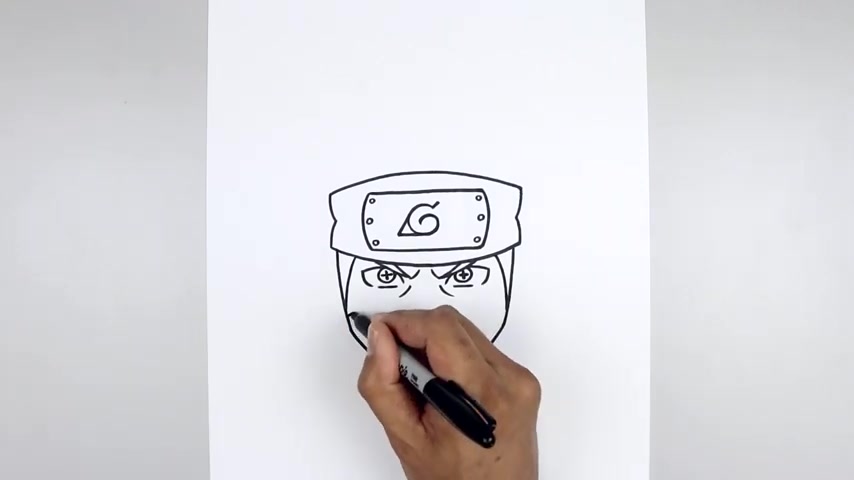
Let's move out and draw the side of the head from the bottom corner of the headband , we're gonna step in from straight down and then bend that in towards the jaw and a round of the jaw coming in toward the chin .
Starting back on the left , come down in into the side , the same thing on the right and it will close off the chin with a curve down and then up , let's go back up and draw on the hair on the top of the head step in because this out and then down to the side .
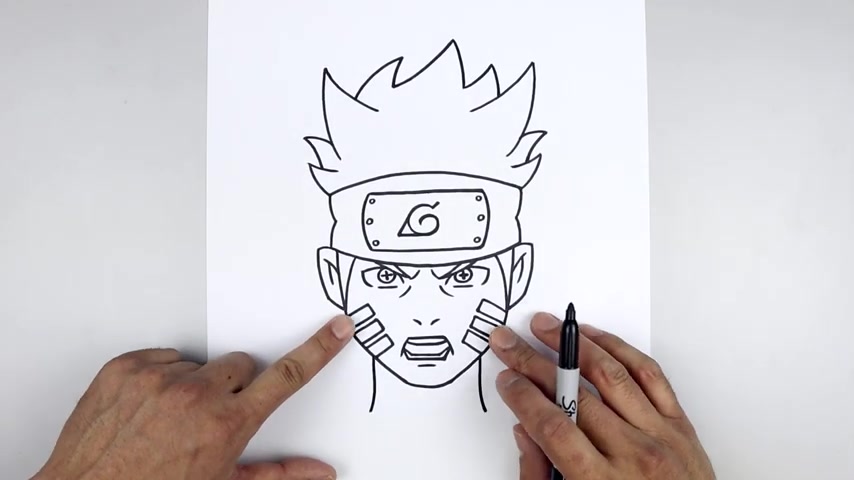
Now we're gonna add those thick markings on the side of the head starting on left for a straight line coming up and in Latin sauce go back down and out it .
Let's take that and flip it over on the right .
I'm just gonna line this up , send it in and pull that back out .
Now we need a small gap and draw this two more times .
Oh , just lining this up along the top , come down , you back and it will do the same thing on the right .
Let's add the ears on the side of the head .
Start from the bottom corner of the head band , cut it up and then down , down and blend that in .
And I'll curl this down and in towards the side of the head .
Let's add the fold inside the ear on the top .
We'll step down , curve up and then out from the end , step down , come down and then end .
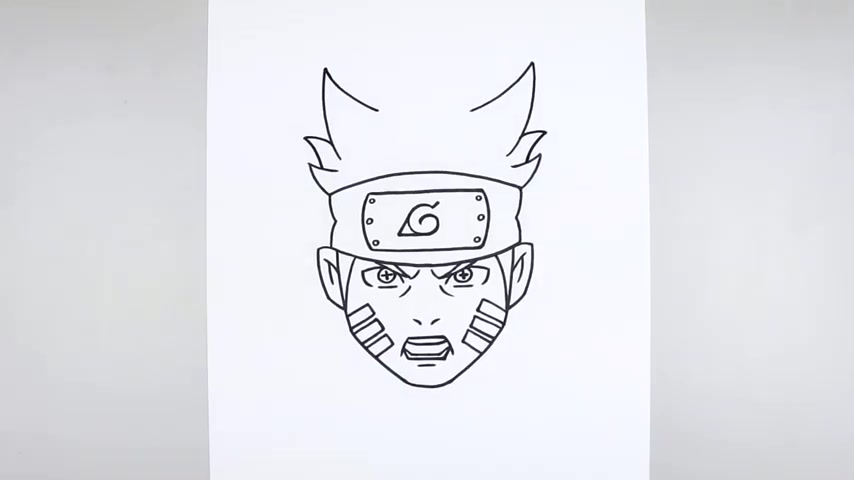
Now let's go up to the top and draw on the hair .
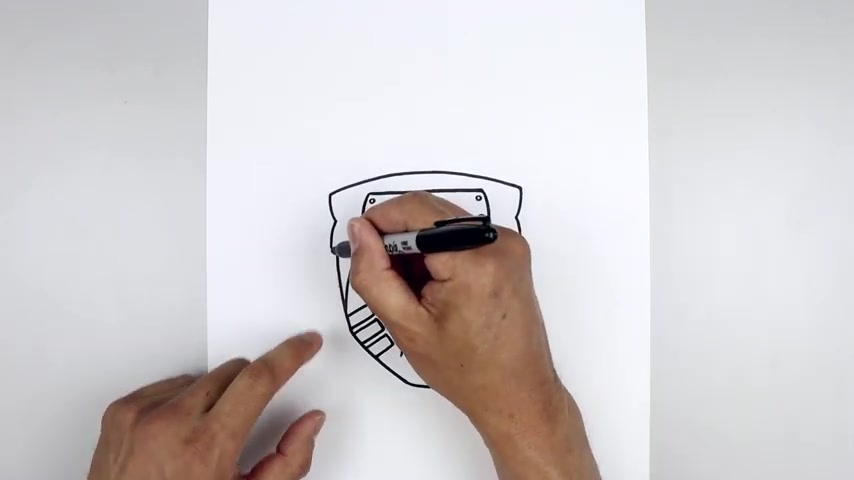
We'll start by adding two small points along the bottom , start from the top corner of the headband go out and then up on both sides , let's taper that back down and in now gonna add two large points from here .
We're gonna step up for this out and then up line this up on the right going out and then up to the same height , let's pull this back in , come down and then bend that in the same thing on the right page .
Let's close the gap along the side from here when step up because up and out come in and then tuck that in behind .
Let's go over towards right , go up and out and in and then down and then will layer the top of the head in behind these two points starting on the left , goes up and in , out and down , go out and pull that up in the middle , go out and then down , then add one more point going out and up .
Just tuck that in behind .
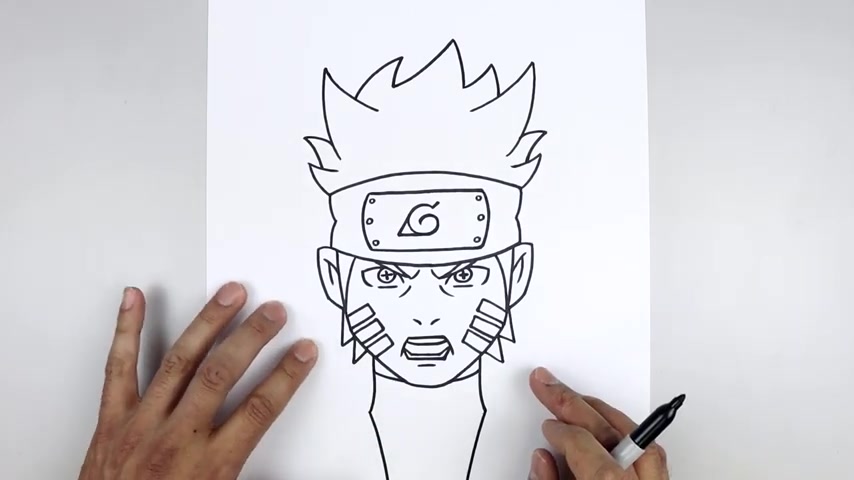
Let's go back down and draw on the side of the neck .
Can we start on the left side ?
We start by coming straight down and I'm building that out line this up on the right , come down and then out and I'll add some hair underneath the ears , starting from the left side and down and out and go up and in behind the head I add one more point come down and out , go up and in , I'm also gonna tuck the edge of the collar in behind the chin and start on the left , come down and then in , on the left side , go over towards the right , go out and up .
Let's draw the inside edge of the clock on the left side because it's in and then down on both sides , let's fold the left collar going out towards the side from here comes up that out .
I'm just gonna curl this up and then in to the side of the air and I'll fold the right color coming back in from here going out in an angle and just pull that up towards the ear , come down , then that's out .
Let's fold the color coming back in to the side of the air going up and then him and from the side curve , the color coming down and bending that in from the inside point of the collar .
Let's step up all the shoulders coming down and out and London is up on the right .
Let's add a couple of symbols in the center of the body .
We start over on the left side , draw a circle line this up on the road .
We do the same thing from the bottom of that circle .
Let's step down , draw a straight line coming down on either side .
Let's go back up to the top to trace that circle going all the way around , come down the right side , then down toward the bottom line .
And we did the same thing on the right all the way around to the top , come down and then in and that's pretty much it .
There's Naruto six path stage mode .
I hope you enjoyed today's lesson .
Make sure you subscribe and send me your request in the comments below .
Thanks for watching and we'll see you again soon .
Are you looking for a way to reach a wider audience and get more views on your videos?
Our innovative video to text transcribing service can help you do just that.
We provide accurate transcriptions of your videos along with visual content that will help you attract new viewers and keep them engaged. Plus, our data analytics and ad campaign tools can help you monetize your content and maximize your revenue.
Let's partner up and take your video content to the next level!
Contact us today to learn more.