https://www.youtube.com/watch?v=44G7P-Q5E94
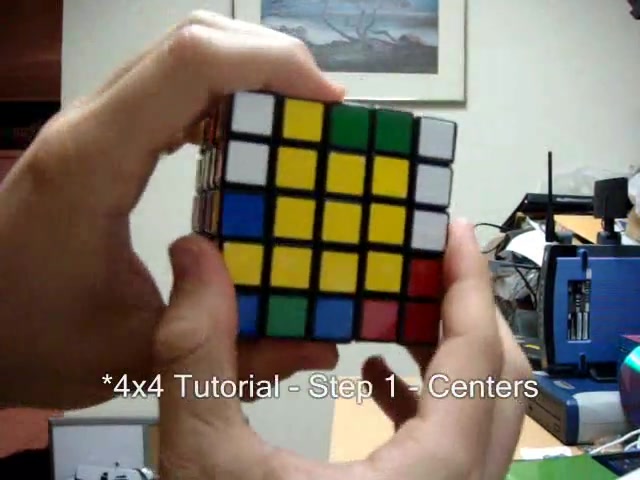
How To Solve a 5x5x5 Rubik's Cube - Part 1 - Centers
Everybody .
How's it going ?
I'm Rob and welcome to my tutorial on how to solve a five by five Rubik's cube professor .
At this point before proceeding , I highly recommend that you know how to solve both the regular three by three Rubik's cube and also the four by four Rubik's cube revenge .
Before attempting to solve the five by five professor , I will be referring to both my three by three and four by four tutorials , both of which can be located on my channel playlists .
Now there is only one new algorithm that we're going to have to learn in order to solve the five by five .
As long as you know , all the algorithms to solve the three by three and four by four cubes .
And the new algorithm to solve the five by five is relative short .
Solving the five by five is very similar to solving the four by four as far as placing the centers and also pairing up the edge pieces .
However , once you have done so on the five by five cube and corrected all the parity errors that occur with the edges , there are no additional parity errors that occur when solving the rest of the cube .
So to save some time , I'm not going to go over a notation for the five by five cube .
Since it is exactly the same as the four by four cube , the middle layer on the five by five cube is never turned by itself in any of the algorithms .
Instead , we are only going to be turning the inside layers like that and also the inside and outside layers together like we did in the four by four cube and also the outside layers by themselves as well .
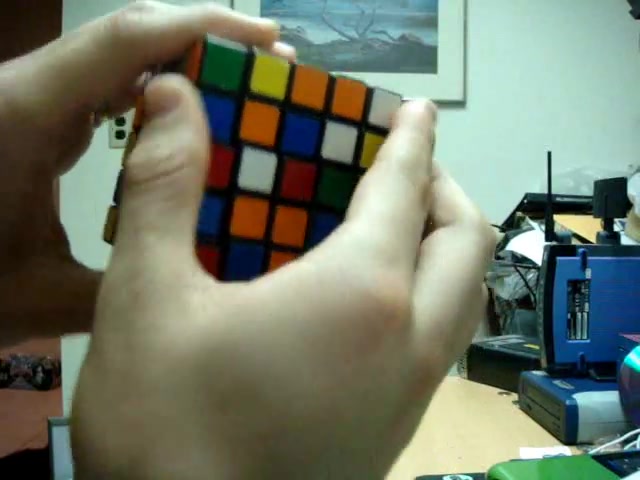
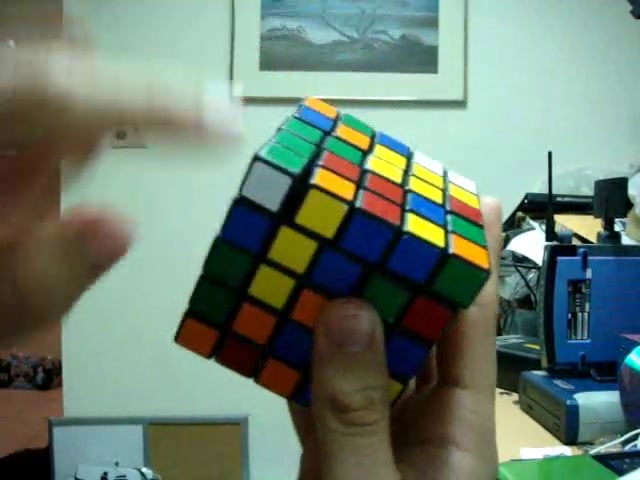
So now I'd like to go over the component pieces of the five by five cube .
OK .
So as you'll notice the center block on each side of the cube is composed of nine pieces arranged as a three by three block just as in the three by three cube .
The five by five has one fixed centerpiece on each side which never moves .
And that designates the color of the entire face .
There are three different types of central pieces .
There is that one middle centerpiece , there are four edge or side centerpieces per side and there are also four corner center pieces as well .
Every side of the cube also has 12 edges which make up what are called triple edge pieces or trudges .
Every trudge piece is composed of what I like to call a middle edge piece and also two outer edge pieces just as in all cubes .
There are also eight corner pieces on the entire cube just like the four by four .
We must first place the centerpieces , then pair up the edge pieces and fix parity and then solve the cube as a three by three .
Now , let's go on to policing the centers on a mixed up five by five .
All right .
So what we're going to do first is to pick a bottom color and a top color and solve those centers .
First , I choose white from my bottom and yellow from my top .
And I always solve the white center .
First to do that .

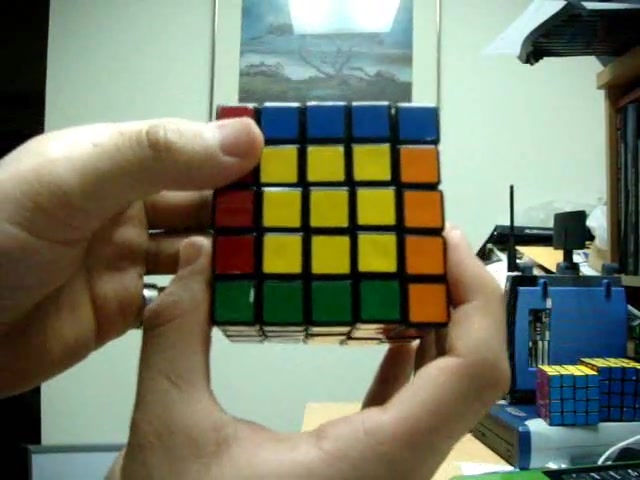
We're going to need to form two by one blocks like this one , we're going to instead of joining two of them like we did in the four by four , we're going to join three of them to form a two by three block .
We are then going to join a three by one block to that to complete the center .
So let me show you what I mean in this cube , I have already formed 32 by one blocks .
So if I wanted to join this one to this one , they need to be vertical .
This one is in the bottom two layers of this three by three .
And this is also so we could join that up and then we would join this one to that to form a two by three and then finally join a three by one block to that to complete the center .
So that's just an example .
Now let's go into detail on how to do that .
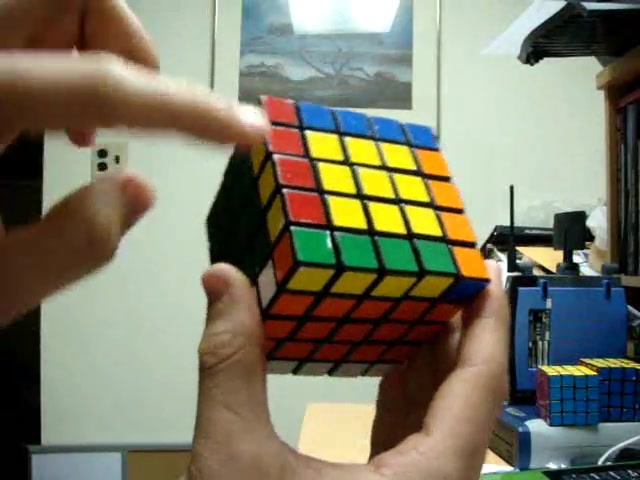
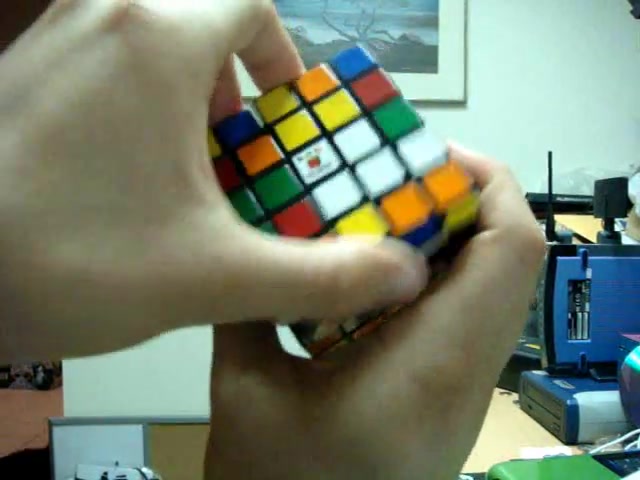
In order to do that , we need to first form a two by one block on the white side to do that , we must first join an edge centerpiece to this middle centerpiece .
So you look around the cube for an edge centerpiece that is white and it has to be in the middle layer here .
It has to be either in this position or this position to join it to this center .
If it was up here , you could not join it .
So it's in this position .
So we can flip it directly up next to this one .
So now we have formed our first two by one block .
Now we want to form another one .
And as we're going to do that , you're going to notice that we're going to be joining mostly corner pieces that corner centerpieces with edge centerpieces .
So we have another two by one block already solved for us here .
So if we hold this white center on the top face and we get this positioned on the front face , we could join them up .
This is in the bottom two layers of the um of the top center .
So we need to get these two in the bottom layers as well .
So here is it's in the bottom layers .
If you flipped it around like this , this is in the top left of this three by three block .
So we couldn't join it like that .
So we get it in the bottom right ?
And now we can flip it directly up to form a two by two white block .
So now we want to get one more two by one block here so that we form a two by three .
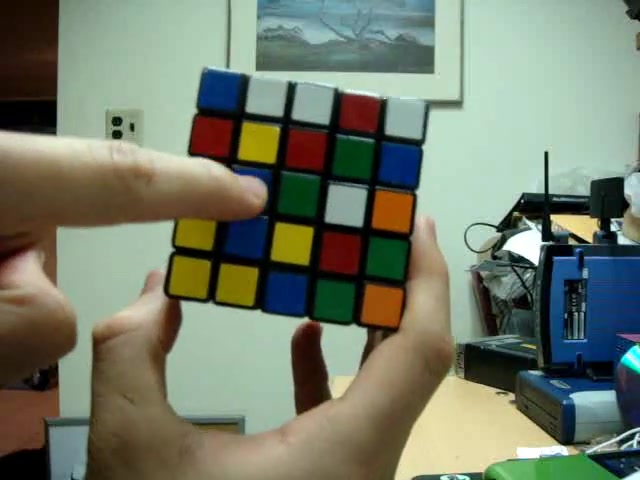
So we look around the cube .
When you have two pieces on the same face like this , it's quite easy to join these two pieces up .
All you have to do is basically hold it .
So that one is on the top and one is here on the bottom .
Then what we could do is we basically lift this piece up to the top face , bring it down .
So that because we want it here , so we have to get it in this position .
So we bring it down and then we just bring it back .
So now we have formed a two by one block by doing that .
So let me do that real quick again .
So it's here .
If you want to bring it up , flip it down and then bring it back .
So now we have another two by one block .
So if we want to get it next to here , this one is in the top left of this three by three block .
So we have to get an empty spot in the top left of this block .
So if we twist it like that , now you'll see we could join this piece up to that we couldn't put it like that because it wouldn't join .
So we have to get that spot like that .
Now , we could shift this piece up to the top and form a two by three block .
So now we want to get that three by one white block in here .
So we have to , we have to form that first .
OK .
So we have a piece here and here and the other one is here , the white center is on the other side over here .
So what we want to do , we can do that same move that we did to join those two pieces .
In this case , it is in the top , right .
So we bring this piece up , shift it down .
So that now it's in the correct position for joining it to this piece and then we bring those both faces back down .
So now we have formed a two by one .
However , we need to form a three by one .
So we need to join this piece up to that as you'll see this empty spot is in the bottom left .
And so is this piece here .
So we could flip this directly up when we do that , you'll see that we mess up the center .
So we have to shift this back in order to do that .
Once we have joined this up , we have to get it out of the way so that we can bring this face back down .
So you don't want any of these pieces to still be in this face .
So now we could join that back down .
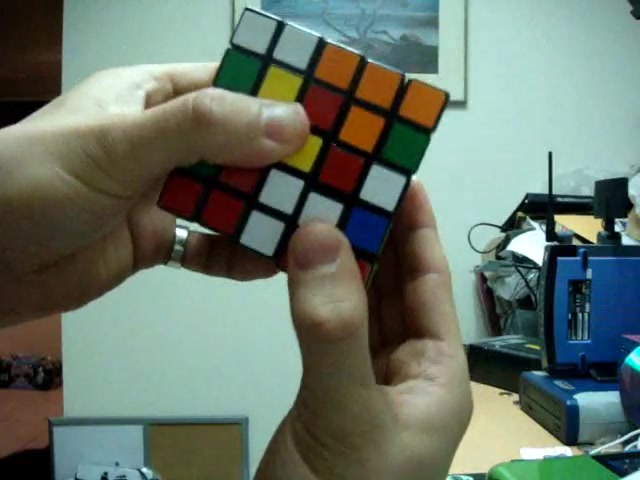
Now you'll see this is on the right side and these two are on the left .
So all we have to do is basically turn this 180 degrees and we have formed the first center .
So now we want to form the opposite center , which is yellow .
So we do the same thing .
We have a piece here that is a side , middle piece , a side center piece and it's in the middle layer .
So we can flip it directly up .
But as you'll notice , you'll mess up the center .
So once you get it up , you get it out of the way so that no more yellow pieces are in this face , you turn it like that and then you basically flip it back down to resolve the center .
So that's 12 by one block .
Here's another one .
As you'll notice these two pieces are in the bottom two layers of this three by three block .
So we have to get these two pieces in the bottom as well .
So you wouldn't flip it like that because you couldn't join it like that .
So you get it so that it is positioned in the bottom , right like that .
And now you can flip it up and when you do that , you're gonna mess up the center .
So we flip it up , get it out of the way so that no yellow pieces are in this face and then we flip it back down .
So we have that and now we have a two by two yellow block .
So now we want to form another two by one yellow block and get it next to this two by two .
So we already have a two by one yellow block here .
So it's in the upper left of this three by three .
So we have to get an empty spot in the upper left .
So now you'll see we can flip this directly up next to that .
We could also , if you wanted to , if this piece was here in the bottom , right , we could also get it so that this piece is in the bottom , right as well .
And then you can flip it up .
So once we flip it up , you'll notice you're gonna mess up the center .
So we flip it up and now we have to put this layer back down .
So we don't want any yellow pieces in that layer because it'll just bring it back down .
So we flip it up and then we get it out of the way .
So now this layer is completely cleared .
So now we can bring it back down and we have the white center resolved and we have a two by three block of yellow .
So now we want to form the three by one to get it in there .

So as you'll see white is on the right and yellow is on the left .
So we can basically , we don't have to worry about messing up any of these centers yet .
OK .
So we have a corner centerpiece here and we have an edge centerpiece .
This one's in the bottom layer .
So we get this one in the bottom layer .
Now , we can flip it up and we formed a two by one block .
So now we have to look for the last piece which is here .
This piece is in the bottom left , but this empty spot is in the top left .
So we basically just flip this up and now we could flip that up and form the three by one .
OK .
So now we have to join this piece up here .
We can't just flip it like that because it'll mess up the centers .
So we basically get this piece turning 100 and 80 degrees around and we kick this piece out by flipping it up , turn the top 100 and 80 and then bring it back down .
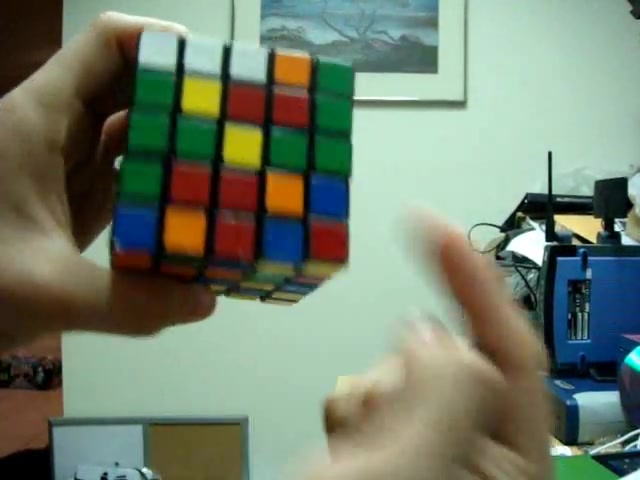
That's a similar move to the one done in the four by four tutorial .
And if you did all that , all the steps correctly , you should have two completed centers .
So now you're ready to move on to the second part of the centers .
Are you looking for a way to reach a wider audience and get more views on your videos?
Our innovative video to text transcribing service can help you do just that.
We provide accurate transcriptions of your videos along with visual content that will help you attract new viewers and keep them engaged. Plus, our data analytics and ad campaign tools can help you monetize your content and maximize your revenue.
Let's partner up and take your video content to the next level!
Contact us today to learn more.