https://www.youtube.com/watch?v=7LF1eSnHElE
How to Draw a Spinosaurus Dinosaur
Hey , welcome back to K guitar and let's draw the awesome looking spinosaurus dinosaur .
So let's get started with a quick sketch and then I will show you line by line on how you can draw this .
All right .
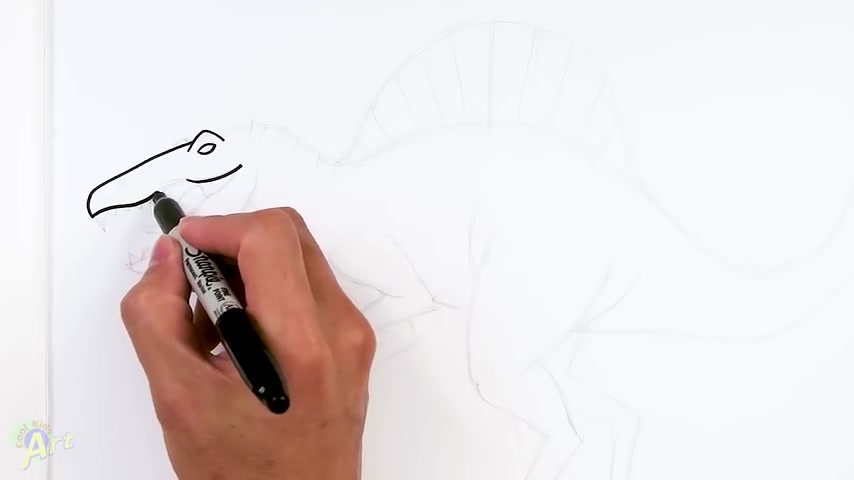
So let's draw this and to begin , we're gonna start out with its eyes .
So just make sure that you have enough room uh for this thing because it's pretty big , right ?
These dinosaurs .
So we're gonna start out with the eyebrow area .
So this is gonna be just one little angle like this going up and then for his eyes really easy draw one curve on the top and then another curve on the bottom .
OK .
And then for the uh for the snout area , I'm gonna have it slant down .
So from the brow area , it's gonna come down , just curve it .
OK ?
And then I'm gonna come down here right underneath the eye , just draw one curve by this first .
That's gonna be uh this is gonna be his upper jaw and then whatever space you have in here curve , it just draw a little wave , just connect that you can draw us a little bit straighter if it's a little bit easier , but it'll be a little bit cooler if you can add a little bit of a curve to it .
Ok ?
And then once you have that , I'm gonna draw it in right here on the bottom .
This is gonna be his lower jaw and then this is gonna be inside the charge .
Is this closing off first ?
All right .
And then from this shape here , I'm gonna imagine a line coming through here , you make a little point .
So it's right around here .
And then for the lower jaw , just curb connect that I know there's a lot of tricky little curves , but that's how they are .
OK ?
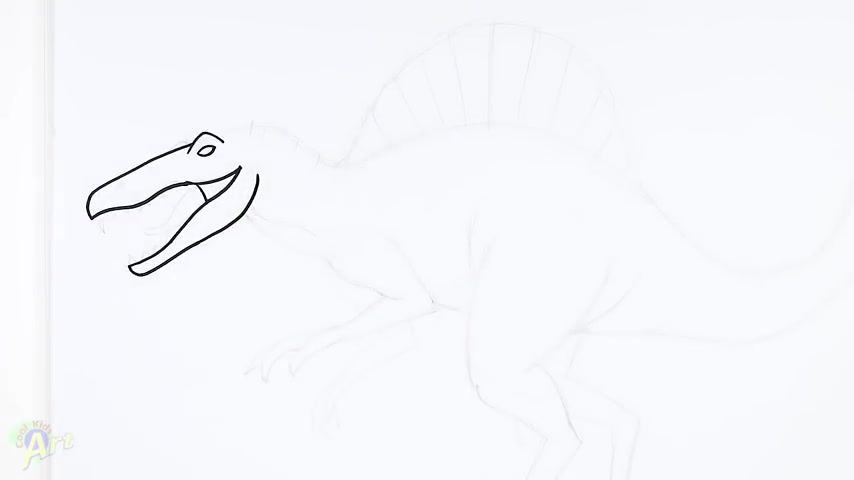
And then for the lower job , I'm gonna finish this , this curve , it's come in and then on the back here , just give a little bit of a curve going up and then let's just go ahead and finish up the neck so that we can see this a little bit better .
So on the top here , keep going back and then I'm gonna curve this down and then from the jaw area right here , his curve it , so that's his neck .
OK ?
So now it's a little bit easier to see what we're drawing .
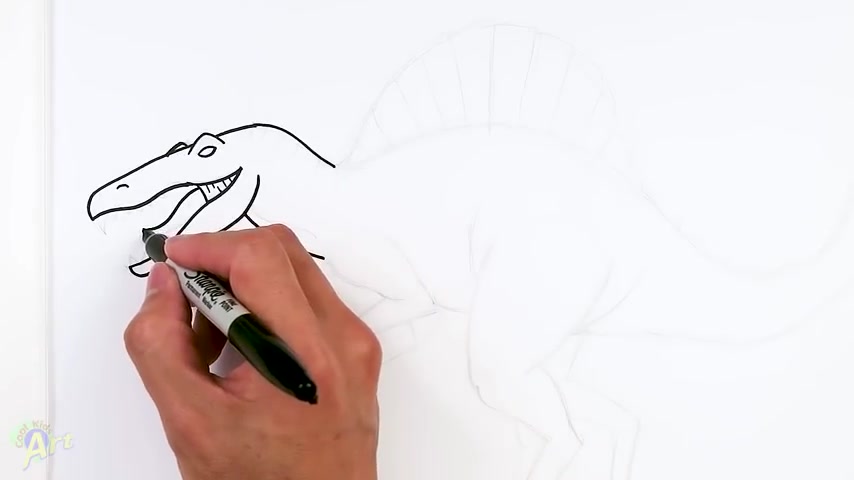
So let's add in some detail to the head and let's see , there's a little bump right here .
So this is easy and then here's the nostril and then for the inside right here , I'm gonna add in some lines .
It's , it's kind of like the inside of the mouth here and then for a tongue inside , just start up here , curve and just go back up .
So this is gonna be a tip of the tongue , it's gonna round it off and come back into the mouth .
OK ?
And then for the teeth , this one's easy and it's always fun to Joe's teeth .
I'm gonna draw one bigger one in the front first and then just kind of zigzag .
Let's draw a bunch of them on the back .
Think you look nice and mean and on the bottom as well .
Just keep going .
I'll just stop there .
All right .
So that's pretty much the head .
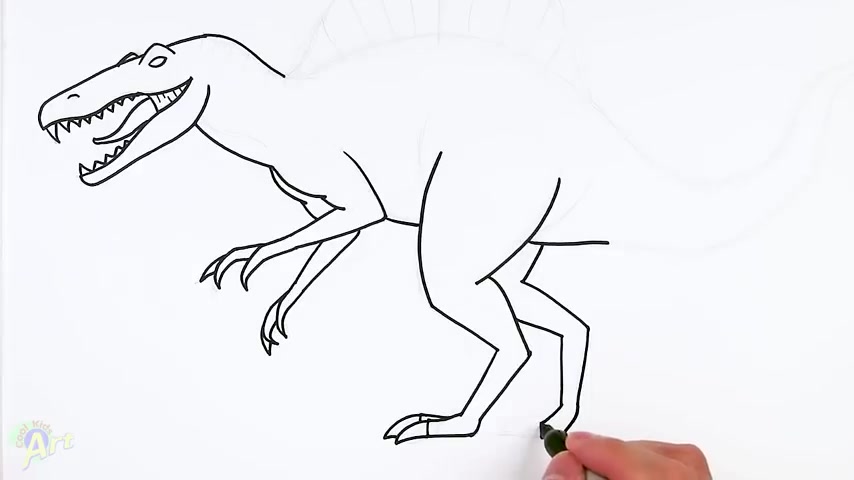
And now let's move on to the body and let's draw in his arms and legs first .
So here's the arm on the bottom .
So I'm gonna draw one curve .
This is , I guess this would be the bicep area .
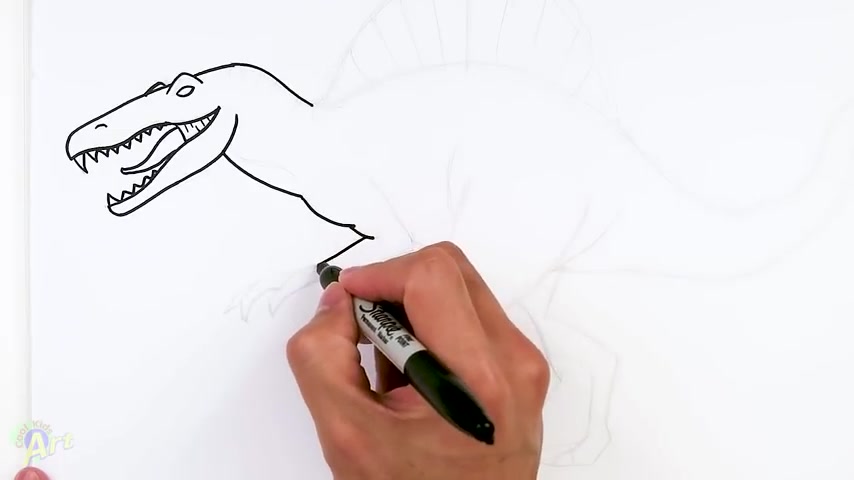
I'm just gonna draw one more curve and then here this is going out , this is gonna be his arm .
OK ?
So now let's come back on the back side here .
So here's the back come down .
This is gonna be the elbow , go out .
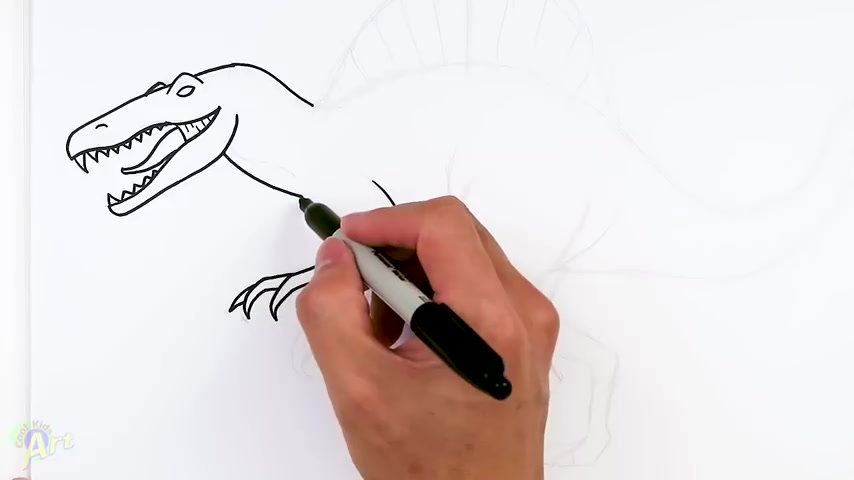
So here's the wrist and now we can join the claw .
So for this clause , start on the top , just gonna go out , just kind of give a little bit curve at the end .
The same thing here , just go out and lets curve it .
So that's gonna be one claw and let's draw on the other fingers and claw .
So I'm gonna start here , go up in this little curve and this one , I'm gonna go back , just curve it back and then just tuck it right behind that finger .
And then let's draw one more on the back here .
Just one little claw .
OK .
So once we draw on this , now we can draw on the other side .
OK .
So this one's gonna be on the back .
So here is the other one , this would be the same kind of curve .
And then this one , I'm gonna dip it down a little bit more .
And then here we can't see his elbow .
It's gonna be back here .
So I'm just gonna come down like this and his elbow will be right around here .
So I'm just gonna continue that just dip it down .
OK ?
And then now for his cause again , the same thing extended and this curve extended , curved and then one more here , start here .
Just go up curve .
So it doesn't have to be exactly the same position as long as you have some kind of hook there .
And then for this one , let's just same thing here .
Just add a little bit of claw on the , on the tip .
OK .
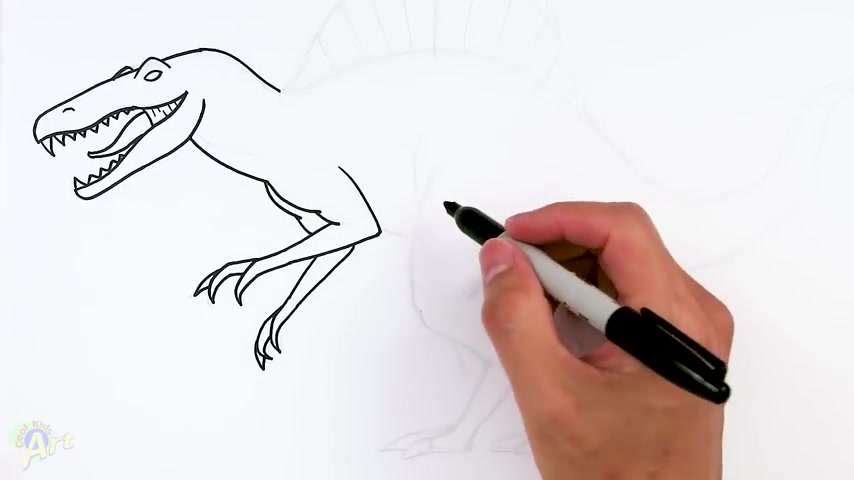
So now we can draw in the celestial in his leg .
So we're gonna continue this , here's this tummy coming down around the elbow area , just one little line .
And then now for it , it's gonna be quite big .
So it's gonna be one big curb coming down like this .
Just connect that right here .
Come in .
Now for the finish of the dye area , we come all the way back here , curb and then the backside right here , curb it and I'm not sure what these joints are called , but there's gonna be another bend here .
So now let's go down to his leg , just come down all the way down and it was a little bit tricky with all these different angles .
All right .
So now let's try his foot .
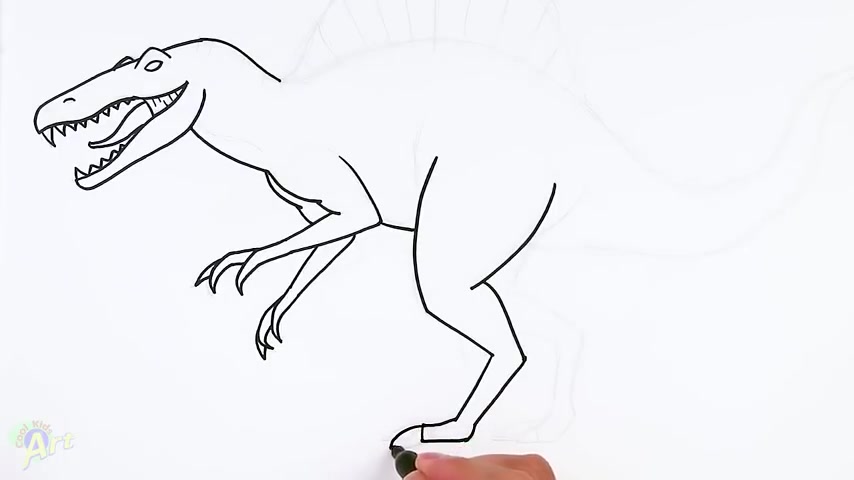
So I'm gonna extend this out , just come down and just come back and just kind of close it off , round it off and then right here is claw and let's try this other toes on the back .
So I'm gonna start up here , little angle coming down and then another claw slightly bigger .
All right .
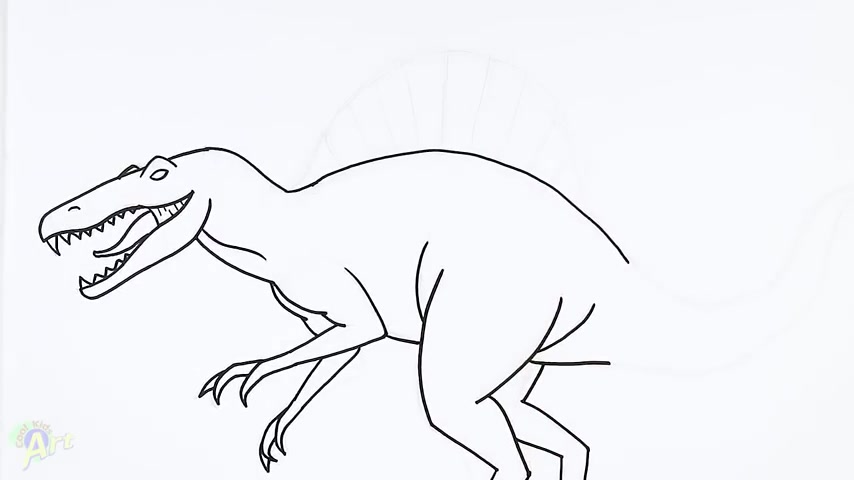
So now let's join the backside and I'm gonna continue this line here .
OK .
So that's gonna be the beginning with tail now for his other leg on the back , one curve .
So this would be the same as that just in a different position , come back down , the same as this , give us some thickness here coming back .
And then now when it comes straight down and then same thing here , but this one is gonna come down a little bit more .
This one's gonna be flat and let's round it off and close it .
OK .
And here's the claw and then get another finger right here up and then pick a claw .
All right .
So now let's finish up the , uh , the top of the body .
So we're gonna draw this big pump on the back here and then we'll add in a little bit more detail on the inside here .
So we're gonna start back up in the neck and this is gonna be one big curve going all the way back here to the tail .
OK ?
So we just gonna go curb and then go all the way up .
Just one little hump or one big hump .
OK ?
And then , so that's gonna be the tail and let's add in a little bit more detail inside to make it look a little bit more realistic .
So right on the dye area right here , I'm gonna draw one curve tucking in and then same thing here .
Not right here , just curve up .
So now it makes it look like it's got some folds in there , which is kind of what you want to show a little bit of the uh muscles .
All right .
And then even a neck up here , this curve just draw a little line like that .
All right .
So now let's try the awesome uh the spine on the back , which is really cool .
So right in the middle , um right here , I'm just gonna go up , just draw one line first .
So that's gonna be the highest point and then we're gonna come all the way back down here and as we're doing it , just give it a little bit of a hump .
It's kind of little angles because it's not perfectly round .
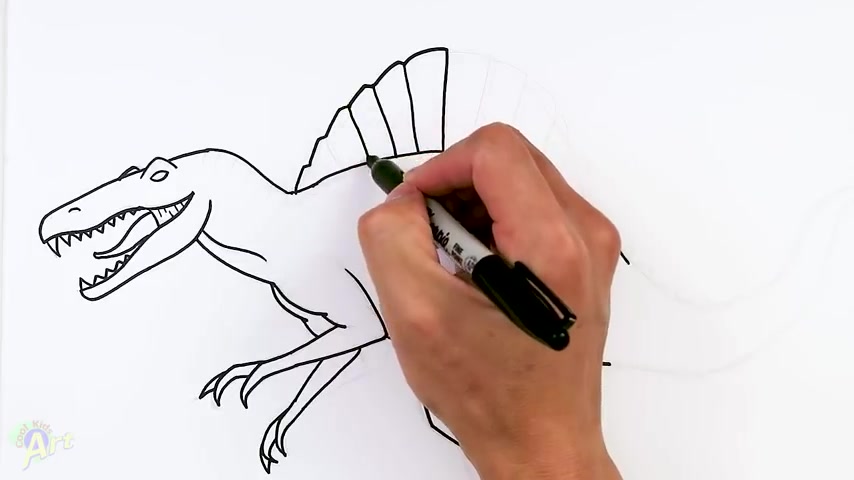
And then as you have this right on the little dip area right here , I'm just gonna come down into the body .
OK .
So it's kind of slanting inward .
All right .
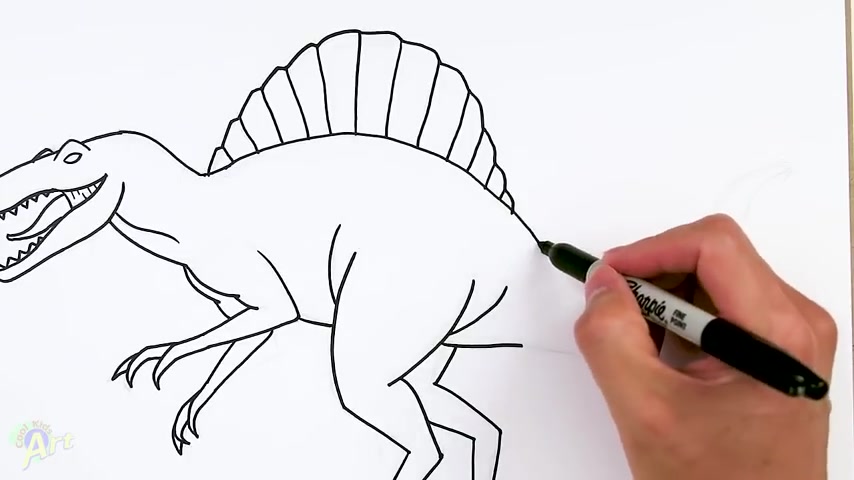
So same thing on this side , this one's gonna go all the way back here .
So again , I'm just gonna draw a little bit , a little dip , two , four , it's four and then 56 and still one more .
And then again on those little dips strata lines coming in .
Ok .
So those are his spines and yeah , it could be a little bit tricky because of the angle if you want , you can always just kind of come down straight .
That should work too .
All right .
So now let's finish up the tail , which is gonna be really easy .
Uh Let's just start on the top .
Then on the top side , I'm gonna curve down and come back up .
So it doesn't have to be exactly the same as this as long as you have some kind of curve .
OK .
So same thing on the bottom .
So it's gonna start out wide here , just follow that curb and as you move toward the tip , just make it a little bit smaller .
So you're coming in and then until you reach that and just round it off .
Ok .
And then to add a little bit more detail on the back here and add these little humps on the tail .
And that is it for this very cool looking spinal sores .
Hope you guys like the way it turned out .
And if you do , please do , give me a thumbs up , subscribe if you haven't and I will see you next time .
Are you looking for a way to reach a wider audience and get more views on your videos?
Our innovative video to text transcribing service can help you do just that.
We provide accurate transcriptions of your videos along with visual content that will help you attract new viewers and keep them engaged. Plus, our data analytics and ad campaign tools can help you monetize your content and maximize your revenue.
Let's partner up and take your video content to the next level!
Contact us today to learn more.