https://www.youtube.com/watch?v=ZvIEk4dFciQ
How to Draw the Mandalorian
Hey , welcome back to guitar .
And let's draw a very cool looking Mandalorian from his new show .
So let's get started with a quick sketch and then I will show you line by line on how you can draw this .
All right .
So let's draw this really cool looking character .
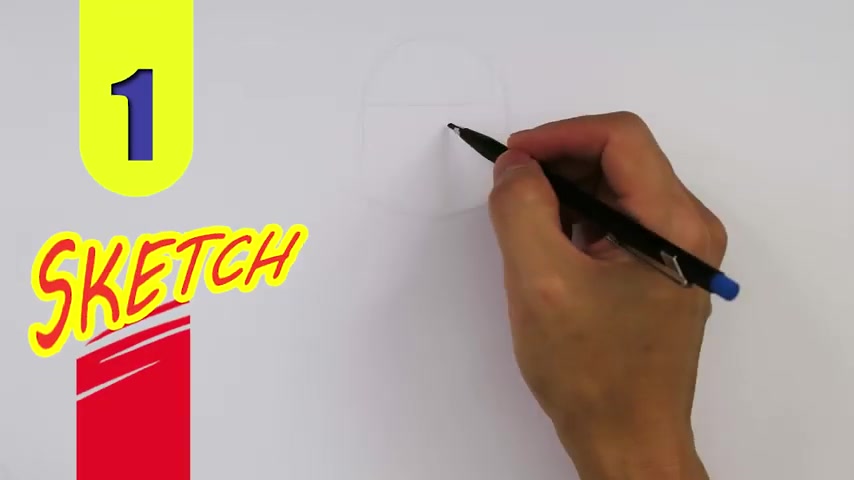
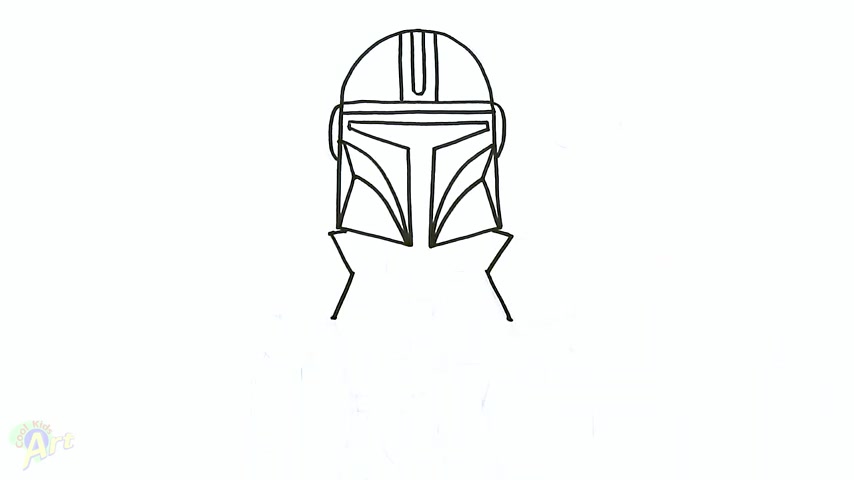
And to begin , we're gonna start out with the uh the top portion of his helmet first .
So we draw one line across and we'll just add one section .
So it just go up .
This is gonna be a really thin bar , OK ?
And then from there , we just gonna draw a dome shape on top of it .
So this part is a little bit tricky .
So it's hard to draw in these smooth curves .
All right .
So once we have that now we can work on the divisor area , which is a really cool area .
So right underneath this line here , I'm gonna draw a smaller line slightly shorter .
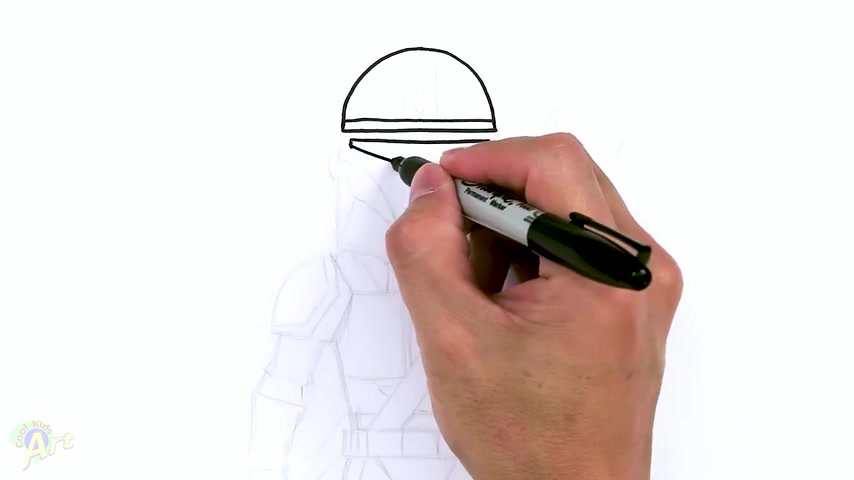
And then on the side here , I'll just come down just a little bit and then now I'm gonna taper in to slam it down toward the center .
OK ?
And then once you have that , we're gonna draw the middle part .
So this part is almost straight down , actually goes in a little bit , but we can just draw straight down .
OK ?
So this part is gonna be black .
So now let's draw on the side .
So go back to the side here and this one's gonna slant out just a little bit and just kind of stop short of this .
So it's not as long as this line .
OK ?
So same thing here .
OK ?
And then now just connect this , connect these lines and you should get a little slant , all right .
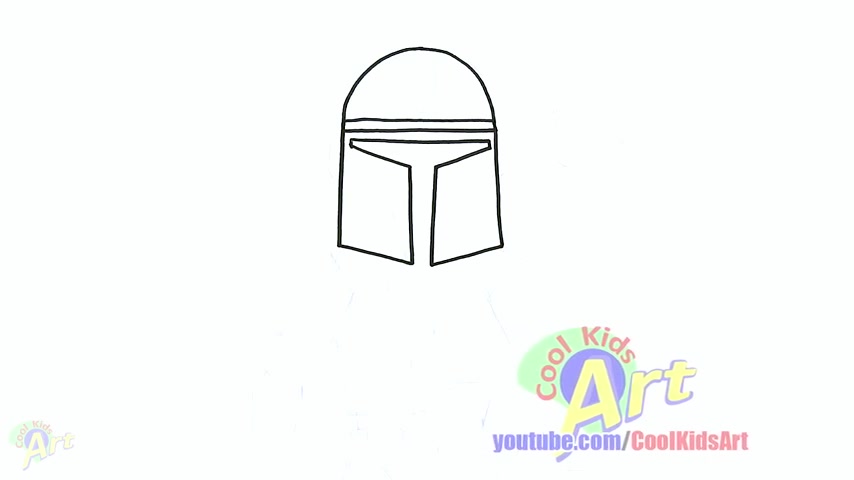
So that's the hardest part of this drawing is just gain the right proportions for this helmet .
OK .
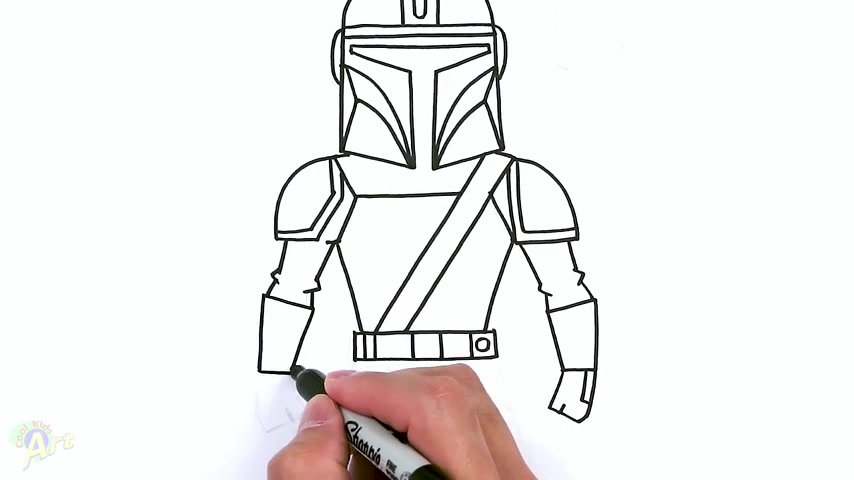
So now we can finish off the helmet with some details .
So right on the side , it will just come out draw like a little curve for his ear and then the center here just draw two lines almost a away with this .
And then let's add a little bit more detail , just two more lines in the center and then close off the bottom .
OK ?
And then now for the details in here , um just make a little dot right here first on both sides .
So then from the start here , we're gonna curve it all the way to the corner .
So just one smooth curve .
OK ?
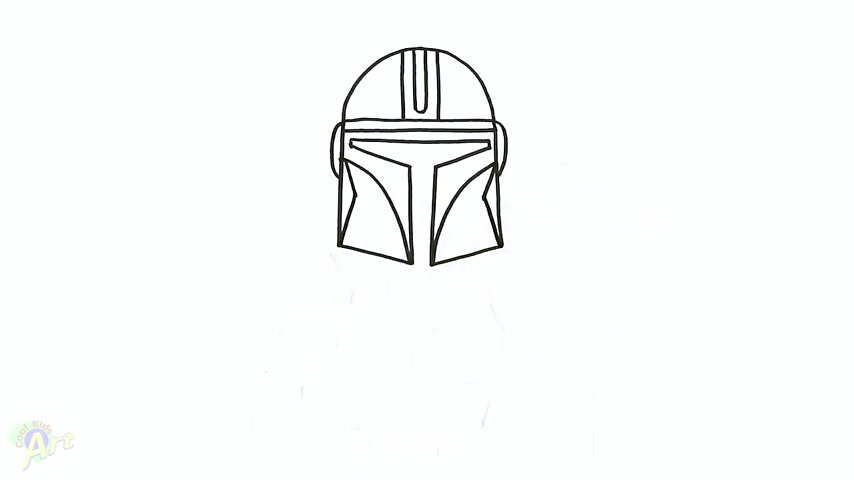
So just try to make it symmetrical and then from here to slant down on both sides and then from this corner here , just go to this corner and then one more .
So from this little angle here , curve back all the way to the corner again .
Ok .
I know it's a little bit tricky , but this part shouldn't be too bad .
It's not as bad as the , uh , the helmet at the beginning .
Ok .
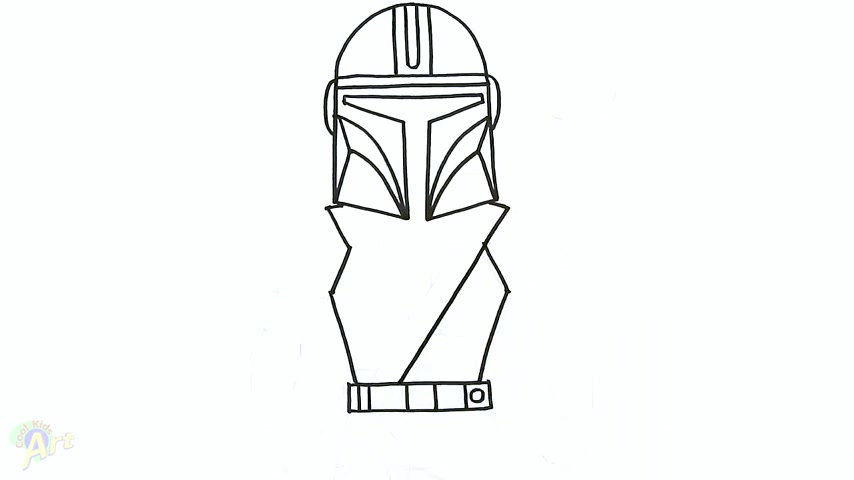
So now let's draw in the body .
So right on the side here , I'm just gonna draw two little slants coming out for his shoulders and then here slant in .
So this is gonna be the cloth area .
This is gonna be the chest play here , but we have to draw the strap .
So that's why we're not drawing the inside first .
So when I come in and then come back out , so right here , it's gonna be his armpit .
Now we'll just pinch it in down to his waist right here and then close it off and let's just go ahead and extend this line and then we'll add in one section for the belt and to finish off the details , let's just go ahead and put in two lines for the buckle and it's got a lot of little stuff here .
Um I simplify it .
I just draw one circle and then one line right here on this side .
I'm just gonna draw two lines .
OK ?
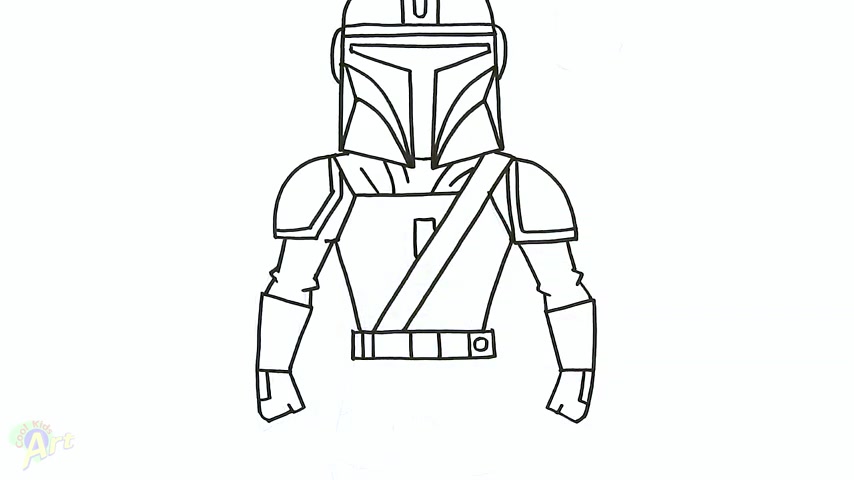
So now let's draw in the details inside .
So let's draw in the strap first and then uh yeah , and then we can move on to the arm .
So for the strap here , I'm gonna continue with this line , just keep going all the way down to his belt and then whatever line you have here , just try the same one cross and then right here for the chest plate on this corner , go to this corner , but of course , we'll just tuck it right behind the , uh , the strap there .
Ok .
So there's more detail here .
Let's just go ahead and draw in the , uh , the arm and the shoulder pads first .
So for the shoulder pad , it's got those really thick plating here .
So right on the corner here , just gonna curve out , come down right here to the armpit , same thing on this side .
Ok .
So the shoulder pad is a little bit different on each side .
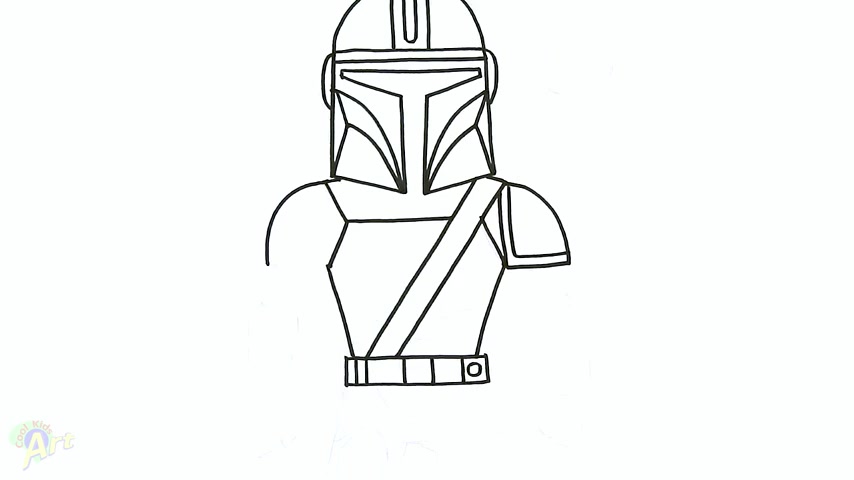
So for this one , we just come back into the armpit and then go straight up and we can add in some details .
So we can see that this is one object .
So we just draw another little line there for the border .
And then for this one here , we're gonna come in , but we'll stop short and we'll sign it up and then we'll go up .
Ok ?
And then from here , same thing here .
Just one little border just all the way around .
Ok .
So now we can draw the arm .
So here's the armpit , we just come down and for the elbow here , I'm just gonna add in a little bracket like this .
For his clothing is kind of bunched up , the lower arm will flare out just a little bit .
It's got those , uh , big armor pieces on the arm and we just come down , it's a little bit thicker .
Ok .
And then for a Swiss , it's one little hook back of the fist , just turn it and close it and let's just add one little detail here .
Just one little bar .
Ok .
So , same thing on the other side .
So here's the armpit , come down , then same bracket come out just a little bit and let's close that off again .
Come down again , just pinch it .
So you still asci for reference and for his fists , little hook back at the fist , turn it and then close it .
Same thing here .
Same detail .
OK .
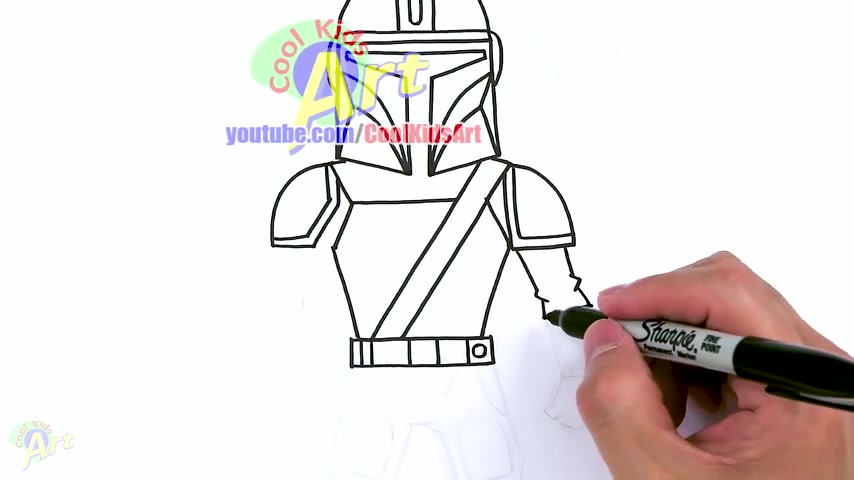
So that's the upper body .
And now let's add in some detail .
So this part is a little bit tricky because uh of this band right here .
So we have to draw everything behind it .
So this part right here is all a cloth .
So I'm just gonna add some lines like this , make it look like it's , you know , lots of wrinkles everywhere and , and then for the mass area right here , actually , we need to add in one new line just to close that off .
OK .
And then right here in the center , I'm just gonna draw little rectangle again .
It's gonna be behind this thing and then the side here come down .
Now we just join the armor plating .
So this is gonna come down , we just come across .
So this one is gonna come down here , continue to line and then come across .
OK ?
And then the bottom right here , we just have one line across and then last one here in the tummy , just one line across and then we'll come into the center here , just land it toward the center , plan it out .
All right .
And then let's see uh if you want to add in some extra details on the strap right here , we can add in some of these lines and then maybe one here and one little circle inside .
So these are the smaller details .
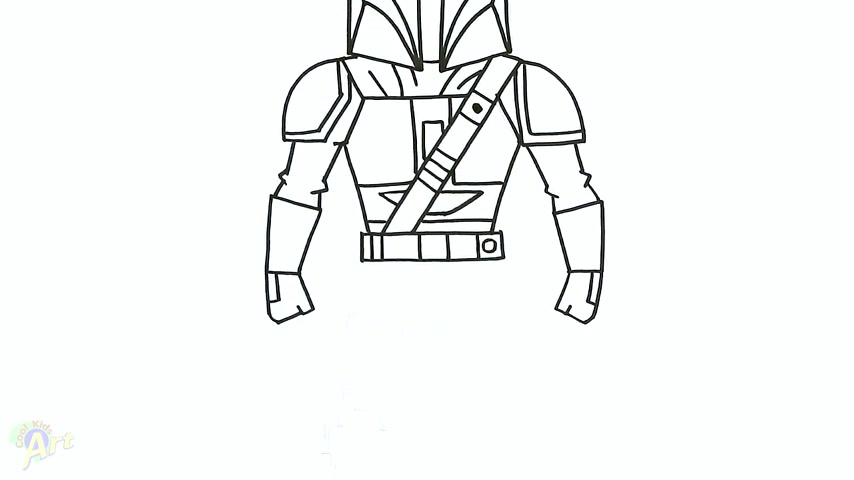
These are easy to draw , makes it look more complicated , right ?
OK .
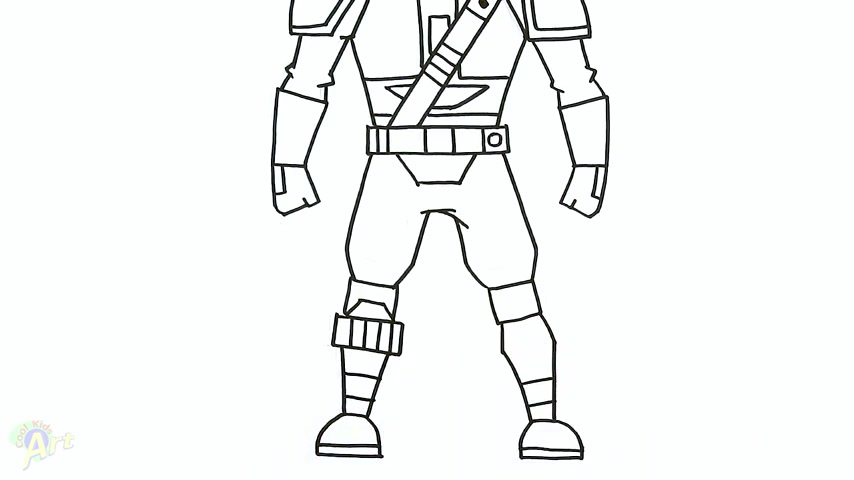
So now let's draw on his legs and his legs a little bit easier .
Uh Let's finish up the little flap right here .
So just come down the center , draw one line and then slam up toward the belt .
OK ?
And then now for the bottom is pants right here .
One line in the center , come back to the center .
Let's add an extra fold here , come to the side here and I'm gonna draw on his legs , come down , just angle it in , come back here , come down one little angle and we just close this off .
This is gonna be sne right here .
We just draw a little rectangle .
OK .
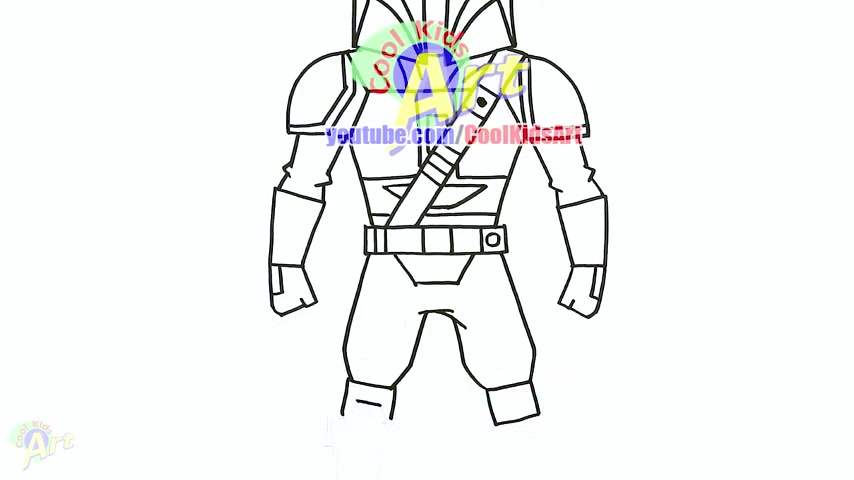
So let's try the other side back to the center , just come over and down slant and then close it off and this has slightly different .
So on the side here , we just come down just like this in the middle , just draw one line and then now just go out toward the corners .
Ok .
So now for the lower leg on this side , this one is easier or flare out slight curb and this one is straight down , we close it off and then for his shoes curb and then come out a little bit more on this side , close that off and let's just add one little section here for the sew .
All right .
So this one is slightly different .

Um We'll close this off first and then we'll extend .
It looks like I got a big strap right here .
Ok .
So just one big rectangle and now we're joining the bottom portion of this .
So just come in straight down , close it off .
So same thing here .
Curb come out a little bit more on this side and then close it off and then one section .
Ok .
So now for some details here , I'm gonna add in some lines and it looks like there's some straps down here as well .
So I'm just gonna draw a couple of lines here and these are smaller details .
Um You can draw a lot more if you want , but I'll just try to keep it simple for now and then the side here just come out with a little kind of little box and two little circles inside .
Ok .
And then it's got some plating on the side here .
So slap down and just go out , slam and then go out and then for some armor pieces right here , just draw a parallel line inside uh his leg right here and then we'll curve out the top and the bottom .
OK .
So one more here draw a parallel line first and this one is slightly different shape .
I'm just gonna angle it up , close it off , then round off the bottom .
OK .

So that's the uh overall body .
And if you want to add in , I guess it , it's got some kind of a rifle on the back here so we can draw this .
So right here , we just draw two lines going up and then from here this curve out and then come to the center right here , you can make a little point and then from this point just curve it out and it's rounded off .
All right .
So that is it for this very cool looking Mandalorian .
Hope you guys liked the way it turned out .
And if you do , please do , give me a thumbs up , subscribe if you haven't and I will see you next time .
Are you looking for a way to reach a wider audience and get more views on your videos?
Our innovative video to text transcribing service can help you do just that.
We provide accurate transcriptions of your videos along with visual content that will help you attract new viewers and keep them engaged. Plus, our data analytics and ad campaign tools can help you monetize your content and maximize your revenue.
Let's partner up and take your video content to the next level!
Contact us today to learn more.