https://www.youtube.com/watch?v=6maY-dzBcI0
How to Solve the Rubik's Cube Using Logic - Part 1 - Introduction _ Cross
Hello , everyone .
Welcome to my tutorial on how to solve the Rubik's Cube using logic .
So what separates this tutorial from all the other tutorials on the internet is that it is going to teach you how to solve the Rubik's Cube from a more logic based perspective versus most of the other ones out there , which are really just telling you to memorize things .
And when you see a case , you just do those memorized moves and it magically solves that part .
So what I'm gonna be doing is I'm going to be walking you through what's actually happening with the queue so that you understand what's happening and therefore it will be a lot easier for you to learn and you're going to be less memorizing and more understanding what's happening with the queue .
Now , also the advantage of this is that if you want to become really fast .
So sub 30 sub 20 seconds , you are going to have a head start on other people who are going to learn the advanced method because you will already be looking at the Rubik's cube from a more logical perspective .
What you're going to have to do if you want to become really fast anyways .
So uh this series is going to be a series and broken up into separate parts .
And the reason I'm doing this is just , first of all , it's easier for me to do and it decreases that urge to try to learn big chunks at a time and I'll be split up into sections that should take one at a time and then learn that section , get it down and then proceed .
Also , if you , you know , forget something , you can go back and just reference that video , I'll have it in a playlist and you know , there'll be no problems .
So without further ado , uh let me get into some of the basics of solving the Rubik's cube .
OK .
So before we get into the actual solving of the Rubik's cube , uh there are a couple of main things that should be gone over before solving it .
So the first thing is is that there are six sides and there are six sticker colors that correspond with each side .
The second thing is that uh you have to think of the cube as pieces and not stickers because it's really the stickers are attached to the pieces and that's what really matters .
And the third thing is is that there are three kinds of pieces .
Uh first kind is the centerpiece .
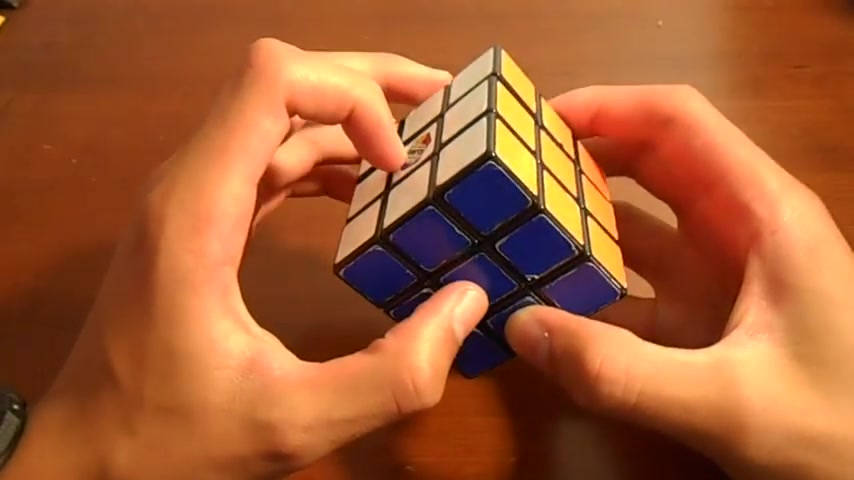
Now , these pieces are in the center obviously and they do not move relative to each other , they spin , but they do not move .
So uh if you've ever taken one of these apart , you know what I , I mean , they're attached to a core and they just spin .
But you , you , for example , you couldn't switch these two in any way it's not possible .
Now , the second kind of piece is the edge piece .
So uh I will refer to these as the two sticker colors that are on them .
Uh So for example , yellow and red .
So it's a yellow , red edge piece .
So those are the ones in between the corners .
Don't get these , don't get edges confused with corners .
It can be very easy .
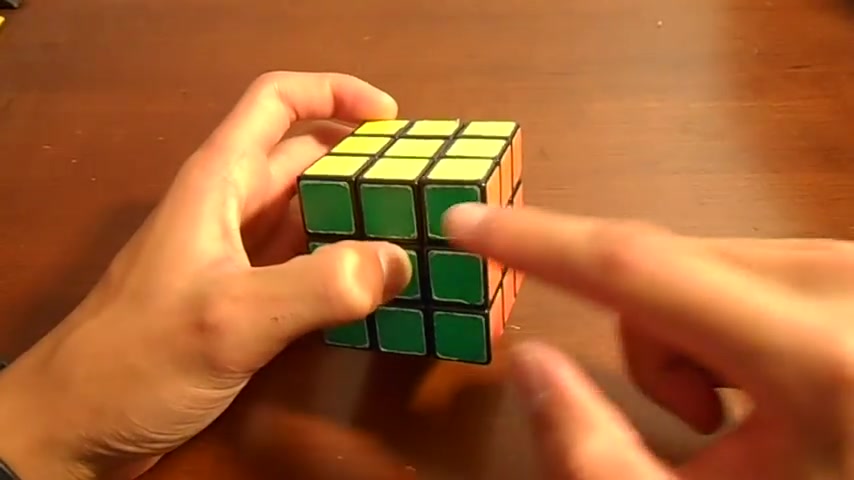
Uh And then corners are the corners and I will refer to these as three colors because there are three colors on them .
So for example , yellow , green , red .
So those are the three kinds of pieces and that's pretty much it for that .
Now , there's also algorithms that I will have to teach even though I'm going to be teaching it from a logical standpoint .
So I will have to go over a cube notation which is just uh a way to notate moves .
So I do have a separate video on this , but I'll just go over it .
Now .
Um There are six sides , like I said before , they all have different names .
The right side is R , the left side is L .
So that's easy to remember .
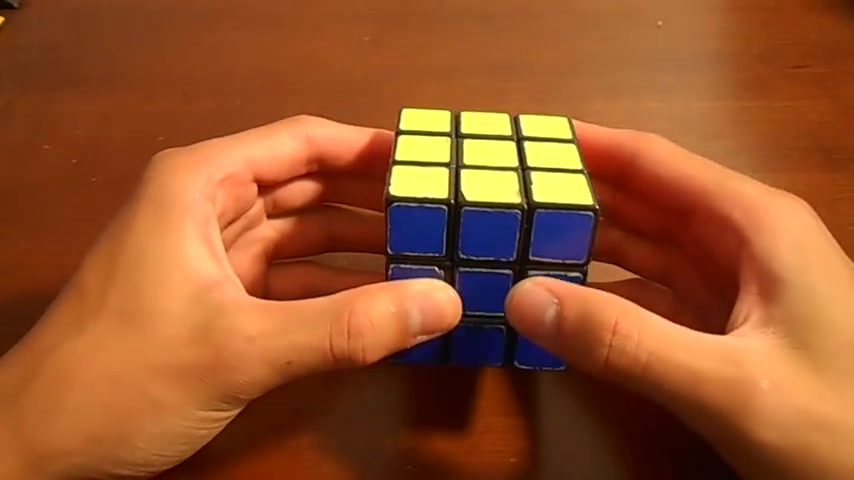
Now , the front side is F , the back side is B now they call the top side up .
So the upside is U and then the downside is D .
So uh try to remember that the top side is actually U so U for up and then D for down versus bottom .
So how uh rotation is notated is basically , if you're looking at that face , it'll be just , the letter is gonna be clockwise and then the letter with a little uh dash next to it or like an apostrophe , it's really called a prime uh would be a counterclockwise move .
So for example , the front face uh F is like this , so that's clockwise .
And then F prime is like this counterclockwise and that goes for all sides .
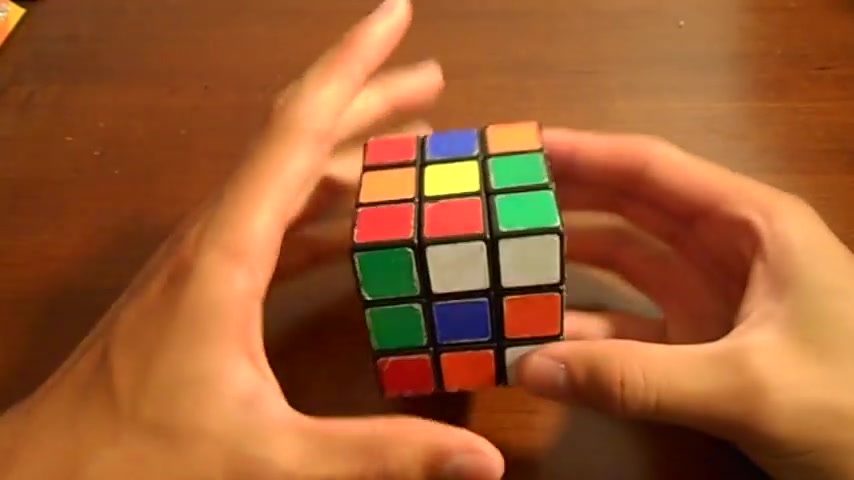
Now , it can be kind of confusing because uh like R and L are different ways .
So this is R and this is L but uh really once you get the , the parts that you do have to memorize uh down , you don't really have to remember this .
But uh I'll go over that .
You'll see the algorithms when I show this step .
So it's really not much to worry about .
OK .
So now we can finally get into the first step of solving the Rubik's cube , which is the cross .
Now , I'll just build this really quick to show you what it's supposed to look like when it's finished .
So this is the completed cross .
Uh We're gonna stick with the white side to start with uh the centerpiece determines what color the side is gonna be .
And basically , you're putting these four edges in their solved position .
So basically , you're matching up the stickers with the centerpiece .
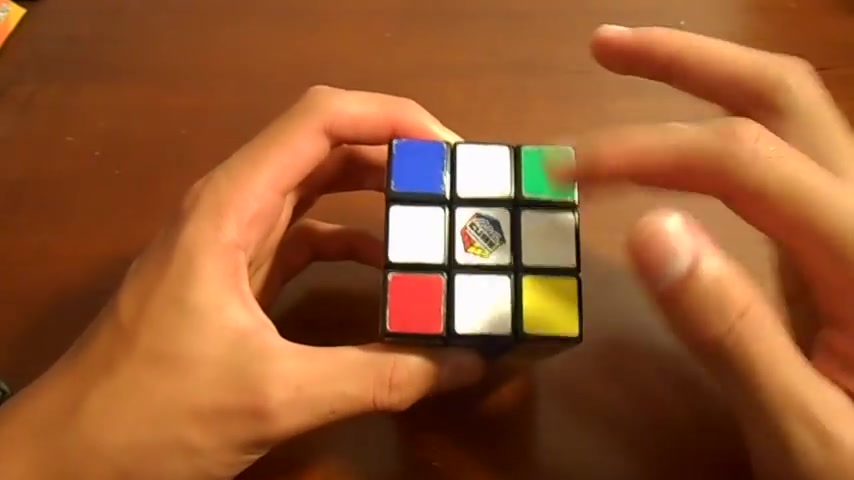
So as you can see on this side , those four pieces match with the centerpiece and then also on the edges , this is very important .
Uh People miss this a lot is that these two colors have to match .
So the edge piece and the centerpiece because remember the centerpiece determines this uh color of the side .
So as you can see , they're all the same color .
So that's what the cross is supposed to look like .
Now , I encourage you to attempt the cross on your own and see if you can figure it out .
But if not , I'll show you some things that you can do .
So uh basically you're gonna wanna pick a piece and then try to solve just that one piece don't be switching between pieces .
So basically any edge piece with white on it .
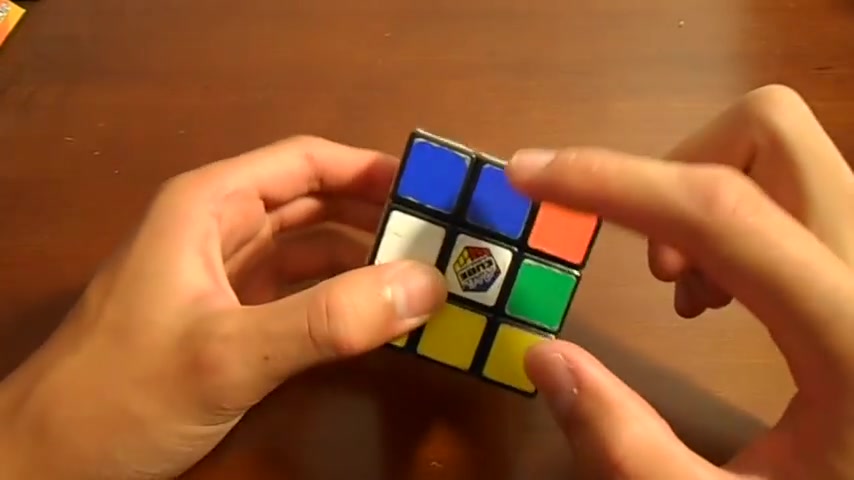
So uh this is one , this is two , this is three and this is four .
So those are my four pieces I'm trying to solve .
Now , uh I'll take this one first .
So this is the white blue piece .
So I'm going to have to match up one side at a time .
So what I'll do is that I'll match up the blue first since I can just bring it up like this .
So see how it moves and I can match it like that and now it's matched up with blue , I can bring it down like this .
Now , I've also actually saw the red one accidentally .
That's good .
So with this green piece , um I want to match it up with green first , so you always want to match it up with the color other than white first .
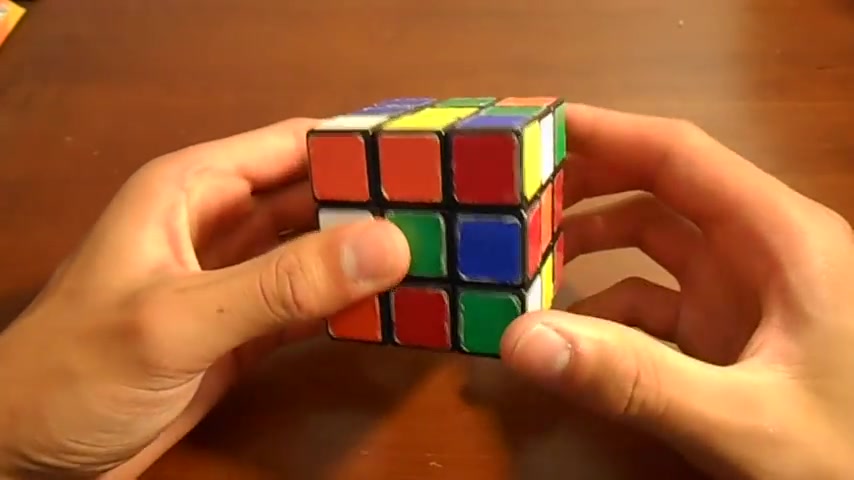
So if I bring it on top like this , uh and then try to bring it over and match it up as you can see this is not match .
So I wanna get this side over here .
So what I can do instead is instead of uh using the top player from here , I can rotate that green all the way around to this slot like that .
And then I can bring the white down like this .
Now , uh for the last piece , the last piece can be the trickiest .
So as you can see , uh if I do this like that , that doesn't match up and then if I do this , that moves the green piece out of the way , so you think you don't want to mess up your pieces and you'd be right ?
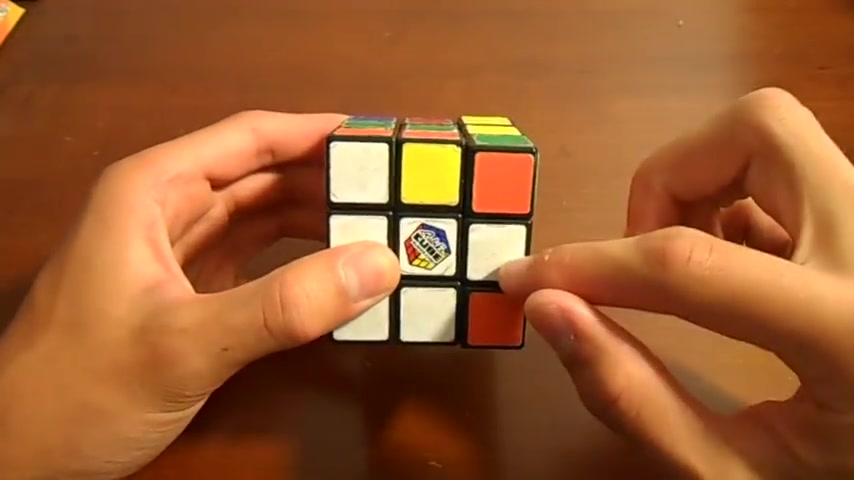
But sometimes it just has to be done uh to get some pieces in sometimes .
So what you're gonna have to do is you're gonna have to mess up that green piece and then just matching it up just like before , then you can bring down the white piece and then bring down the green piece .
So hopefully , I gave you some good examples of this or of how to solve the cross .
Now , if you struggled with that and uh go ahead and try it first before watching the next part .
If you struggle with that , there is an even simpler way to solve the cross .
And what we're actually gonna do is we're gonna replace that white centerpiece with the yellow centerpiece .
So now all you have to do is just match is just put right here here , here and here .
Don't worry about any of the other pieces .
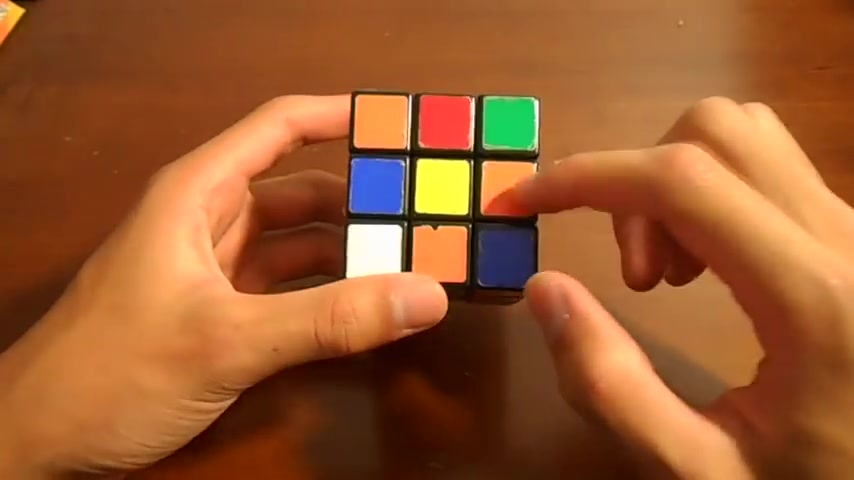
We'll deal with those later .
So I'll take um this piece for example .
So I'm trying to get it into one of these four slots .
So what I'll do is I'll bring this down here like this .
So I have one .
Um I'll do this one .
So I'll just bring it down here and then here .
So uh keep in mind I can't just bring it down like this because the white does not match up on this side , it's flipped .
So I have to put it here instead and then bring it down .
Now , here I can , it's already aligned so I can just bring it down .
And then here , once again , we have that same issue that you saw before .
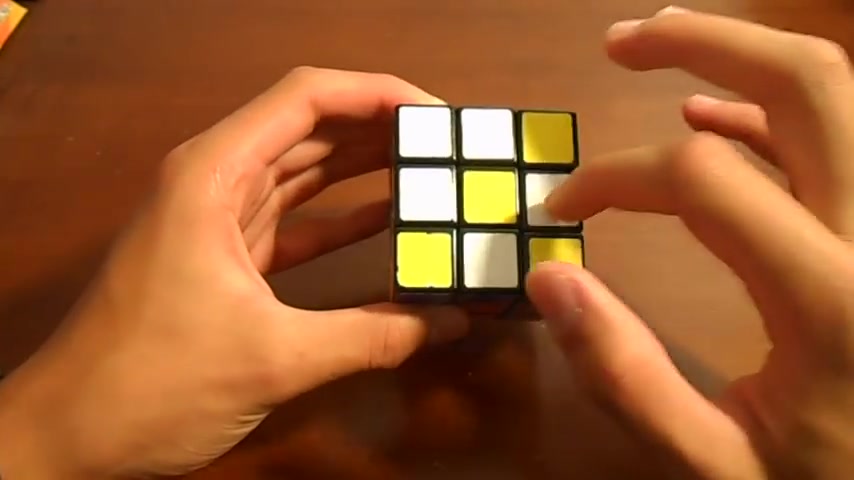
So I'm gonna have to mis align this one like this to uh insert this properly and then put this back .
So as you can see , we now have those four pieces in the proper spot .
So now what we're gonna do is we're going to take , uh , a piece .
Now we're gonna basically just keep that piece on the front until we find the match for it .
So , what this is doing is that , uh , it's just matching this up and then you're just gonna bring it down , uh , just like before .
So this is just kind of in the middle step if you just struggle , um , when it comes to the cross because the cross is a very logical step .
There's not a , there's not a lot of rules really .
You just kind of figure it out .
So this kind of adds in some rules .
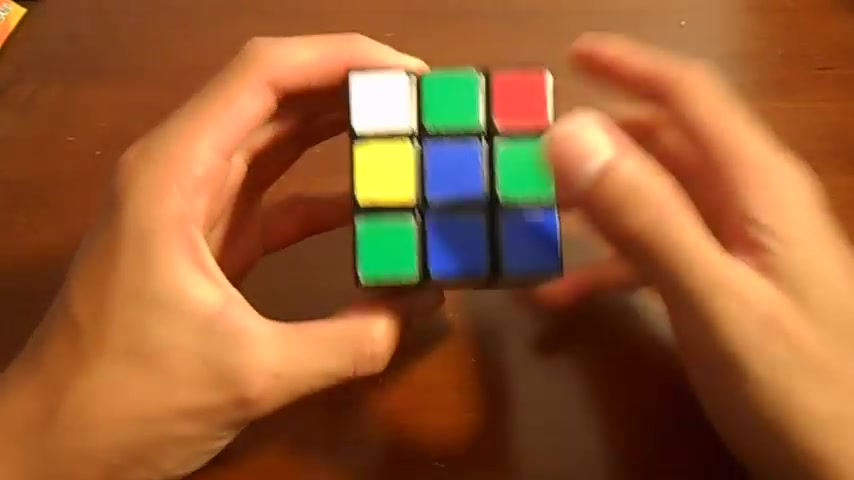
Uh if , if you struggle with having a lot of just floating stuff around .
So uh so just watch the piece or the side color and then you can just move the bottom two layers until it matches up and then spin that side like so and I'll solve that piece and then just find the next piece , do it again like this .
And then since now it's matched up , spin the front and once again , that's just bringing that piece down like that and then find the next one .
Match it up .
All right .
So there it is again , bring it down and then , all right , last piece is already matched up , bring it down and then we have the cross completed .
So I encourage you to try to just get it all on the white side to begin with .
But if you can't , there is an easier way to do it .
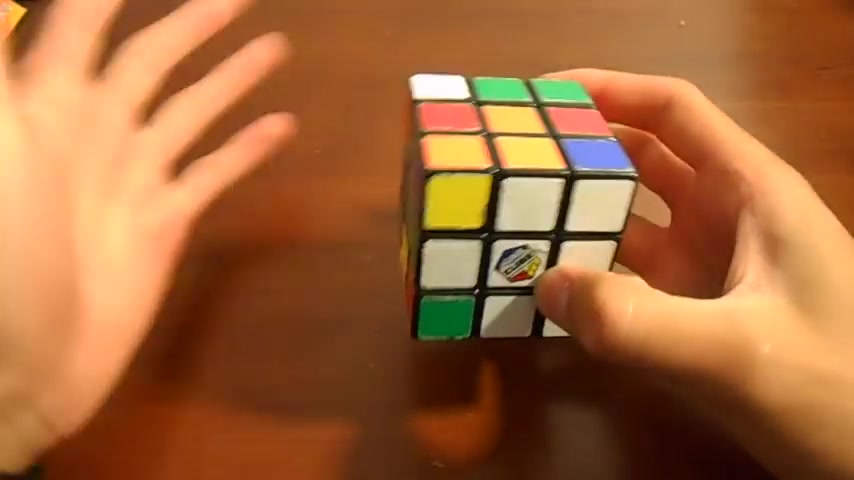
So now you have completed the cross .
Congratulations .
And uh the next video will be inserting the corners into the correct spots .
So thank you for watching .
Are you looking for a way to reach a wider audience and get more views on your videos?
Our innovative video to text transcribing service can help you do just that.
We provide accurate transcriptions of your videos along with visual content that will help you attract new viewers and keep them engaged. Plus, our data analytics and ad campaign tools can help you monetize your content and maximize your revenue.
Let's partner up and take your video content to the next level!
Contact us today to learn more.