https://www.youtube.com/watch?v=GGy3V3YT6tI
How to install macOS Ventura on any windows PC - Opencore Hackintosh
Hello guys in this video .
I'm gonna show you how to install Mac Os Ventura on any windows , laptop or desktop from scratch .
Now , here are the requirements .
First , we need at least 32 gig flash drive .
If you have more than that , it should be ok .
We need , we need mini two partition with that .
We need explorer plus plus .
We need Mac Os installer image file and we also need an EF I five based on our system .
Now , the first thing to do is to check your hardware , your CPU to know which EF I five you should download .
So who control shift escape and then you can click on performance .
Now you can click on your CPU and you can see over here minus core I 545 70 CPU 3.20 giga .
Now this is the fourth generation CPU because you can see it starts from four .
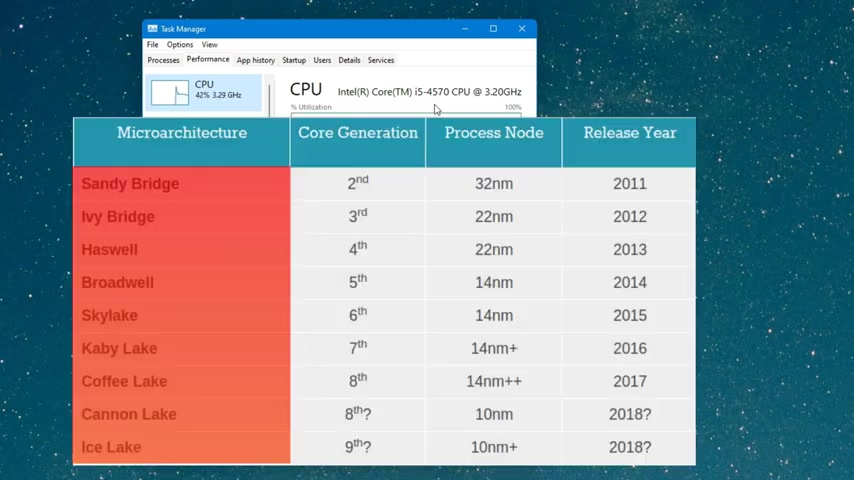
So make sure you confirm your CPU and the code name associated with it because when you want to download the EF I five , it will be needed .
Now you can close this .
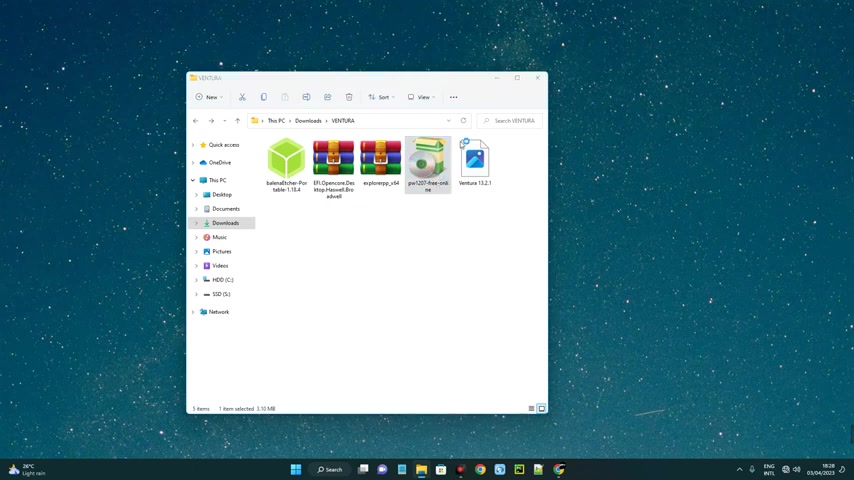
Now , these are the files we need , you can see over here .
The link to each and every one of these files is provided in the video description , so you can download yourself .
Now , the first thing we have to do is connect our flash drive to a PC and in my case , this is my flash drive , which is about 64 gigabytes .
So the first thing we have to do is to create a and to do that we are gonna use .
So let's install it .
Double click on it .
Now you can see we have to select the image file and from our downloaded files .
This is our image file , Ventura 13.2 0.1 which is also available in the description of this video .
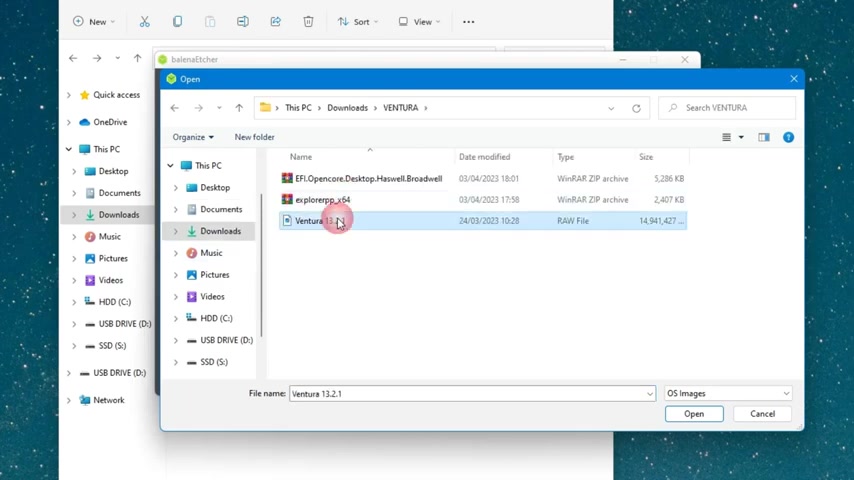
So we're gonna click on flash from five and then select the image file .
OK ?
So select the image by open .
Now you can click on change and this is where you select your USB drive .
So my USB drive is selected , click on select and now click on flash .
Now this will take some time but you just have to wait patiently .
The process has been completed .
So we can now close , let's open our download food again .
Now we have to open mini two partition .
So this is mini two partition with that .
So double click on it to run this software , click on run .
Now we agree with the free version .
So click on , continue using the free version .
And then next , let's turn off this next .
Now click on finish to launch mini partition two .
And here we go .
So if you look closely , you can see X three which is a flash drive 58.98 gig .
And then you can see a partition here called EF I now , right ?
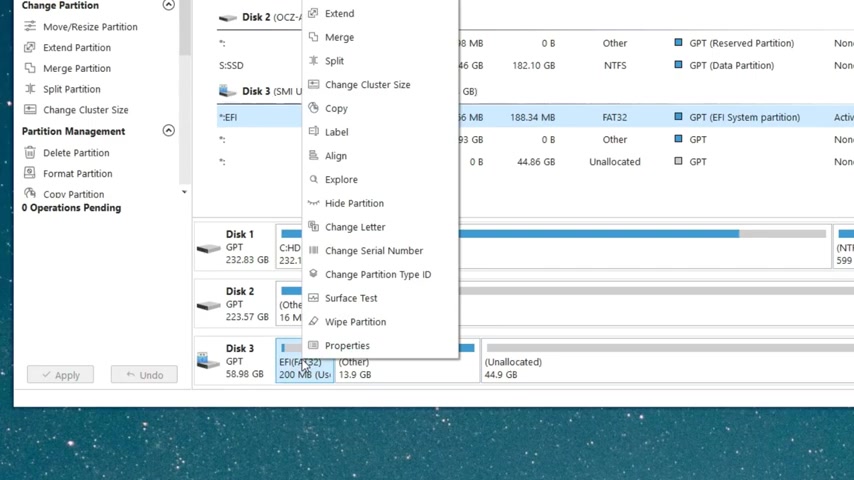
Click on this partition called EF I and then click on change letter .
So assign another letter to this partition so you can easily recognize it .
So I'm just gonna give it X click on .
OK ?
And then click on .
Apply , click on .
Yes .
And we are done , click on .
OK ?
And includes .
So we are done with Bale and mini two partition .
Now , the next thing we have to do is to get our EF five files .
So let's extract our EF five files over here .
Remember the link to these files is in the video description .
So you can download each and every one of these files and then let's extract explorer plus plus as well , right ?
Click extract .
OK .
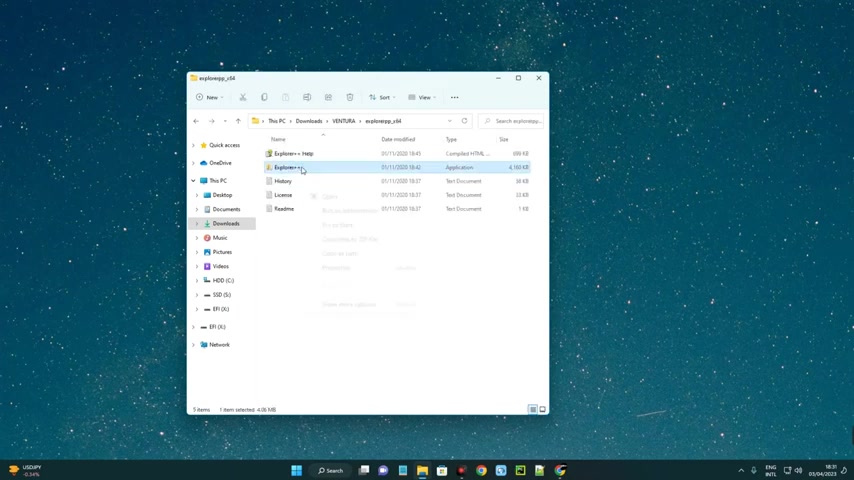
So let's open explorer plus plus and then click on explore plus plus , right .
Click run as administrator .
Now locate the drive over here , efix .
You can see which we changed the letter and then delete everything here .
Just select everything , right ?
Click and then delete .
Yes .
OK .
Yes .
And we're done with that .
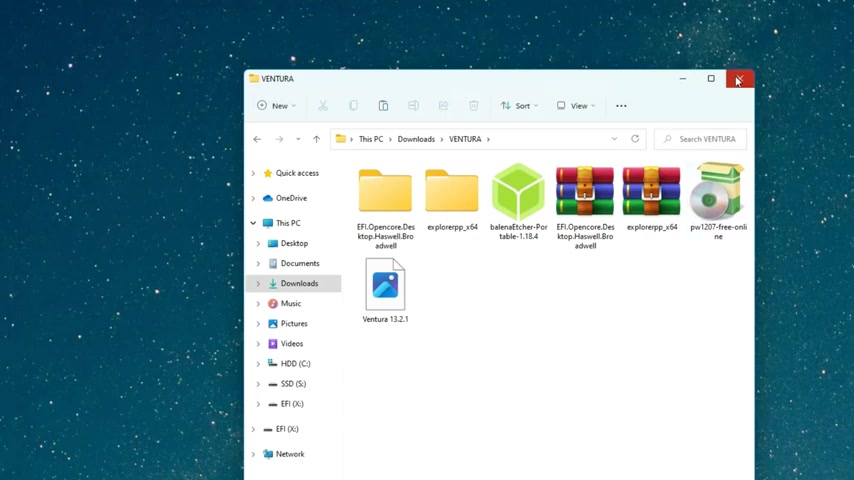
Now locate the eff so let's go to our download and then you can see this is our EF five F .
So copy the entire EF five F right here .
Copy .
Let's head to our efix and then paste it there .
Now , after that , we can close and we are ready to put into Mac Os and begin the installation .
But just before we do that , we have to create a partition where we are installing Mac Os .
Now , in my case , I have an SSD and HDD drive , which I can install Mac OS .
But I'm gonna install Mac OS on my SSD .
So this depends on where you want to install Mac Os .
So make sure you back up data from the drive , you want to install Mac Os .
Now search for D management on your windows PC and you're gonna see create and format had the expectations .
Click on it .
So here we go .
Here we can create a new partition where we will install Mac Os or we can make use of our existing drive , which we want to install Mac Os .
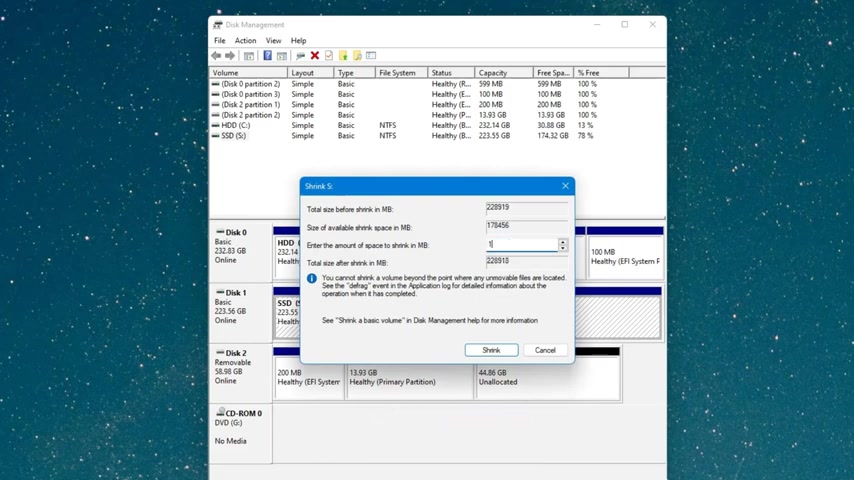
So if you want to create a new partition and then install Mac Os on the partition , you can just right , click on the drive and then click on shrink volume .
This way you can allocate a certain amount of storage to Mac Os and then we can run Windows and Mac Os on this same drive .
So this case is if you have just one drive in your PC , but if you have multiple drives in your PC , then you can just install on one drive and that would perform better .
So I'm just gonna install on my SSD .
So I don't really need to partition it .
So I'm gonna extend the volume back .
Now , let's close this .
Now we have to restart our PC and then put into our bio hood F 12 or F nine , depending on your PC to boot into your set up .
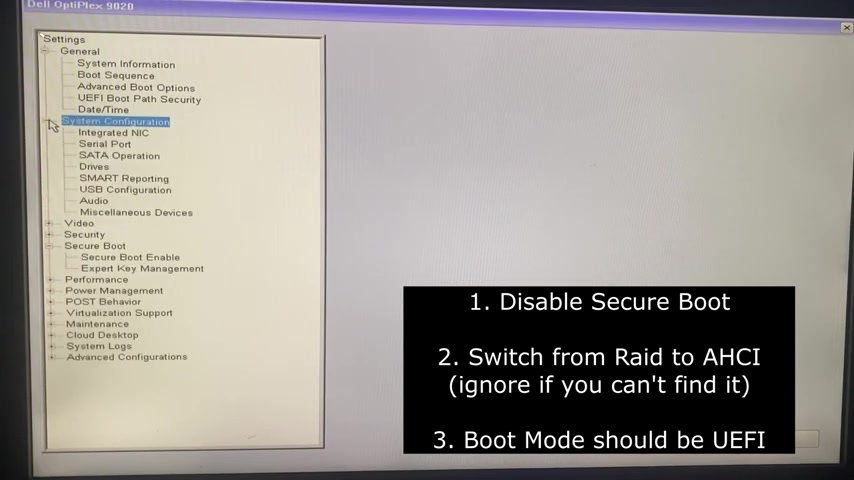
Now go to your buyer set up and then screw down to secure boots , make sure it is disabled , so disabled , secure boot .
Also , if raid is on , then we have to switch from red to a HC I .
So click on system configuration and then go to set our operations and then switch to A HC I .
Now we can apply these changes and then exit from our bias .
Now , let's do it again .
So let's boot directly from our drive .
You can see where the USB disc hit enter .
Now he entered to his select your language and then continue .
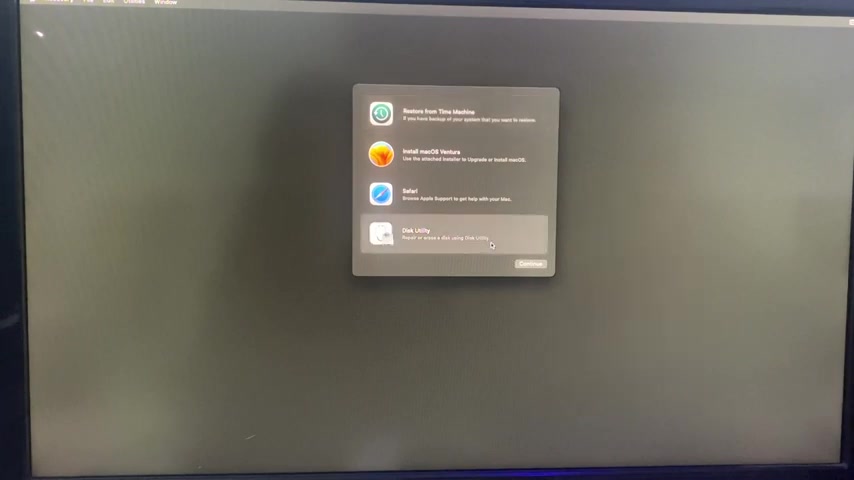
Now click on this utility , continue .
You can see both my SSD and my HDD is showing right there .
So we are installing my Os on my SSD which you can see over there .
So click on erase , I didn't set the name .
So I'm just gonna call this .
Now , said the formats to MS extended June and then we can er ok , so we've successfully erased the drive .
Now we can click on Don and then close this page .
Now click on install , Ventura , continue , continue , agree to the terms agree .
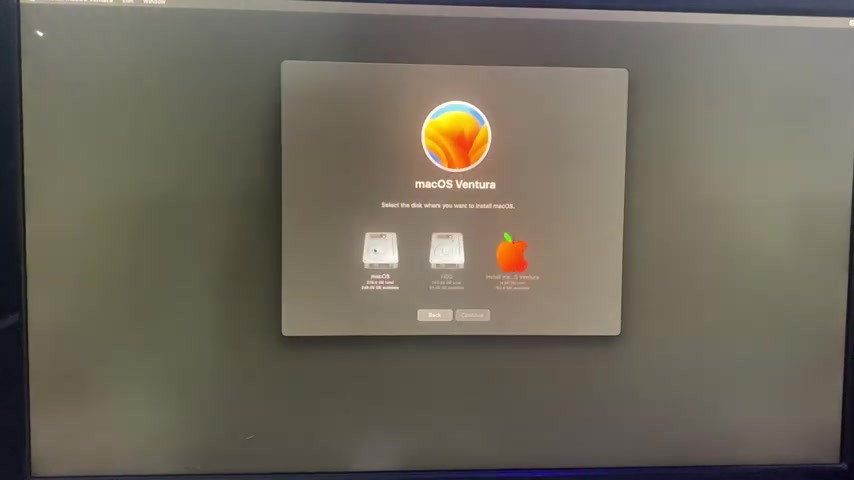
Now select the drive , which we created earlier .
So you can see Mac Os click on it and then continue and it should start installing .
Now , this may take about an hour but you just have to wait patiently .
It may restart severally while it is installing .
But you just have to wait , you don't have to do anything , just wait for it to install .
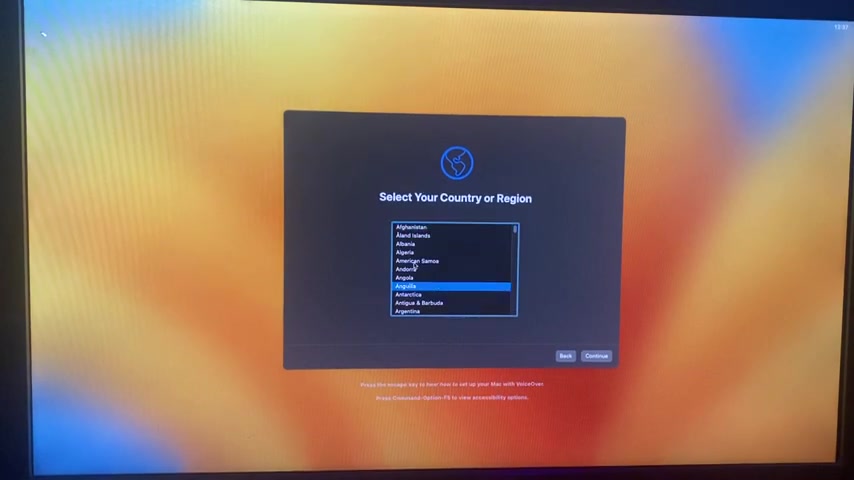
So we are done with the installation .
Now , we just have to set up to select your country and then continue .
Continue .
Not now continue its data and privacy migration as is done .
Not now you can sign in with your app ID if you want , but I'm just gonna set up later , accept the terms and conditions agree .
Now , filling with your information and then continue , continue its location services .
You can enable location if you want to .
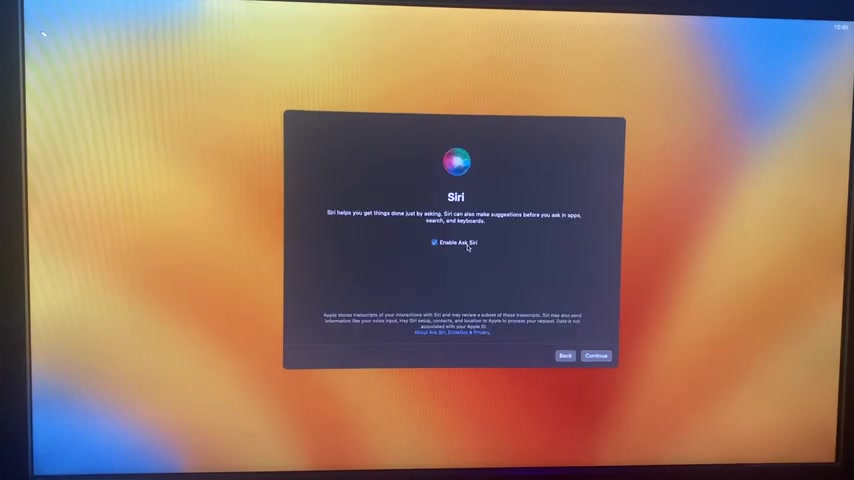
I don't really mind select your time zone and then continue .
Continue .
I'm just gonna disable Siri and then continue .
Now choose your team , whether you're going with the dark team or the light mode .
So continue .
And here we go , we have a fully functioning Mac Os .
Now you can sign it with your apple ID and use it like every other mac .
This is a full hacking touch Mac Os on your windows PC , but we are not done yet .
The EF 55 is still on the USB drive we used to install .
So we have to copy the EF 55 .
So we don't need the USB to put into a machine .
OK .
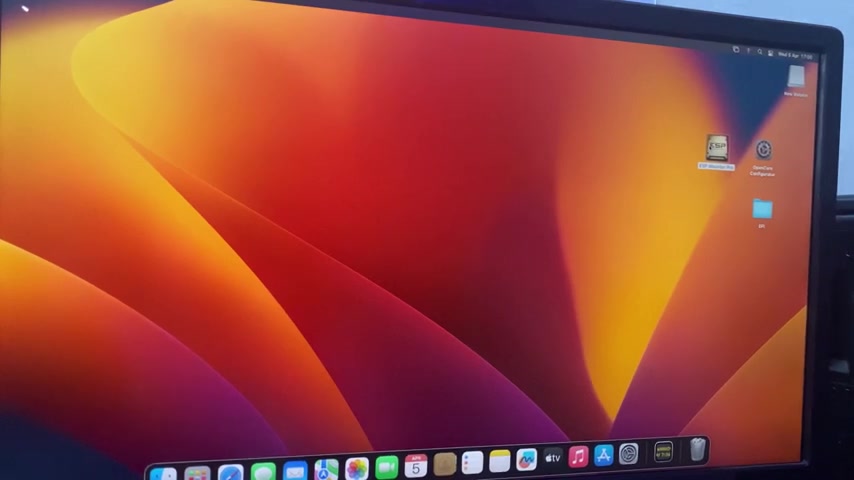
So after the installation , we need ESP mount proof , open call configure and the EF I five , we downloaded earlier .
So open applications and then Dr ESP mount approved there also drive open core config there and we can run ESP mount approve .
So just double click on ESP mount approve to run .
Now , you can see this program can't be opened and that is due to privacy in our settings .
So we have to head to our settings .
Now click on privacy and security and then screw down .
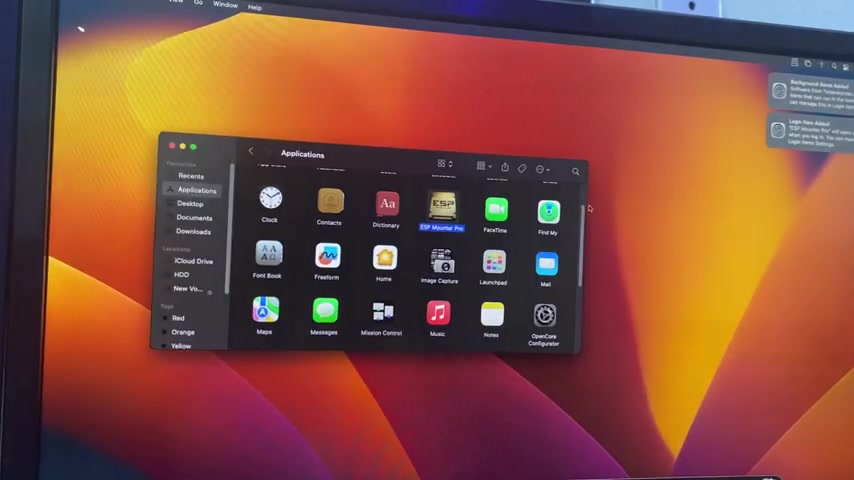
Click on open anyway and then enter your password to run ESP mo ok , open , confirm again , enter your password you .
So ESP pro has been successfully installed .
Now we have to open it .
So click on the icon at the top of the screen and then click on show all and it should show all the drives on this PC .
Now we have to locate the EF I partition for your drive .
In your case , it may be showing just one drive .
But since I have multiple drives on my PC , that is why lots of these are showing your EF I petition will be the name EF I .
So this is the EF I partition on my drive .
So click on mounts and then click on open volume and it is gonna open the EF I partition .
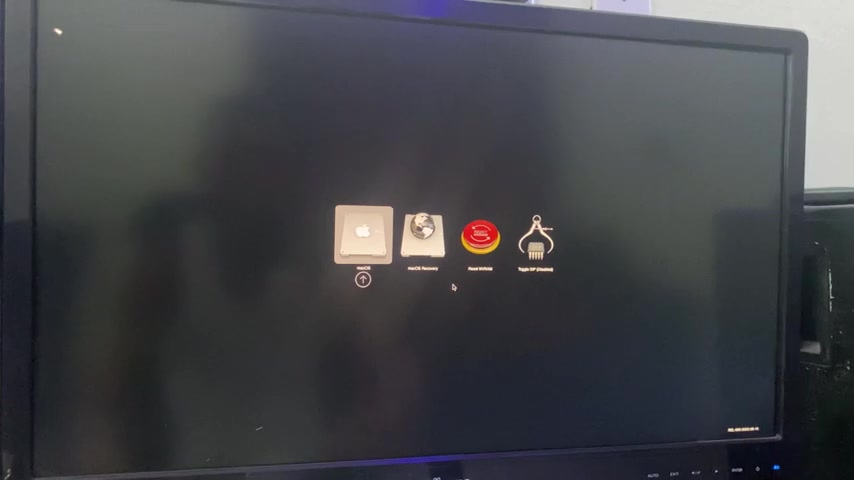
Now , all you need to do is delete this EF I folder and then drag the new EF I folder and drop the nine my keys .
I'm not gonna do that since I have windows running .
So I'm gonna open the EFIF and then drop the EF I there .
But in your case , you just have to delete the old EFIF and then drop the new EFIF .
And that is all you can disconnect the USB and then put into Mac Os without any issue .
So we can just restart .
Now .
I will log in with your password .
If this is helpful , kindly hit the subscribe button and turn on your post notification .
If you have any other question or you are unable to install .
Don't forget to use the comment section .
Thank you for watching and I will see you on the next one .
Are you looking for a way to reach a wider audience and get more views on your videos?
Our innovative video to text transcribing service can help you do just that.
We provide accurate transcriptions of your videos along with visual content that will help you attract new viewers and keep them engaged. Plus, our data analytics and ad campaign tools can help you monetize your content and maximize your revenue.
Let's partner up and take your video content to the next level!
Contact us today to learn more.