https://www.youtube.com/watch?v=epMio0byeTo
How to Draw Bumblebee _ Transformers
We're gonna go out with a curve and I'm gonna come down and then pull that up in the middle .
We're gonna do the same thing on the right side .
So let's start in the center here from down and out round it out and pull that in to the side of the notes .
Let's add three dots on either side of the muzzle .
So we start on the left side and I will do three more on the right , directly below the muscle .
We're gonna tuck in the lower jaw .
So let's start on the left side here .
We're gonna curl down and then toward the center and the curve up on the right side .
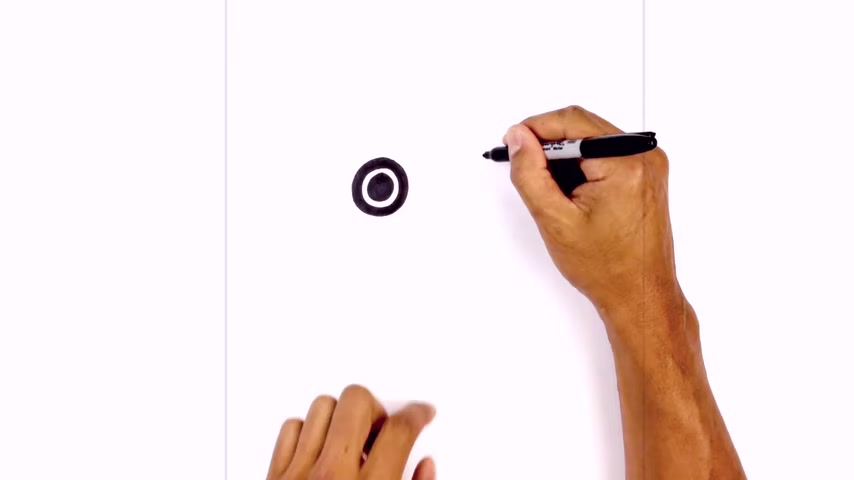
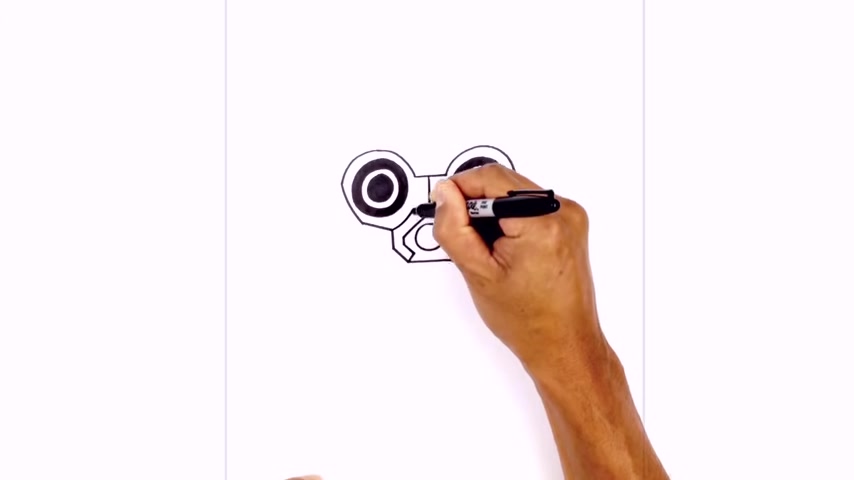
So now that we have that in place , we can go in and tuck the eyes in behind the nose and the muscle .
So we're gonna draw two large circles starting on the left side of the nose .
We're gonna circle around and pull that in behind the muzzle .
Let's do the same thing on the right side .
So we start at the top of the nose and work our pen around in the opposite direction .
Let's go over to the right side and do the same thing .
So I'm gonna leave a gap in the center .
We're gonna line up the top of the eye and again , going counterclockwise all the way around .
And again , I'm gonna draw a smaller circle on the inside , starting from the top .
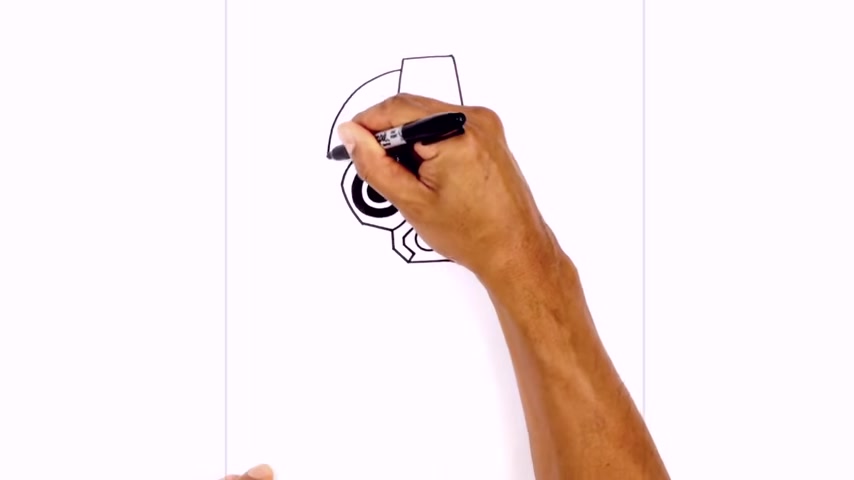
And then one more time , let's go ahead and color the inside circle in black .
And then I'm gonna color the outer ring in black .
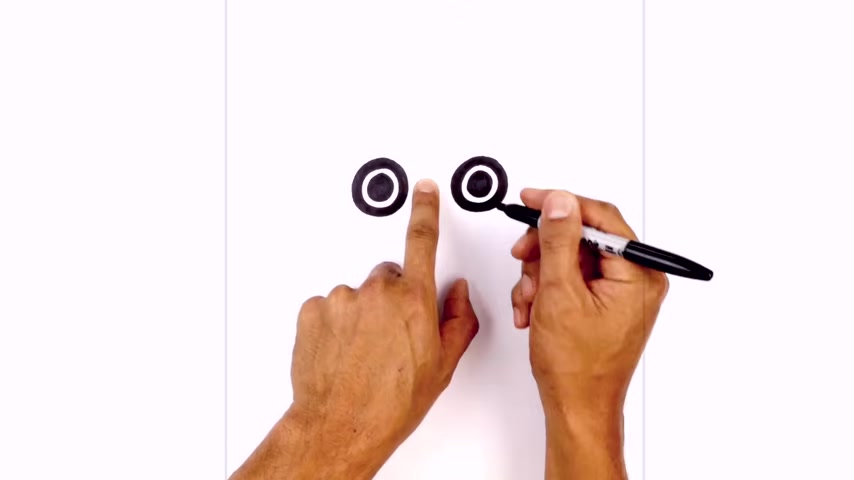
Now in the center , we're gonna draw two small circles for the pupils and then we'll fill the outside areas in black from here .
We're gonna round out the size of the cheek .
So we'll start at the bottom part of the jaw .
I'm gonna curve out .
Now , I'm gonna pull this up and in towards the side of the eye and leave a little bit of space .
Let's do the same thing on the right , starting from the jaw , curve up and out and then we'll pull that in towards the eye .
Now , we're gonna connect those two points with a half circle for the top of the head .
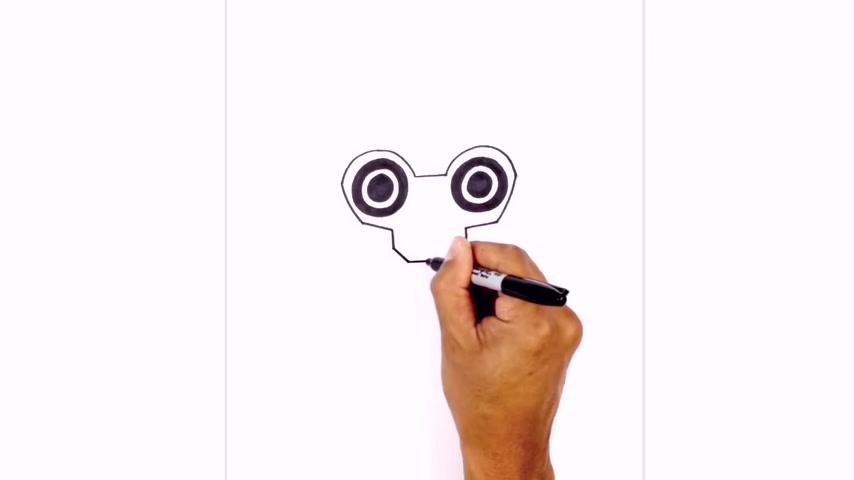
So let's start on the left side here , curry up and over towards the middle and then we'll bring that down on the right side .
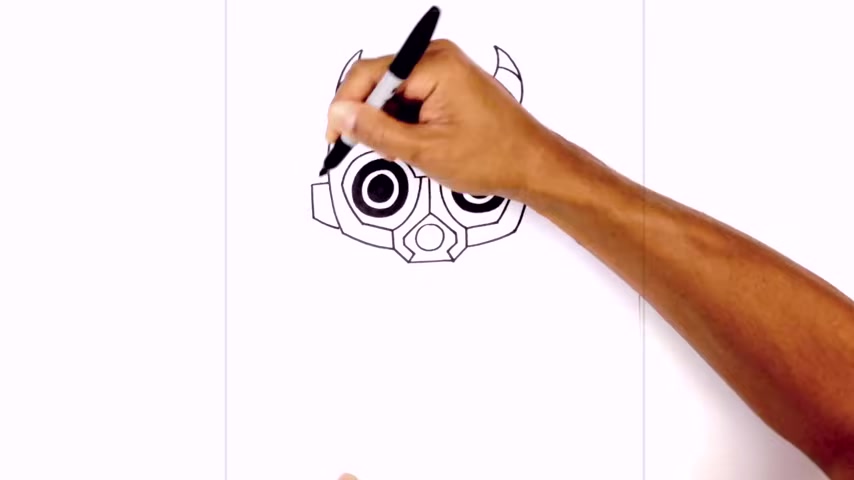
Let's give him some eyebrows just above the eyes .
So above the left eye , I'm gonna draw a curve going across and in , do the same thing on the right side .
Now , on the end , I just wanna to curve out and up , just rounding up the ends of the eyebrows on the inside .
I wanna draw a shorter curve going in the opposite direction .
So curving in and then up and I'm gonna connect those two points with a curve and then we'll fill the eyebrows in black .
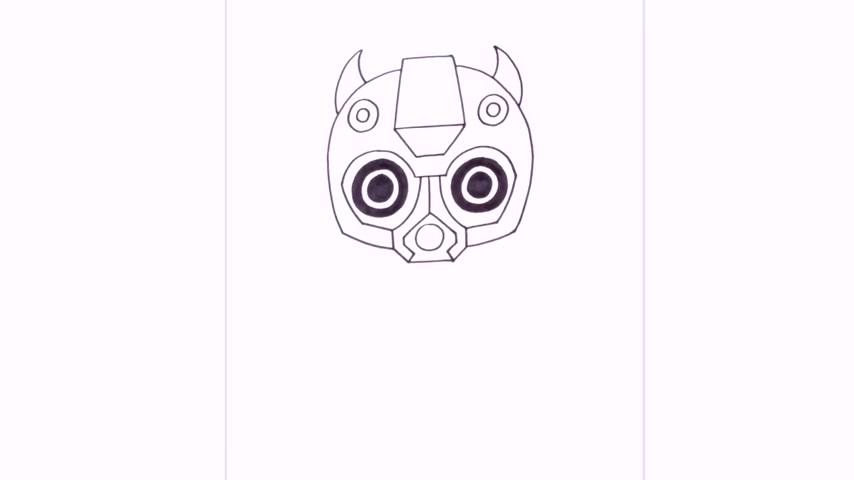
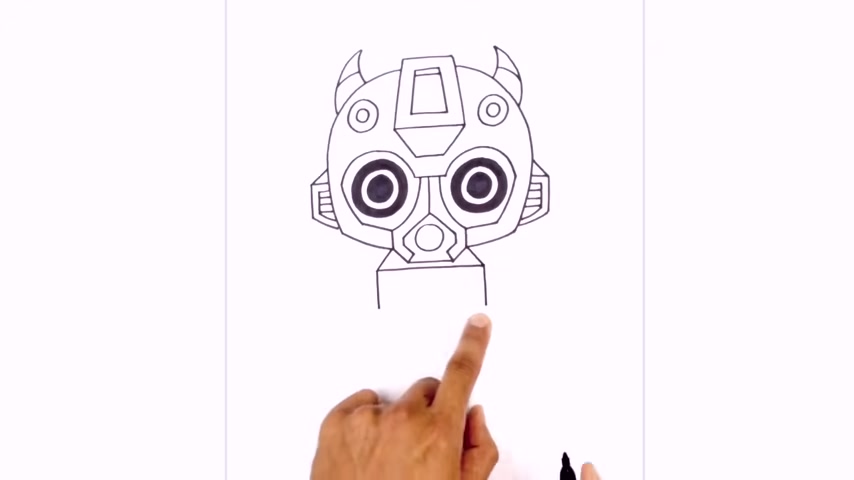
Let's add the hat on top of the head .
So directly above the pupils on either side , we're gonna draw two short lines going up .
Now let's connect those two points with a curve just following the same curve as the top of the head .
Now at the top corners are gonna step in and draw two straight angle lines going out .
So on the left side , we'll go up and out the same thing on the right and then connect the tops with another curve on the side of the ha we're gonna add in the ears .
So from this point in the half , we're gonna step out , been round out the year and then pull that back into the side of the head .
Let's do the same thing on the right side .
So stepping out looks like drawing a big circle tucked in towards the side of the head .
Now we gonna draw the inner part of the ear .
So on the left side , I'm gonna step around , just follow the inside curve of the ear to right about there and leave a little space .
Now , we're gonna connect those two points with a curve .
Let's do the same thing on the right side .
Starting on the inside , we'll just trace around .
So on the left side , we're gonna go out round up the hand and we'll pull this in just on the side of the chin , curbing it in .
We do the same thing on the right side , rounding up the hand and pulling that up just beside the chin .
Let's add a little seam at the end of the hands .
So on the left side , I'm just gonna curve across and then down .
Same thing on the right now , directly below the arm is gonna draw the side of the body .
So just out here , I'm gonna curve out and then down , do the same thing on the right , I'm gonna draw the sockets of the leg .
So on the left side , I'm gonna curve in and then just pull that straight down .
I wanna leave a little space in the center do the same thing on the right side .
Now , I'm gonna draw on the outside of the layer from the top .
I'm gonna curve out and then pull that up and in towards the bottom of the line .
And then let's do the same thing on the right , starting from the top curve around and we'll pull that up and in now we're gonna connect those two points with a curve starting the left will curve down and then back up .
Now we're gonna draw on the bottom patch of the foot .
So we're gonna start on the top right up here , we curve in and then just blend that towards the bottom .
It's almost like creating a nice large circle at the base of the foot .
Let's go to the right side and do the same thing .
They're curing around and pulling that in towards the bottom .
The final thing we're gonna do is add the little belly patch from the corners of the bow tie .
I'm gonna create a half oval coming down towards the leg , back , up on the right and up and towards the corner of the bow tie and that's pretty much it there we have it .
There's Fred Bear plush .
I hope you enjoyed today's lesson .
Make sure you subscribe and send me your request in the comments below .
Thanks for watching and we'll see you again soon .
Now , I'm gonna curve this in just above that point in the jaw .
Now , let's just trim this out .
So we're just gonna fall that si three sides on the inside and then on the inside , I'm just gonna draw a series of horizontal lines .
We'll just draw three lines going across .
Now from the top corner here , I'm just gonna draw the angle line going in behind the head .
OK ?
Now that we got the head , let's work our way down the body .
So I'm gonna start with the upper chest first .
So we're gonna start with a straight line going across from left to right , just underneath that chin from here .
I'm just gonna draw two angle lines going up , aiming towards that little point here from these corners .
I'm just gonna drop two straight lines coming down and then we'll close off the bottom with a straight line .
Now let's add some chest detail .
So we're gonna leave a gap in the center on either side and we're gonna draw two angle lines coming in .
I pull this down towards the bottom .
Let's add two rectangles on either side of the chest , starting on the left and then on the right .
Now from these two points , I wanna draw a short angle line coming down and in and then we're gonna connect those two points with a straight line .
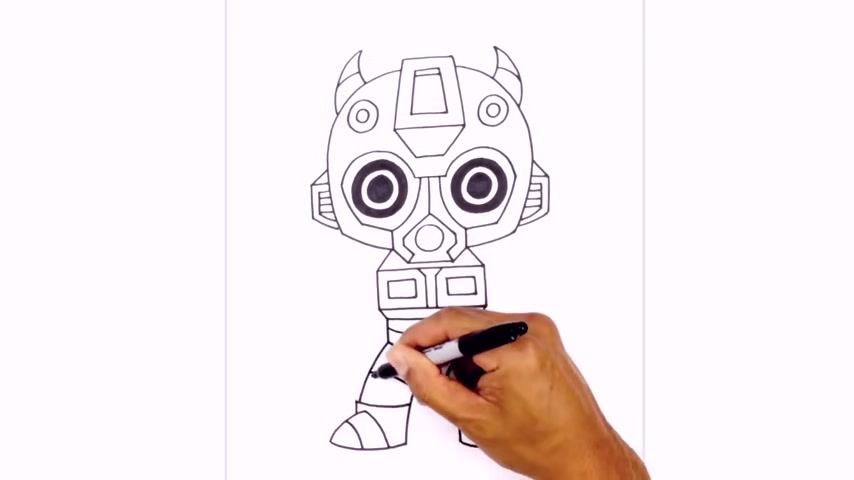
It's continued down the body .

So on this side here from this corner , I'm gonna draw a straight line coming down on either side .
Then we draw an ankle line coming down and in towards the middle .
Now we gonna do a hard turn , the steeper angle coming down towards the middle and it will close out the bottom of the straight line .
Let's add a little bit of detail in here .
So on the side here , about halfway down , I'm gonna draw a curve down it in same thing on the right side and then we're gonna angle these two points coming in and then closing off the bottom of the street line , let's continue working down with the leg .
So from these corners , I'm gonna draw a curve for the inside of the leg going down and out towards the hill , do the same thing on the right side .
Then I round out the bottom of the foot .

So from the heel to the toe , you now , from the toes , we're gonna curb up the top of the foot .
So on that side , I'm gonna curl up and to right about there .
Now I'm gonna do a hard turn coming down towards the bottom of the foot .
By halfway along this line , it's gonna draw another curve coming down .
Let's do the same thing on the right side .
Turn up and in , do a hard turn coming down to the bottom of the foot .
And then again , halfway along this curve , I'll draw another curve coming down .
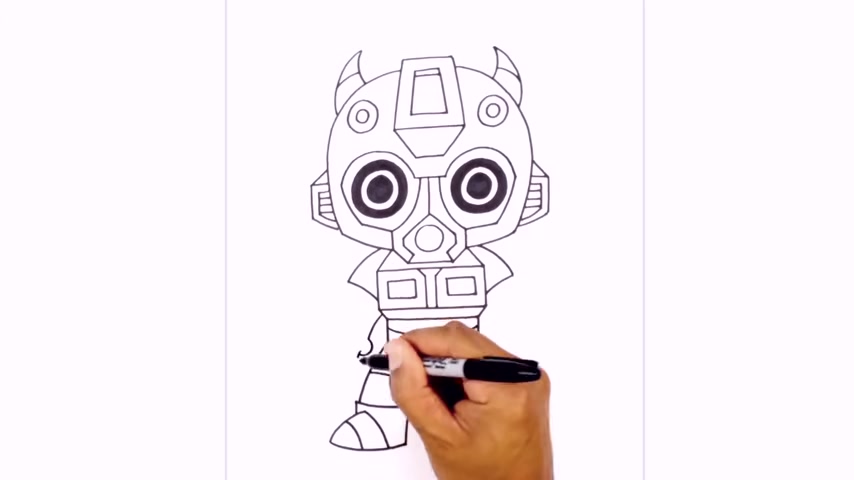
Now , from the hips , I just wanna curve down to the top of the corner right here , but I'm gonna draw on the edge of the boot first .
So from the left side to that corner , I'm gonna step out , draw a straight line coming up and do the same thing on the right side .
And I'm gonna take this point curve down and in now we can tuck in the side of the leg underneath the boot cuff .
So from this corner of the hip , we curve down and leaving a little bit of an overlap on the outside , just break up the leg with some lines .
So on the side of the leg here , I'm gonna curve across and in , do the same thing on the right side , I'm gonna add a little bit of detail around the knees .
So again , halfway along this curve , I'm gonna curve down and back the same thing on the right side .
Ok .
So now we got the legs , let's work our way towards the arm .
So let's start with the big shoulder pads first .
So from this corner where the chest makes the face really step out and curve out and down , we'll do the same thing on the right .
So stepping out , curve out and then down .
Now I wanna curve in behind the chest .
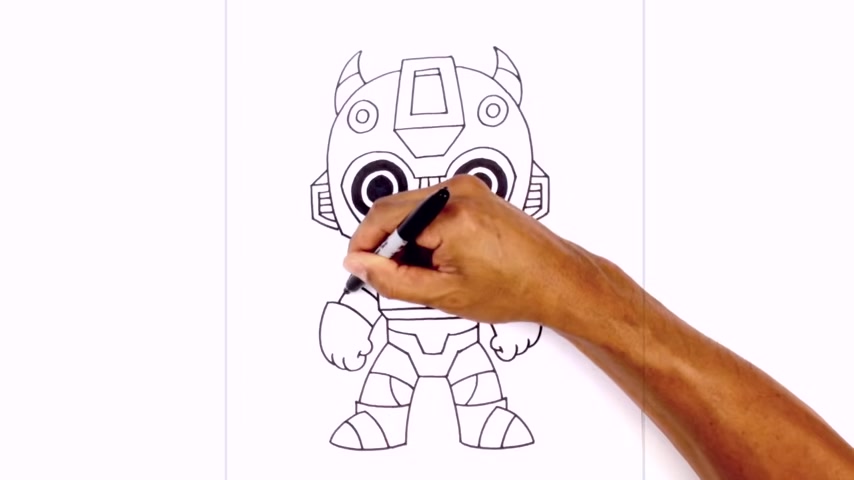
Let's go back from that side and draw on the arm .
So this one I'm gonna have hanging down in a fist .
So on this line right here about halfway to the curve down and out .
We'll draw the thumb with a little half circle at the end of the thumb .
I'm just gonna draw a little curve for a little bracket .
Now , at the bottom of this curve , I'm just gonna go around the bracket and pull it up .
I'm gonna step down and draw another finger curving up .
Now , the third finger , we're just gonna draw in the big forearms .
So we're gonna go all the way up and not go all the way to the shoulder , but just about here about halfway .
So curve up right up there and I'm gonna take that point and curve in towards the inside of the arm coming up and then down .
Now , from this shoulder point , I'm gonna step in , curve out in behind the forearm .
Let's do the same thing on the right side .
So we're gonna go halfway along this line , curve down to a half circle for the thumb .
Then we'll draw a bracket at the end of the thumb at the bottom of the thumb .
We're gonna swirl around the bracket and go up , step down , draw another curve .
And then again , the third thing is gonna go up about halfway up the arm right above there .
Now , we're gonna pull this in towards the inside of the arm .
Let's go underneath the shoulder .
Step it in will curve in behind the forearm .
We'll add a little detail in the arm here .
So about halfway along the arm here , I'm just gonna draw a curve for some detail .
Now , I'm just gonna add some wings on the side .
So right along the shoulder here , I'm gonna draw an angled line going out .
We do the same thing on the right side .
Now , we're gonna take these points and curb them in behind the arc .
Let's add a split in the wing .
So right here it's gonna the curve P in behind the shoulder .
We're gonna go in and finish this off with a few little details .
So in the top part of the leg , I'm just gonna draw on the curve to split the leg in half in the back of the fist .
I'm just gonna add a little detail here .
So about halfway along the arm , curve down towards the knuckles and then curve across to the outside of the arm , do the same thing on the right side and that is pretty much it there .
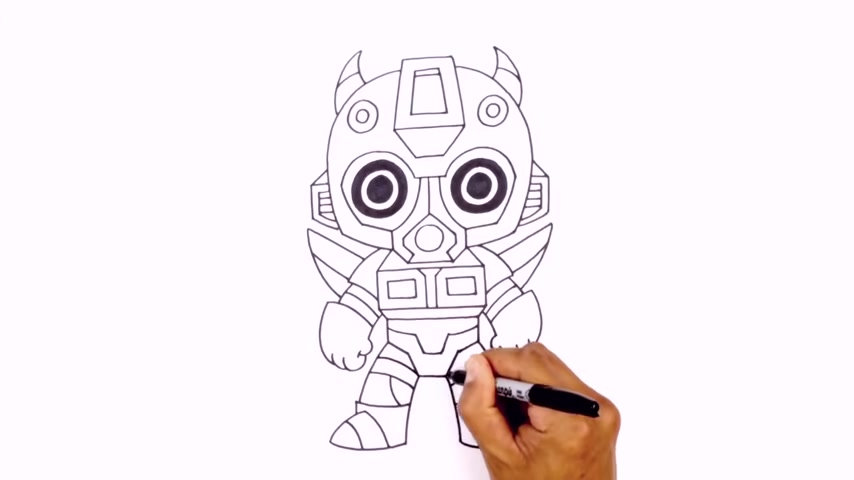
We have it , there's V Bumblebee from the Transformers .
I hope you enjoyed today's lesson .
Thank you for watching and we'll see you again soon .
Are you looking for a way to reach a wider audience and get more views on your videos?
Our innovative video to text transcribing service can help you do just that.
We provide accurate transcriptions of your videos along with visual content that will help you attract new viewers and keep them engaged. Plus, our data analytics and ad campaign tools can help you monetize your content and maximize your revenue.
Let's partner up and take your video content to the next level!
Contact us today to learn more.