https://www.youtube.com/watch?v=wTPOqmBame0
How to Solve a Rubik's Cube - Part 3 - Middle Layer Edges
All right , this is step three of how to solve a Rubik's cube .
And what we're going to do now is we're going to complete these bottom two layers .
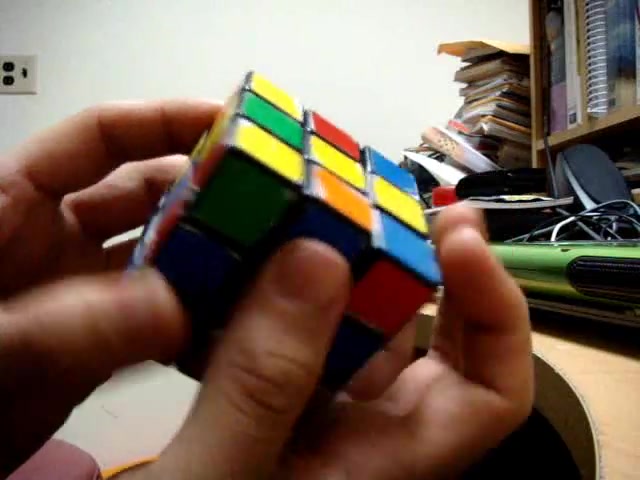
In order to do that , we need to place four middle edge pieces in these four positions .
Those pieces are going to be the orange blue piece , which is going to go here .
The blue red piece , which in this case is already here , but it is flipped .
The red needs to be here and the blue needs to be here .
We'll have to correct that the piece that's going to go in this spot is the red green piece and the piece that's going to go here is the green orange piece .
OK ?
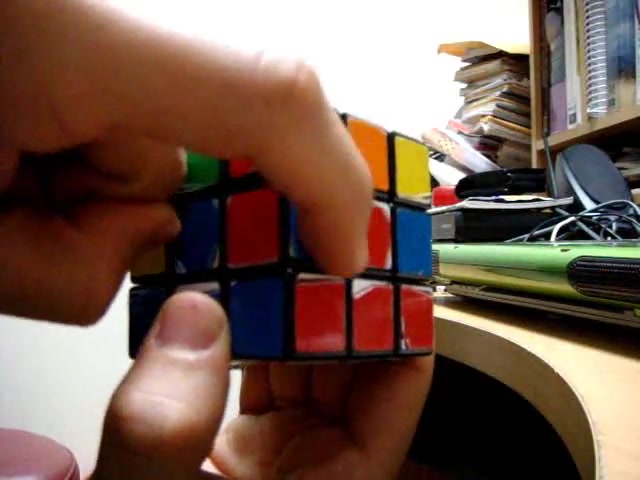
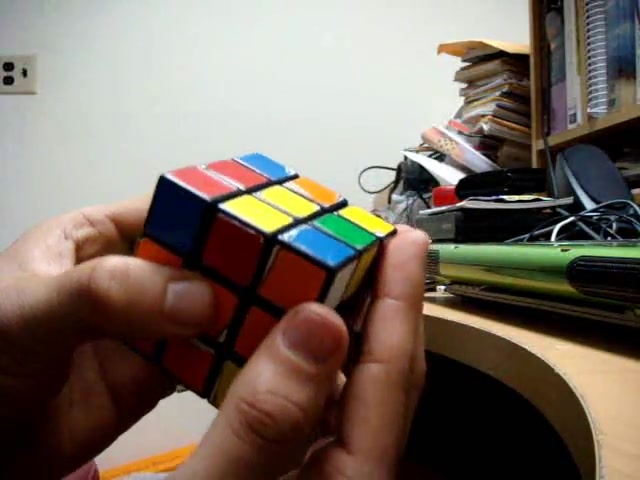
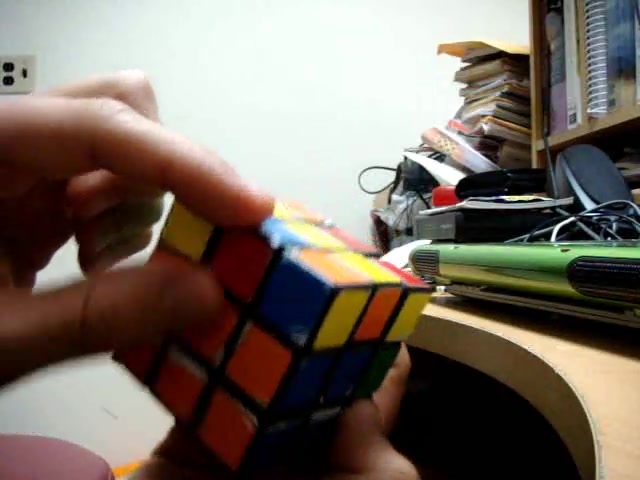
So in order to do that , we need to look on the top layer in these four positions for any of those four pieces , which we just mentioned , they can't have any yellow in them because the yellow pieces are not in the middle layer , they're in the top .
So if we look on the top layer , we see that there are two pieces , the green red piece and the green orange piece which do not have any yellow and that are one of the middle edge pieces which we need to place .
So we can choose either one of those to start with .
Let's choose the , the green orange piece .
OK ?
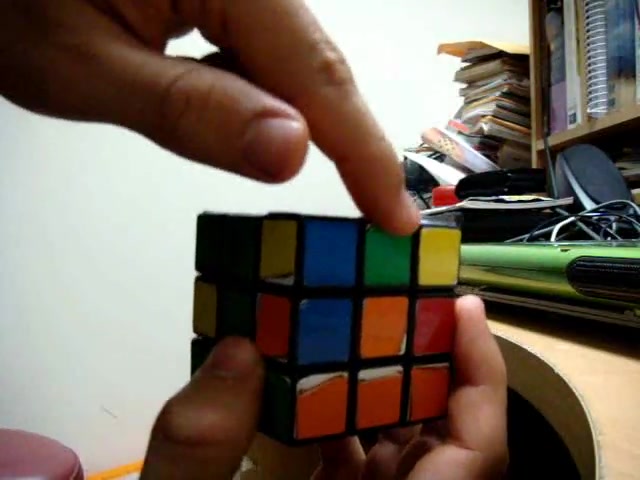
So what we need to do is we need to look at the color that's on the side of the cube .
In this case is green .
What we need to do is we need to match that green side with the green center by twisting the top layer like .
So once we do that , we need to see where this piece needs to be placed .
Well , the colors on the piece are green and orange .
So we know it's going to be placed in between the green and orange centers .
It's going to be in this spot .
So that spot is to the right of where the piece is now .
So what we need to do is we need to turn this spot , we need to turn this piece away from the spot that it needs to go in .
If it needs to go to the right , we turn it to the left like .
So a quarter turn , what we then do is we look at the other color on the top this time , which is orange and we take the orange side and we lift it up to you and back down .
Now , that's the same move that we did in the second step .
So if I take it back and I put it there .
Once we match the green with the green side with the green center , we turn it away from where it needs to go if it needs to go to the right .
So it's going to eventually wind up there , but we can't just turn it like that because what that does is it messes up the bottom that we did in the second step .
So we turn it away from the orange side and then we take the orange side .

This is the corner that is eventually going to match up with this piece .
This has orange and green on it and this also has orange and green on it .
So once it's turned away from that side , we take the side that it needs to go to the orange side and we do right , counter clockwise or right up , top , clockwise or towards you and then right counterclockwise or back down .
So now we have lifted that corner piece and we have oriented it so that when we put it back down , it will match with this edge piece .
So let's do that .
Now , we have the orange white green piece here that we just lifted up .
That's the piece that's missing .
So like it in the second step , we look at the color that's on the side with white , which is orange , we then turn the top layer until this orange piece .
This orange side is matched diagonally with its center .
Now it's on the left on the left side , the white is facing to the left .
So we perform the move left , counter clockwise or left up , top , counter clockwise or towards you .
So we're going to bring those white pieces , you should see a line now a white line and then you bring it back down .
And what that does is it places that edge piece in its proper position .
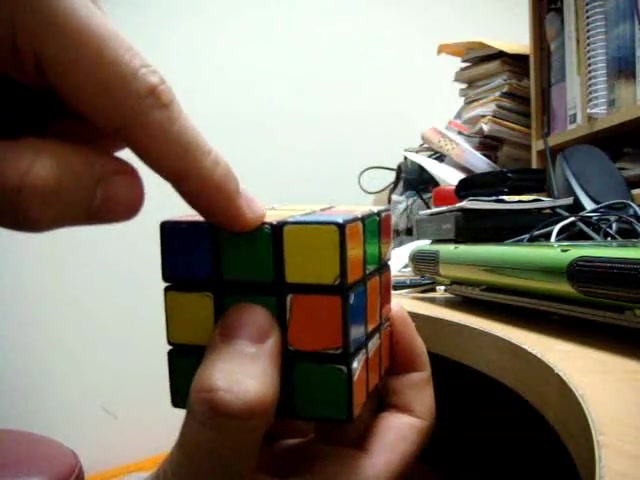
So this green , orange edge is placed in between the green and orange centers and it is in the correct position .
So we have to do that for the remaining three edge pieces , the middle edge pieces that need to be placed down .
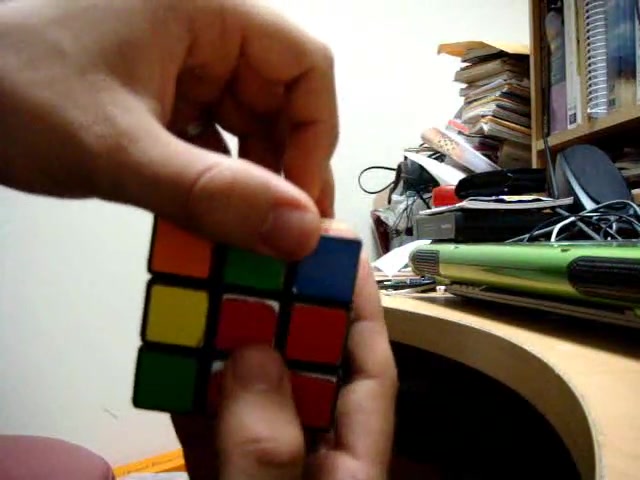
So we look on the top and we find that there are two edge pieces here on top , the green red and the blue orange , which need to be placed .
The other two are the pieces which have yellow in them and we do not want to touch those .
So what we need to do is we need to pick one of the top colors , one of the top edge pieces such as the blue orange and we turn it so that it's matched with its center color , which is blue .
Then we need to see where it needs to go .
Well , it needs to go here .
It needs to go in between the blue and orange centers .
So what we need to do is as in the other step , the other edge that we placed , we turn it away .
So in this case , we're turning it towards the right .
Then we look at the color on top , which is , which is orange .
We take the orange side and we do perform that move which is left counterclockwise , top , counter clockwise , left clockwise .
What we now have done is we lifted this corner piece and it's up here .
So you look at the color on the side with white , which is orange and you match that orange color back up with its center .
We then hold the orange center and the white is on the right this time .
So we need to perform the move that corresponds with the right side , that's right up or clockwise .
Now , that's matched up with its edge piece , the top goes clockwise or towards you .
So now you should see another white line and then you bring the right side back down or counterclockwise .
And what that has done is it placed the orange , blue edge piece where it needs to go in between the orange and blue centers .
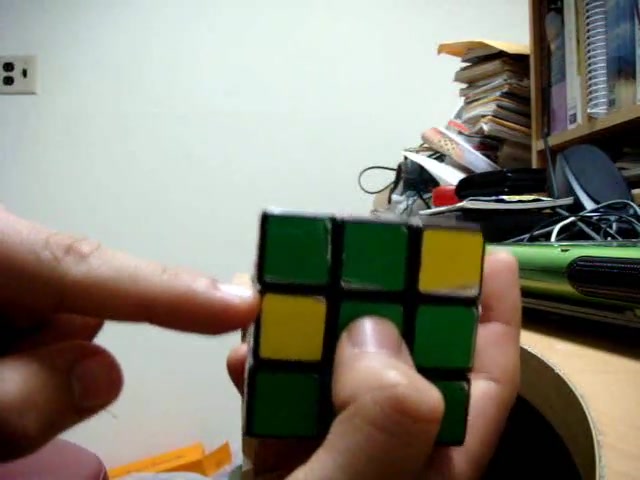
So now if we look on top , this piece has yellow , it's no good .
This is has yellow , it's no good .
This has yellow , that's no good .
And this is the only piece we can work with now on top .
So what we need to do is we need to match this piece up with the green center .
So if we twist the top layer so that it's matched with the green center , it's now in the correct position for putting , putting it down .
So we see where it needs to go .
Well , it has red and green on it .
So it's going to go down here on the left .
So what we want to do is we want to turn it to the right , we want to turn it away from the position that it needs to go in .
So once you match it up , you turn it away from where it needs to go .
We then take this side with the color on top , which is red and we lift it up or counter clockwise .
Since it's on the left top goes counter clockwise or towards you and the left side goes back down or clockwise .
So now this is the last edge , the corner piece that we have lifted , which is now here .
So we look at the color on the side with white , which is red and we match it diagonally with its center .
Once we do that , the right , the white color is facing the right .
So we take this piece and we turn it right clockwise , then we turn the top clockwise or towards you .
Now you see another white line on the right and then you bring the right side back down or counter clockwise .
So now we have three pieces which are in the correct position .
Now , the last piece is already down there .
And if you remember me explaining it , this has to be flipped .
So what we want to do is we want to do that same move .
We could either hold it like this with the red or we can hold it like this with the blue .
Either way you're going to get those two pieces , you're going to separate them from where they are .
So let's do it .
We'll do it on the left side .
So we'll hold it on the left and we lift it up or left , counter clockwise .
Then the top goes counter clockwise or towards you and then the left side goes back down .
So now we have these two pieces up top .
What we need to do now is we need to place this corner piece back down .
So we match it with this center color , which is blue and then we bring that the same thing , we bring it up or right , counter right clockwise and then top towards you or clockwise and then right back down .
Now we have separated this from that flipped piece that was originally here , which is now up here .
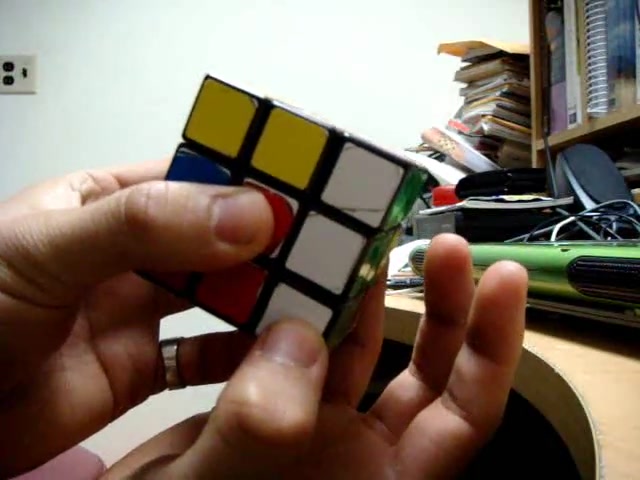
So now we can perform that move that we've been doing by matching the color on the side , which is red .
So we turn the top until it's matched with the red , hold that center red piece .
And now we see that it needs to go back down here , but it needs to go in the correct position .
So that's the left side , it needs to go to the left .
So we turn it to the right , we then take the side that has the color on top , which is red , I'm sorry , which is blue .
And we lift that blue side left , it's on the left side .
So left counterclockwise , top , counter clockwise and left clockwise or back down .
So now we have both of those pieces up here .
What we need to do now is we place this corner piece , we look at the color that's on the side with white , which is blue , we turn it so that the blue is matching diagonally with its center .
And now when we place this back down , it is going to meet up with this blue red piece .
So we do the same move , it's on the right side .
Now the white is facing the right .
So we do right clockwise , top clockwise or towards you .
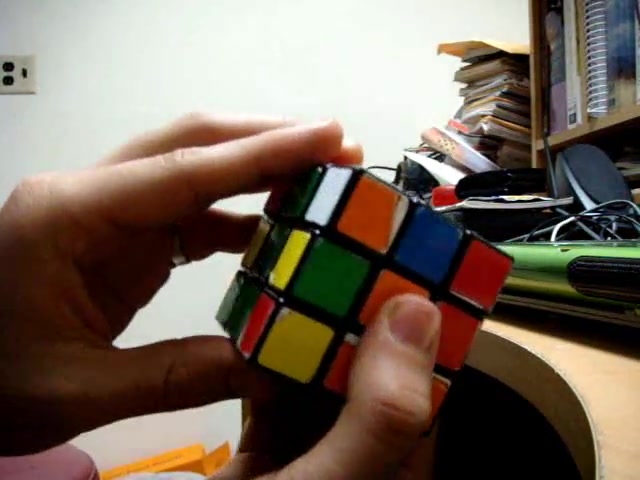
Now we see another white line and we bring the right side back down .
Now , if you look , you should have two completed bottom layers and you should give yourself a pat on the back because that was one of the trickiest steps of solving the cube .
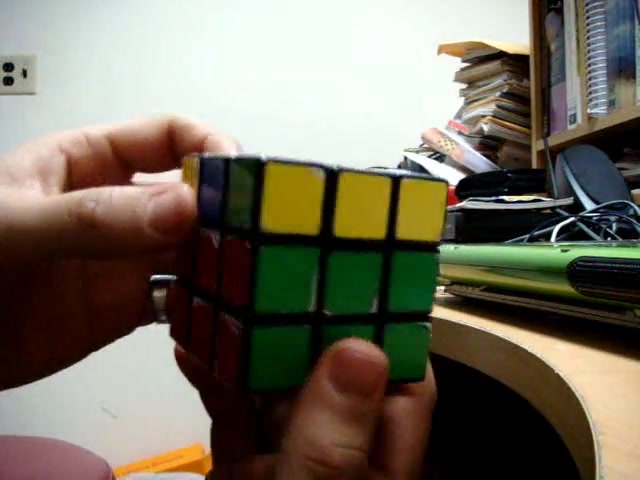
The next step is step four and we're going to be trying to fix this top layer , which is the last layer that needs to be completed .
Are you looking for a way to reach a wider audience and get more views on your videos?
Our innovative video to text transcribing service can help you do just that.
We provide accurate transcriptions of your videos along with visual content that will help you attract new viewers and keep them engaged. Plus, our data analytics and ad campaign tools can help you monetize your content and maximize your revenue.
Let's partner up and take your video content to the next level!
Contact us today to learn more.