https://www.youtube.com/watch?v=wry1KohEIs0
How to Draw PlayStation 5 Controller
Hey , welcome back to Cool guitar and let's try the awesome playstation five controller .
So here's my full pencil sketch shown in two speed .
And then right after this , I'll show you guys how to draw this line by line with a sharpie .
All right .
So let's draw this .
And here's my sketch underneath .
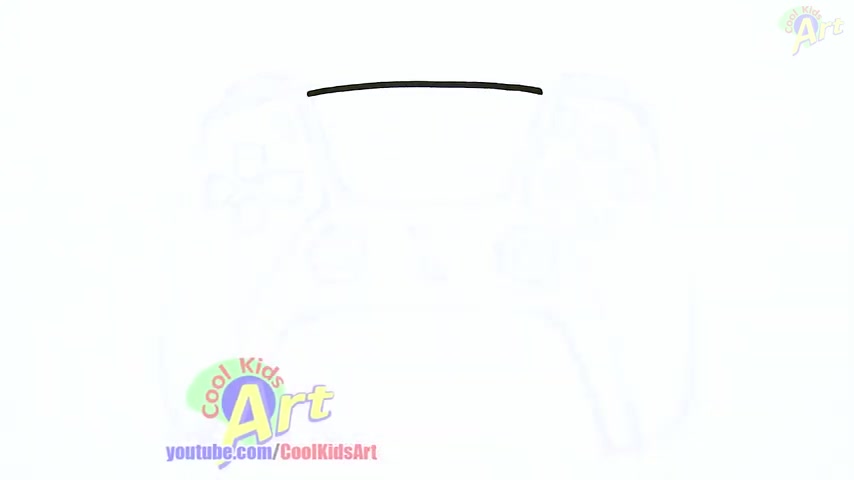
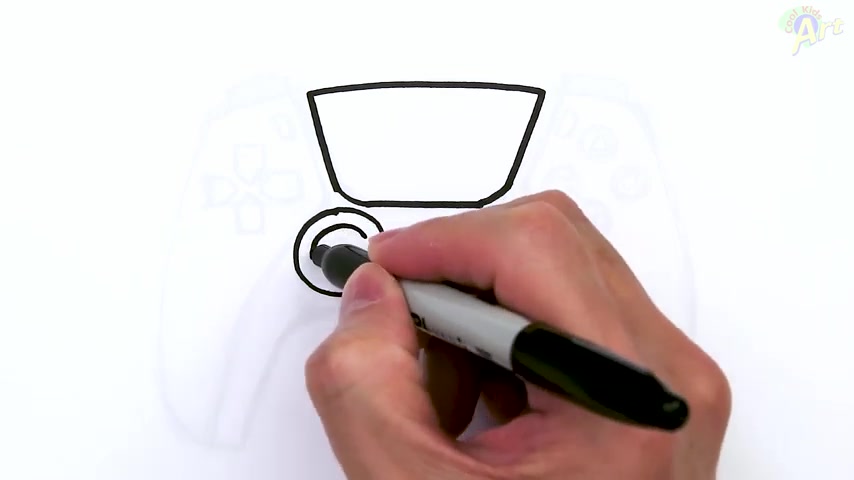
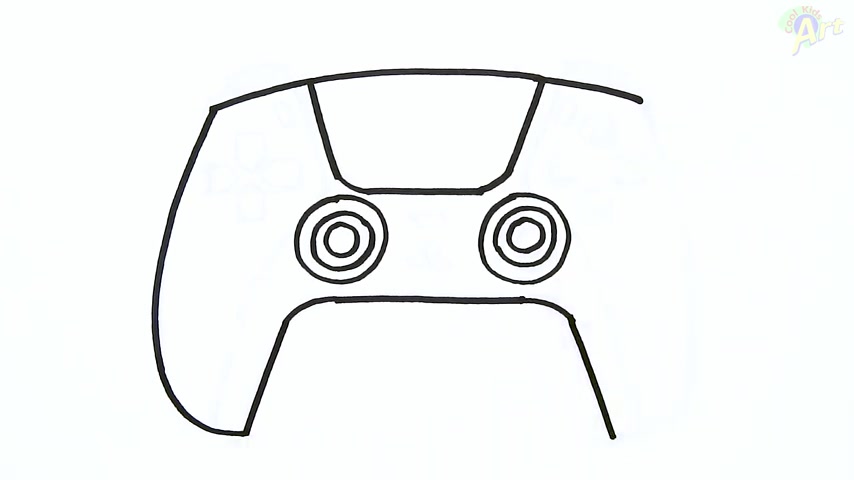
And to begin , we can draw in the touch pad uh area first , which is gonna be right on the center .
So we're just gonna draw one slight curve on the top and then now we're gonna slam in .
So just come down on this part right here , we'll just round it out and then just close it off flat .
All right .
So once we have this shape , we're gonna come down and draw in the uh the two little joysticks here first .
So we're gonna draw one big circle right on the corner of this .
So just come down from this .
OK .
So this part is a little bit tricky .
So whatever circle you draw on here , try to draw the same size in this one on this side .
OK ?
And then now for the joystick itself , we're gonna draw another circle inside .
So this one's a little bit easier , just follow the shape on the outside , same thing here .
And then for some extra detail , I'm gonna just gonna draw one more circle inside .
OK .
So now let's continue on .
So we got , now we gonna draw in the uh the bottom right here .
So just come down from this circle right in the middle , you make two little points and we just close it off flat .
All right .
So that's gonna be the middle and now we're gonna continue on and drawing the handles , we'll continue with this curve , just go out .
So the same thing on this side .
OK .
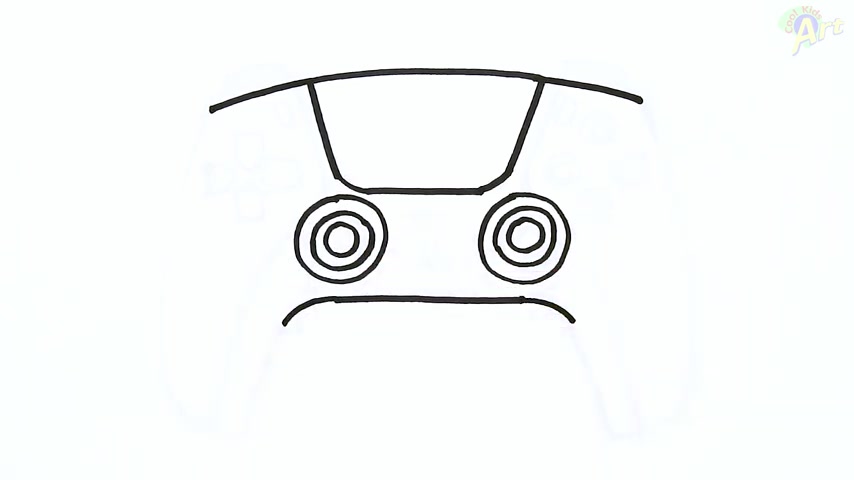
And then come back to the bottom right here to a slight curve to right above the circle right here , just go past the circle .
And then now for the really tricky part , we're gonna draw in the side .
So this side is gonna be slanting toward this way , but there's gonna be a slight curve to it .
So when it come down and then we're just gonna stop , we can stop right around there for now .
All right .
And then from this curve , we're gonna continue with this one .
So on this one , we'll draw a slant coming down .
This is gonna be all the way to the bottom .
And now whatever space you have here , just smooth it out , just one smooth curve and it was a very tricky shape to draw .
OK .
So now that we draw on this side um this side is gonna be a little bit easier .
We can actually draw this line first because we can use this for reference .
So we just went down and then now we'll come down on the side .
So , same thing here , we're gonna flare out .
Now we're gonna tuck it back in .
All right .
So it's very difficult to draw something symmetrical and this one looks like I've drawn it a little bit skinnier than this one , but that's OK .
So let's just uh continue on .
So now let's add in some details right here .
There's some really cool lines on this controller .
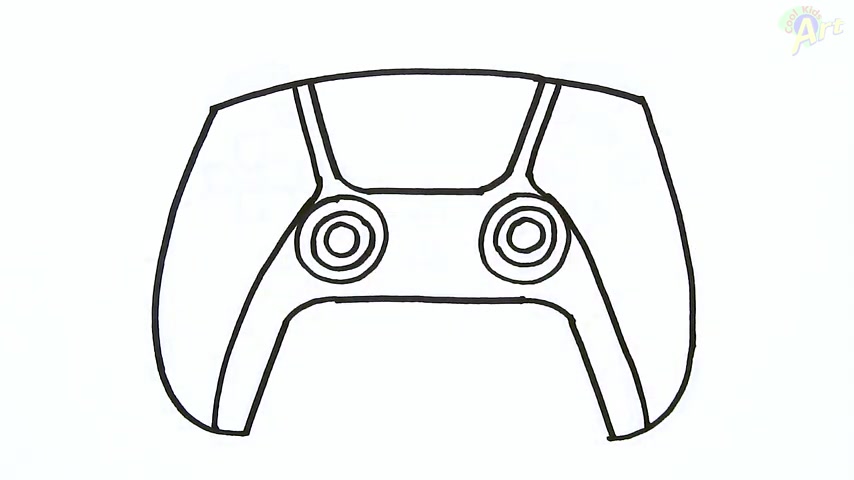
So right here , I'm just gonna follow this line here on the side .
So just come down slide curb , going over right over the circle and then I'm gonna come down here all the way down to the bottom right here .
So this one smooth curve .
OK ?
So right over the circle .
All right .
So that's definitely the trickiest part is just to get the overall shape .
So now the rest is a lot easier .
Let's go ahead and draw on the uh the little buttons right here .
So I'm gonna start in this corner , just one circle come across .
So another circle .
OK .
So come to the middle of this and go up and then one on the bottom and we can put in the markings .
This one's gonna be a square , this one's X circle and triangle on top .
OK ?
So now let's draw in the , the arrow keys .
So right around here , same corner , just gonna try a little bracket like this first .
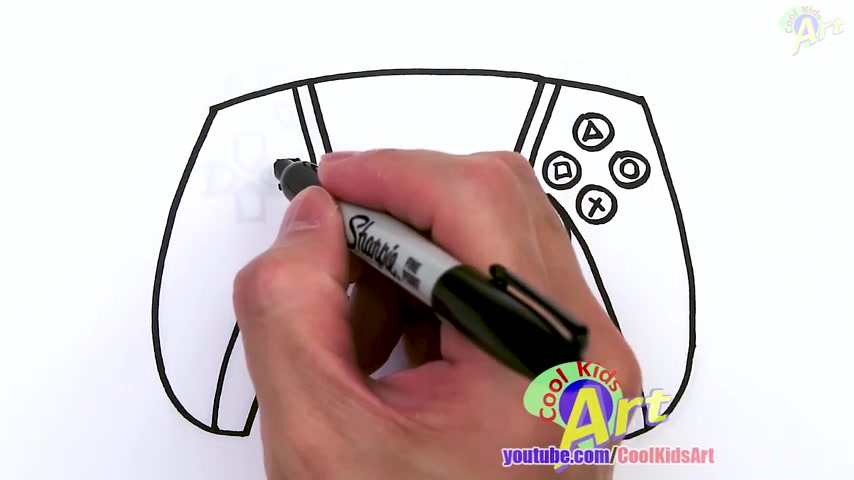
So it's almost like a square .
And then for this side just close it with an angle .
OK .
So let's come over here , I'm gonna draw the reverse of this shape angle .
OK ?
And then now for the top and bottom right in between angle and then just go up .
So once you join one , the rest is a lot easier , right ?
OK .
And just to finish up right here , the same here , just draw two lines round out the top and bottom .
So that's gonna give us another button , same thing on this side .
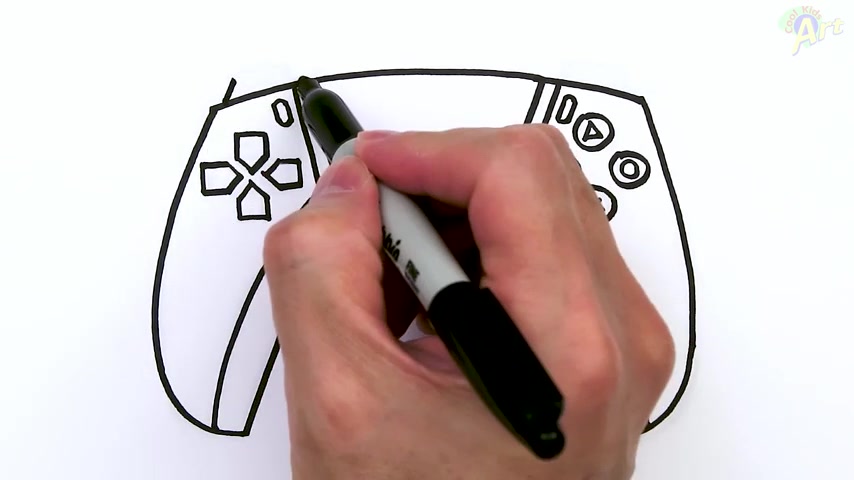
And then now for the buns on top , so this one's easy , we'll just continue with this curve .
Just go up this side seem to follow the of this and then just close it off , same curvature as this .
OK ?
So we're gonna continue this right in the middle here .
Go up .
OK ?
And then lastly , uh for some details in here , uh let's see .
So there's some uh little holes right here just gonna put in or I'll put in four .
I know there's more and then on the bottom just got put in three .
And then now for the playstation logo just come down , you can draw a line like this .
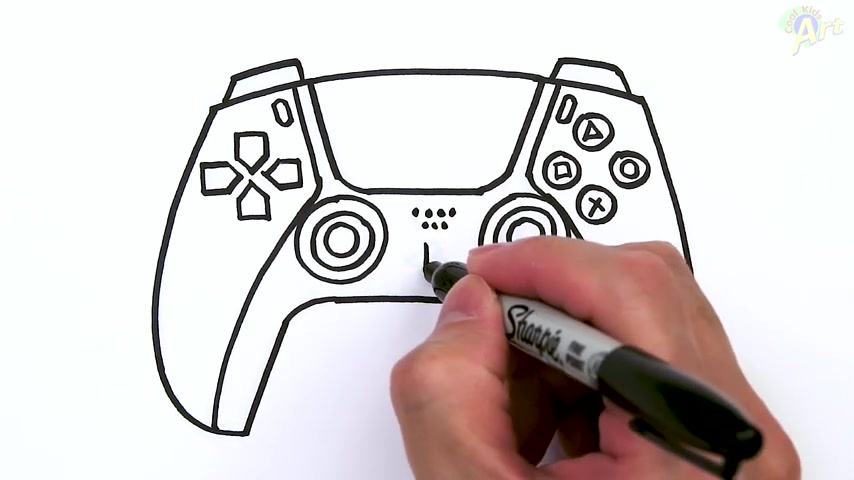
First , you're gonna draw A P to pack it back up halfway .
I hope you guys can see this .
I know it's really small and then whatever space you have here , just one big curve that's gonna give us the P and then for the other one , it's uh it's kind of small .
So I'm just gonna curve up and then it's kind of like a straight line going into the P right here , just like Curb .
And that is it for this playstation five controller .
Hope you guys liked the way it turned out and if you do , please do , give me a thumbs up , subscribe if you haven't and I will see you next time .
Are you looking for a way to reach a wider audience and get more views on your videos?
Our innovative video to text transcribing service can help you do just that.
We provide accurate transcriptions of your videos along with visual content that will help you attract new viewers and keep them engaged. Plus, our data analytics and ad campaign tools can help you monetize your content and maximize your revenue.
Let's partner up and take your video content to the next level!
Contact us today to learn more.