https://www.youtube.com/watch?v=y0aHDwNhlO0
How to Draw Arceus _ Pokemon
Hey there today , I'm showing how to draw a cus from Pokemon .
So we're gonna draw the character from profile view , meaning we're gonna draw them from the side view .
So you get to see all the cool details on the side .
So let's get started with the top of the head and draw up at the top of the page here , draw a curve going from the front to the back , starting from the front will curve to the back from here .
I'm gonna curve the bottom edge of the face opening .
So from this top , we'll curve down to the bottom , but we're not going to go as long as the top line here will come down just about here , drawing a curve that goes up from here .
We're gonna draw on the front profile of the face .
So starting from the top , we're gonna step in on the left and draw a curve going towards the bottom from this point here , we're gonna curve in the opposite direction and tuck this in behind the face .
Let's go ahead and draw on the eyeball .
So from up here , we're gonna draw a half circle from the front .
We'll curve down towards the back .
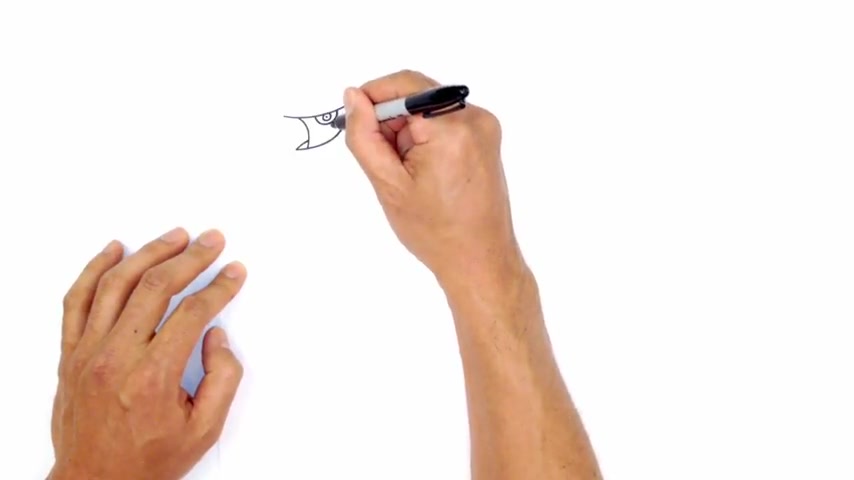
Now let's draw a circle for the iris and then a dot for the people right in the center down below this eye , we're gonna draw a circle .
So just below here , draw a circle for that little patch in the face .
Now , there's some stripes that go across the face .
So from the front , when curve just underneath this eye and in between that circle and then we'll come down a bit and just draw another line just below the circle there .
OK , let's go ahead and draw the top of the head .
So this actually curves around to the little man that goes in the back , but we're gonna have to stop and pause halfway just so we can draw on the ear .
So from here , I'm gonna draw a curve going up over the face , we stop right there and let's throw that little detail at the front here .
So there's a little patch that kind of starts up here , curves down and then out in on top of that line there , we're gonna , let's go ahead and draw in that ear .
So there's gonna be an overlap here .
So coming down here will curve up to the ear .
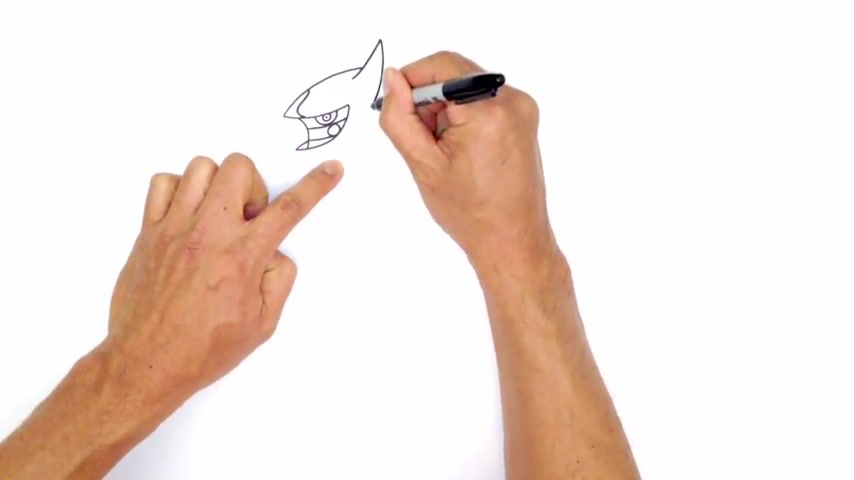
So we're gonna draw quite a bit long line here .
From this point , we're gonna curve down below the face .
So coming down towards the jaw and here I'm just gonna curve in the opposite direction right towards the front edge of that chin like that .
Let's go ahead and draw the ear in the backside .
So you can see just a little bit of the back ear here , starting up here up around the same height and then curve down tuck that in behind the head .
Now , from this point , now I could draw the man that goes in behind that ear .
So I'm gonna imagine this curve behind that ear and I'm gonna curve down and out .
So right up here , curve down up and then down from this point , I wanna curve back and match up with the bottom of the chin here .
So right about here , imagine this face comes out and curve up down up and we'll just meet up with that point .
Let's just make this line a little bit longer .
Now , with this detail back here , we're gonna draw this curve of the face behind this ear and just kind of taper down .
So right up here , we'll curve out , just start to taper it down as we get to the end there .
Now , this line also continues back here .
So we're gonna start up here , just curve into that line there and then this bottom one , we'll curve into the bottom there .
OK .
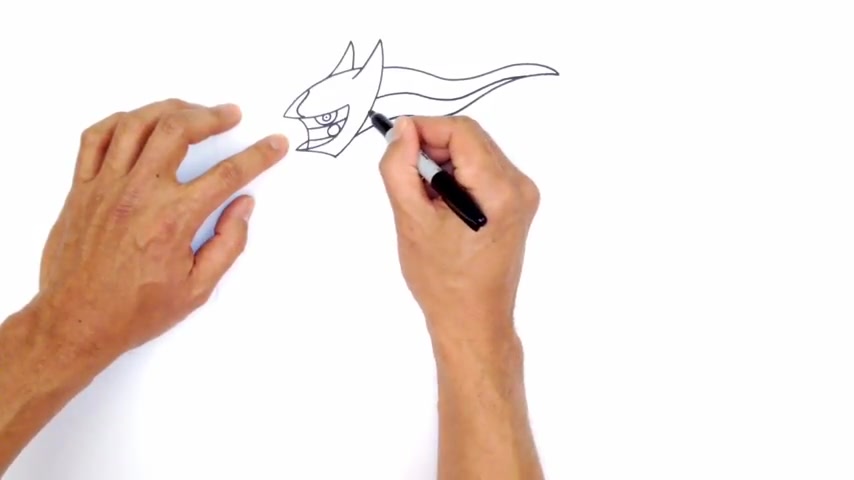
So we got the head , let's get into the neck .
Now , for the neck , the front comes out into this little pouch or this little throat area down here .
So if I have the body over here , I'm gonna draw the neck extending down .
So from this point , I move over to the right curve out and then back , it's a little reverse s curve .
From this point , I'm gonna curve in the opposite direction and just draw a little line like that .
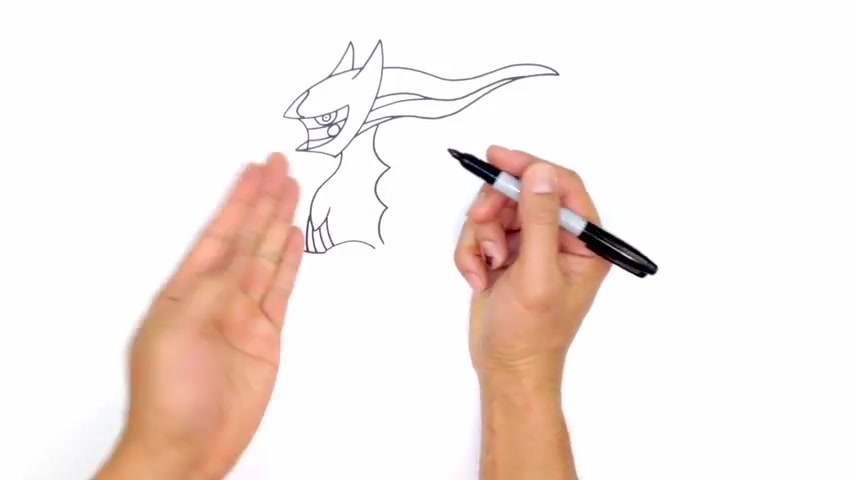
Let's go to the back of the neck and draw the back coming down to the body .
And along the way , there's these little thorns that stick out .

So up here , curb out and then we're gonna do a little almost like ac shape curving out .
And then one last time , I'm just gonna curve down towards the bottom like that and just kind of leave it there for now .
We're gonna have to draw on some overlap .
So this is where it gets a little bit tricky and I have to draw on this front leg on top of the body before I can finish that off .
So up here , I have the , so the shoulder area coming out to the knee .
So what I wanna do is I'm gonna draw a curve for the top of the shoulder starting back here , I'll draw a curve .
Now this is gonna come back down and then up towards the knee cap .
So what I'm gonna do is starting up here in the knee .
So we curve back and doesn't just merge that into that shoulder line from here .
Now , I can finish off the front of the body .
So this neck coming down , I'm gonna draw the rest of it just poking out here just below that throat area .
Then up here , I'm just gonna do an overlap curving down .
Let's draw two lines just like we did with the face up in here .
So we're gonna draw one curve there and one curve right beside it .
Let's draw the thorns on the back side of the body .
So this thorn , we're gonna flip it over and draw it on this side .
So we draw that curve going out and then curving back in .
Now let's go ahead and draw the bottom one back here .
So up here , a curve coming out and then back in and we got the nectar , let's finish off this leg .
So from here , there's a series of little overlaps .
So from this point , we gonna curve down and towards the right .
So coming down this way , we're gonna do the overlap and curve out .
OK .
So we've got the knee on top of the shin .
From this point , we're gonna curve down and forward .
OK .
So coming out this way from this point , we want to round up the tip , I'm gonna come down and round up the bottom of the H .
So coming up like this now , from here , I wanna curve in the opposite direction .
This is a little flare that sticks out here .
So coming up around the leg area there and then we're gonna curve and just tuck this in by the kneecap like that .
Let's go ahead and draw that little detail for the , for the .
So from this point , we go up in an angle , come down with the curve of the foot and then just kind of round that out at the end here , we're gonna draw in the back of the leg .
So right here , curve down and we'll just round that up around the bottom of the shoulder .
There's this little thing that sticks out here .
So I'm gonna do is I'm gonna start back here .
It's kind of like a thin , curved out and just kind of pull that up just a little bit like that .
Ok ?
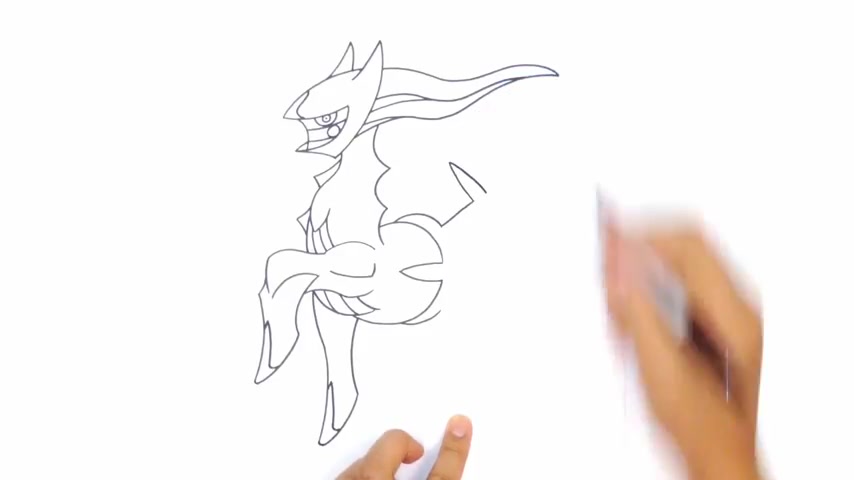
From here , we're gonna draw in the bottom part of the body and the top part .
But then there's this little wheel , this golden wheel that goes around the middle of the body and this is where it gets a little bit tricky .
So up here , I'm gonna have to draw in the curve coming down towards the center of the body .
So from here , I'm gonna draw the top of the back curbing down from here , I have to draw the reverse , but here I have to draw the little neck area .
So this curve goes behind the leg and then just curves up around the shoulder like that .
I take this curve and just kind of merge it at the bottom here and then these two lines , it's gonna draw the continuation of them behind that leg .
Now , from here , I'm gonna do another overlap .
So this is where the belly comes in or the chest area curving around and I'm gonna curve this to meet up here .
But there's gonna be a little gap here because I wanna draw a bit of that , the wheel of the horn of the wheel .
So coming around and almost closing that circle off , but I'm gonna leave that little gap because I want to draw curve that goes like this and then one flipped over in the opposite direction before we get any further with the wheel .
I'm gonna draw in the back leg here .
So this leg in the back is gonna be pointing straight down .
So what I'm gonna do is I'm gonna draw the shoulder area first .
So up here right up here , I'm gonna draw a curve coming down .
I'm going in the reverse direction .
So point towards the toe , that's probably right about there , that distance .
I'm round up the toe and I do similar to what I did here .
I'm gonna draw the curve for the hoof going up and then I'm just gonna curve in the opposite direction and then tuck that in behind the body there .
Let's go ahead and draw that same detail on the hops over here .
I'm gonna drop , angle line up , I'm gonna curve down and then I'm just gonna round that out to the bottom of the foot there .
OK .
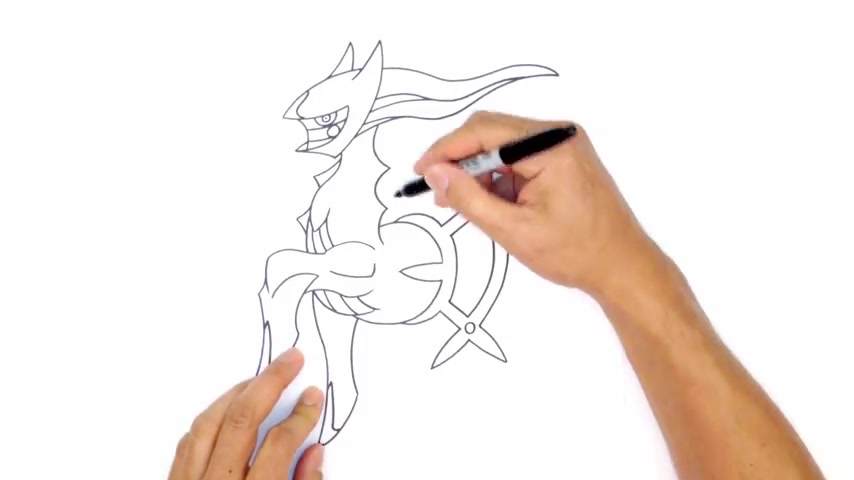
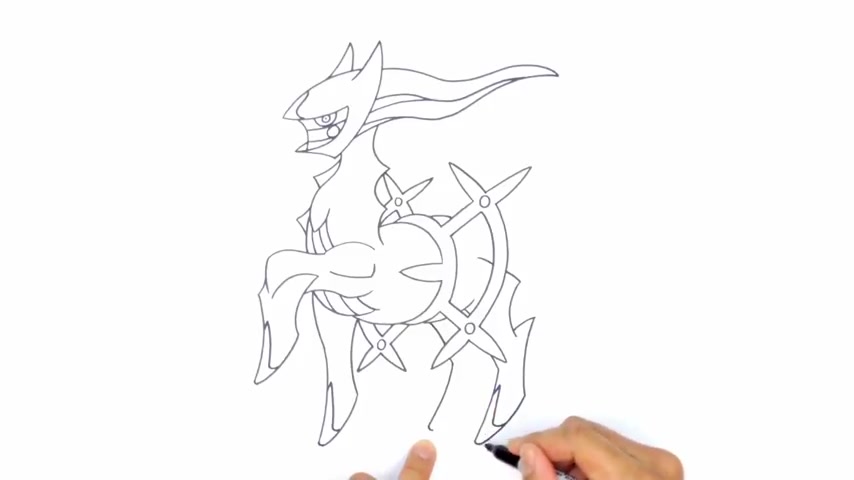
So we got the legs , let's get into this wheel .
So this is really tricky .
Let's , uh , see if you can follow this through .
So from here , I'm gonna draw a curve .
So this is gonna be the wheel , the actual wheel that goes around the body , but there's gonna be some stops along the way .
So I'm gonna draw the first spike that sticks out up here , the second one down here .
So on either side of the spike starting from the top curve around like this , I'm gonna go to the bottom and try to do the same thing .
So from here and curve around the opposite direction .
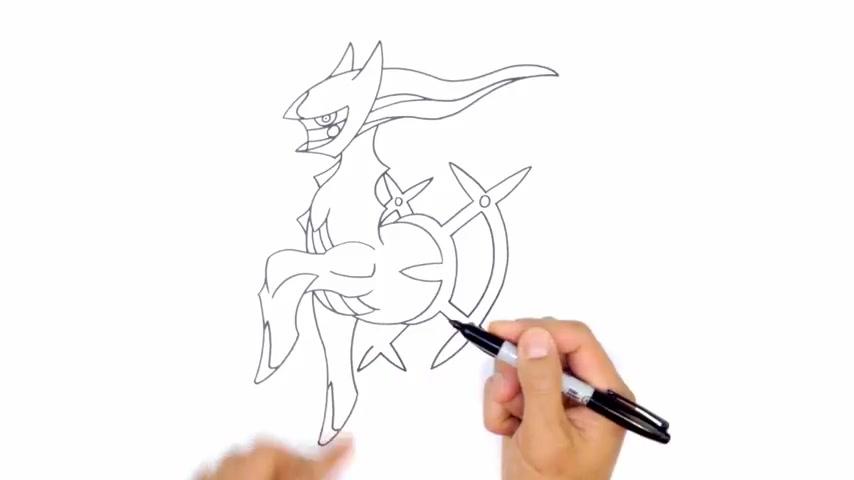
So from here , we're gonna draw some spices with the cross that sticks out .
So from this direction , I'm gonna go up in an angle from here , I'm gonna draw a similar thing to this .
So I'm gonna draw a curve going to a point and curving back in the opposite direction .
Now , from here , I can imagine this line continuing on in that direction there and then coming back , let's go ahead and draw the bottom one first because this is actually connected in .
So from here , I'm gonna draw that same angle line but backwards .
So going down and we're gonna come out to a point and then coming back from this line , I'm gonna extend it out to the point and then coming back .
Now from here , I'm gonna connect these two points together with a curve that sort of follows this curve starting at the top and curve around and then come down towards the bottom .
Now , all I need to do is just trace the inner negative space out .
So what that means is going up here and making this wheel area thicker .
It's like that and then coming down towards the belly on the top and the bottom and then again , just tracing out .
So I'm imagine this curve going all the way around the belly like that .
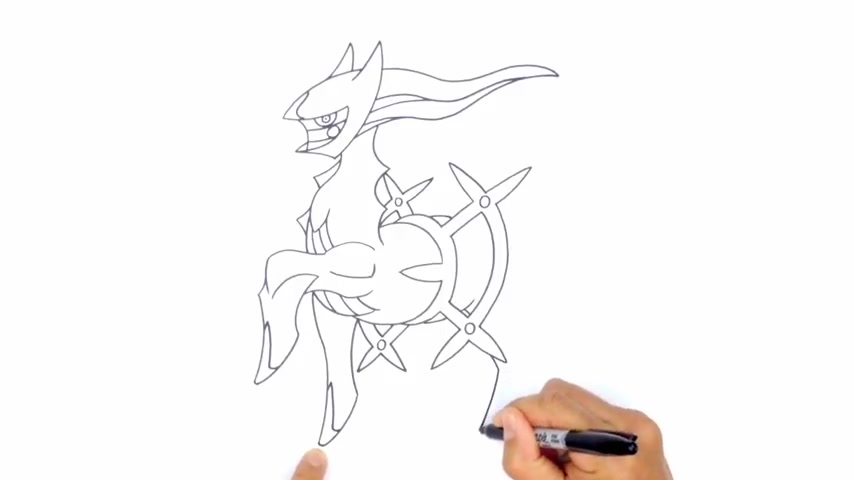
Ok , up here , I'm gonna draw a circle for the gem in between here .
We'll draw one here .
Now , I'm gonna have to draw the ones in the back .
So these , there's these little crosses that go in the back here .
So I'm just gonna draw one coming up from here that I'm gonna draw the first point and then going back .
Now I'm gonna draw this line going up this way .
So behind that neck area , the thorns coming back and then this one is gonna curve all the way around .
It's gonna , I imagine , I'm gonna imagine it going behind the body here .
So I'm just gonna go up and then just curve this around the body .
Let's go ahead and draw that gem .
Now , I'm gonna take that and flip it over on the bottom side .
So here I'm gonna draw the line going out .
Let's go up to a point here and going back .
I'm gonna go follow this line to a point and go back .
Now this is where the point connects with this side , but it's gonna go behind the body .
So I'm just gonna curve around , just let it sort of damage off behind the body up here .
I'll just come back and then complete that by sticking that underneath the body and then we'll draw that GM in the center .
Ok .
So we're halfway done .
Let's get to the back side of the leg .
So here I'm gonna have to draw the leg coming down on both sides , the front and back .
But here I'm gonna draw a little bit of the belly poking out from underneath and on top of the back behind that wheel .
But here we're gonna draw on this leg .
So let's imagine .
Actually , let's continue this line on and just kind of pull it up like that because I want a little bit of overlap here from here .
I'm gonna draw a curve going down and it's probably gonna disappear behind this wheel .
Continue on down here .
I wanna get the legs around the same length as the ones in the front from this point .
I'm gonna curve in the opposite direction to the toe .
I'm gonna round that out and pull that back .
Now , from here , I'm gonna go up in an in an angle that goes to a spike in the back of the heel from here , I'm gonna curve back .
So there's a little spike .
Now from here , I'm gonna pull this up into a point .
So there's another point up here and this disappears behind this wheel and then back into the hind area .
So curving back and we'll just bring that in like that .
Let's go ahead and draw on that toe details up here , angled line just like we did in the front , coming down in a curve and then pulling that back to the bottom of the foot .
Let's take that exact same thing and draw it in the back here .
So I'm gonna start with this top part of the leg up here , curbing behind that wheel and it'll probably come down just a bit more here .
Draw that front curve .
Now , I'm gonna draw the curve for the toe .
I'm gonna draw this curve going back up .
Now , this curve here , curves back up like that .
Now it's drawing this toe detail .
So I'm going up coming down with the curve and then rounding out .
So this the back part of the leg here , you're not probably gonna see not a lot going on back here because it's covered by this wheel .
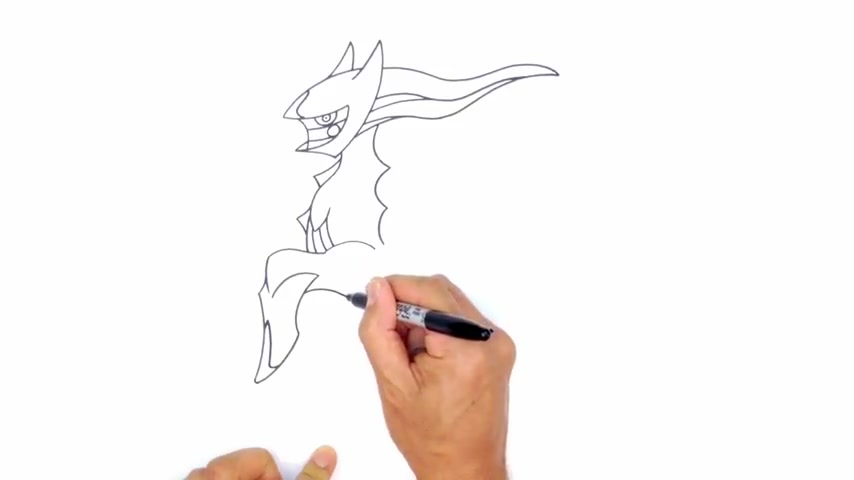
So I'm just gonna leave it like that for now , let's finish this off with the tail .
So this tail comes down up over behind this wheel .
I'm gonna bring this down here up and then down .
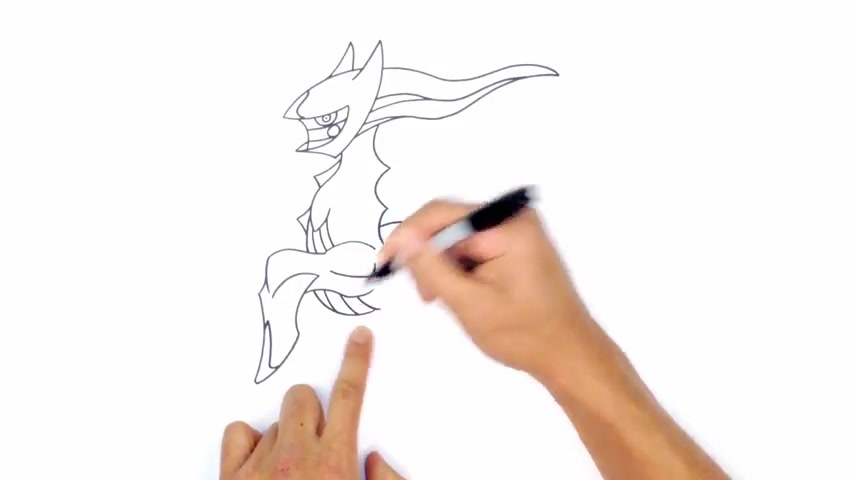
Now it's gonna taper out so it gets thicker and it's gonna tuck in behind this leg .
It's gonna curb out down , it's thicker and then just behind that wheel from this point , I'm gonna step in a little bit .
So there's a slight overlap going up behind the wheel down and then vanished off .
Vanishes off behind the edge of that tail .
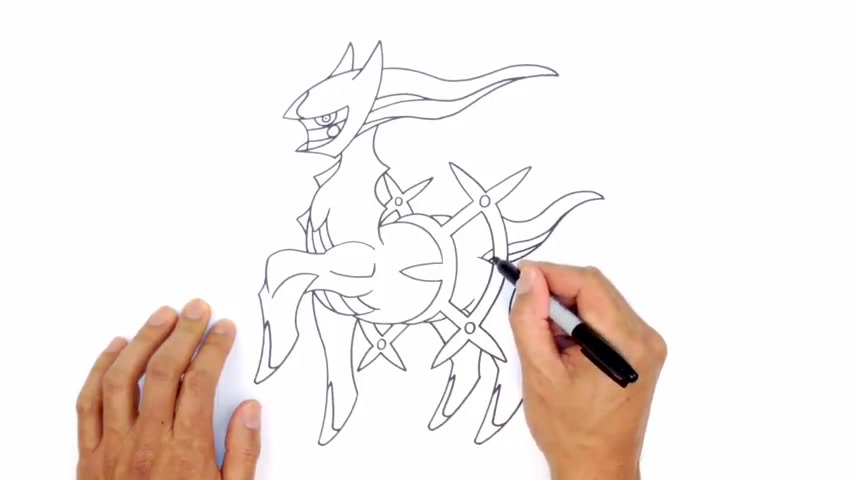
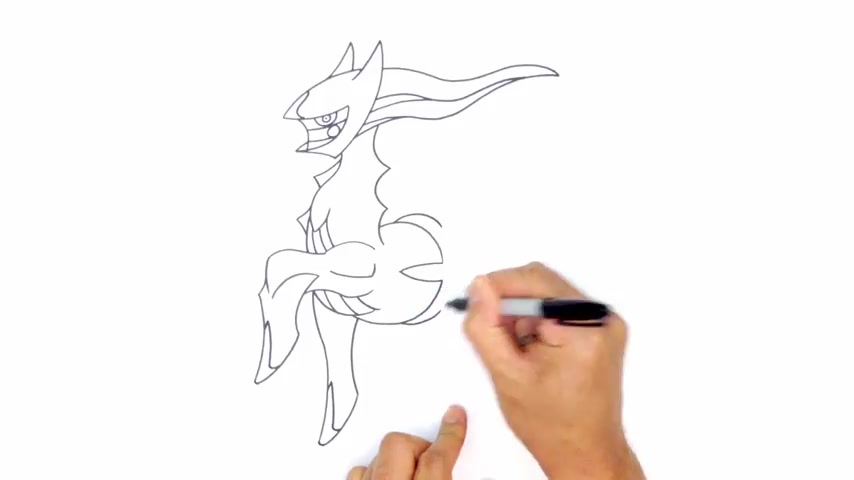
We're gonna draw one little curve like this one up here as well and that is pretty much it there .
We have it .
There's ac from Pokemon .
I hope you enjoyed this lesson .
Please give us a like and make sure you check out our Pokemon playlist .
I have a ton of characters in there .
I'll be adding more every week .
Thanks for watching and we'll see you again soon .
Are you looking for a way to reach a wider audience and get more views on your videos?
Our innovative video to text transcribing service can help you do just that.
We provide accurate transcriptions of your videos along with visual content that will help you attract new viewers and keep them engaged. Plus, our data analytics and ad campaign tools can help you monetize your content and maximize your revenue.
Let's partner up and take your video content to the next level!
Contact us today to learn more.