https://www.youtube.com/watch?v=-trD1s55UUE
How to Solve a Rubik's Cube Faster - Introduction to F2L
How to solve a Rubik's cube faster , advanced F two L techniques .
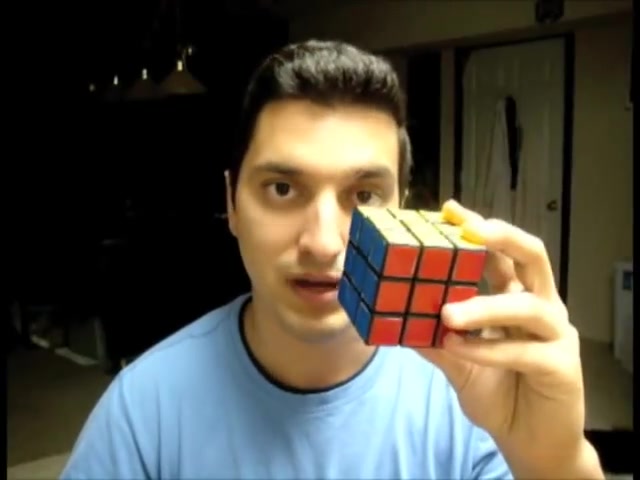
Hi everyone .
I'm Rob and welcome to my tutorial on how to solve a Rubik's cube faster .
Over the past year , I've received numerous requests for a tutorial outlining ways you can improve your solve times on the three by three cube .
There are several ways you can become faster and these improvements are broken down into two main categories .
Physical and mental , physical includes the quality and speed of the cube itself , lubricating your cube and using finger tricks instead of trying to turn each face with your entire hand memorization of various algorithms .
And also understanding how the cube works in general are some of the mental improvements you can make in this tutorial .
I would like to go through the techniques and algorithms for solving F two L or the first two layers .
This will involve methods for orienting positioning and joining the bottom corners and the middle edges together simultaneously .
Although it will take some time to train your brain to learn these new optimized moves , you will find that with practice , you should become faster at solving the cube .
I do highly recommend that you know , the beginner method and you can solve the cube in around a minute and a half or less before attempting these new advanced techniques .
The cross as you should already know is a relatively intuitive step before completing F two L .
If you're unsure of how to solve the cross , I recommend you first view my three by three beginner tutorial , we're going to consider the cross our starting point for this tutorial .
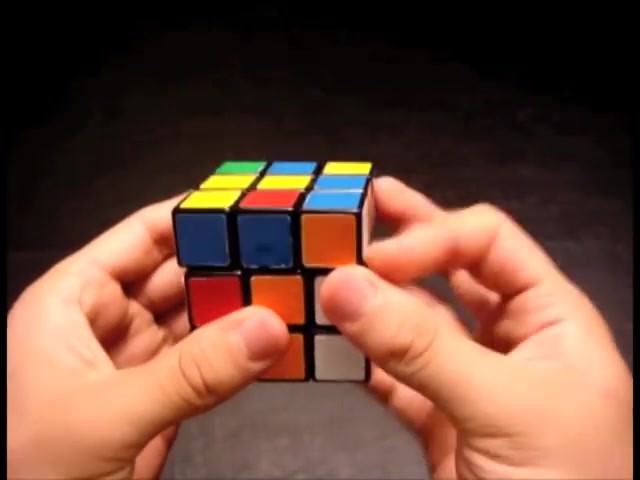
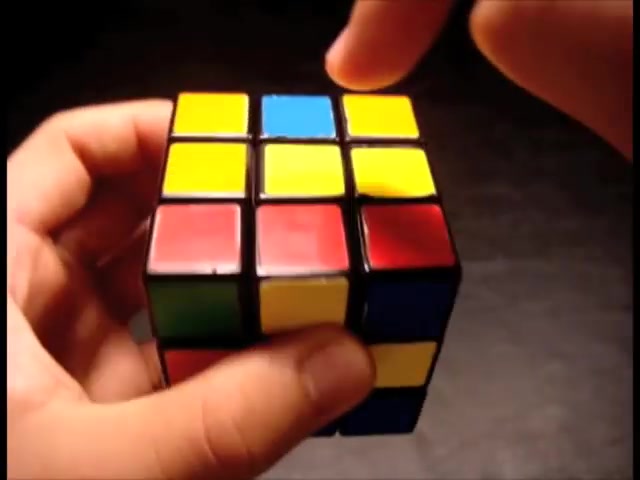
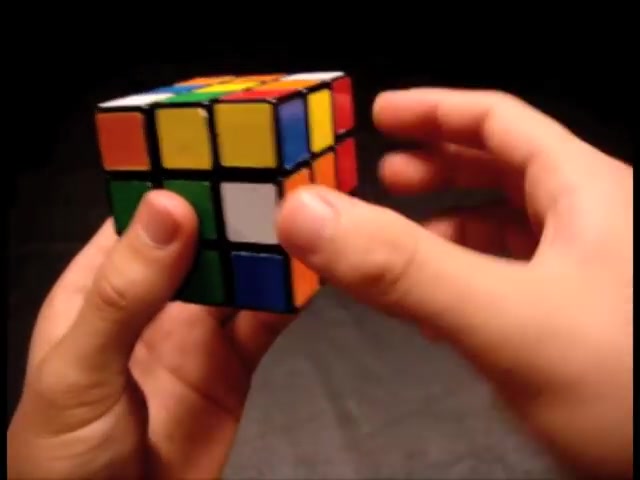
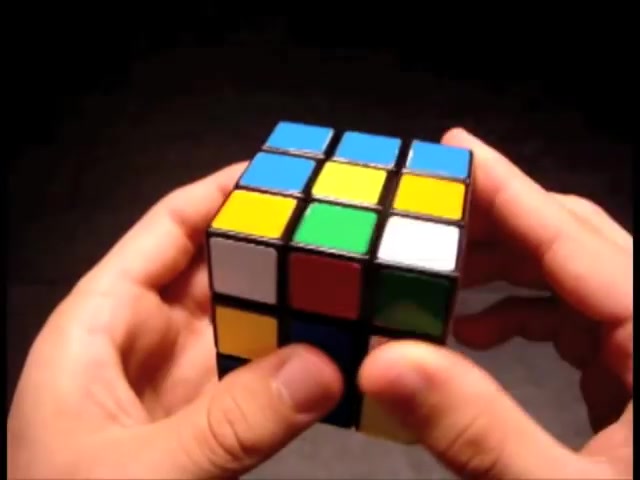
Please note I will be using the white side as my down face and the yellow side as my up face .
Each of the four white edges which make up this cross must be matched to both colors .
Before continuing with F two L .
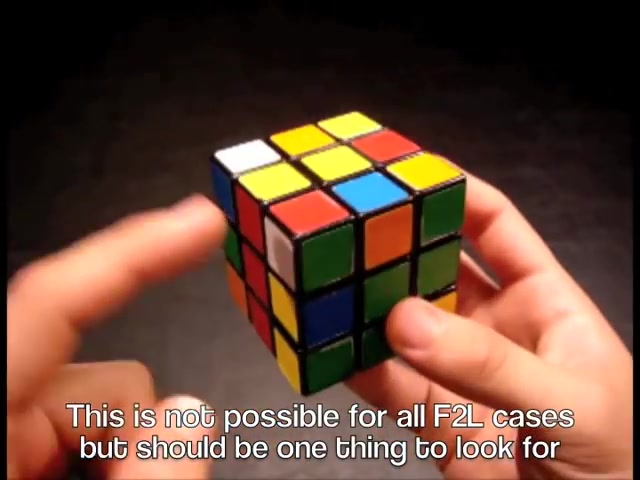
Once you've completed the bottom white cross , you'll notice there are various ways that the bottom white corners and the middle edges can be arranged on your cube , the corner and the edge might already be solved like it is here .
It doesn't happen very often .
But when it does , you can consider yourself lucky and move on a more common case that occurs is one where the corner and the edge are both in the top layer .
In this case , they are adjacent or directly next to each other , but they can both be in the top layer like this blue , orange white corner and the blue , orange edge and be separate .
Another case that might occur is one where the corner , the white corner is somewhere on the bottom layer .
In this case , it happens to be solved and the edge piece is not in place .
In this case , it is up here .
You might recognize this case from my beginner method where the corner is solved and the edge is on the top layer .
Another case that might occur is one where the middle edge is somewhere in the middle layer such as this one and the top corner is not placed .
So in this case , it happens to be up here .
As you can see , there are many different cases which I would like to outline in future tutorials .
The main focus of this video , however , will be the easier cases where the corner and the edge are both in the top layer and they are separate .
What we're doing in the beginner method is we first place the bottom white corners in these four positions and then we place the middle edge pieces , this wastes moves and time .
But it is easier for beginners to understand many of the rules for the beginner method such as corner placement do apply to F two L .
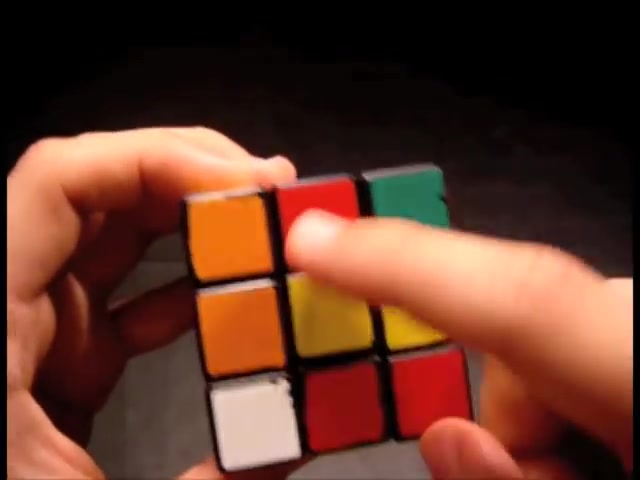
We want to get the white corners in the top layer just like this one and we want them to have white stickers on the side .
This one needs to be fixed before we place it down .
Once it has the white sticker on the side , you look at the other color on the side with it , which is green , match it up , up towards you , back down , do the same with this one .
Now , as you'll see , this one's on the right side has the white sticker facing the right , so you bring right clockwise or up top clockwise or towards you and right counterclockwise .
And what that does is it places those two pieces down now to fix a piece .
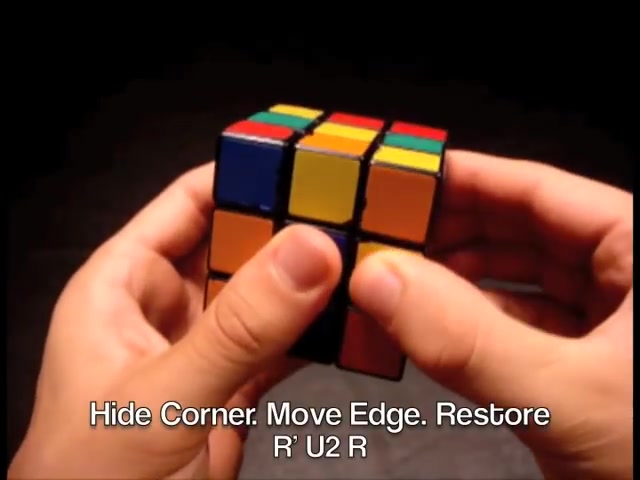
What I taught you in the beginner method was to put it above an empty spot and then do right clockwise up twice and right counterclockwise .
And that piece is fixed , but you don't have to always turn the top face twice .
In other words , you can turn this up like that .
Now you'll see that messes up the cross , you could turn it out of the way and bring it back down .
That's another way to fix a piece and then you can match it up , bring it up towards you back down , fix this one , put it above an empty spot and then you could do the same thing right twice .
Match it up and then you have that place .
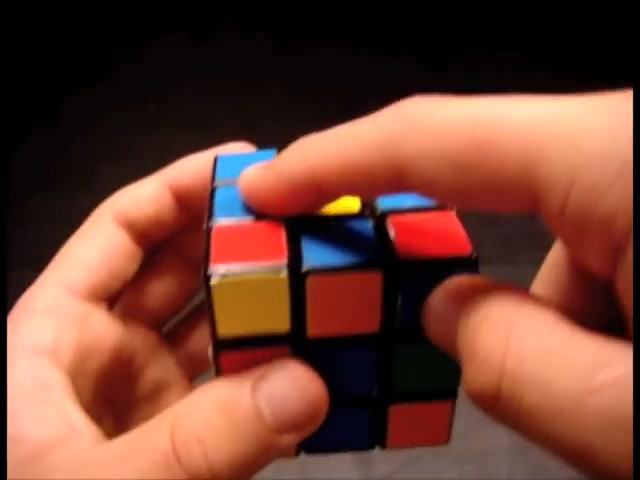
Now , what you might not realize when you bring this piece down here , you're also bringing the piece that's opposite it .
So when I place this corner piece down here , it's going to bring this piece with it , whatever color is on top of this piece is going to match up with whatever color is on the side of the corner piece .
Since I have orange on the side with the white sticker , orange will match up with this yellow sticker .
And as you'll see now , it's paired up with that edge .
So if you can get the blue orange piece to be opposite this corner piece here and then when you place it down , it will bring that corner along .
Ok .
So hopefully you understand a little bit more about what I'm going to teach you in this video for the cases .
I'm going to be going over .
We're already going to have the corner piece and the edge piece in the top layer .
So you don't have to worry about getting the corner piece to the top layer .
However , you are going to need to make sure that the white sticker is on the side like it is here .
Once you have the white sticker on the side , we look at the color on the side with white .
In this case , it is blue .
So we need to get the blue red edge piece across from this corner and we want the blue sticker of the edge to be on top .
This has the blue sticker on the side , this has the blue sticker on top .
Now , once it's like that , you can basically just put it down .
This is the simplest F two L case .
So we have the corner here , the edge there , lift it up , bring them both towards us and then bring it back down again , it's right clockwise up , clockwise right , counter clockwise .
Now , as I said , remember we have the corner piece across from the edge piece , but as you'll see this edge piece , it has the red sticker on top .
This is not the same as the other case .
I just showed you , we need to have the blue sticker on top .
So if you tried to match this up and put these two down , guess what ?
It's not gonna match up in this next F two L case , we have the red , white and blue corner so that the white sticker is on the side , the blue is on the side with white on the edge piece , the red blue edge piece we have blue on top .
So as you'll notice these two pieces are properly oriented , meaning this one has the blue sticker on the side , this one has the blue on top .
That's good .
It's just that they are not positioned correctly .
Meaning this edge piece needs to be over here if it wants to join up with this corner piece .
So if we can get this piece over here , we can then join them up by doing the simplest F two L case .
How do we do that ?
Well , we can do it to one of two ways .
We can either hide the edge piece and rotate the corner or we can hide the corner and rotate the edge piece .
I prefer to hide the corner and rotate the edge piece .
So what you do to hide the corner , you turn the right face counter clockwise .
When you do that , you have to make sure you're not lifting up any F two L cases that have been previously solved .
And we are so we don't wanna hide it right here .
If we hide it here , by turning this face clockwise , we can now hide it here .
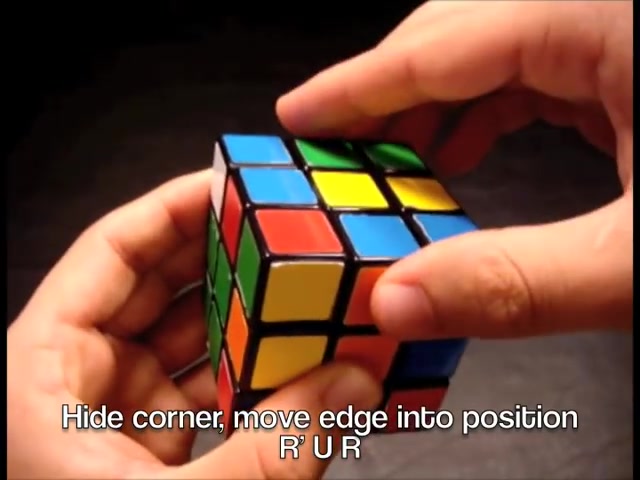
It will be lifting up these two pieces so it doesn't really matter .
So to hide it again , we turn the right face counterclockwise , we can now rotate this piece freely .
So we turn the up face clockwise to get it over there .
Now , since we messed up the cross , when we hit this piece , we then rotate the right face clockwise to bring it back up .
Now you'll see these pieces are positioned opposite each other .
So we can now use the simplest F two L case .
So we match up the blue sticker with the blue side , white is facing the right .
So we use right clockwise up clockwise and right counterclockwise .
All right .
In this case , I have the red , white and blue corner here .
The white sticker is on the up face .
So we're going to have to flip this corner in order to join it to the edge piece , the edge piece , the blue red edge piece has the blue sticker on the up face .
So for the corner , that means we want to get the blue sticker on the side with white we want to flip it like that .
However , you can't just do that because it messes up the bottom .
As you know , when you fix this piece , you need to get it above something that hasn't been solved .
So we're going to put it over here above this piece that has not been solved .
So when we flip it , it's basically going to come out something like this , which is the simplest F two L case as I showed you before to flip it , what we do is we turn the right face , this is the right face , the front face and the up face , turn the right face clockwise to flip it .
Then we turn the up face counter clockwise to get these two pieces out of the way .
And then we turn the right face counter clockwise to fix the cross .
Now that these two pieces are oriented and positioned correctly , what we do on the side of this corner piece , we have the blue sticker .
So we match it up just like in the beginner method .
Match it up .
And then when you bring this piece , this corner piece down , it's going to bring down the edge piece also .
So to match it and bring it down right clockwise , up clockwise and right counter clockwise .
And there you go , you have now joined those two pieces together in the bottom layers .
In this case , we again have the red , white and blue corner so that it has the white sticker on the top face and the blue and red edge is over here and it has the blue on the top .
So you might think that this is similar to the last case where we could just kind of flip the piece in order to get it across from this one .
But you can't really do that .
In this case , if you flip it over here , it will have blue on the side with white .
However , it's next to the piece and that's no good .
If you flip it counterclockwise over here , it will have red on the side with white and you know that you can't join up red with blue as I showed you before .
So what we're going to have to do in this case is a new technique and that's going to be hiding the edge piece in the middle layer so that we can rotate this corner piece around and join it up with it .
Now , when you're looking at this corner piece , you'll see that red is on the left and blue is on the right .
So when you hide this piece by twisting it either counterclockwise or clockwise , you have to make sure it has the same color arrangement red on the left , blue on the right .
If you flip it this way , it has blue on the left and red on the right , that's not the same .
So when you go to rotate this piece around , it won't join So we need to actually rotate this piece clockwise .
When you do that , you mess up this F two L pair , you can't do that .
So what you do is you just rotate the top face until you have an empty spot in front of this edge piece .
So now you can rotate this piece clockwise .
Now , looking at this piece , you'll see red is on the left and blue is on the right .
So let me just go back .
I have them set up like that .
I have an empty spot .
I rotate the piece clockwise .
Now when you rotate the piece around , look at that , it joins up with it .
However , when you hid the piece , you messed up the cross .
So now we have to fix it by turning this face counterclockwise .
And now we have these two pieces joined in the top face .
Now to put them down into their correct spot , you're going to look at the color that's on the side with white .
In this case , it's red .
So we're going to be lifting the red face and you wanna lift it towards the blue face .
Now , when I say lift it towards , I'm talking about the white sticker on the bottom .
So here's the red face , we wanna lift , lift the white stickers towards the blue face just like that .
So we're going to turn this face clockwise just like that , that way when you rotate this around , it will join up with this cross piece and then we could just put everything down these next two cases that I'm going to show you are solved in pretty much the same exact way .
They only differ because of the position of this edge piece here .
As you'll see on the side of the corner piece , we have blue and white on the edge piece , we have blue on the side and red on top .
OK .
So what do we need to do in order to join these two pieces ?
Well , as I showed you , when I showed you the simplest F two L case , when you could just bring this down .
If blue is on the side , then you want blue on top of the edge piece , but this has red .
So as I showed you before , if you try to bring this down , the edge piece would be flipped .
OK ?
So they both have the same orientation .
The edge piece has red on top .
And so does the corner piece blue on the side .
So does the corner piece , what does that mean ?
It means that if you hid this corner piece down in the bottom layer , you turned the edge piece all the way around into this position and then you brought the corner piece back , you could join the two pieces up .
All right .
So let's hide this corner piece .
When you hide a corner piece , you turn it down by turning the right face counterclockwise and you're going to be lifting up anything that's in this position here .
So right face , counterclockwise , turn the up face twice .
And now you'll see that edge piece is positioned here .
And when we fix the cross and bring this edge , the corner piece back up by turning the right face clockwise , you'll see these two pieces have now joined up .
So let's do the same exact thing with the other one .
OK .
Since the edge piece is over here , when we bring this down , make sure there's nothing here in this position , bring it down , turn this edge piece into this position .
We don't need to turn twice this time and then we bring the corner piece back up .
All right .
So that's pretty simple .
Now , all we need to do is to put these two pieces down in their proper location .
OK ?
So you guys should know by now how to put these two pieces that are already joined in the top layer down into their proper position .
Whatever color is on the side of these two pieces that is the face , you will be lifting and you're going to be lifting it towards whatever color is on top , lifting a blue side towards the red face , blue side , towards the red face .
When you do that though , you'll split up these two pieces .
So just make sure they're out of the way on the side over here .
OK ?
So now you could lift the blue side towards the red side by uh taking this white piece and putting it towards the red side .
Now you could flip this around , join it and then bring it back down , do the same thing for the other one .
So we need to lift the blue towards the red .
So this needs to be out of the way .
Now you could do it , lift it up , join it and then bring it back down .
I hope that you all enjoyed this tutorial where I covered some of the most basic F two L cases in which the corner and the edge are separated on the top layer .
We learned about the simplest F two L case , which is always nice to get , we can kind of just bring those two pieces down .
We also learned about hiding corner pieces so that we can position the edge piece and then we could bring the two pieces down together .
You might also have to hide the edge piece in order to join the corner to it .
And then we could position these two pieces in the correct spot whenever you have two pieces which have the same color on the side and the same color on top , we can hide the corner , flip around the edge , join them and then we can place them down .
These new techniques should help you better understand the methods for placing corners and edges down together and allow you to become faster with practice .
Keep in mind my F two L cases were involving the right face , but you may get a mirror image of any of the situations I covered .
Please let me know what you thought of the tutorial by leaving a comment and rating this video .
And if you enjoy this video , please subscribe .
So you'll be notified when I release future videos .
Thank you very much for watching .
Are you looking for a way to reach a wider audience and get more views on your videos?
Our innovative video to text transcribing service can help you do just that.
We provide accurate transcriptions of your videos along with visual content that will help you attract new viewers and keep them engaged. Plus, our data analytics and ad campaign tools can help you monetize your content and maximize your revenue.
Let's partner up and take your video content to the next level!
Contact us today to learn more.