https://www.youtube.com/watch?v=MEfGUDjIAX8
How to Draw Mr.Bean _ Drawing Lesson
Hey , everyone and welcome to the club today .
I'll be showing you how to draw Mr Bean .
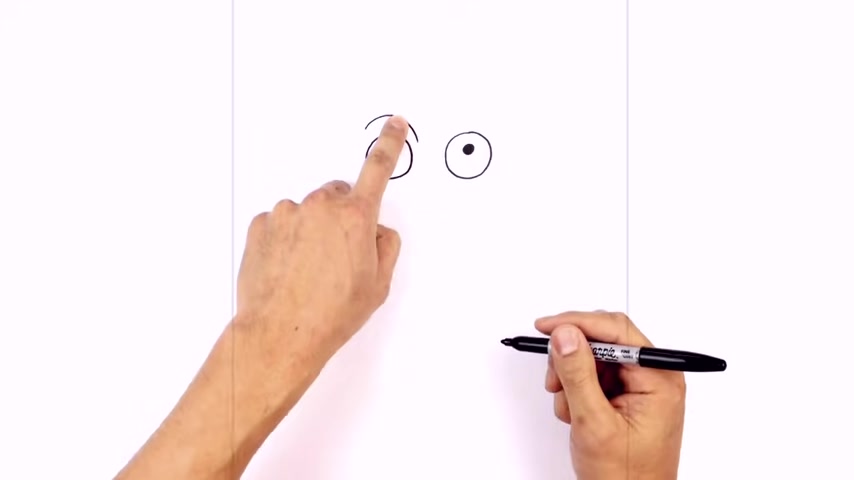
Let's get started with the eyes and I start on the left side by drawing a circle , starting from the top .
We'll work our way down towards the bottom and then back up towards the top .
We're gonna leave a gap in the sand and draw the same thing on the right side .
So lining up the top , come around to the bottom and then back up towards the top .
Let's add in the pupil .
So I'm gonna step up from the center and draw in a little circle .
I'm gonna color that in black .
Let's do the same thing on the right .
So in the middle , we're gonna step up a little bit and draw in a circle .
And then again , we're gonna color that in black .
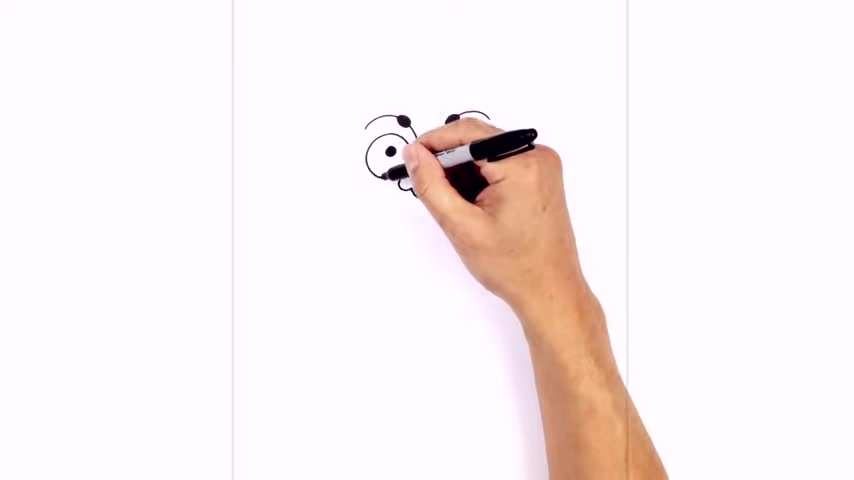
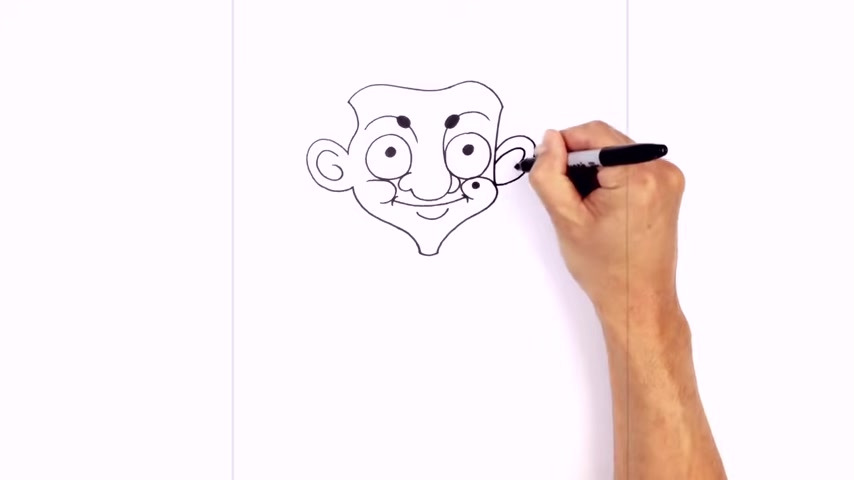
Let's draw the eyebrow on the left side .
So just above the eye , we draw a curve that goes up and in , starting on the top , we go up , then we'll pull that down in the center .
Now , up here , there's a little oval .
So I'm gonna start on the end of the line here curving around and pulling that back up to the top .
We're gonna color that in black .
Let's do the same thing on the right side , but we're gonna tuck this in on the edge of the eye here .
So we're gonna curve up and then out , starting in the center of the eye curving up to the same height and then curving it out .
We'll draw that same oval on the top here , starting from the edge of the line here , curving around and then back up .
We'll color that in black .
We're gonna take this line and continue down towards the tip of the nose .
So right here , we're gonna curve in the opposite direction and come up .
So right here , we're gonna round out the tip of the nose , come down towards the bottom , then up towards the left side , we're gonna take this point and draw the nostril .
So we draw like ac shape that comes up just underneath the eye .
Let's draw the nostril on the right side .
So right in here , we can draw a reverse C just tucked in behind the tip of the nodes .
Let's go ahead and add in some cheeks .
So just underneath the left eye , I'm gonna start on the side here , we're gonna curve around underneath the eye and then pull it back around .
So right here , we're gonna curve underneath the eye and then just curl it back towards the left .
We do the same thing on the right side .
So just down here , we're gonna curve around the side of the nostril underneath the eye and then out to the cheek .
So right here , we're gonna curve around underneath the eye and then out towards the side , we're gonna take this line and pull it back in underneath the chin down towards the neck , which will locate right about here .
So we take this line , continue around and then we'll pull it downwards towards the neck .
Now , right in here , we're gonna add the mouth .
So on either side here , we're gonna draw a little bracket just touching the sides of the cheek on either side .
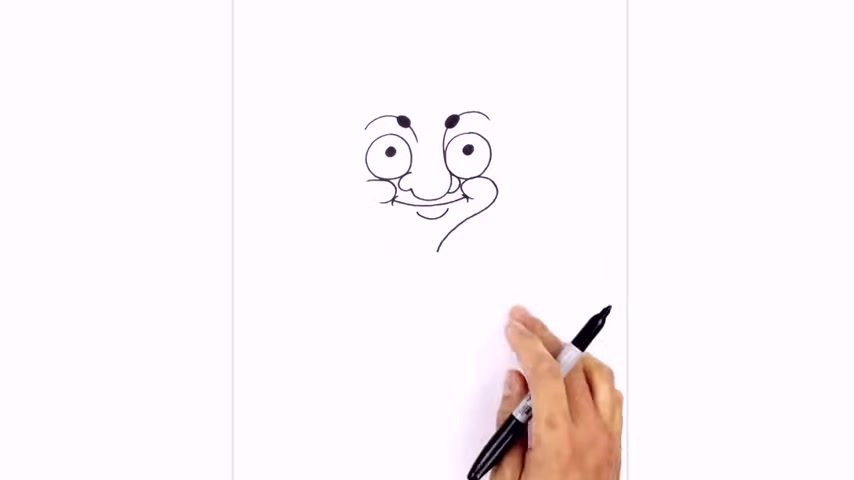
Now , we connect the centers with a curve for the mouth starting on the left curve underneath the nose , then up on the right side , just down below the mouth , we're gonna draw the lip .
So we're just drawing a curve from left to right , going down and then back up on the right cheek .
You're gonna have a little mole and draw a little circle and we'll color that in black .
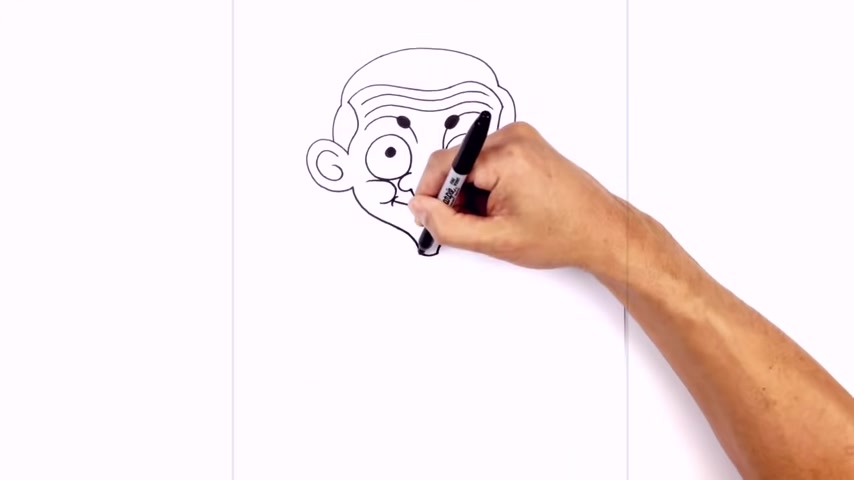
Let's go back over to the left side and draw on the side of the head here .
So we're gonna start just on the side of the cheek right here and curve in and now we're gonna pull it down towards the neck and leaving a narrow space in between here .
We're gonna connect those two points with a curve for the color .
Let's go ahead and add in the big ear on this side .
So from this point , we're gonna step up , we draw a curve going out and then just pulling it in towards the bottom of the ear lobe .
So right up here , I'm gonna go up and out curl around and we'll just tuck that in towards that point .
There , we draw a little swirl for the inner ear detail .

So stepping down from here , curl around and then right in here , we're just gonna pull this back in , let's work our way around the hairline .
So from this point , we're just gonna draw a little wave , we're gonna go up to the right and we'll pull that back in towards the left .
Now we're gonna draw the hairline going across towards the right .
So we're gonna draw a little wave .
We're gonna go up down in the middle , up again on the right and then down .
So starting on the left , we'll go up , come down in the middle .
Now we're gonna go back up and then come back down on the side of the head from here .
We wanna draw the profile edge of the head .
So we're gonna draw a curve that goes just beside the eye down towards the cheek .
Starting up here , we're gonna curve down and then right in towards the cheek .
Now let's take this ear and flip it over on the right .
So we'll line up the inside curbing out and up towards the right and we'll curl that back in towards the side of the head .
We're gonna draw a little swirled in here as well .
So we're gonna step down just on the side of the head curving around and we'll just swirl it back in like that .
Now , let's go ahead and draw on the outside of the hair .
So just above the ear here , we're gonna draw a curve that goes in towards this part here , but we're gonna leave a little gap curby in .
We're gonna curve the top of the head and come down on the side here .
So from this point , we're gonna go up just along the center gets a little bit wider and we're just gonna pull it down to right about there .
Now , I'm gonna curl around this point and then down towards the ear on top here , it's curving around and just pull that in behind the ear .
Let's add some wrinkles in the forehead .
So we're gonna follow this curve twice on the inside in this space right here .
Starting above the eyebrow .
We go up down the middle , up over the eyebrow and then down again , we draw that again just above it right here .
We're gonna go up , down , up and then down .
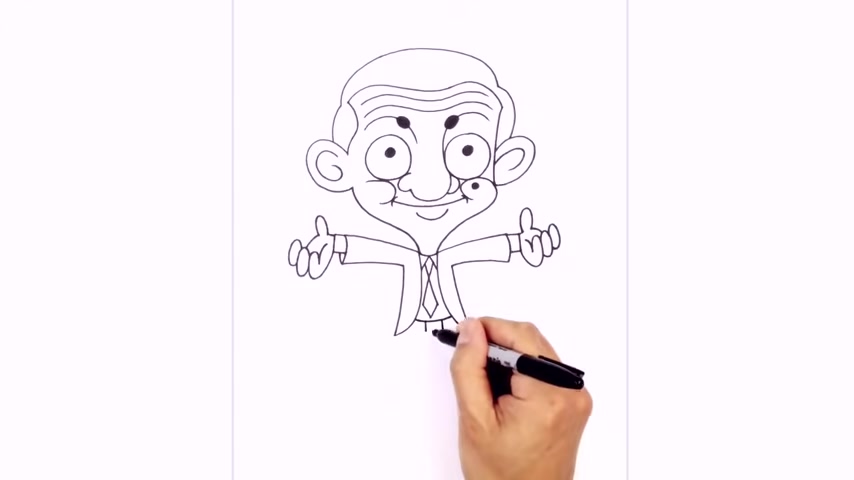
Now that we've got the head , let's work our way down the body .
I'm gonna have the arm stretched outwards .
So we start with the top part of the arm first .
So from the corner of this neck here , we're gonna curve out , curving up and out towards the left .
We do the same thing on the right , taking this point of the neck curving up and out towards the right .
Let's go ahead and add in the cuffs of the sleeve .
So from this point , I wanna curve in towards the right and then back towards the left , we do that same curve on the right side , curving out towards the right and then back down , we take these points curve in towards the body .
So this point , I'm gonna make the arms go narrower as it comes in towards the body coming in to right above there .
We'll do the same thing on the right curving in to right there .
We're gonna add the inside edge of the jacket .
So from the corner of the neck here , we're gonna curve down and out towards the left , curving down and then we'll just swop it out towards the left , we'll do the opposite on the right side .
So from this corner of the neck curve down and out towards the right , we're gonna connect these points to the bottoms of the arm .
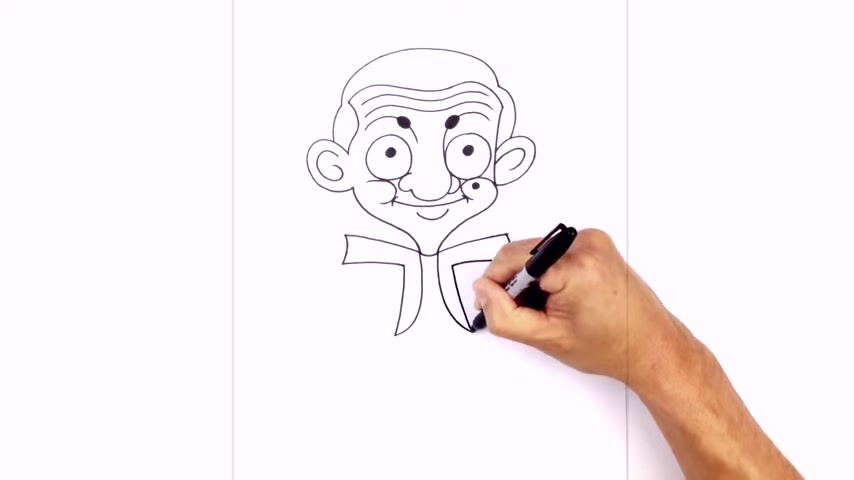
Starting on the left side , we're just gonna curve down towards the bottom of the jacket and do the same thing on the right side .
Let's add the color and the neck tie .
So right here in the center , we're gonna angle down and out towards the left down and out towards the right and to make a simple neck tie .
We're gonna step about halfway along this line and angle down and across , do the same thing on the right .
So starting up here , angle down and across .
Now we connect those two points with a V along the bottom just like that .
Let's go back to the left side and add the hands .
So I'm gonna start with the cuff of the shirt first .
So from this point , we're just gonna straighten out with a straight line , come down with a straight line and then we're gonna come back in towards the cuff .
Now , at this point here , which one curve in the opposite direction just in behind the shirt sleeve , let's go ahead and add in the hand .
So I'm gonna have the fingers sort of rolled up like this .
So we start at the bottom of the sleeve come down , curve up and then we're just gonna pull that down .
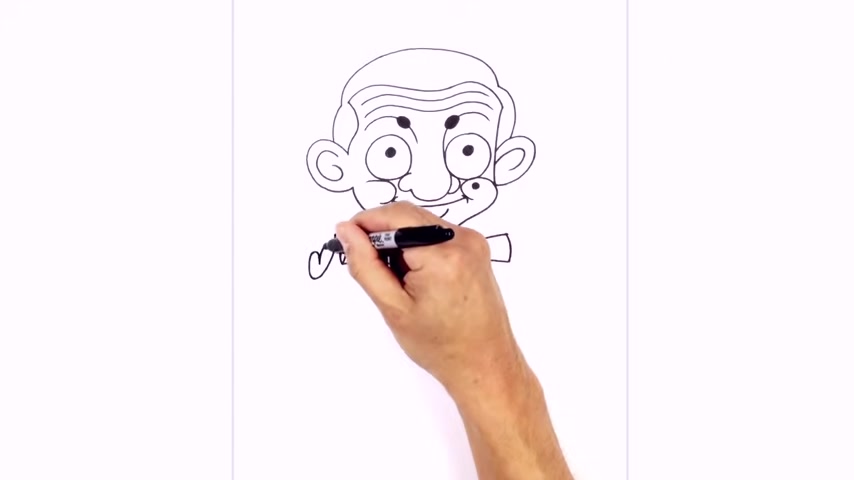
We're gonna add the palm of the hand .
So right here , we're gonna curve up and aim towards this cuff right there .
Let's add in there , the fingers in this way , starting about halfway down this finger .
I'm gonna curve down up and then just pull that in behind .
We draw another one right here .
It's almost like an oval coming down up and then down .
Now for the back side of the hand , we're gonna start at the top of this finger curving up , we're gonna add the thumb .
So from here we're gonna go up and come down and we're gonna pull that straight in towards the cuff sleeve .
Let's do the same thing on the right side .
We're gonna flip this over .
Starting at the top here .
We're gonna draw a straight line going out .
We're gonna draw a straight line coming down and I'm gonna pull that in behind the sleeve .
Now , we can add in the fingers .
So from this corner , I'm gonna come down and he got up and they're just gonna pull that down and we'll add the palm .
So we're just gonna curve in towards the sleeve .
Now , we're layering the fingers this way , starting about halfway down .
This finger curving around almost like an oval and pull that in behind .
We'll do that one more time curving around and then up now , about halfway along this finger , gonna curve back towards the thumb .
We're gonna draw that little oval shape coming around for the thumb and we'll pull that straight in towards the sleeve .
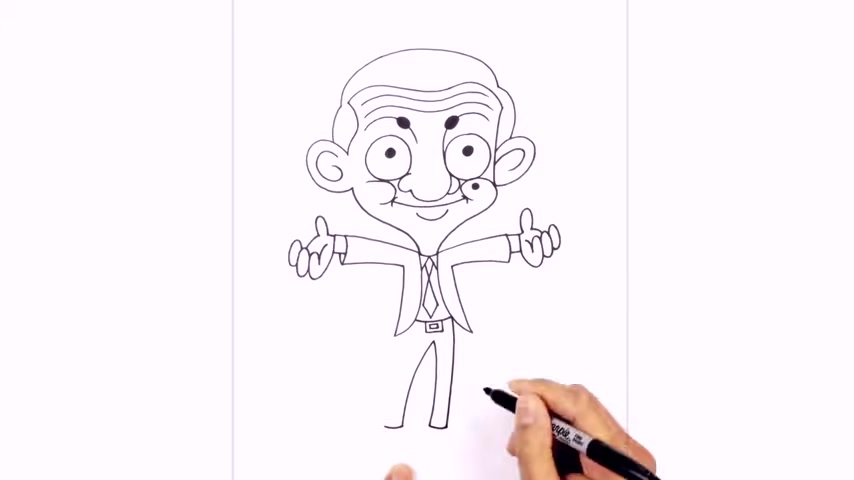
Let's go back to the center of the body right underneath the neck tie .
I'm gonna draw a curve for the top edge of the pan and then we're gonna add a little buckle here .
So in the center , we're gonna step over towards the left , draw a straight line over towards the right , we'll draw a straight line and we'll connect the bottom with a straight line going across .
And I just want to outline the inside with a little rectangle like that .
Now , let's draw the legs .
So just below the buckle , we're gonna draw a point like this .
This is the inside part of the legs .
So from here , I'm gonna curve down and out towards the left .
Now I'm gonna angle the legs this way slightly .
So from this point , I'm gonna curve down and just pull it down to the same height as we have on the left , we're gonna round up the bottom of the pan .
So a little curve going along both sides .
Now , for this point , I just want to pull it up towards this point of the belt curving down like that , we'll do the same curve going around this way .
So underneath this jacket here curve down and then out , let's add in the feet .
So from this point , from this point of the pant , we're gonna step down and draw a little point , we want to draw a little swirl that goes down to the tip of the toe and then back up .
So we go out and then curl and pull that back up .
Now , here for the heel , we're gonna draw a little triangle coming down and then down towards the right .
We'll connect it along the bottom .
Let's color those two in black do the same thing with the heel .
Now , we're gonna take that shoe and flip it over on the side .
So just below the inside of the leg , we're gonna step down and draw a point and I'm gonna curve down to the toe , round it out and back up again , coming down and out , rounding it out and pulling it up from that same starting point .
We're gonna angle down toward the left angle , down and out toward the right , connecting the bottoms .
And I'm gonna color those two shapes in black and the same thing with the foot .
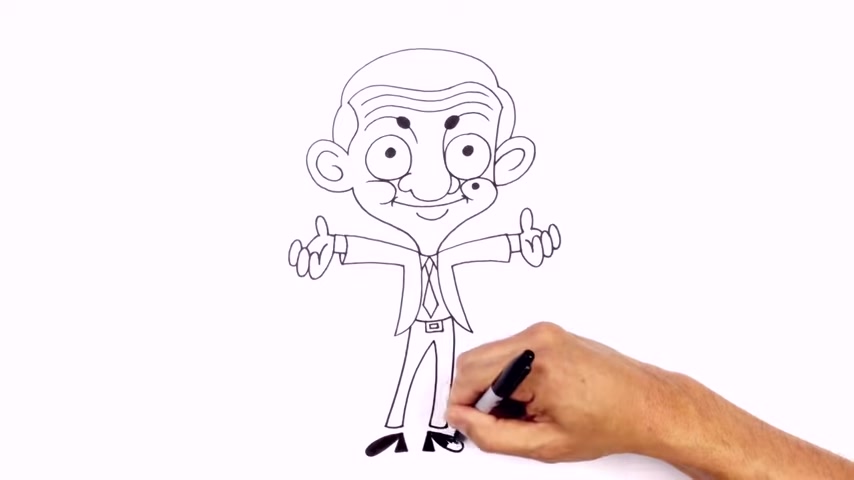
One final thing I wanna add is the elbow patch .
So just at the bottom of this arm here under a half circle , we'll do the same thing on the right side going up and then down and that's pretty much it there .
We have it .
There's Mr Dean , I hope you enjoyed this lesson .
Make sure you subscribe and send us your request in the comments below .
Thanks for watching and we'll see you again soon .
Are you looking for a way to reach a wider audience and get more views on your videos?
Our innovative video to text transcribing service can help you do just that.
We provide accurate transcriptions of your videos along with visual content that will help you attract new viewers and keep them engaged. Plus, our data analytics and ad campaign tools can help you monetize your content and maximize your revenue.
Let's partner up and take your video content to the next level!
Contact us today to learn more.