https://www.youtube.com/watch?v=sEQNC0s1NTg
Easiest Way on How to solve a 3x3x3 Rubik's Cube
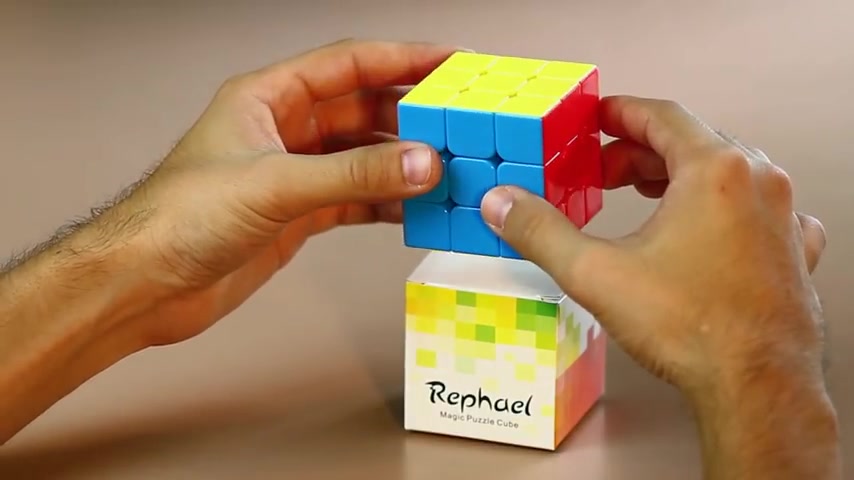
In this video , I'm going to show you how to solve the three by three puzzle cube in more of an intermediate way than I did in my first video , which is based more for people who weren't really familiar with the cube .
I'll be showing you how to solve the 1st and 2nd layers at the same time , also known as F two L and the cube that I'm using here is the sticker Raphael Magic Puzzle cube .
It's made of eco-friendly material and is available for purchase on Amazon .
And just briefly , I want to go over some important details about the cube on most cubes , including the one that I'm using .
The opposite of yellow is and always will be white and the opposite of blue is green and then the opposite of orange is red .
And now for the pieces , these are the corner pieces , they'll always be a corner piece .
And then here are the edge pieces .
They'll also always be an edge piece and then just the same the centerpiece , it'll always be a centerpiece no matter which way that you rotate the cube .
And then while I do my rotations throughout this video I will refer to this as turning the right side clockwise .
And then this would be counterclockwise , the upside would be clockwise and this would be counterclockwise , the front side clockwise and then counterclockwise .
Then here we have the down side , the left side and then lastly the back side .
All right .
Now let's go ahead and get started in this video .
I'm going to solve the cube with a yellow layer facing up which will make the white layer on the bottom .
And since I like the color blue , I usually start with the blue layer facing me , which will make the orange to the left and red to the right .
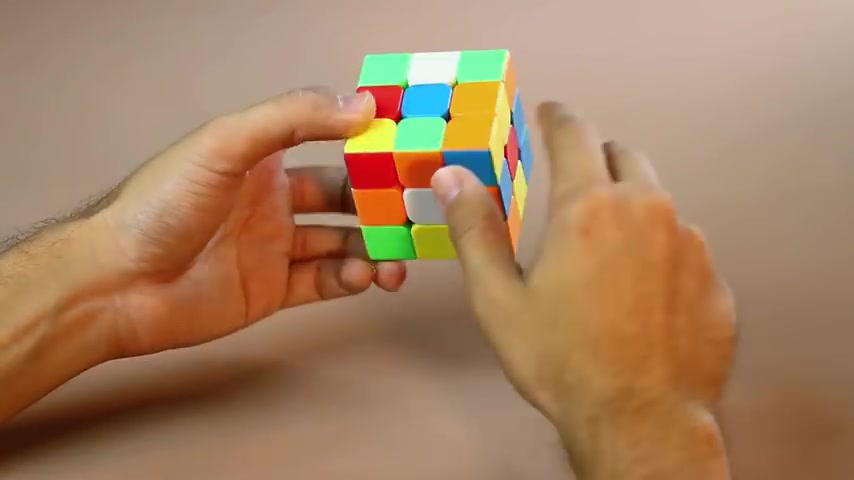
And to solve the white cross on the bottom , we need to get the four white edge pieces down here to where they match up with their same center color piece .
For instance , this uh white edge piece with the blue on the side needs to go on the blue bottom right here to to be part of the white cross .
So since this piece needs to go here , let's go ahead and move that over and then rotate 100 and 80 degrees .
And now this white piece is in the correct spot to start off the cross .
Uh So here's another piece right here and it has red on it .
So white and red and the red is on the right side of the blue .
So go ahead and move this top layer counterclockwise now to get this piece right here .
Let's go ahead and rotate this front side clockwise .
And since we mess up the blue , we'll have to fix here in a second .
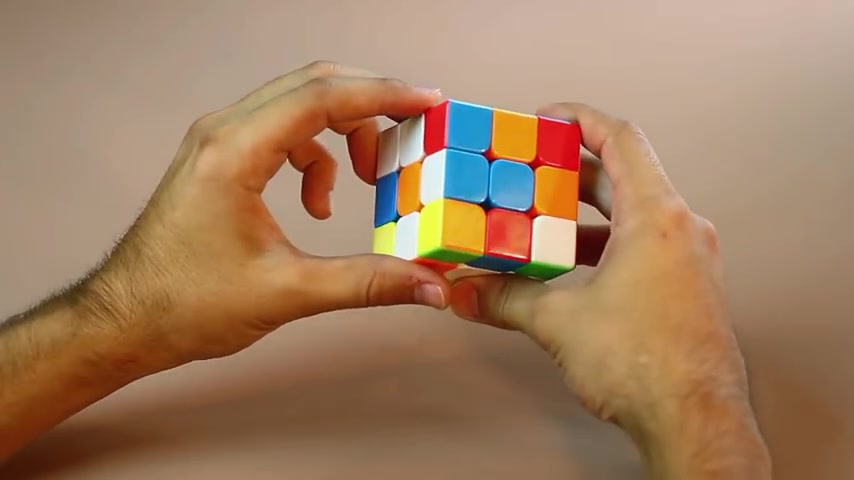
But let's go ahead and move this right down to where it's in position .
And then we'll move this front , front blue piece back down to where it was just so we can get the , the cross .
All right .
So here's another piece here is green and white .
And since green is opposite of blue , we know that this green piece needs to go right here .
So to get this piece down here , let's go ahead and rotate this left side and then rotate the back to where it goes down .
And now we have uh the cross almost complete and then one more piece left here's is orange right here .
This needs to go right here because it's on the orange side .
So what we need to do is move this front clockwise , move it over to where it's above where it's supposed to go .
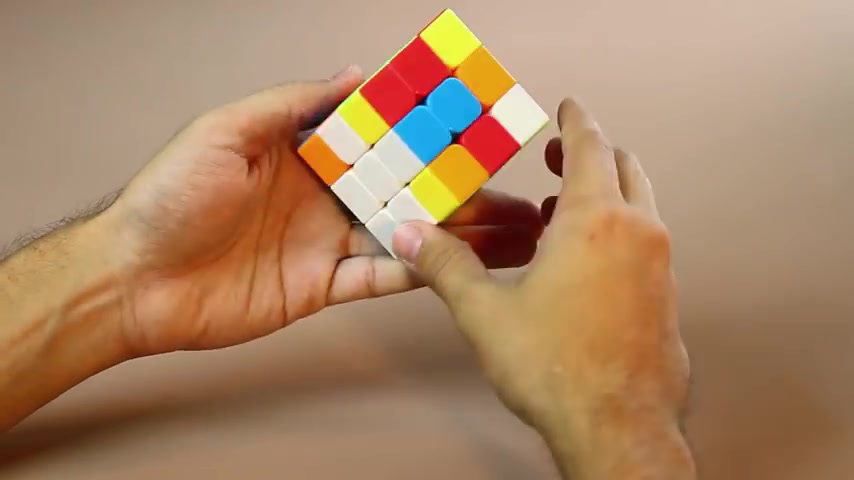
But let's go ahead before we do that , move this uh blue and white and back down to where it's supposed to go because we don't want to lose that position and then rotate this left side 100 and 80 degrees uh to complete the white cross and to know that it's completed , we'll see that the colors match up um orange , orange and the blue , blue with the white cross on the bottom there are 41 cases to solve for the F two L which can be either memorized or by using your intuition .
Here , I'm going to show you the easiest way I learn this method by using five of those 41 cases .
Once you get more familiar with the cube , you'll be able to use this method to solve the cube in more of a record time .
Now , with the yellow side still facing up , we need to find one of these edge pieces that doesn't have any yellow in it .
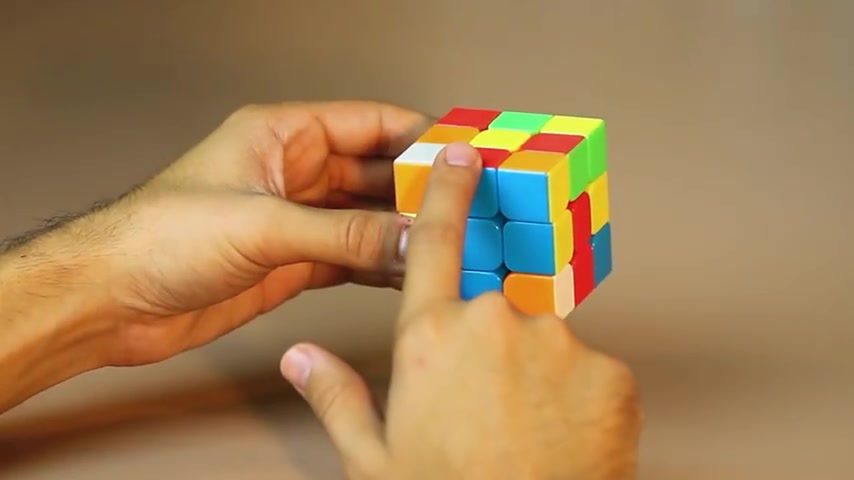
And since this one doesn't have any yellow on it , let's go ahead and solve this one first .
Uh Since here is blue and red , the blue is facing us .
Let's go ahead and move it to the blue side as you can see here .
And now we need to figure out where this edge piece needs to go either here or here .
Uh Since red is on top and red is right here , we know that this piece needs to go right here .
So let's go ahead and move this front side into position where this edge piece goes .
And once we do that , you'll realize that we screwed up the cross down here and we'll need to fix that .
So what we need to do is just move this piece out of the way by moving it down into the bottom layer and then we'll rotate this front layer back up so that we'll fix this part of the cross .
And now we can move this um edge piece back up into place .
As you can see , we have the cross back to how it's supposed to be .
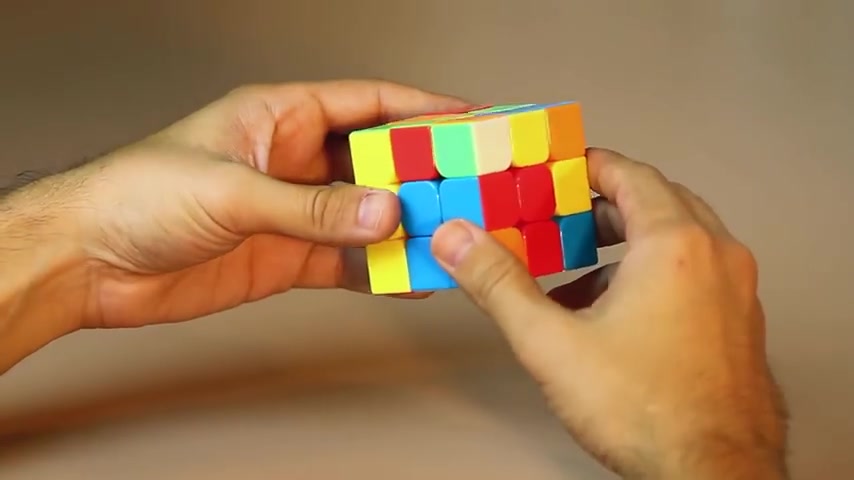
And this edge piece is in the correct position as well after we get the edge piece in position , and we need to find the white corner piece that it goes with .
So the white piece with the blue and the red in it .
Um So that piece is here on the bottom .
So when the piece is here in the bottom , we just rotate that side up and then move it out of its way .
So it's on this side now and now we can fix our cross again since we messed that up .
So move this right side back down so that we fix the cross and then the white piece , we could just move it back to over here .
And the white piece needs to go above uh where it's supposed to go initially .
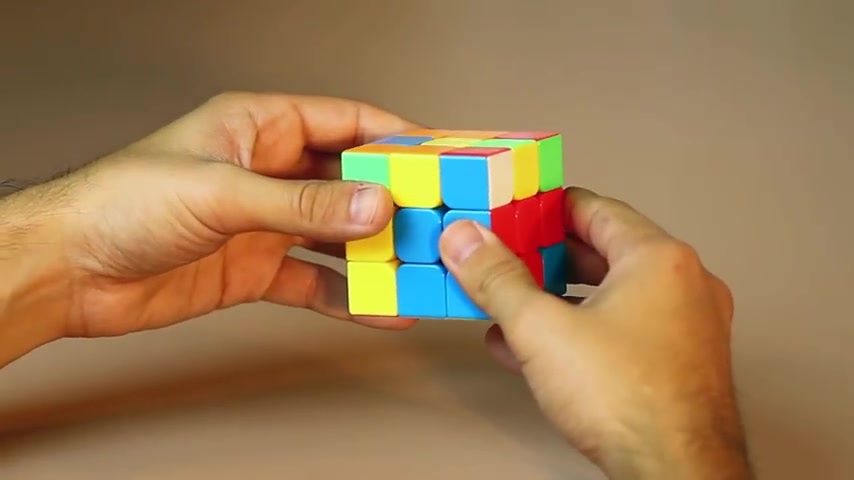
So now with the white piece in the top layer , uh with the blue and red , when the white is facing to the right , we need to perform this algorithm uh take the two bottom layers right here at the same time and you're gonna move it counterclockwise and then the right side counterclockwise as well .
Oh Right up two times , right counterclockwise .
Uh And then right , and as you can see that will put these two pieces in this in the correct position .
Now , let's go ahead and find another piece with no yellow in it .
Uh Here's an edge piece right here .
It's green and orange .
So let's go ahead and go to the green side right here .
Now , we know since we already saw orange , we know that this edge piece needs to go in this position .
So let's go ahead and move that over .
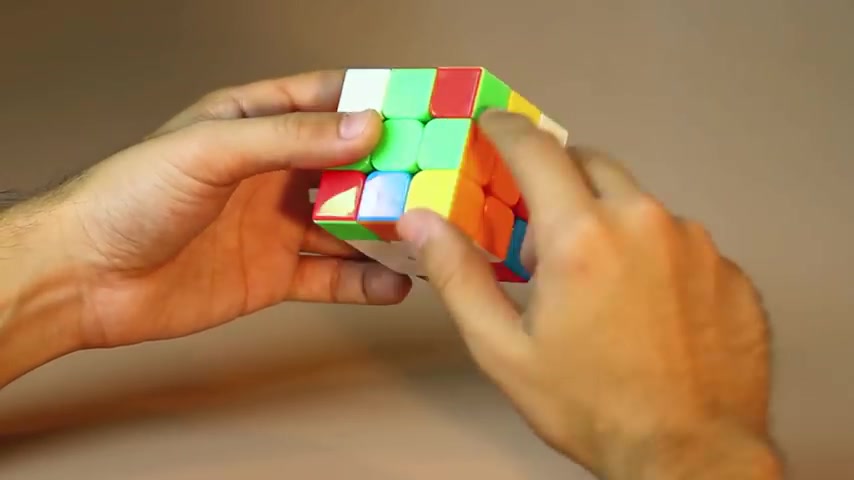
And then once we did that just like before we messed up the white cross .
So let's go ahead and move this right layer back in uh to the bottom layer .
Uh just kind of out of the way for now .
So we can move this left side back up , so we could fix the cross right here and then we can move this um green and uh green and orange edge piece back into position and then doing that will fix the white cross on the bottom as well .
And just like before we need to find the uh white piece that has the green and the orange in it .
And so it looks like that piece is right here to the front or top left .
So we'll go ahead and just move that over .
Uh So it's above the spot where it's supposed to go in .
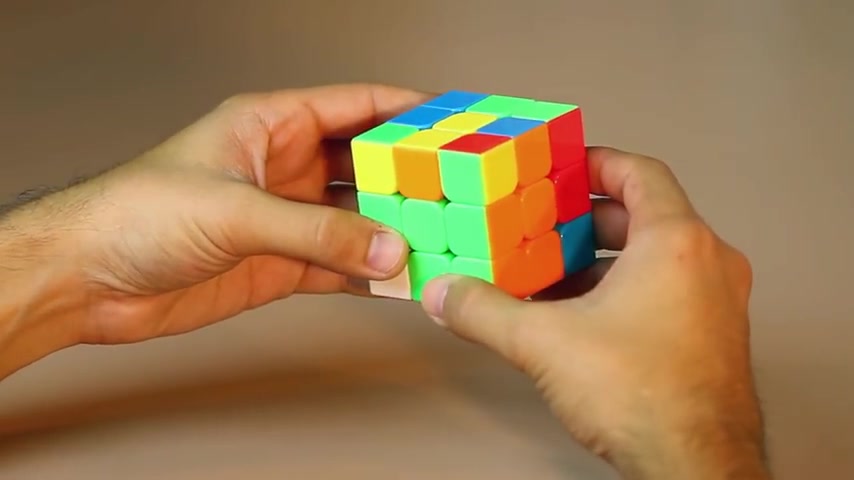
And when the uh white is actually facing up , we'll perform this move right up right , counterclockwise up , counterclockwise , right up , right , counterclockwise , up , counterclockwise , right .
Uh and then right counterclockwise , as you can see , it just fix both of those .
All right .
So now another uh edge piece with no yellow in it .
Uh So here is orange and blue and it's already on the orange side .
So that's good .
Uh Since it has blue on the top , we know that this edge piece needs to go here since blue is on this side .
So just like before we're gonna go ahead and rotate this front layer down so that we get it in its right position and uh we messed up the cross .
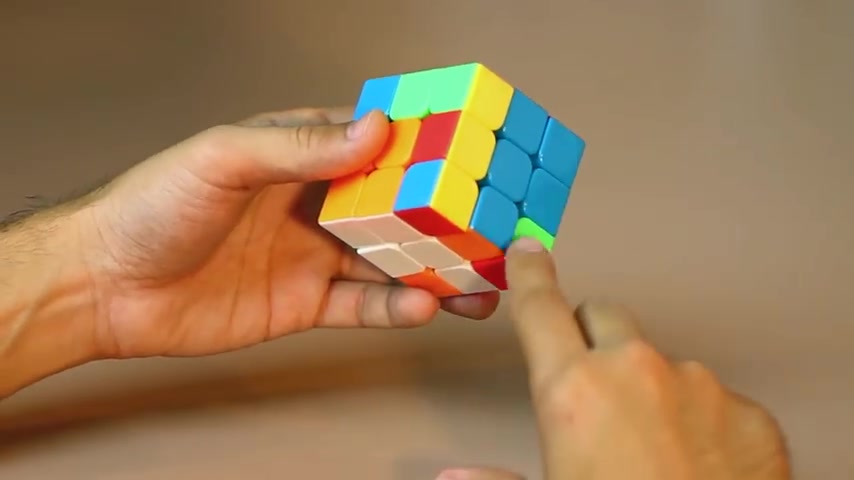
So we'll go ahead and rotate this right side down in the bottom layer out of the way so that we could rotate this front face back down and fix the white cross that we messed up and then bring this edge piece back up into the middle layer .
So we completed that or fixed that .
And now we just have to find the white piece with the orange and blue in it , which is in the back left corner .
Now , when the piece is in the back left corner , it'll just rotate the left side up or towards you and then rotate the top to the right .
So it's out of the way and then rotate it back down so that we fix the left side again .
And now , since it's free to move , let's go ahead and move this white corner piece above where it's supposed to go down here .
And just like before we have the white facing to the right .
And then when we have that , uh once again , we're gonna go ahead and take these two bottom layers , rotate them both counterclockwise .
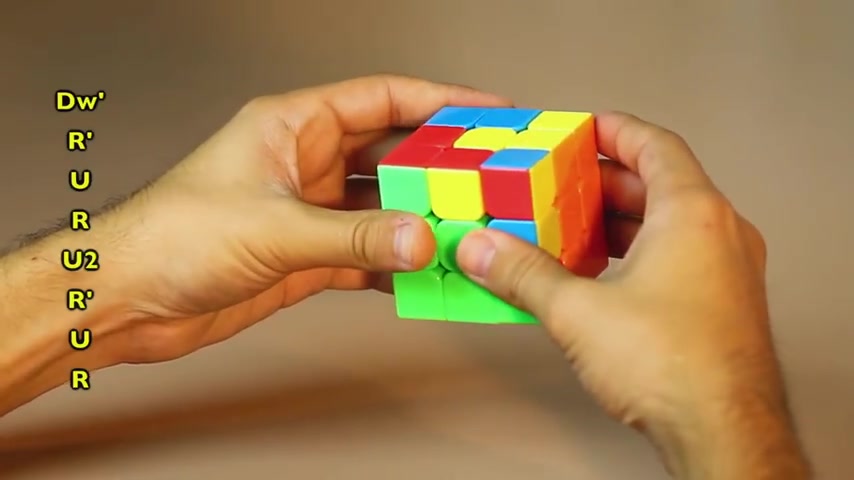
And then we're gonna do right counterclockwise .
Oh , right up two times , right .
Counterclockwise up and then right , and now we fix those two in the corner .
When you have the corner piece with the white facing .
U you wanna do up counterclockwise right up counterclockwise , right counterclockwise up two times right up , counterclockwise , right , counterclockwise .
When you have a corner piece with the white is facing to the right on the bottom .
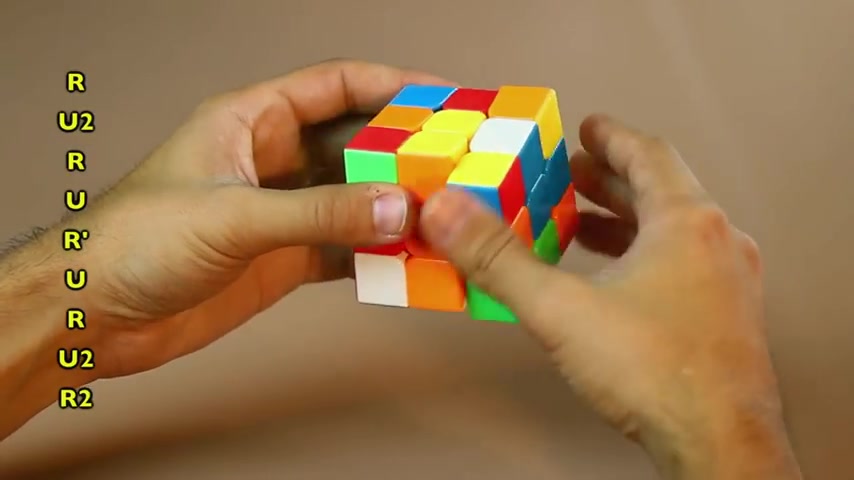
You wanna do right up two times right up , right counterclockwise up right up two times , right , two times .
And we have completed those two on the corner .
And so when you have the white on the bottom and the whites facing you , we need to do this right two times up , two times , right , counterclockwise up , counterclockwise , right up , counter clockwise , right , counterclockwise up two times and then right counterclockwise , then that goes into place .
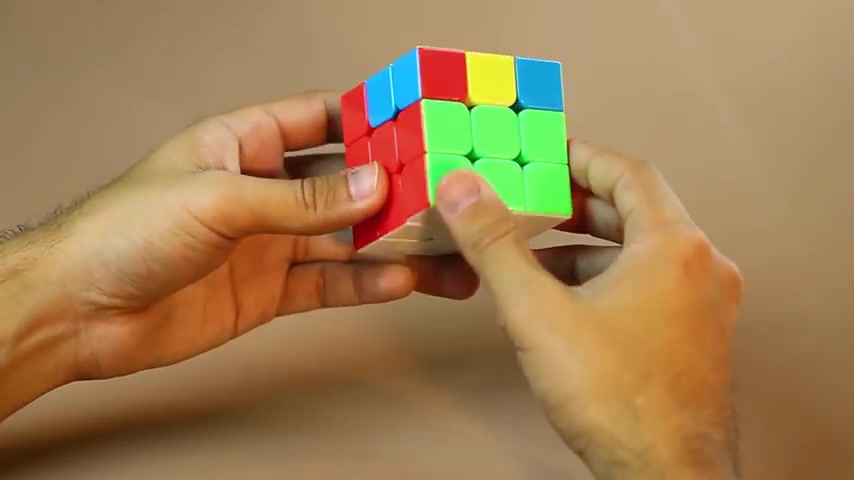
The only last piece that we have left is this one here , uh red and green and the red and green white piece is here .
So we'll go ahead and move it to position and then the white on top again , which is gonna be right .
Oh Right , counterclockwise up , counter clockwise , right uh right , counterclockwise up , counter clockwise right up and then write counterclockwise in there .
And that's how you do five of the 41 cases of the F two L when you have an edge piece , that's in the right location .
It's just not in the right position .
As you can see , the green needs to be on this side and the orange needs to be on this side .
So they both match up here .
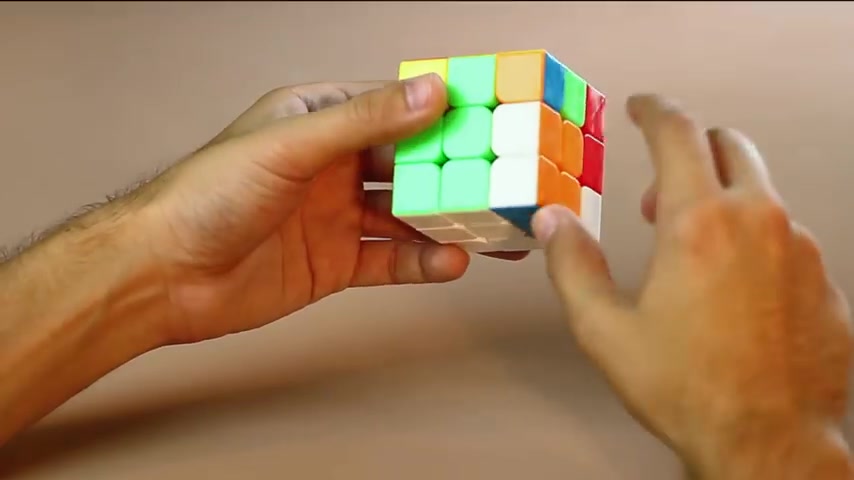
Uh So whenever you have it in the opposite position , go ahead and rotate this right side or the left side , whichever side you have it on , but rotate it to the top layer and move it out of the way .
So you can move this cross back down so we can get the cross working again .
And then now we have the piece in the top layer that we could just go ahead and put in as normal .
So to get this piece right here in this edge slot , go ahead and rotate this front down .
And then once we do that , we mess up the cross down here .
So we'll go ahead and put this edge piece in the bottom layer and then rotate this front back down .
So we can get the , the cross in the correct position now .
And then now we can go ahead and rotate this edge piece back up so that we can get it in its right position .
After we've solved the 1st and 2nd layers using the F 20 method , there's going to be a specific yellow pattern you'll need to look for on the top layer .
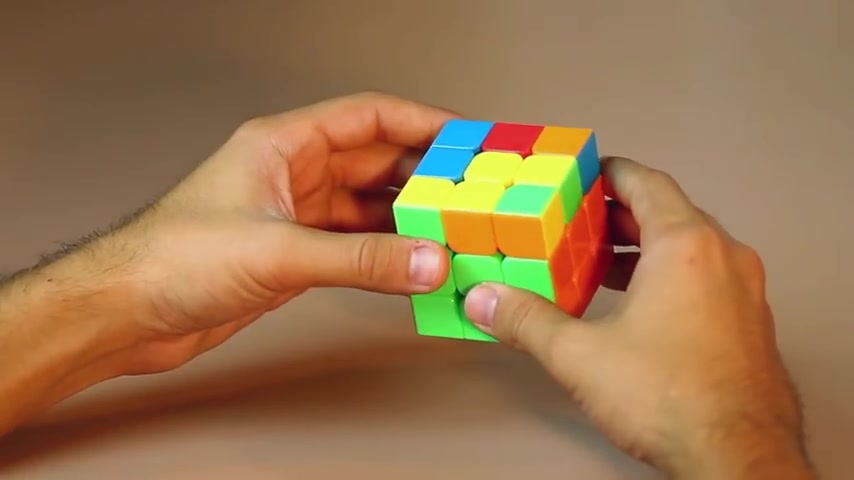
And I'm going to show you three of the most common patterns that you can either have the hook , which we have here .
And that's where you're gonna have two yellow edge pieces that are connecting with the yellow centerpiece .
And if you get the hook , you'll need to rotate the top layer so that the two yellow edge pieces are pointed in the left and top directions .
And then you'll need to perform this algorithm front up right up counterclockwise , right counterclockwise , and then the front counter clockwise , you make it the bar .
It's where you're gonna have a yellow edge piece on either side of the yellow centerpiece forming a straight line .
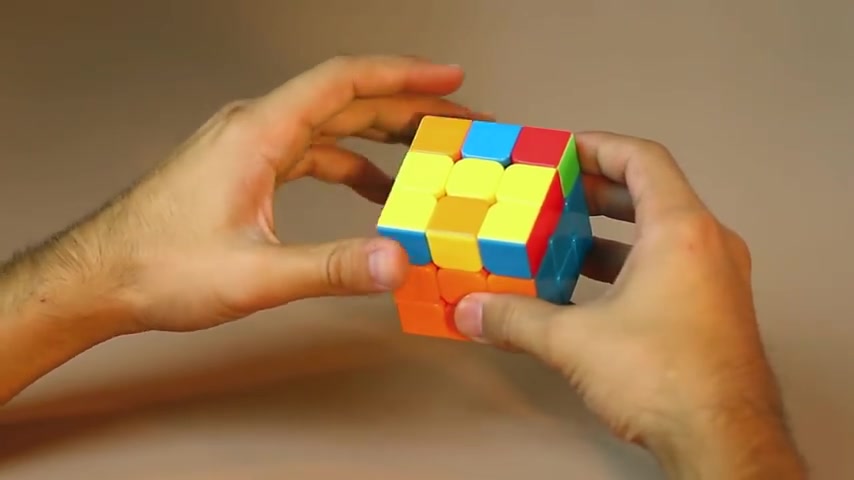
If you get this , rotate the top layer to where the yellow bar is going in the left and right directions and then perform this algorithm front right up , right , counterclockwise , up , counterclockwise and then front counter clockwise .
You can also end up with a yellow centerpiece that's not connecting to any other yellow edge piece .
And if you have the yellow centerpiece by itself , perform either of the algorithms I've already mentioned and then you'll either have the hook or the bar and then you'll do the algorithm for whichever you get .
For instance , let's go ahead and just do the hooks uh algorithm .
It's F for front uh U right up counterclockwise , right , counterclockwise and then f counterclockwise .
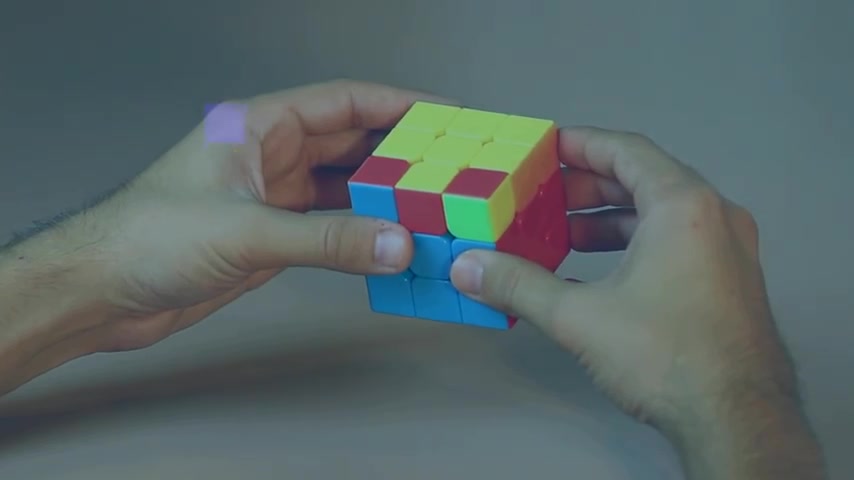
And now we have the bar so we'll make sure it's going from the left to right directions .
And now we'll go ahead and do the bars algorithm which is front right up , right , counterclockwise , up , counterclockwise and then the front , counter clockwise .
When we completed the yellow cross in the previous step , uh you would have ended up with a few different variations and I'll put those on the screen right now .
If you didn't end up with the same pattern that I have here , just follow along and perform the same move set that I'm doing and you'll be just fine .
So let's go ahead and do R for right .
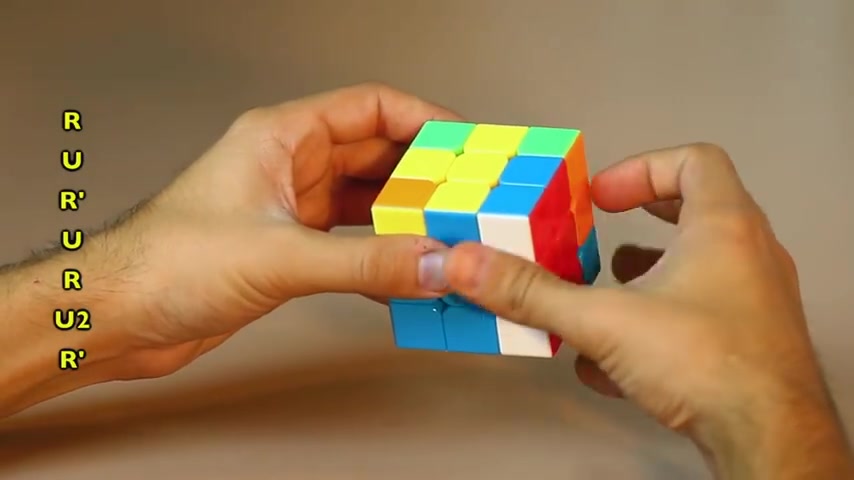
Oh Right , counterclockwise up right up two times and then the right to counter clockwise .
All right .
If you get this yellow pattern that we have here and that has the yellow piece in this row all by itself , you'll just want to make sure that it's here in the front facing us and then perform the same move set .
So it's right up right counterclockwise .
Oh Right up two times and then right counterclockwise .
And then you'll have the cross again .
And when you have this cross , you're gonna make sure that you have the yellow facing to the left and then , uh go , go ahead and do the same move set .
So right up , right , counterclockwise .
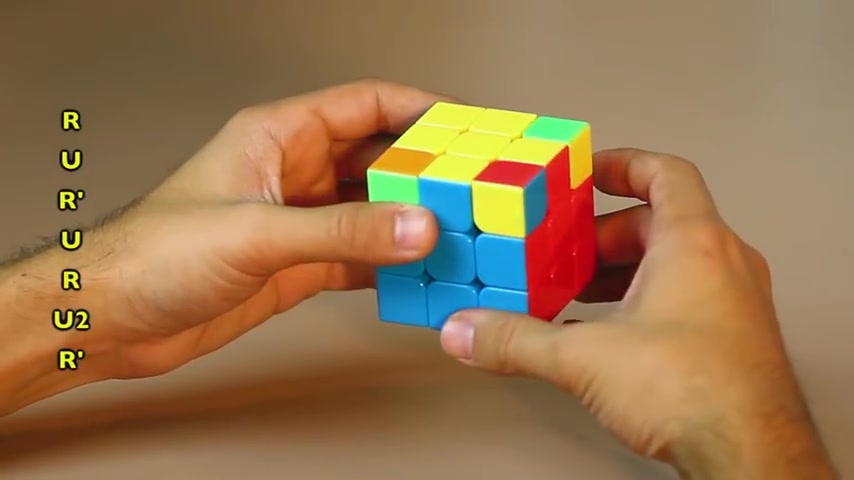
Oh , right up two times and then right counterclockwise .
And then you end up with the fishy , you're going with the fishy , uh with the tail on the top right hand side .
So the head is facing bottom left and sometimes when you get this , you're gonna have the yellow in front of us like it is now or you're gonna have it on the right hand side .
When you have it on the right hand side , you're just gonna wanna have the , the tail on the right like how it is now and then do the same move set that we've been doing .
If you have it , how we have it now with the yellow facing us , then uh we just have to do this once , but it's gonna be right up right counterclockwise up right up two times and then right to counter clockwise .
And then we have completed the uh the yellow layer .
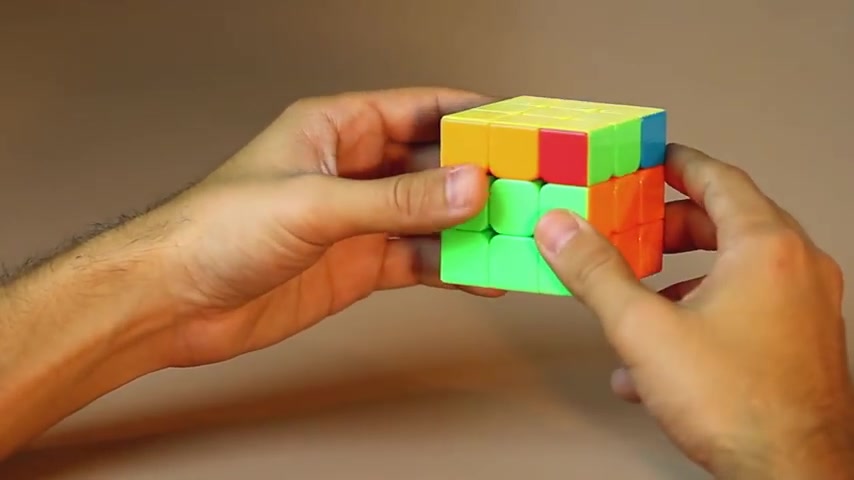
After completing the 1st and 2nd layers , along with the top yellow layer , you may have gotten what I have here , which is , I don't have the same color corner piece in its layer .
As you could see , I don't have , you know , two greens or two blues , they're all just mix matched .
Uh But if you did end up maybe getting to the same color corner pieces or possibly even three crossed , what you would do is you would match it up with this color .
Uh So pretend this is a green here .
Um So what you would do is you'll have it facing towards the back , which is away from you and then you'll perform this algorithm that I'll show you show you here shortly .
But if you did end up with what I have .
It doesn't matter how you have it rotated .
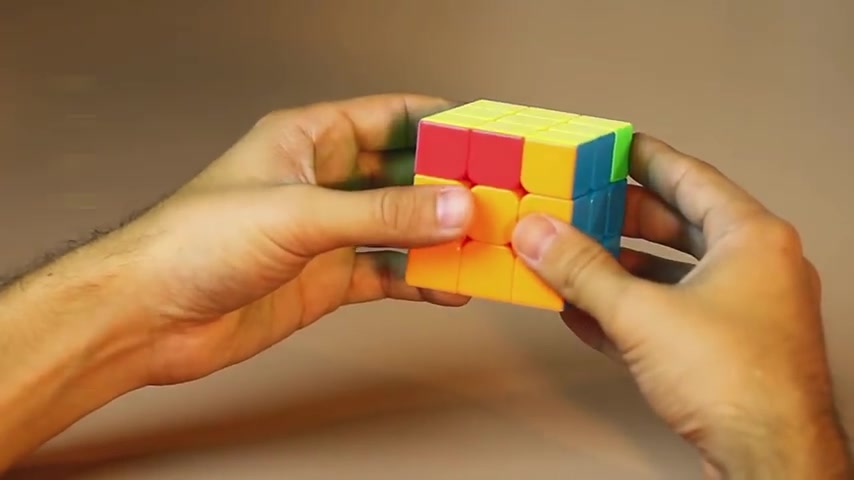
Uh Go ahead and just um do this move set right , counterclockwise , front , clockwise , right , counterclockwise back two times , right , clockwise , front , counter clockwise , right , counterclockwise back two times and then write two times .
And now if we take a look at our uh top corner pieces , we will have two of the same corners .
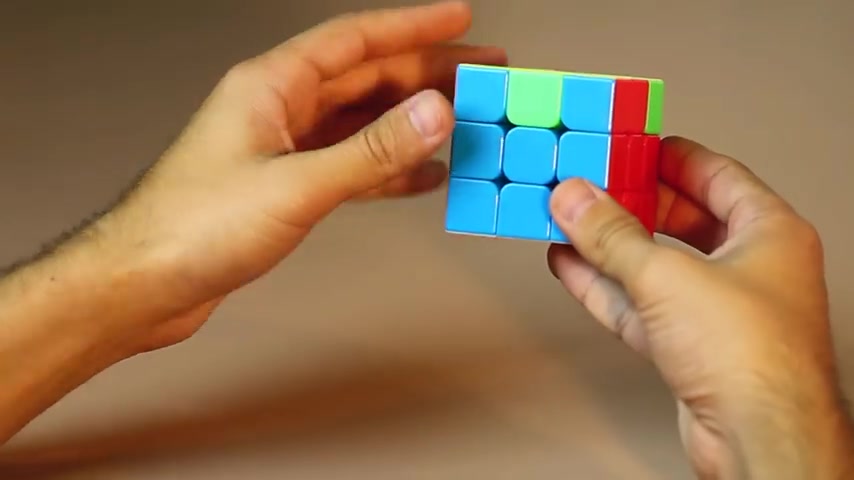
So let's go ahead and move them to the blue side and then we'll go ahead and move the uh the blue to the back which is away from us and do the same move set again , which is right counterclockwise , front , right counterclockwise back two times , right front , counterclockwise , right counterclockwise back two times and then right two times and then uh go ahead and move to the same site again , that will have orange and now you can see all the corners will match and then we could go ahead and perform the last step to solve the cube ending from the previous step .
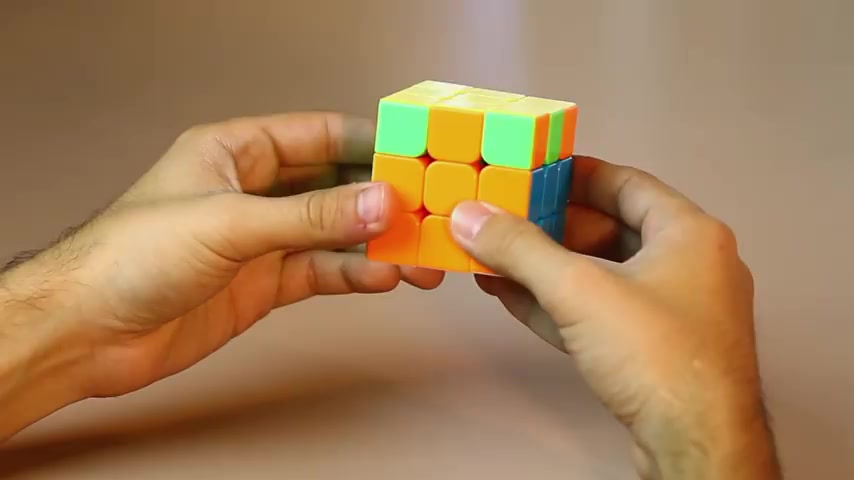
You should now have the same color corner pieces on all four sides of the cube and make sure that you rotate the top layer .
So the colors match up to their side like this .
If by chance you get the three colors that complete the side , you'll need to perform the final two algorithms with the completed side in the back facing away from you .
If you don't have a completed side but still have all of the same color corner pieces like we have here .
It doesn't matter which of the two algorithms we do , we'll just have to do it twice .
Uh For instance , uh here , we have the uh blue edge piece and blue needs to go over here .
So this is going to go from right to left , which is going to be in a clockwise rotation .
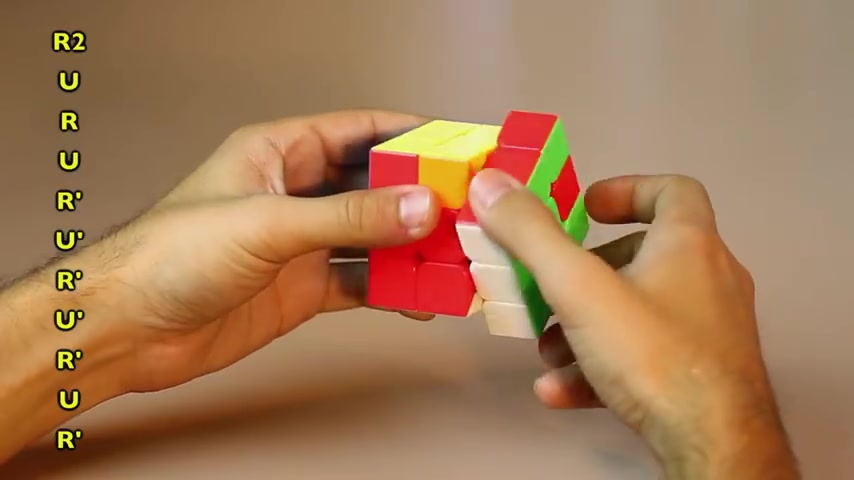
So I'm gonna go ahead and just do the clockwise uh algorithm right now , which is right two times up , right up , right , counterclockwise , up , counterclockwise , right , counterclockwise , up , counterclockwise , right , counterclockwise up and then right counterclockwise .
So now as you can see , we did go ahead and complete a side .
So we'll have to have this in the back facing away from us .
And then as you can see here , we have a red , then the red needs to go on this side .
So it's gonna be from right to left , which is again the clockwise rotation .
So we'll go ahead and do that now , right , two times up , right .
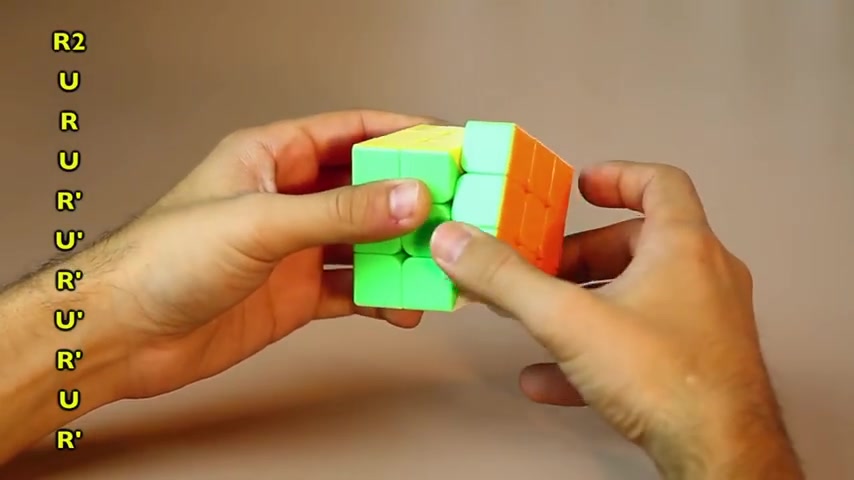
Oh Right , counterclockwise up , counterclockwise , right , counterclockwise up , counterclockwise , right , counterclockwise up and then right , counterclockwise , if you get the edge piece that has to go to the right , that would be the counterclockwise rotation and be sure to keep the completed side in the back facing away and then perform this move right up counterclockwise right up right up , right up , counterclockwise , right counterclockwise up , counterclockwise and then right two times and there you have it .
That's how we solve the three by three puzzle cube using a basic form of the F two L method .
If you found this video , helpful , please like and subscribe .
Are you looking for a way to reach a wider audience and get more views on your videos?
Our innovative video to text transcribing service can help you do just that.
We provide accurate transcriptions of your videos along with visual content that will help you attract new viewers and keep them engaged. Plus, our data analytics and ad campaign tools can help you monetize your content and maximize your revenue.
Let's partner up and take your video content to the next level!
Contact us today to learn more.