https://www.youtube.com/watch?v=cU5a86f3SKU
How to install a Zebra thermal printer to Windows 10
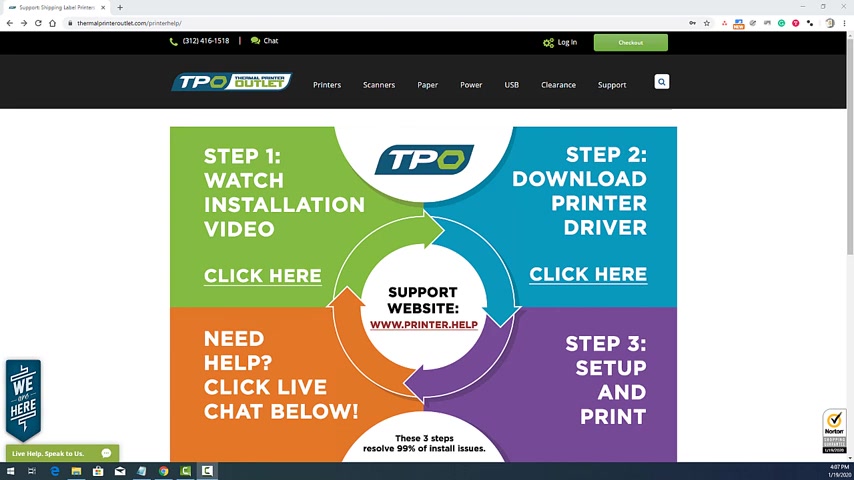
In this video , I will be reviewing how to install your thermal printer to a windows based system .
The first step is to connect the power and communication cable to your computer and load the media .
In this demonstration , I will be setting up a zebra ZP 4 50 with a USB connection .
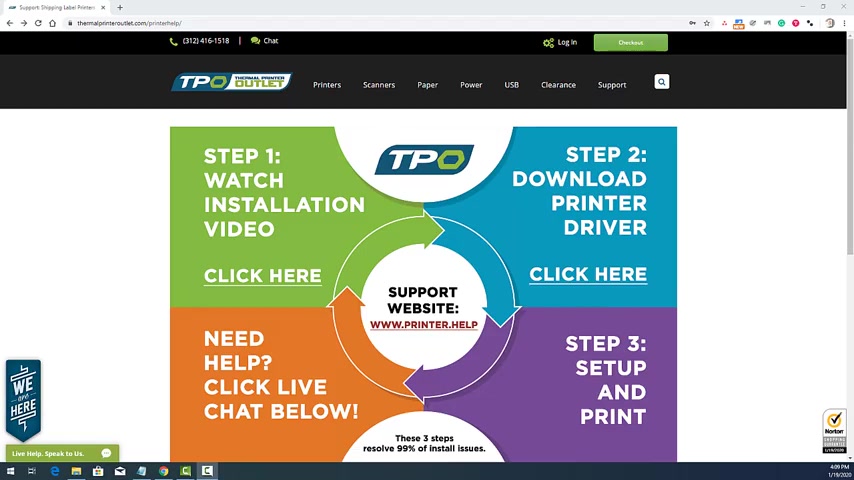
Next power on your printer and open up a browser window point it to www dot printer dot help choose option two for the driver wizard .
Mhm .
Then select the brand of your printer .
In this case , we're setting up a zebra ZP 4 50 and click download after the file has downloaded , you can now extract the files to your desktop inside of the zip file .
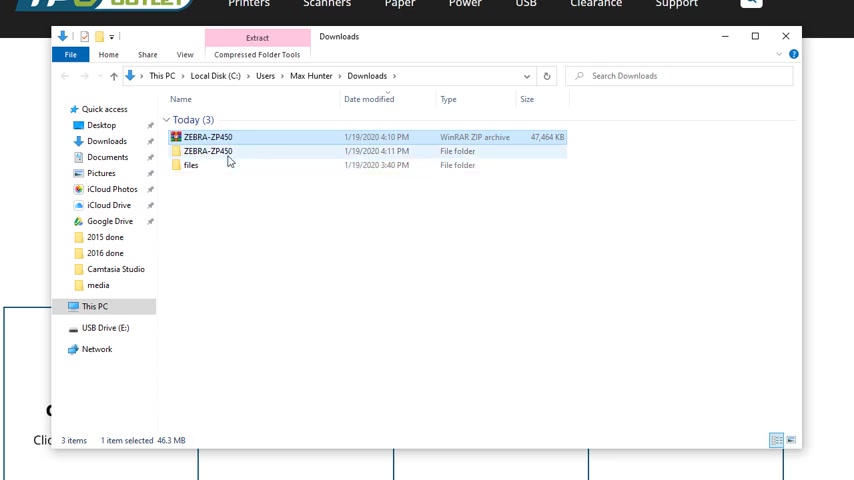
You will find the driver , the manual and a sample print .
Double click on the driver file .
Accept the license agreement hit next , select a directory for extraction and run the wizard .
Some computers may ask for additional administrative access hit .
Yes , when the wizard loads hit next .
Now there's two options .
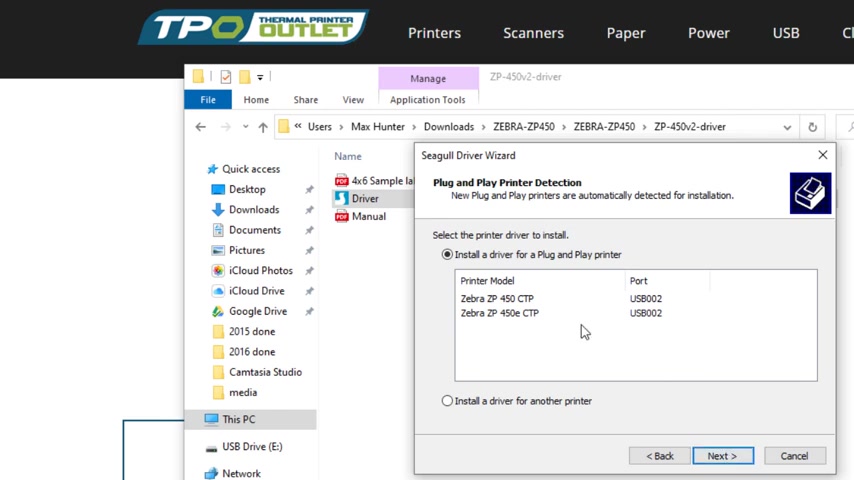
When the wizard starts , it will either find the printer automatically or we will have to pick it manually .
This first scenario , we will be finding it automatically click on zebra ZP 4 50 next .
Yeah , you can rename the printer .
If you'd like , then click next and then click finish .
The printer has been successfully installed .
In this scenario .
When windows does not automatically detect your printer , we will have to set it up manually for this .
Double click on the printer driver .
Agree to the license agreement , select a installation directory and run the wizard .
You may need to elevate your permissions .
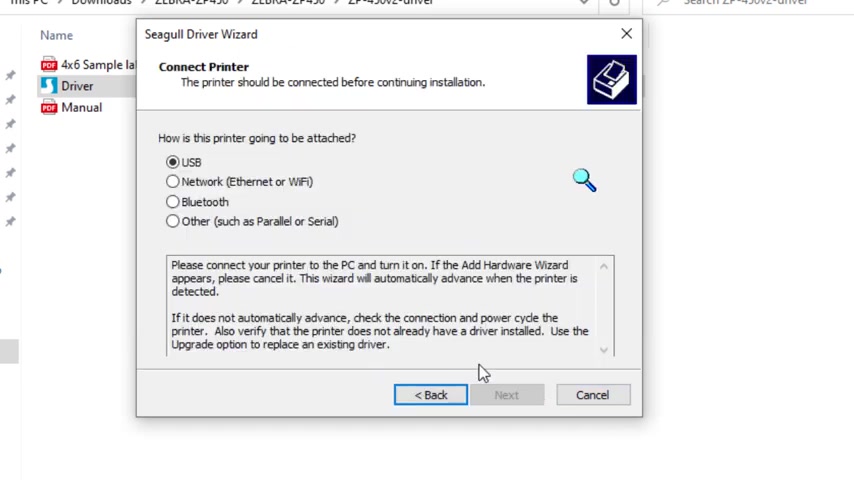
Click on install printer drivers .
Now you can see the auto detect is not finding a printer , click on other and hit next .
Select your model .
This is where we need to pick our USB port manually .
In this example , I only have one USB port available .
So it is installed on that port and I simply select it .
You may have multiple USB ports in your setup and we will have to test those individually and I will show you how to do that later on in the video .
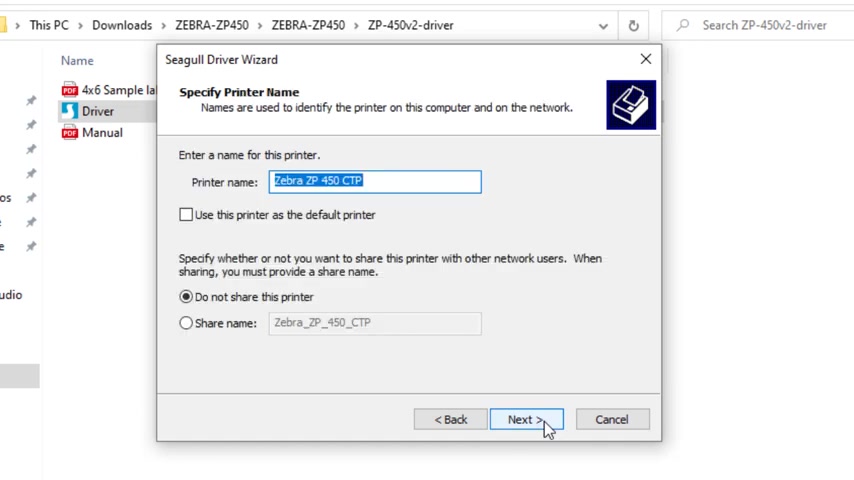
Select next , you can rename your printer if you'd like and hit finish had closed .
Now , we will need to verify that we have chosen the correct port .
Click on the start menu , set up type in printers and select printer and scanner .
Click on Bluetooth and other devices and then click on devices and printers .
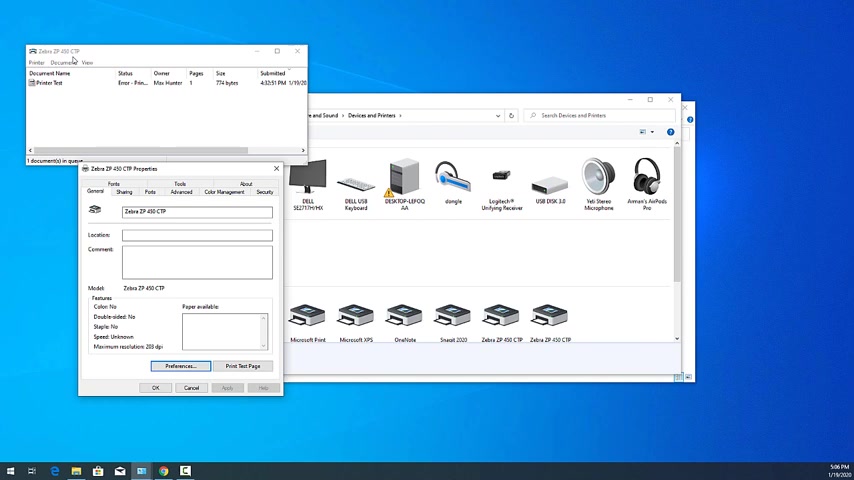
Find your printer , select , see what's printing from there , click on properties general and test print .
If you have successfully printed .
That means your setup is almost complete .
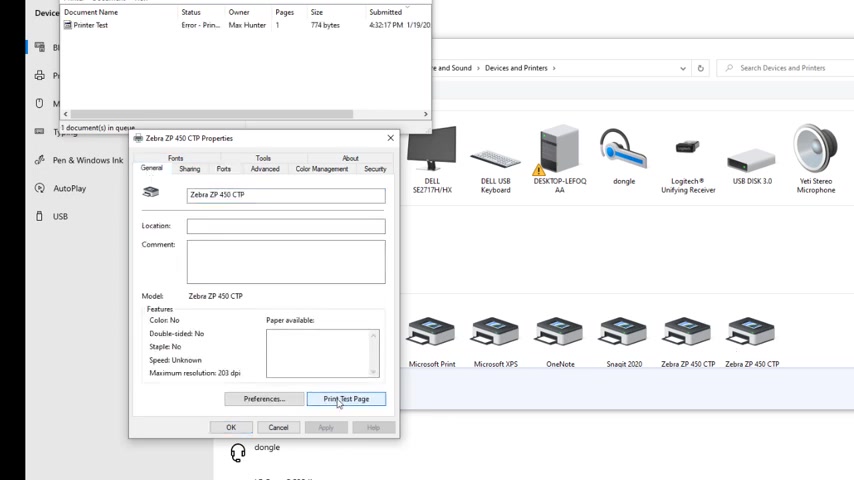
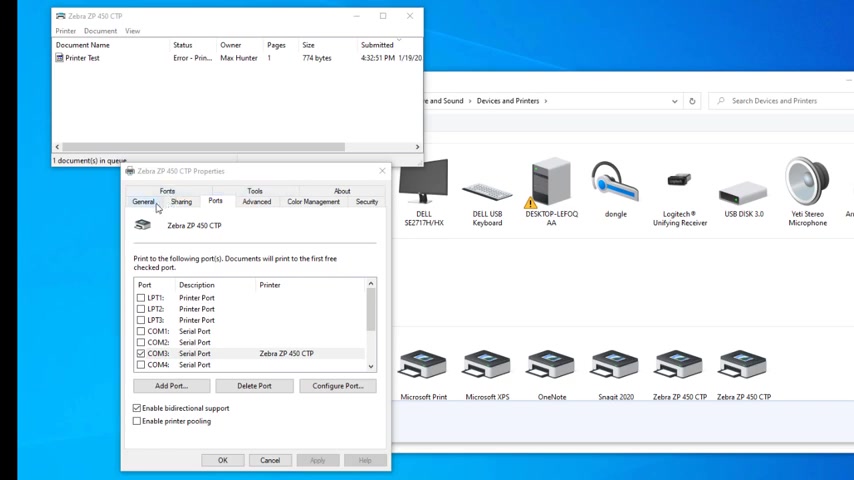
If you did not get a successful test print , go to port , select a port hit , apply , go back to general and hit test print .
If nothing printed , you still did not find the correct USB port , cancel the current print , go back to ports and select another USB port .
In this scenario , I am selecting com ports for demonstration only .
You will be selecting other USB ports hit , apply on the next one .
Go back to general and hit test print .
You will need to cycle through the USB port until you have a successful print .
After you have found the correct USB , you will still have to do a few minor tweaks .
Go to general preferences , page setup , select your default paper size .
In my scenario , it's four by six , click on options and select the default darkness .
Choose 15 .
If you like it even darker , you could slow down the print to 3.0 or 2.0 hit apply and ok .
At this point , you have successfully set up your printer in your applications .
Just select the zebra ZP 4 50 CTP from the drop down menu .
Or if you have another model of printer , you would select that .
If you have any other questions , please hit our live chat or email me at support at thermal printer outlet dot com .
Are you looking for a way to reach a wider audience and get more views on your videos?
Our innovative video to text transcribing service can help you do just that.
We provide accurate transcriptions of your videos along with visual content that will help you attract new viewers and keep them engaged. Plus, our data analytics and ad campaign tools can help you monetize your content and maximize your revenue.
Let's partner up and take your video content to the next level!
Contact us today to learn more.