
https://www.youtube.com/watch?v=3fcjxaYE5aw
2023-11-16 17:00:25
Relume AI Website Builder _ $3,000 an hour

If you're a freelance web designer looking to raise your rates and make more money .
Oh , do I have a treat for you ?
Because in this video , I'm gonna show you how to raise your rates to $1000 an hour .
How about $3000 an hour ?
How about possibly raising your rates to $5000 an hour ?
How you might ask , what is this dark web design magic ?
Let me introduce you to the re loom site builder .
It's an A I Driven tool .
It's gonna allow you to build your site map your wire frames , your layouts , inject all the content done by A I and then immediately take that design and bring it into fig A or potentially right into webflow style from there , publish launch and get paid .
Some of you out there are thinking that this is Clickbait and this is not true .
I'm about to prove you wrong .
Let's jump right in and let me show you the process of increasing your hourly rates .
And I wanna give you an example , a use case of how this might apply .
Recently , I went to a New Shave Ice Place that's opened up in my town , I'm actually wearing the shirt right now .
Really ?
Like this place a lot .
But what if I wanted to build this company , a new website and I wanted to charge them $5000 let's say , well , I could do it in probably about an hour of time and I could deliver it to them the next day and I could potentially get paid .
How am I gonna do it ?
Well , let's walk through the process .
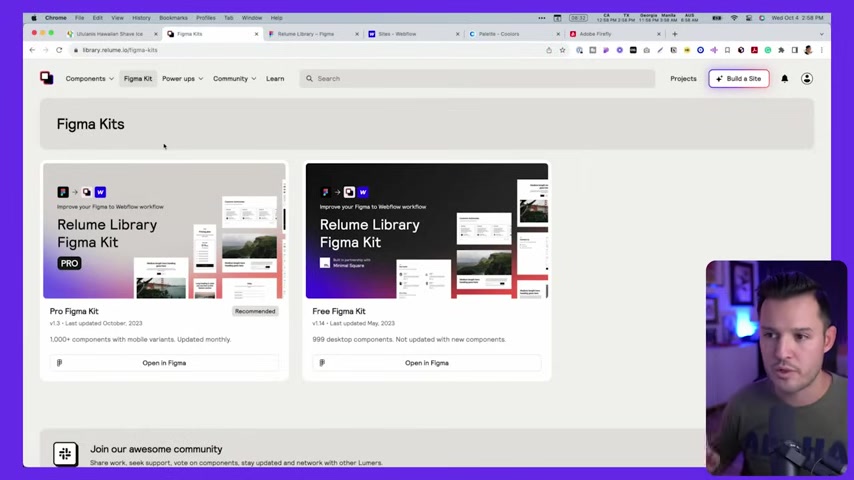
Let me introduce you to the new site builder by Re Loom .
And if you don't know what re loom is , re Loom started out as a library kit that allows you to build components or take these prebuilt components .
Uh You can see that we have here all these awesome components and then immediately apply them into your webflow projects .
So what you're gonna need for this is a re Loom account .
You're gonna need a fig a account and you're gonna need a webflow account .
This is how the process is going to go .
We can jump back in and instead of actually just building it this way , they have their new feature which allows you to actually build projects or just click here on build a site .
Let's click on build projects .
You can see we have a bunch of projects that I've been playing with already .
Let's go ahead and build this shave ice one right now .
I'm gonna hit new project .
It's gonna open up the site builder .
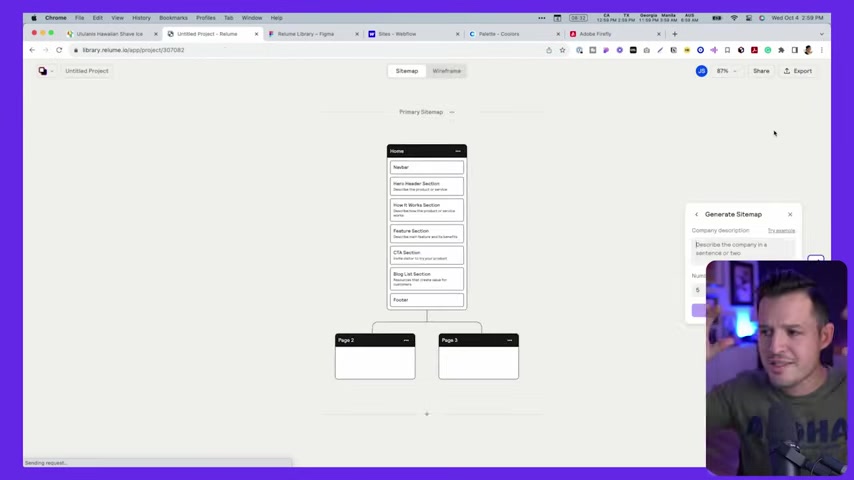
And now you'll see over here on the right hand side , we get an A I tool that's saying generate a site map .
This is the foundation , this is the start .
We want to tell it a little bit about this business .
And that way we can describe the company .
We can dictate how many pages we want .
Let's just do something really simple like three .
And we're gonna put uh a little bit about this Shave Ice Company .
Now we've given it just a little bit of like a description of the company and we've said how many pages let's go ahead and click generate .
You're gonna see the A I taking over and it's gonna generate a site map with these three pages and suggestions and you can see immediately it's suggesting all the different elements inside of each page .
So on our home page , it's saying let's do a hero that welcomes visitors with a captivating image and headline in a feature section talking about the Shave Ice , then a benefits section gallery , you know , a logo , list ac T A all that kind of stuff .
OK .

Now , if we like this , we can just run with it .
If we don't like it , what we can do is we could either , you know , continue generating all the pages if we did like it or we could rerun , I'm gonna rerun it one more time and just see what happens cause I didn't like the logo list .
Uh maybe we could use that potentially , but I'm gonna , I'm gonna see what it generates by doing it a second time .
OK .
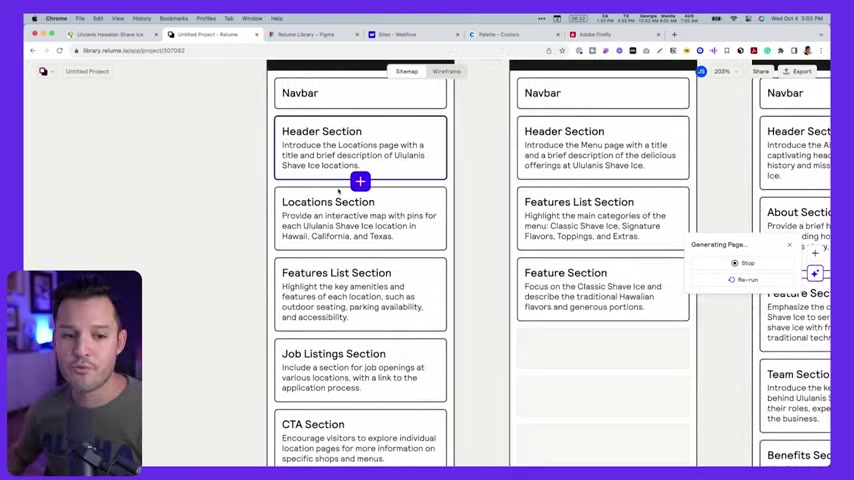
So I can actually just use the tool and zoom in and out .
Holding down controls is pretty cool .
And again , we got hero feature feature list , testimonial locations .
That's like a better gallery ct A and a footer .
OK .
I like that .
Now , what's really cool about this is we could , it says locations menu and then you have the individual location pages and maybe products .
OK .
Let's go with it .
Um And let's say instead of , let's see , we have locations menu .
We don't wanna do the individual products .
I don't think it's really necessary .
So this maybe for like uh some other type of restaurant , this might make sense .

But let's put like locations menu and then let's do this .
Let's do instead of that , let's do , I'm gonna double click here and put about us .
I can just generate , let I can let the A I actually generate the locations page .
Let's try that .
And so that's one option , right ?
Um I'm gonna do the same thing for the About Us page and while I'm here on the menu and A I is doing its magical work .
I'm gonna hit section here and when we open up section , we get a bunch of opportunities here on the right hand side .
These are all blank sections .
These are the components that are offered inside of re loom , these prefabricated uh components that we could just immediately stitch in to the layout .
Now , you know , we're talking NAV bars , footers , all that kind of stuff .
But notice this , we also have some global sections .
NAV bars and footers , those are global across our entire site .
So they're gonna stay consistent so we can do that .
But let's just go ahead and generate and see what happens .
We generate that and why don't we generate the location as well ?
Now , while it's doing that , it's gonna generate our menu .
Let's zoom in .
And if we want to , we can actually click on a section and I can use the arrow keys to move these up and down or I could drag and drop them like almost like a Trello card here and there or I could bring it into another page if I wanted to .
So I can build out my site map here .
You can also , if you want to , you can , uh it's gonna generate content for us based off of these titles and based off of the text that's inside .
OK ?
So let's not do features list , but instead let's do how it works .
And then we'll put uh come in , select your flavor .
Actually , let's do first select your flavors .
Second , select your toppings .
Let's just do something like that .
OK ?
So , uh and then let's , let's be a little cheeky here and say third eat and enjoy , OK ?
Or eat Oh , let's be a little bit more fun because this is a Hawaiian shave , I ice place eat .
I like this with Aloha .
You guessed it .
Ok .
Boom .
All right .
Now we have everything we need .
I think I like it quite a bit , let's say .
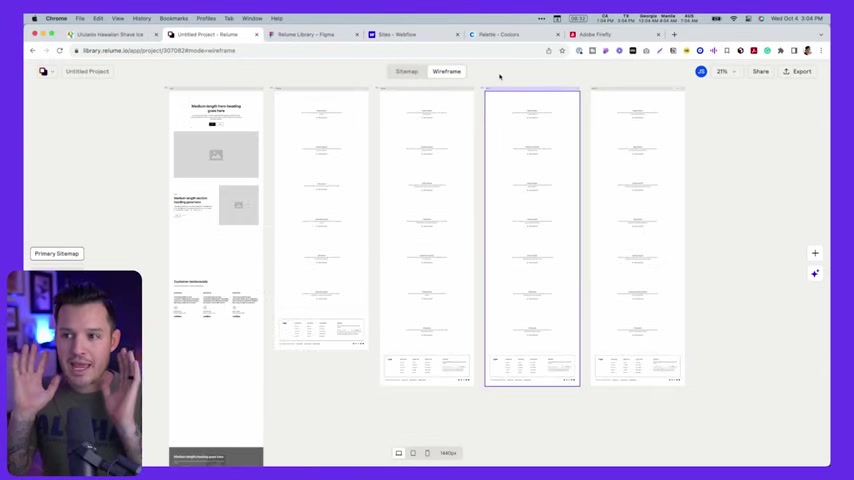
Um So why don't we head over here and we're gonna hit our wire frame .
You can see up here at the top .
We're currently building a site map .
As soon as we click over the wire frame , the A I tool is gonna take over and it's gonna suggest these prebuilt components inside of the re loom library .
Here it is .
You can see all of them working at the same time .
This is where A I is gonna become incredibly helpful for us as designers .
You can see how it's like really laying everything out perfectly for us .
It has pretty much finished uh designing the wire frames for and the layouts and everything for our uh our website .
I'm just gonna zoom in here on the home page .
We could take care of like all of it .
We could do every page , but just for this demo , we're just gonna focus on the home page .
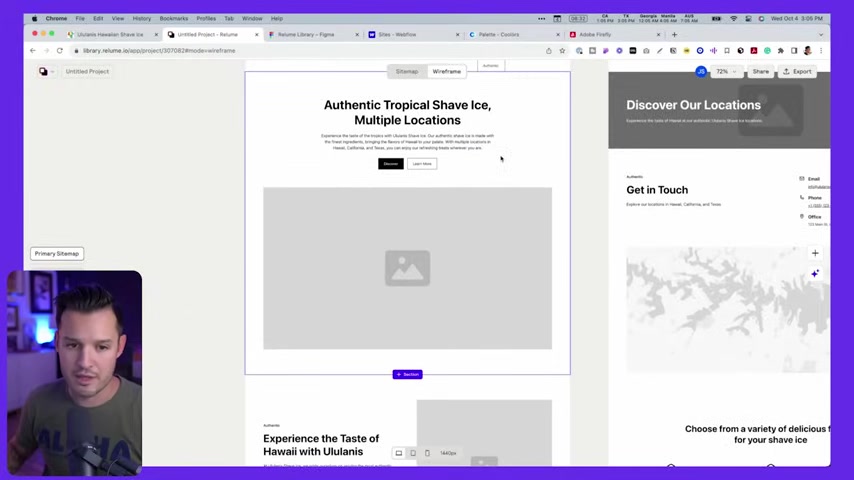
You can see it's dropped in a really nice uh header up here .
Navigation , drop downs all that kind of stuff , a really nice hero .
Um like hero section .
We got a really nice left align two column , got this three column thing .
Now this is really similar to the site map where we can actually grab any of these and just using our arrow keys , we can move them up and down and kind of organize .
But you'll notice also when I click on , for instance , this like hero image here .
Um this layout that we have , maybe I don't love this layout .
We could go over here to the right hand side and say replace component .
When we do that , we get options for all of the different types of components that uh re loom offers , right ?
So maybe we wanna do something a little bit like that like this medium length hero .
Um Maybe we want to do something like this that has maybe like a little bit more interest .
I like that .
Let's pop that thing in there .
Really , really good lookouts .

Also immediately injected some copy for us A I driven copy , authentic Tropical Shave Ice , multiple locations .
OK ?
Now , if we don't like that , we can regenerate the copy simply by pressing here .
Let's regenerate cop and see what it come , what it comes up experience authentic tropical Shave ice .
Oh I like that a little bit better .
That's really , really good .
Now , I'm gonna come up here into the top left .
I'm gonna rename this Shave Ice and that's important .
Naming your project inside of re Loom is important .
We have a couple of different options from here .
We , we spent maybe five minutes , 10 minutes doing this .
We got about 50 minutes left to reach that hour mark and style this thing out and get it up online .
One of two directions direction .
Number one is to take what we've done here in re loom and push it directly into FIG A and we can style it out , we can play around and kind of uh experiment a little bit .
The other option is to push it directly into webflow .
Let's start with FIG A and then we'll talk about if you like to just maybe design of the browser and push it directly up there .
The difference here would be if you already have some sort of visual direction or vision or how you want things to be , you just push it right to webflow and then start styling right there .
We're gonna play around a little bit first inside of FIG A .
I'm gonna show you this workflow right now .
So to do this , we're gonna head up to the top right hand corner .
I have a couple of options here .
We're gonna export to FIG A or to webflow .
Let's export to fig A first .
And when we do that , it's gonna say , hey , just make sure you install the fig A plug in .
OK ?
And we already have that plug-in installed .
But what will happen then is it will open up not only the plug in , but you're gonna want to get the relo library uh file here .
And when you open that up we'll just open up our fig a file here .
You can see that this pro relu library fig A kit version 1.3 is the newest one that we're working with right now .
This is the one that comes with this welcome documentation tells you how to build things in re loom .
You also have like a style guide that's already built out .
You can see we've actually already messed with it a little bit beforehand .
But then you have like , you know , your thumbnail for this .
But look , you have all of your different sections over here .
You can see we can take a look at all these re loom components , features , careers gallery .
All of these are listed here and you can jump in and see the different page templates .
If we wanted to play with those , we can .
What we're gonna do is create a new page in here .
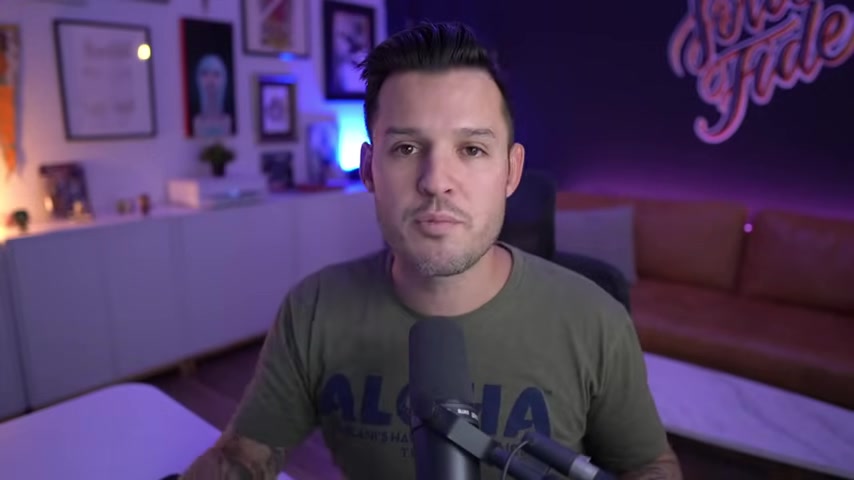
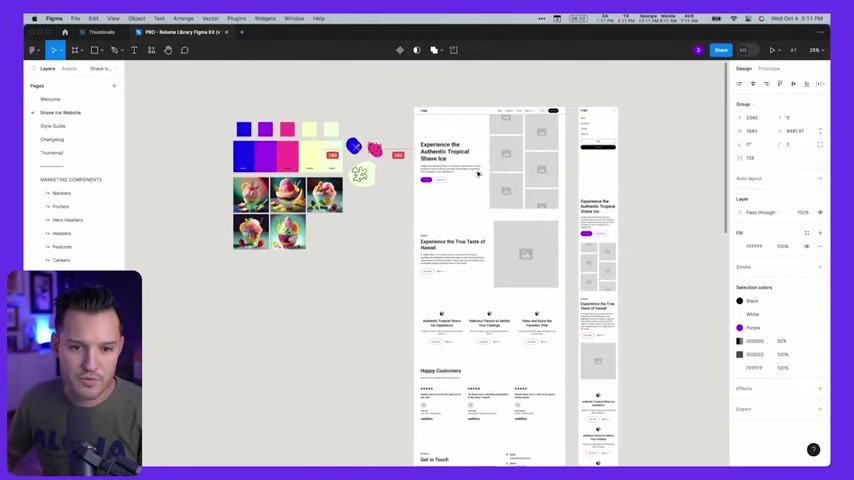
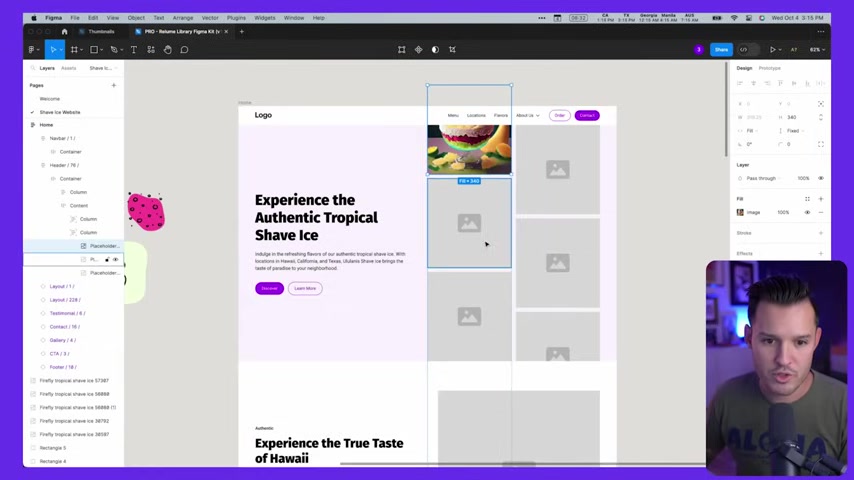
I've created one called Shave Ice website and I've grabbed a bunch of colors and I used Adobe Firefly to generate a bunch of Shave Ice images .
I grabbed a palette of coolers really quickly .
I just looked tropical fun bam .
I found a color palette .
I brought it in and what I did was I immediately made styles out of my colors see over here on the right hand side .
So I have local , local color styles and then I have like a color scale for like my purple or amethyst color and all the rest of the styles that are generated here are generated from the uh relo library .
So all of my texts and my heading .
OK .
So what we wanna do is I just wanna zoom out and get to a nice clear place and I wanna open up the relo library plug in .
OK ?
When we do that , it's gonna ask me to log in and I just gotta do a really quick connection .
Boom .
We go back and we are logged in .
OK ?
So we're here at the site builder .
I'm gonna close that because I already have that , that little prompt right ?
There was for us to get this file just gonna kick us out to the spot and look , you can see the different projects that I'm working on , right ?
I can click on a project and it's gonna load everything we've done in the project , right ?
So we have the primary site map .
That was the site map we created .
I can either add that site map right here if I want to , I could add every wire frame if I want to or I can click into it and then I can get the individual pages since we only really focused on our home page .
Let's just grab the homepage wire frame for now , shall we ?
I'm gonna grab that wireframe .
I'm gonna hit add wire frame and you can see immediately that relu is gonna go ahead and start importing that website wire frame for us .
Boom .
There it is , it's dropped it on the canvas .
You can see it's actually in the process of updating and it tells us at the very bottom that the page has been added .
Ok ?
So we can close this now and move this over to the side and you can see what's really cool .
Is it also , it gave us the mobile version , which is super dope .
I appreciate that .
I'm just gonna gro this really quickly and I'm gonna get rid of my mobile version .
I'm not gonna worry about that for now , but I now I have my local version .
Now , you might be asking yourself , why is that button already the same color ?
Well , I kinda cheated .
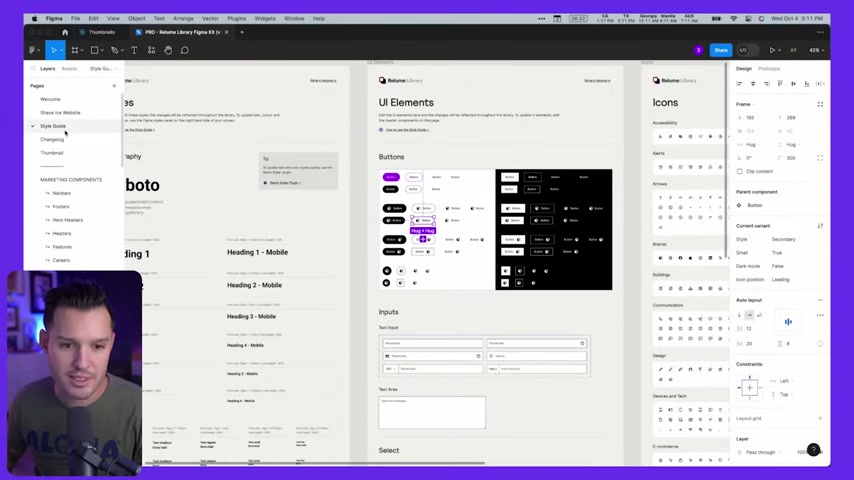
Uh I was toying around with this beforehand and I just , your next step is gonna be to go into the style guide and you can see our entire style guide here has like all of or text , it has all of our buttons and we're just gonna wanna restyled here .
Now , this is exactly the same process that you would do .
I'll show you later .
If you go right into webflow , you're gonna go immediately to the style guide , change everything to make sense for your brand , your colors and and then it's going to immediately apply across the entire website .
What I mean there is I came in and I rounded all these buttons and grab all of these buttons here .
Boom , boom .
We're grabbing all of them .
Right .
And we can just come down to our layer and make sure that we're using our purple or amethyst color and we can make sure that we take that border off .
We don't need it anymore .
Right .
We could do the same thing here .
We can grab all of these buttons and we can do the same thing .
Turn that to purple .
We like that a lot and then your selection color , that's a text inside .
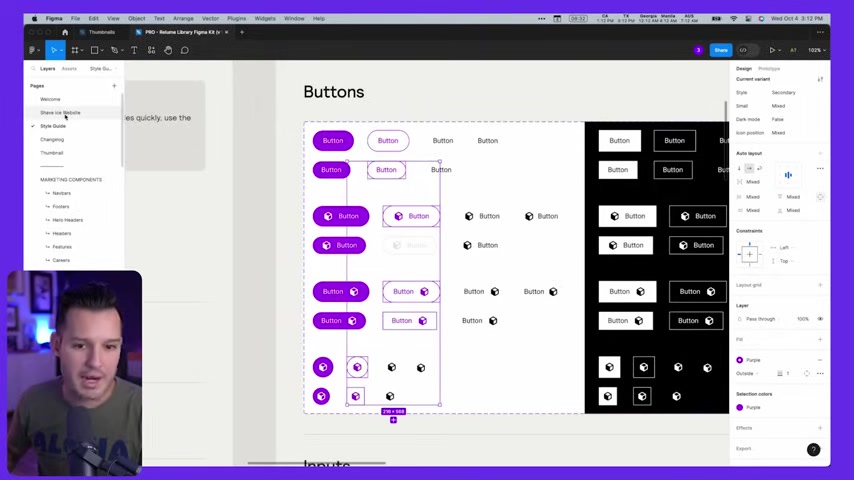
Maybe we don't want that to be purple and we can go across the entire thing .
Now , you'll notice when I go back to my Shave Ice website , I have the buttons have been updated every single place , right ?
Which is really , really nice .
The next thing I need to do is update my textiles .
So that's a basic fit with thing .
I'm just gonna come over and I'm gonna grab my headings and my text and I can grab my H one .
Like for instance , this is a heading H one this style .
Why don't we actually grab that and we'll just do a quick edit , right ?
So what do we wanna do ?
We wanna change it away from Roboto .
Let's do like fra sands , black , something like that .
Regular boom .
Immediately I changed the text .
OK ?
And we can just do the same thing here .
We can go into our H two and we could change all of these to be our brand color .
Boom .
We just change that as Well , and what is this ?
This is our H four .
Let's change our H four .
You'd want to do this for every one of your uh different type of graphic styles , but we've changed that as well .
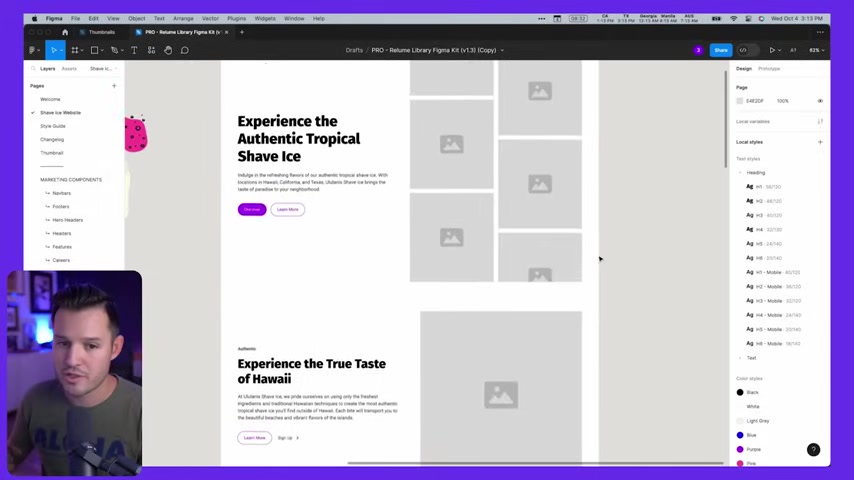
You can see how the site is starting to slowly transform .
Now , something that's a little bit different is notice that each of these layers are components right now .
They're part of the re loom uh component set .
If you're just working inside of re loom , normally , this is fantastic because you can drag a component out , you can kind of lay things out in wireframe and then just copy and paste directly into webflow .
But we might want to experiment a , a little bit here and play around a little bit before we get to webflow .
This is some of that exploratory work that you might want to do .
So with that being said , I'm going to detach uh the instance of my header here and then that would allow me to come in and start to kind of like make some changes .
So maybe I want to do the same thing for my navigation and I wanna get rid of that bottom navigation thing that's happening there or that bottom border .
Maybe I wanna come in and change the background color to be like this really off kind of like purple color , light , 50 purple amethyst that's already looking kinda cool .
Um And then what I can do is all of these are probably laid out inside of auto layout .
So keep , keep that in mind .
Uh We have some of our images .
I might wanna just start dragging images in here uh from there .
Maybe we wanna , we have a couple of little elements that we prepared .
Maybe I just wanna bring those in , you know , just move through your entire project , doing all of the design work and saying , maybe I want this section to move from , you know , that kind of light color to maybe this like light pineapple color .
Now we're starting to have a little bit of fun and build a website .
It may not be your cup of tea , but we're doing it really , really fast .
Um And you can do this really fast , right ?
Just like style through it , make it happen , do what you want , explore .
But now let's talk about the second way that you can actually move your wire frames , your layouts all of your site into webflow directly .
Let's talk about that workflow .
OK ?
So I'm back here in Re Loom and I have my like my site built .
I love it .
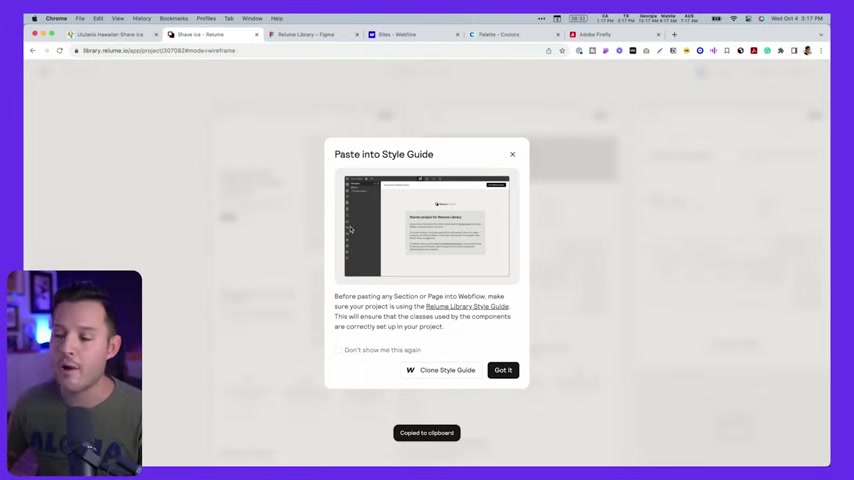
I'm gonna go up to export again , but this time I'm gonna export to webflow and here's what it's gonna say , make sure that you copy and paste into webflow .
OK ?
So to export wire frames , right , click on a page or section , select copy for webflow and paste into your project .
Got it .
So this means we can , right ?
Click on this and copy to webflow .
Now it's going to recommend that we paste the style guide , right ?
We wanna grab the L the re loom library style guide .
We wanna clone that .
OK ?
When we click that , it's gonna open up a webflow clonal , right ?
Which we're immediately gonna want to do .
Let's clone in webflow , gonna start a new project for us , right ?
So let's go ahead and create the site .
Let's call this Shave Ice and create the site .
And again , the reason we're cloning , we're using this clable is cause it's gonna have that style guide built right in and we can do those same things we did in fig A except right here in Webflow .
Perfect .
OK .
So it's built our project .
It's loaded things up .
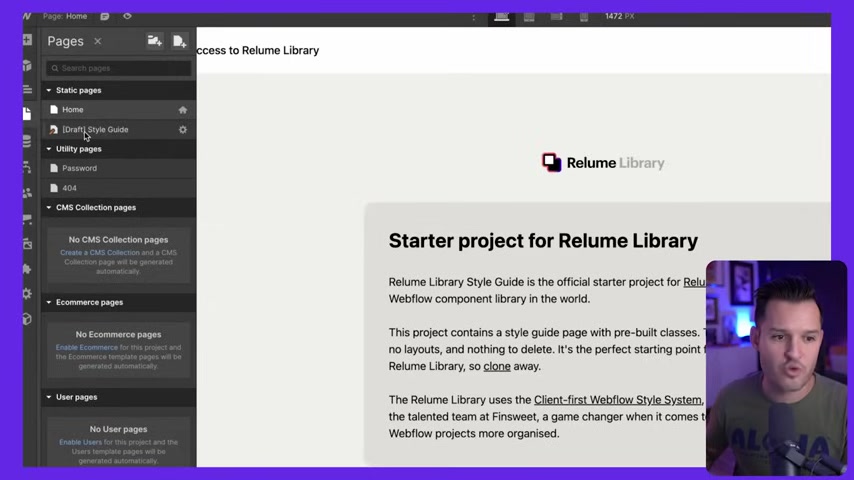
You can see the pages that I have in the left hand bar here are my home and I have a draft style guide .
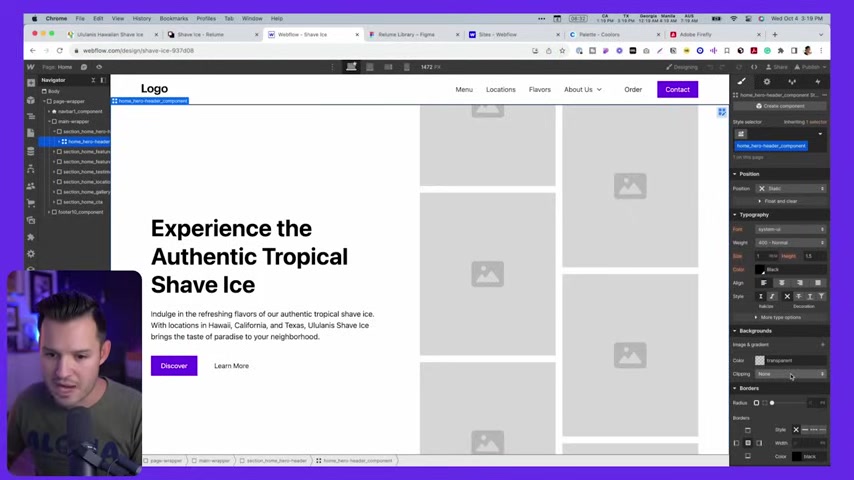
So while I'm here in my home , go to my layers , let's delete everything that's there .
We'll click inside the body and I , I copied from Re Loom .
I'm just gonna paste right here and boom , our site appears right immediately has all that basic styling , everything like that , we can immediately preview it .
We even get some of the out of the box animations right there from Re Loom , which is great .
The next thing we're gonna do is really , really similar .
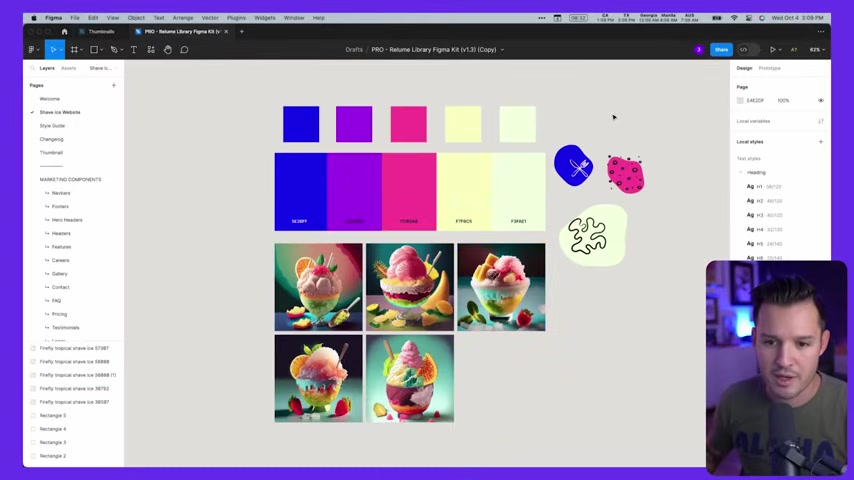
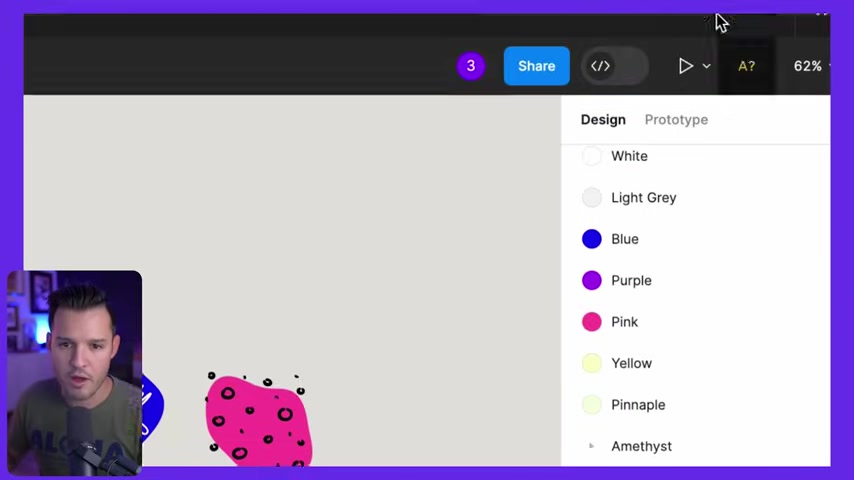
We're gonna go over to our style guide and we're gonna now change all of these elements , right ?
So , uh if you wanna change like the color that you're gonna use or you wanna change the buttons like whatever it is come in here and let's just as an example , let's just pick a little bit of a different color of purple .
But we're grabbing that , we're gonna take the border off , beautiful just like that .
And uh maybe we could even then grab like the border radius of these things and change it .
But anyways , you can make all those changes in the style guide because guess what happens immediately over here , boom , they're immediately applied inside of your project again .
And now you're just doing whatever little bit of bits of styling you need to do to , you know , like actually make it kind of interesting , right ?
We could bring that , that color down and boom , we're building a website .
All right , let's plus , let's press preview and see what we got so far .
What's really cool is that we have built this in a matter of minutes and it's already fully responsive with a working navigation and all we'd have to do is just spend a little bit more time , kind of like spicing up the layout , adding our colors , doing all of our brand work , maybe reworking the icons and we already have content written for it .
We have the whole thing pretty much done .
This is a really impressive way if you want to work with clients and increase your rate .

The way to do that is to automate a lot of the mundane things is to make the process faster , is to leverage tools like the re loom library as well as new re loom site builder to get things up quickly and then send that to your client as quickly as possible in doing .
So you are now increasing your hourly rate .
I could finish this website out maybe in another 35 or 45 minutes and I would be pretty much done .
There might be a couple of tweaks here or there if I have to work on it for a second hour .
Ok .
Thanks for watching the video .
If you enjoyed it , make sure to leave a thumbs up , subscribe the channel .
I do lots of videos about design and development and no code tools and processes just like this one .
So make sure you hit that bell .
So you know when another one of these videos comes out , do you want to try out relo check the link down in the description ?
I highly recommend it .
It's an awesome tool .
If you have questions , leave those in the comments and I will see you in the next one .
Partnership
Are you looking for a way to reach a wider audience and get more views on your videos?
Our innovative video to text transcribing service can help you do just that.
We provide accurate transcriptions of your videos along with visual content that will help you attract new viewers and keep them engaged. Plus, our data analytics and ad campaign tools can help you monetize your content and maximize your revenue.
Let's partner up and take your video content to the next level!
Contact us today to learn more.