https://www.youtube.com/watch?v=VtfYQlENLoM
DIY Giant Paper Poppy Backdrop Stand Paper Flower
Hello , this is Sarah and welcome back to my channel in today's video .
I'll be showing you how to make a giant paper .
Icelandic poppy .
All the materials and template is linked below the video .
If you want to use a letter size eight by 11 paper or 12 by 12 card stock paper , you could use it on the cricket or silhouette .
If you don't have a machine or want to cut on a bigger paper like butcher paper , you could use my template to hand cut and scale it bigger or smaller .
First , we'll start with the center .
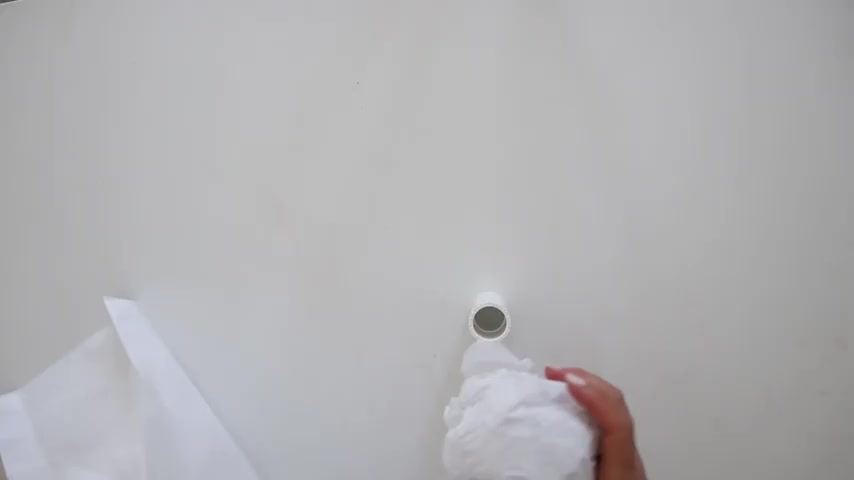
I'm balling up several sheets of plain white tissue paper .
You will need it to be about 4 to 5 inches in diameter .
Then glue this onto a coupler that matches your stem PV C pipe size .
Mine is a coupler for the 3/4 inch PV C pipe , then grab some masking tape and tape down a few times from coupler to tissue ball .
Next , we will get some yellow tissue paper and get a strip that is a little less than the top wi with the yellow tissue paper .
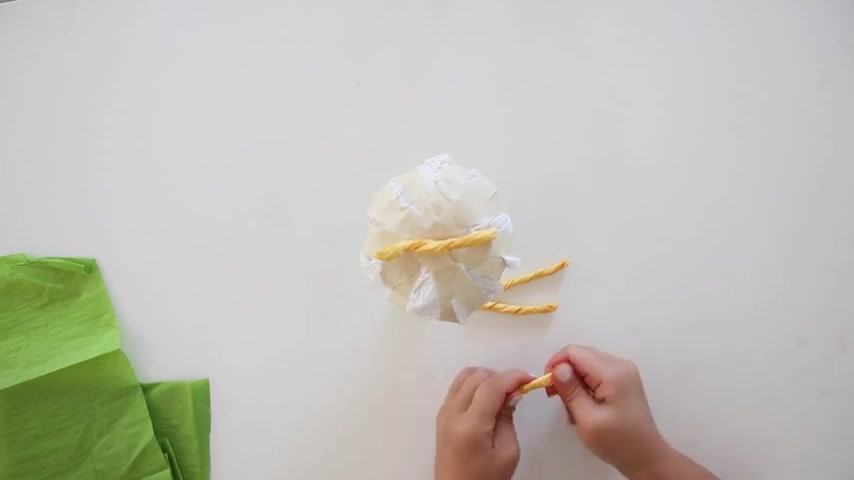
I'm bunching them up and twisting to make it look like a rope .
We are making four of them , then use the matte mod podge and put it over the rope like tissue paper and add another strip of yellow tissue paper and neatly wrap it up .
This is just to make sure it hides any imperfections .
Then mod podge the white tissue ball and add green tissue paper around it .
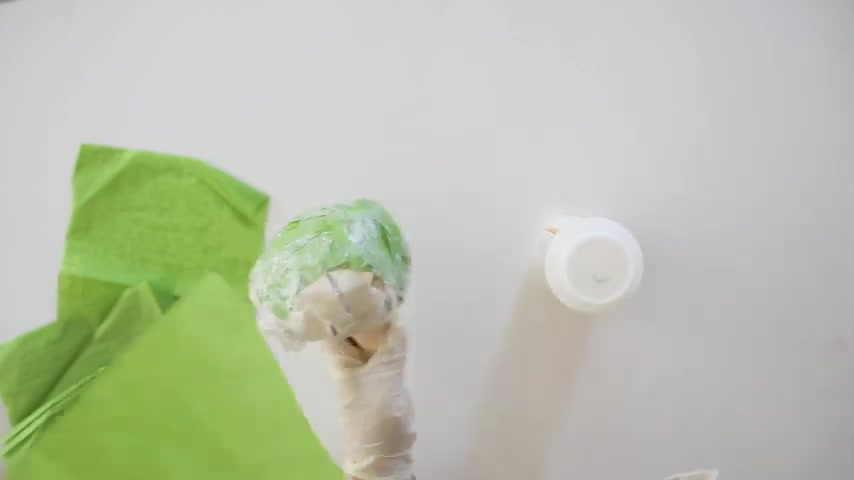
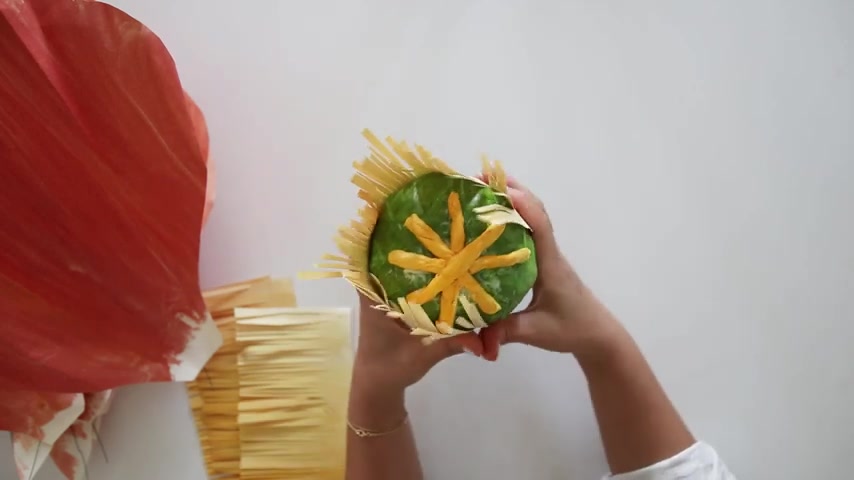
You want to mod podge the inside and outside , do one more last layer of green tissue paper to smooth out the top as best as you can and add the yellow pieces on top making it look like a star shape .
I cut the last two pieces in half to add into the plus sign .
Set this aside for it to dry .
It will take about an hour or two to fully dry .
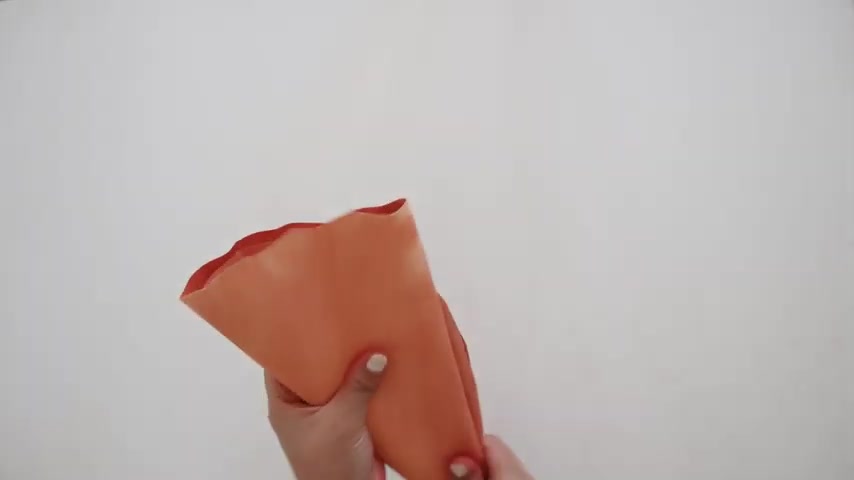
Then you'll need to cut six orange pedals .
You could do other colors .
I use a white card stock paper and painted orange squash paint on top to get a color I liked , but they have a ready solid color card stock paper that could work .
Fan , fold the pedals and slightly crinkled to add texture to each pedal .
Open it up and cut six short floral wire about a third of the pedal shape and some scraps of paper from the leftover paper .
When you cut out the pedals , I am attaching a wire piece onto the scrap of paper and adding this to the back of each pedal .
This will help it hold its form , you want it to be somewhat discrete .
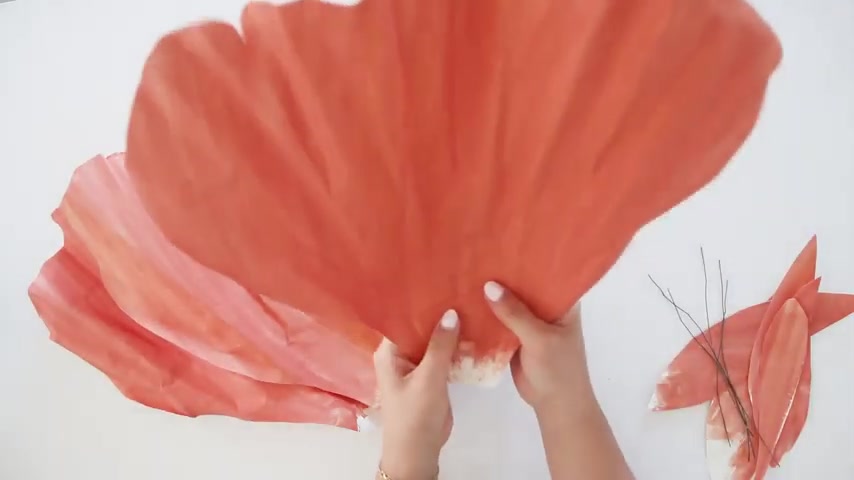
So make sure the last layered pedals have these wired pieces glued nicely trying to blend it in .
If you can , then you'll need to cut yellow fringes .
I used half a sheet of paper cut the long way , measuring about four inches by 11 inches .
Oh , welcome back to red A .
Today we have some easy paper flowers .
Yes , these are really easy .
They look great .
They're 3D and they pop out at you and they look fantastic now because I've done them in red and in white , and in these colours and patterns , I think they really look like point setti , which are perfect for Christmas .
So come on , let's take a look and see how they're made .
So to make these flowers , you will need a variety of papers and colours .
Now , today I'm gonna make this one .
But of course , you can just , er experiment with the different colours .
So this is a nice white one , which is lovely .
Or , um , you can put a little yellow centre on it and just glue on some leaves at the back .
So , really , it's up to you in terms of which , uh , flower , you feel like making , um and and of course , you can also add more layers if you want , but this is quite straightforward and a really nice , um , decoration .
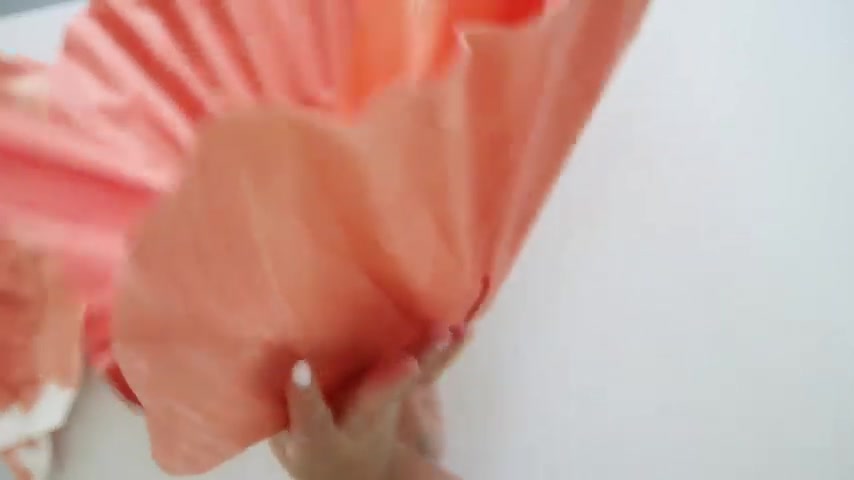
So make sure you try to evenly divide going around the circle into threes , then attach the last three pedals in between the first layered pedals and filling in any gaps .
Make sure the wired part is facing down .
So you don't see them lastly attach some leaves to cover up any messes and cover up the rest of the coupler .
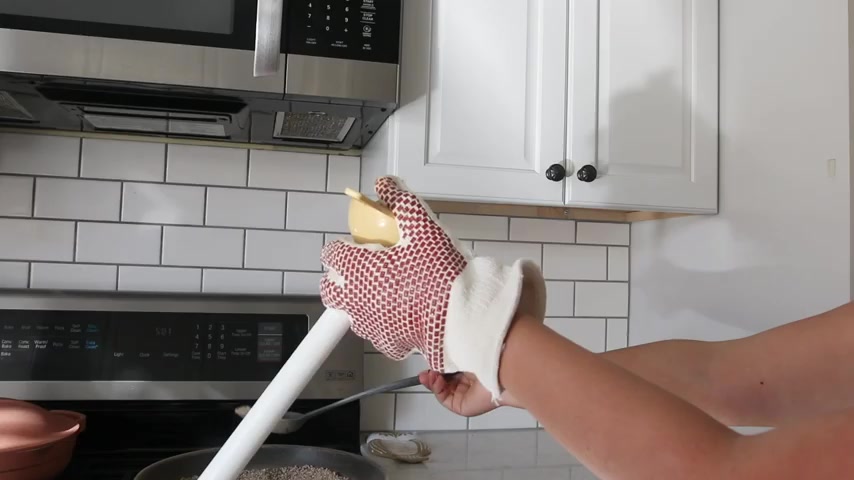
The next part will be how to build the stem and base for the giant flower stands , which is optional .
You could still make these flowers without the stem or coupler use as a backdrop to hang on the wall directly .
So what you'll need is two sheets of contrasting paper .
A little bit of the yellow for the detail .
Afterwards , you do need a stapler .
If you haven't got a staple of this craft , it's really difficult , Soss theres and maybe a little bit of glue just for the detail .
And the first thing you need to do is is fold your paper .
Now , as with our previous concertina or fans , this time again , we want to have really neat folds and we want them really evenly spaced .
So the way I'm folding it now just gives me the creases in the right place .
So the first crease , the second crease and the third crease .
Now , when you open it , you want to repeat this one here , and that's the first lot of creases and you do the same on this side .
Here we go .
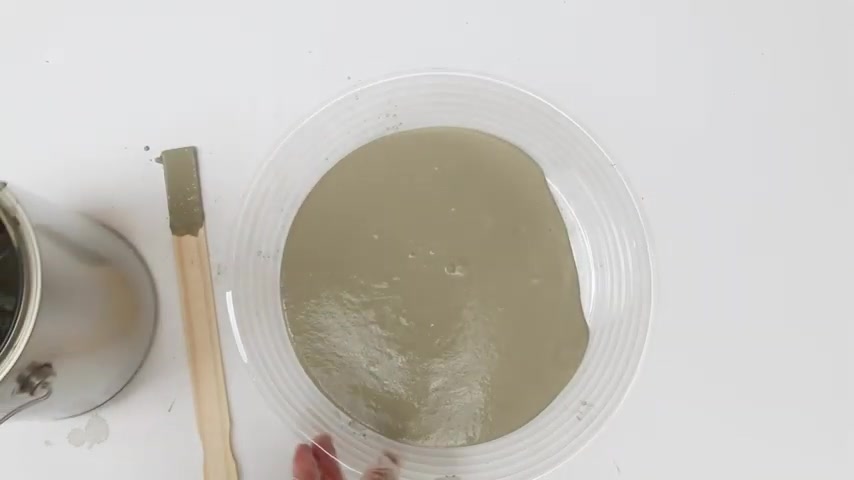
So those are all the creases , and then you just container it some of the creases in reverse .
But it still helps you with the fold .
So that's your first bit .
Here we go .
Now you do repeat that for the second piece of paper .
So now we have our two concertina .
Make sure the creases are really tight .
It does make things easier later .
What you need to do is is you need to look at where they open .
So you see , this is the open bit .
So please make sure you like this video and subscribe .
Thank you for watching .
Are you looking for a way to reach a wider audience and get more views on your videos?
Our innovative video to text transcribing service can help you do just that.
We provide accurate transcriptions of your videos along with visual content that will help you attract new viewers and keep them engaged. Plus, our data analytics and ad campaign tools can help you monetize your content and maximize your revenue.
Let's partner up and take your video content to the next level!
Contact us today to learn more.