https://www.youtube.com/watch?v=fFKY112RhpQ
Learning the Basics - How to Make Gorgeous Crepe Paper Flowers for Any Special Occasion
Welcome to craft school .
We're going to do our next crate paper flower series featuring our extra fine crate paper and the flower I'm going to do today .
I actually call it my basic wedding flower because technically it's not a flower , but it's something that I just made up and it's so pretty and there's so much flexibility in this flower .
So I thought you guys would have a lot of fun with it .
So let's get started for this project .
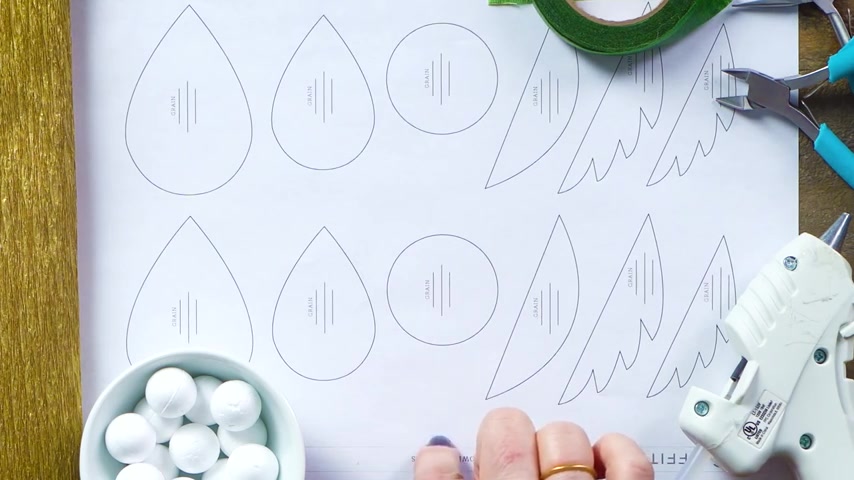
You'll want to start with your pattern and you can find the link to download this right underneath this video .
I also have three different colors of crate paper and you can choose different colors if you like to .
But we have a gold , we have our vanilla and our cypress green .
Below this video , you'll find a link that will take you to our shop where you can purchase our crate paper .
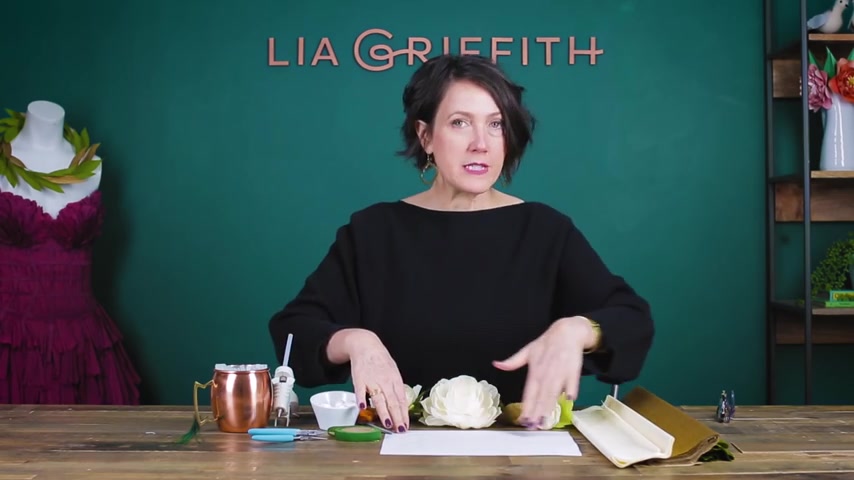
I have a three quarter inch foam ball , floral tape , a wire cutter and needle nose pliers , a low temperature hot glue gun , some 20 gauge wire and a pair of sharp scissors .
So let's talk about what you can make with this pattern .
There's actually two sets of the pattern here .
So you can have you a friend making them together .
That's always a lot of fun .
So I have two petals and then a centerpiece .
And the thing about this flower , I don't have a number of pedals because you can make a very small flower just using a few petals .
Or you can make a very large flower just continuing to add pedal after petal .
And that's what makes it so flexible .
I also have three versions of leaves that you can make .
We have one that has these points on the end .
And then there's also another one that's smooth .
And I've added a lot of variety by using the smooth and the gold and then the green using um the pointed leaf .
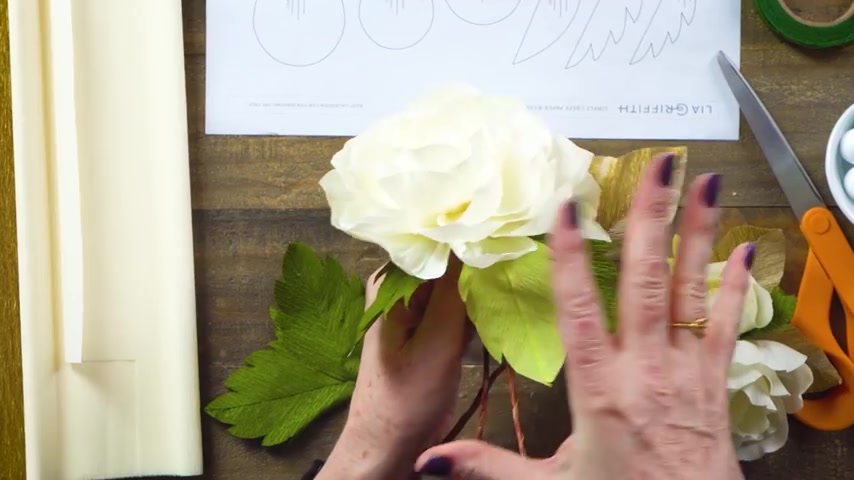
And again , you can see how I've also used another color of green for this flower today for our demo .
We're just going to do the one color .
But again , it's a place you can just get really creative , add your own color in it .
You can actually do a multiple colored flower where it starts as a white and turns into a pele pink .
There's just so much you can do with it .
And that's why I love this flower .
So let's start by cutting out the pattern .
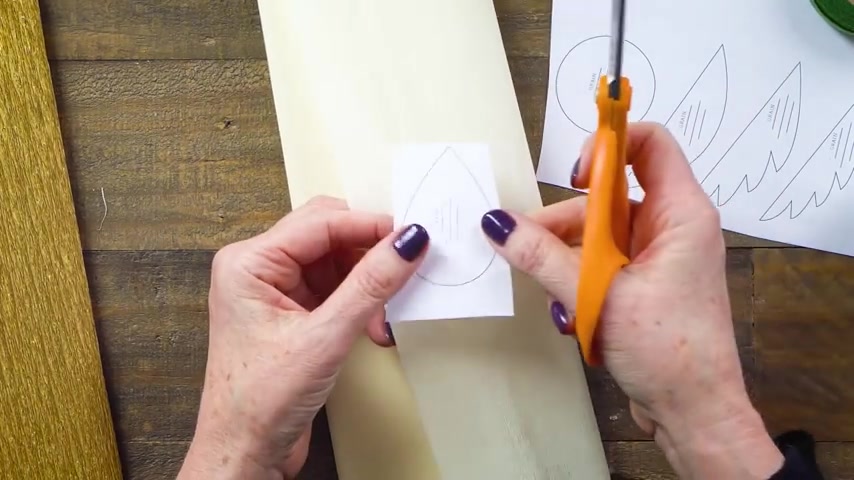
So like I said , there's two patterns on this sheet and now I'm gonna cut one of them off and set it aside for next time , something you want to note on the pattern itself is that there's these little lines with a note that says grain .
And this is really important when you're making paper flowers .
If you don't follow the grain line , your flower will not open up and curl the way you want it to , it will just kind of flop over and we , we don't wanna have any floppy flowers .
Now , you can go ahead and cut your pattern out ahead of time or you can just kind of cut it roughly and place it on the paper .
This is the largest pedal .
I'll just cut a few of them .
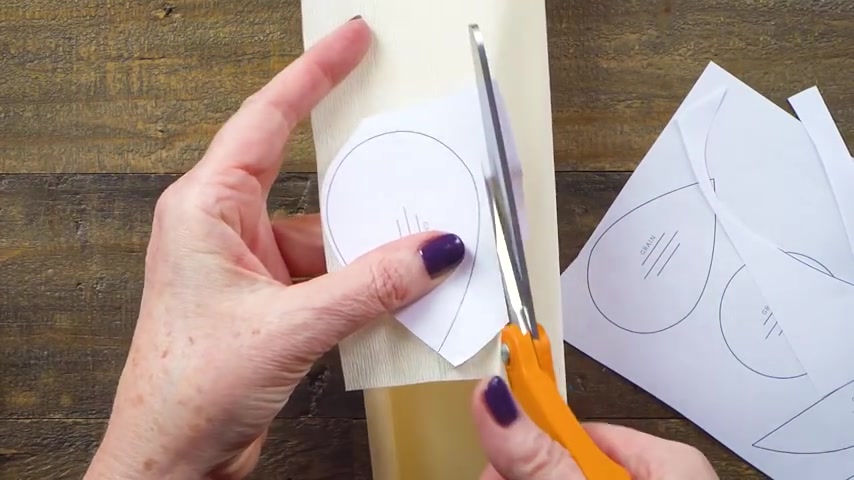
And I , I'm setting it on the paper and cutting about the same width as I might need for this pedal .
Go ahead and do a full strip , then lay the pattern on top and give myself strips of about the right length .
And that way I can stack the paper .
This is extra fine and it's so easy to cut that .
It would be a waste to cut one at a time .
We might as well stack them and cut multiples and then just simply cut around the pattern .
It's that easy .
And there you go , you can see how some of this curls up a little bit , but that won't matter because once we stretch it , it will hold its shape .
Another thing you might want to note though is you can actually put this paper on the ironing board , put a , a cotton cloth over the top and a medium iron .
No , no water , no steam .
And you can actually press this flat because it's such a fine crate paper .
It will not crush the crepe .
I'm going to cut the same color with the smaller pedal and then the circle and again , you can mix it up , add some different colors if you want to .
But for this video , I'll just show it in one color .
The sim of the flower is made from a 20 gauge wire and I'll show you a little trick on how to make sure that the center stays on .
I'll start by using my wire to poke a little hole into the ball .
You can do that or you can even take some needle nose pliers and give it a little bit of a , a hole that way .
Then I'll take my nose pliers and bend an angle there .
So just so I have a little bit of a bulk that way .
Um It's not just one wire .
This will give some surface where we can add some glue and the glue will stay in the ball .
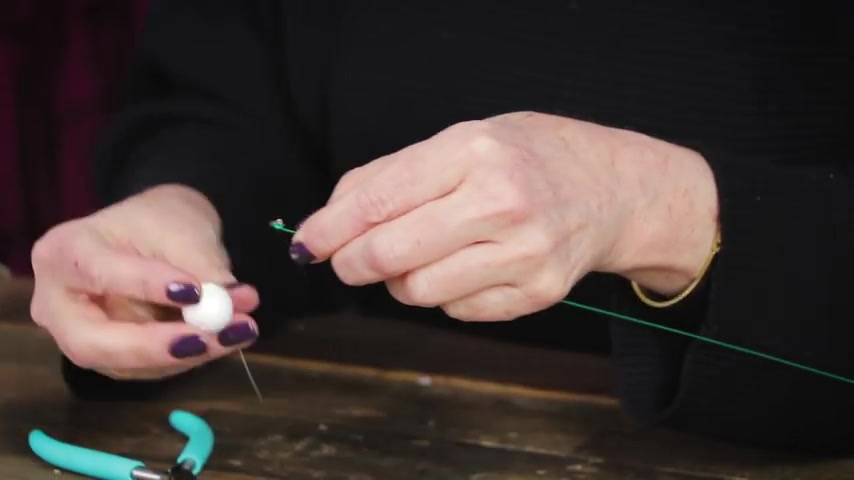
So I'm gonna add the glue right there on the tip of that wire and then slide that into that premade hole .
Now , if you feel like it , you can add a little bit more glue , you wanna make sure it's really secure and that should stay , then I'm gonna take my circle , stretch it out just a little bit .
So we have almost a cup form and place it around .
Now , it doesn't quite cover all of the back , all that .
We'll make sure it does in the long run and put a little glue on the sides and then we'll stretch that down and around .
See how much stretch we have .
It's 100 and 30% stretch .
And then when you twist it around , it actually covers the whole ball .
That's efficiency in the use of paper because look at that .
So this is the center of my flower .
Now , I'm gonna start with the smallest petals and very gently .
This is light , soft , delicate paper .
I'm just gently going to pull this out to give it a little bit of a cup shape .
So this method is to have a very smooth top and more of a cup center and this will give you a really nice center .
Now , another thing that I like to do and since this flour is just made up , so we can do whatever we want , go ahead and stretch that out a little bit and then take the very top edge and give it a little bit of a stretch .
And that will create this light ruffle and give it some extra texture .
So with that , I'm putting some glue right on the tip point and then placing it onto the wire and wrapping it around .
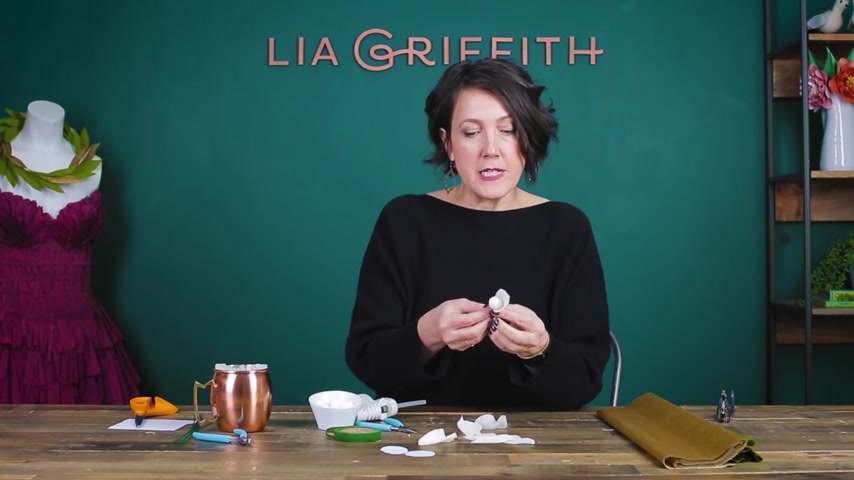
I almost want the peel itself to kind of come around the center .
So that's why I'm tucking it all the way under .
I'm gonna use my unruffled ones first .
Keep doing that and I'll rotate around the center as I go and overlap the petals little by little .
So that by the time you come all the way around it has a natural look .
Now , if I were making a bone or something like that , I might stop right there .
Add a leaf , a little bit of floral tape and that looks really pretty .
That almost looks like a tulip in a way .
But it's a bulb .
It's a , it's a fresh spring flower .
So that would work .
But I want to make it bigger .
So we'll just keep going .
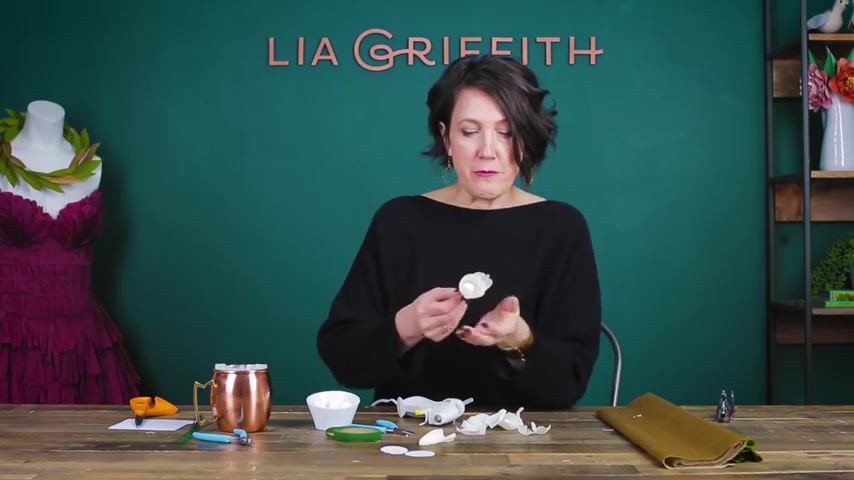
And as I place them on , I try to position it so that each pedal sort of folds out from the last one rather than having them sit right on top of the other .
And you just have a stack of really tightly laid crate paper .
You want to kind of give that extra shape and that's easy to do when you place the glue and you put , you put it right there on the wire , you can sort of position it and maybe even pinch it a little bit and this will give it just that little um to push away from the last pedal .
I have a few more of the small petals and I'll save that for my next flower .
And now I'm going to move on to the large petals again , just to point out this is really pretty .
You could stop here , add some leaves be done with it , make it into a corsage or a very large but mir but I'm gonna make it bigger .
Let's keep going .
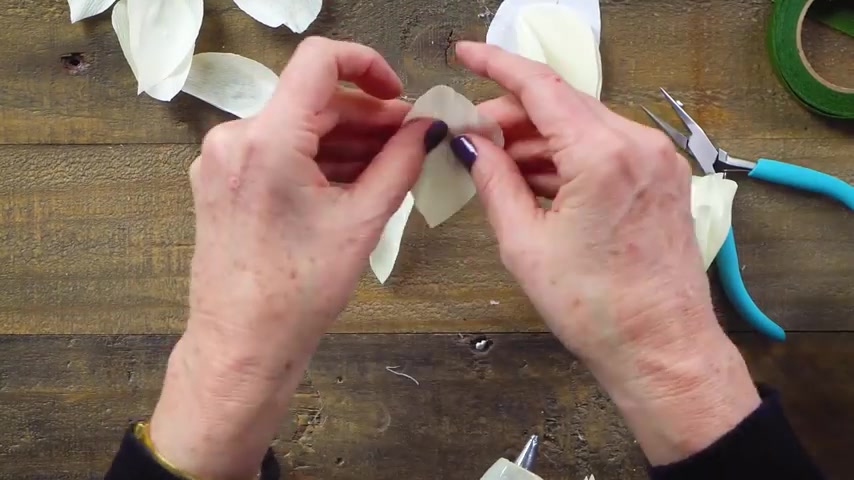
Same thing , I'm gonna stretch the inside to give it that bull pedal shape and then give it a little bit of texture on the outer edge .
And again , be really gentle .
You don't want to pull too hard because then you get cross lines in your crate paper and it loses its , its form .
So it's , it's a little bit of a gentle stretch while I'm stretching these .
I'm going to talk about the difference between this crate paper and then the what we call Flor crate paper , which is something that um we also have Flor crate paper and you can get it from a company that manufactures in Italy and it's a lovely crate paper , beautiful and it works really well with certain flowers , but something like this that's so delicate and it , it has more of that wedding feel .
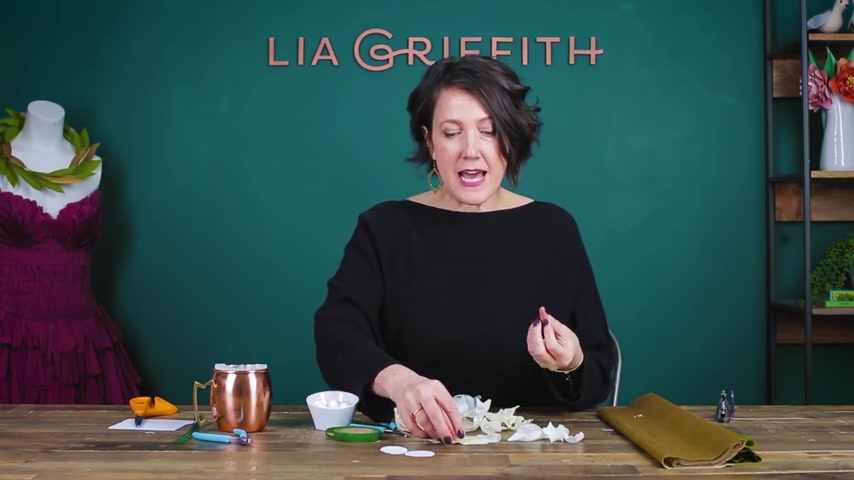
This extra fine crate paper is just perfect because it has that natural note to it and it doesn't have the heavy creases that you see in the floor stick , which sometimes is perfect for another project .
So the truth is I love it all .
Any kind of crate paper , any kind of paper , right ?
I'm gonna keep going .
Same thing , I'm just going to start where I stopped and keep going around in a circle .
Paddle after paddle overlapping just a little bit .
You can see that .
All right , I'm going to stop right here for this flour again .
You can keep going .
I love seeing them when they're almost , you know , a half circle .
They're so big and there's so many flowers that looks beautiful in a bridle bouquet or even in a vase .
Just one flower in a vase .
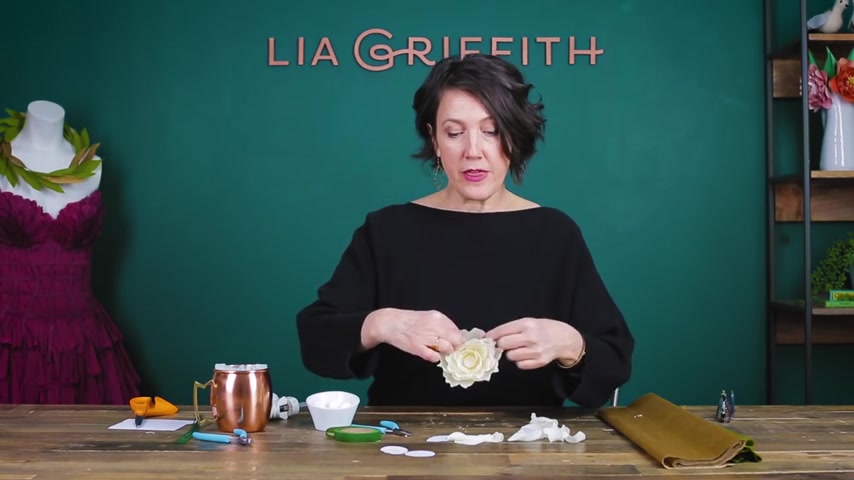
So pretty .
So I'm gonna show you how to finish this flower off .
I like to cover my wire with floral tape because it just looks nicer .
It looks more finished .
But one of the things that I have found that works even better than tape straight on the wire is tape on paper .
So I'm just gonna take a little strap of this green paper .
You can see , I just cut a strip , maybe a half inch , three quarters inch , put some glue on that and put it right at the base .
I'm almost using this as a floral tape itself , adding a little bit more glue and then just wrapping it around so that I'm having a , a really nice transition .
Can you see that there ?
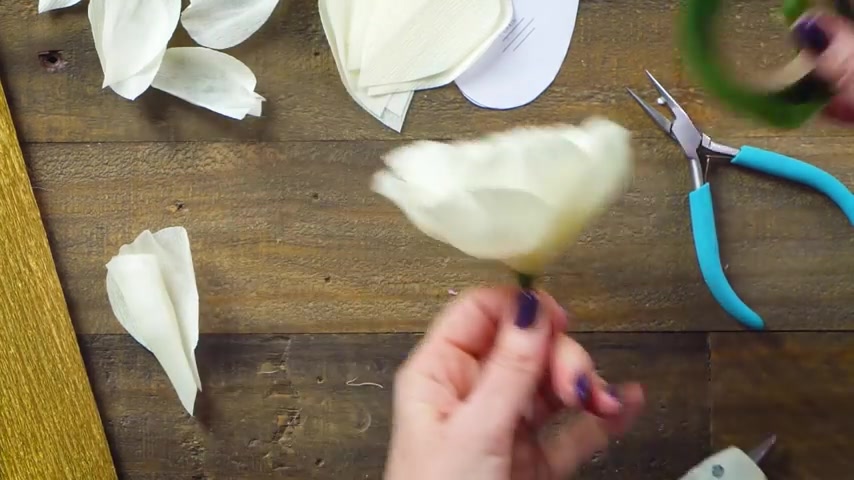
Um I'm having a nice transition from the crate paper of the flower to the wire and then when I take my floral tape and we'll wrap that right , starting right on top of the crate paper .
A much nicer hold and then we can transition it right down onto the wire and it's a smooth transition .
And the trick with , uh , floral tape is just remember , it's not sticky .
It's waxy .
So you'll want to , uh , activate it by heating it up with your fingers and just adding a little bit of stretch and that will activate it and it actually gets a little bit sticky .
I'm going to cut this wire down .
It doesn't need to be quite that long and just finish that off .
So now that we have a flower done , I'm gonna show you how to make the leafs .
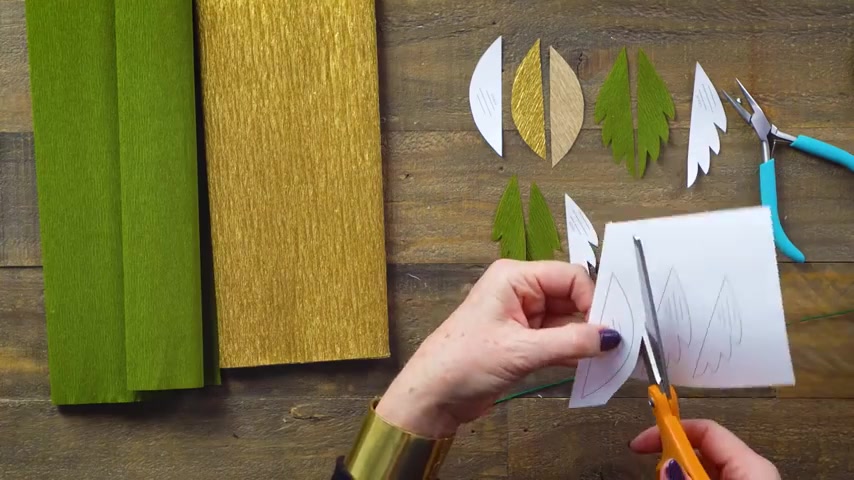
I have three different leaf patterns here .
And one of the things I want you to take note on the leaves is it's actually a half of a leaf and we have our score lines , but they're at an angle and this is really important .
Let me show you how this works on this leaf .
And this one , I used this gold paper .
So we'll cut a little piece of that .
I'll start by placing the leaf onto the pattern with the , the proper um score line and we'll go ahead and cut out a strip of that .
Now , notice that I've made it a little bit wider because what I'm gonna do , turn it around so I can cut it all right .
So I'll cut this line first .
And here's the trick .
Sometimes I have to go around in circles for a minute .
So we take this and flip it over there we go .
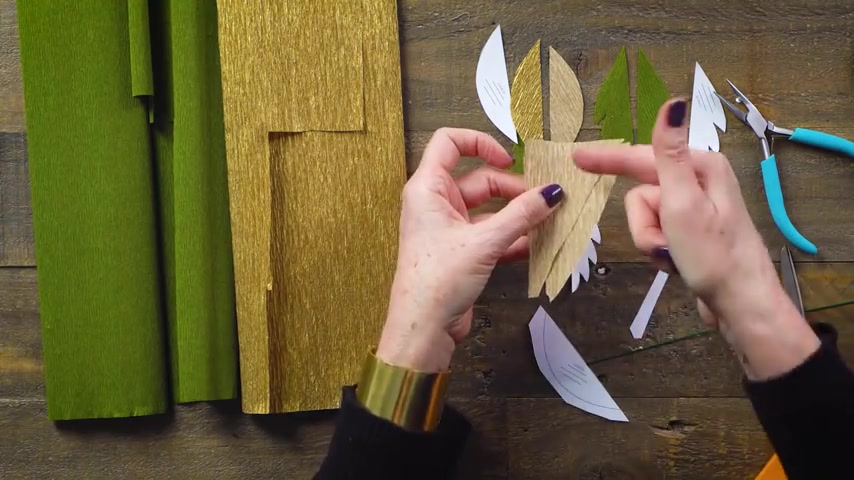
So you can see the lines match each other and then the angles match each other place the pattern back on and then cut that out and you have a full leaf because once that's cut , you just open it up and then you have the lines , the green lines going into a V .
Now , I really like this on the gold because one side is a printed gold and the other side doesn't have print , but it has just that tint and I think that adds such a pretty texture of having the two tone .
So that really works for me .
Now , if you want it gold on both , you , you'll have to cut it out that way , maybe do two of these and then do two flip to the other way and then you can partner those up .
So this is how I glue together .
There's a couple of different ways that we can do this .
One way is I just simply run a bead of glue right down the edge again and you have to be kind of careful because sometimes the glue shows .
Um and you wanna make sure you cover it up and then I place my second leaf half right over the top of that glue and let it cool .
Then I might trim it out just a little bit so those ends match up , place a little bit of glue right on the tip , put my wire , I'm placing my leaf at a bit of an angle and then the other one right on top of it so that the wire is hid in between .
Then you can go ahead and put some tape on that .
If you want to do the trick where you add a little bit of crate paper on top first and then tape it , you can do that as well or you can actually just bunch it up just a little bit on top .
You know , leaves have a little bit more movement , they're not quite so flat .
So this might add a little bit more of a realistic look to it .
That's my first version .
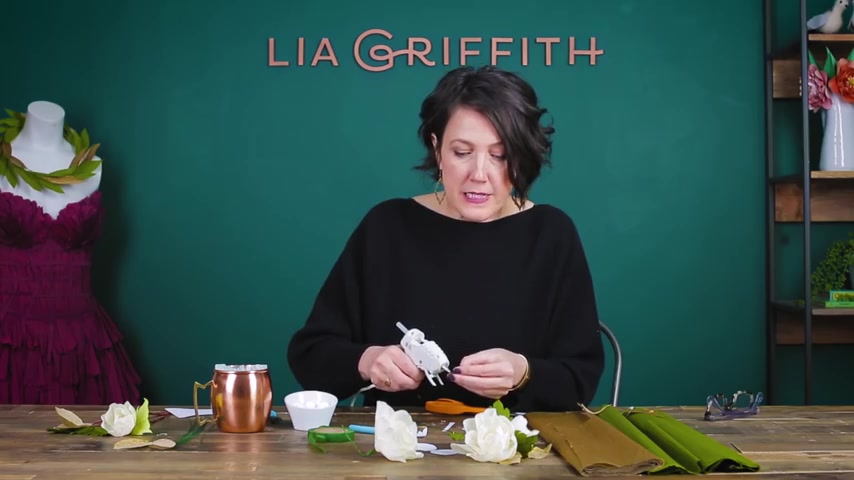
So here's my 20 gauge wire , the higher the number , the lighter weight .
And I find that 20 is about as light as I want to go .
And it's thin enough to make beautiful leafs because you want your wire fairly thin on a leaf .
So what I'll do on this one is place my glue right down the edge again .
But rather than putting the half of the leaf , I place my wire right on top .
And if you do it fast enough , you can get your other half on top of it as well and use the rest of the glue that's kind of falling out from behind the wire if you're not .
Well , it looks like I was fast enough .
If not , you can go ahead and add another line of glue .
Now , my ends , got a little messed up there , but that's ok because I'll just trim that off .
Now , the nice thing about this is I can give it a little bit of a bend and that's really fun to work with , especially when you're doing , you know , some bridal bouquets or Boers where you want the leaf to actually move in a certain direction .
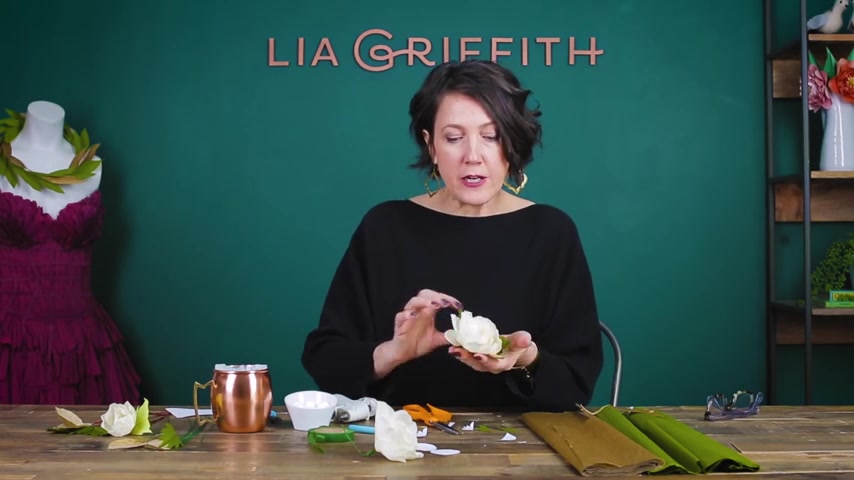
This gives you more control .
So there's my second option .
Now , you can see here how I've used different leaves .
This would be for a cros , I've just tucked them in .
I have some light green and dark green .
I just glue them right behind the flower itself and use the wire is what we'll use , you know , to pin this to the dress or the suit .
Another way that I would use a leaf is just on a stem .
We're gonna add it to right underneath the flour and this would go right into a bouquet or you can just create leaves like this in stems and then add them into the bouquet as well .
So this gives you a lot of options .
This is what I wanted from this flower .
I wanted it to be a universal flower that you could use for so many occasions , different colors , different ways .
And I think it's really pretty .
So you guys go home and make this and send me some pictures .
I want to see what you do with that .
I want to see your creativity come out as well .
Are you looking for a way to reach a wider audience and get more views on your videos?
Our innovative video to text transcribing service can help you do just that.
We provide accurate transcriptions of your videos along with visual content that will help you attract new viewers and keep them engaged. Plus, our data analytics and ad campaign tools can help you monetize your content and maximize your revenue.
Let's partner up and take your video content to the next level!
Contact us today to learn more.