https://www.youtube.com/watch?v=xv9nnEhgfuY
How to Make a Coffee Can Forge

In this video , I'm going to make a forge .
I've made one previously like 10 years ago using um some fiber board that's used to line a kill and um a special type of glass wool .
Um But I just need something to heat up to bend some metal rod .
So , uh hence why I'm doing this project .
So I searched around on the internet and there's a few different variations on how you can do this .
There's one you can use .
Um I think pear or maybe something like that where you can make your own refractory .
I opted for a simpler refractory , um using plaster of Paris and sand anyways .
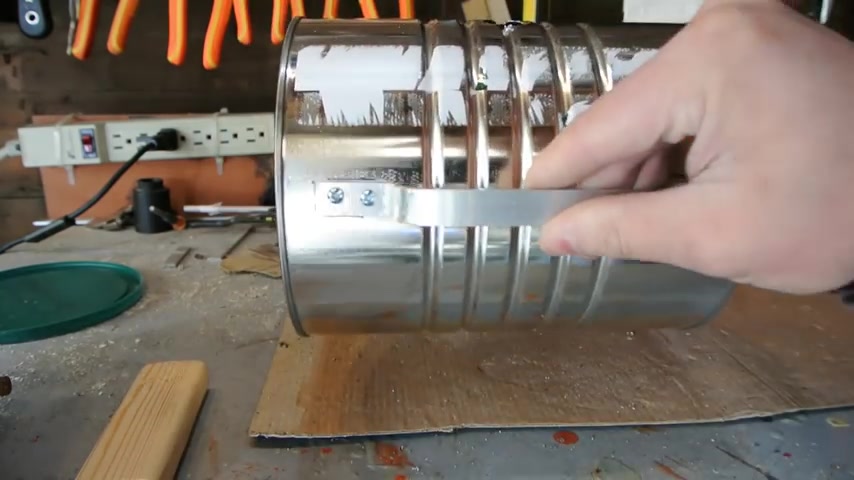
Um I'm just gonna talk about the body of the , of the forge right now and all this is a simple uh coffee can I put some bolts on it with some nuts , put those in lock , type them in and in a handle made out of aluminum and that's it .
That is the body .
I poke the hole out in the bottom , that's gonna be the exhaust or the back of the forge and you don't have to do that .
Um I've seen some videos and websites where people leave that filled in and then they just line the inside with the refractory material and then they heat it up .
Um But because I wanna be able to shove a rod all the way through , it makes it easier to have that opening , but you're gonna lose some efficiency , obviously , that way too .
So that is it for the body .
Next , we're gonna mix up some refractory .
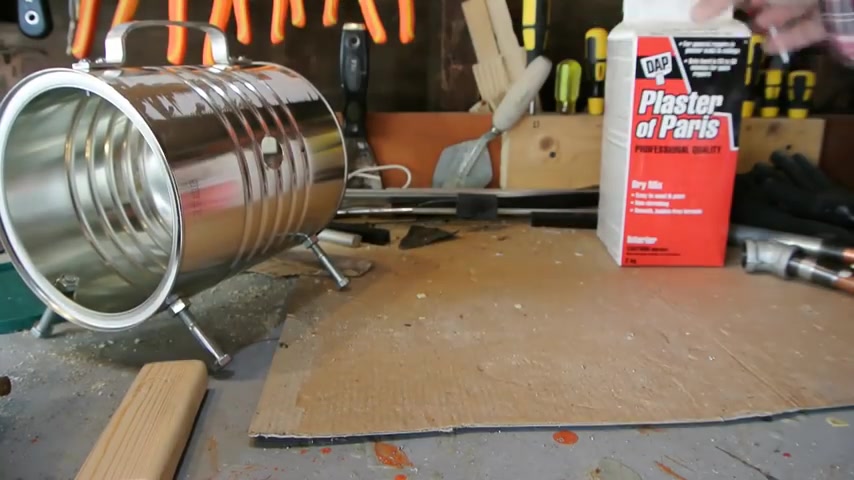
Um Basically it will be plaster of Paris and one half , plaster of Paris and one half .
Um I should say one part plaster of Paris and one part uh sand um mix it together and then pour it in , I guess before we get to that , I should mention that I need something to be the chamber , the forge chamber and I'm going to use this empty can of raid .
Um It's about the right size that I want .
You could use whatever piece of plastic tubing um pipe and as you can see , it just goes , it's gonna be like that .
So is this , what's gonna happen ?
Is gonna sit up right like that and then the the can of uh the can will sit right in the center here and then I'm gonna pour the material in .
That's it simple as that next .
Mix up some material and pour it in .
Ok .
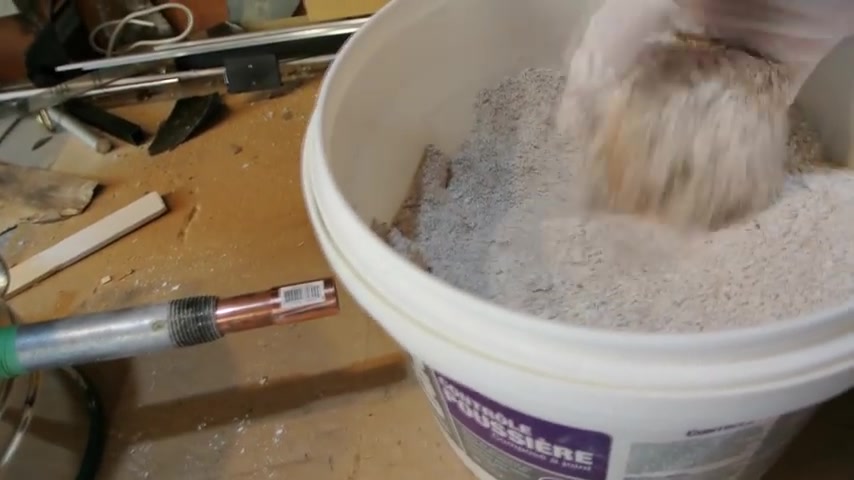
I have my refractory mix on combined one part plaster of Paris , one part sand .
Um Just regular .
I got some sand right there .
A bag of it .
Um And then the plaster pairs .
So one part , 1 to 1 ratio and then I'm doing about almost a 1 to 1 ratio with water as well .
So water right here .
So what I'm gonna do is I'm going to pour it in and then start mixing it around and then I'm going to pour it into the forge and then let it set , doesn't get any more straightforward than that .
So just pour this in , just gonna start mixing it around just to see what it's like first .
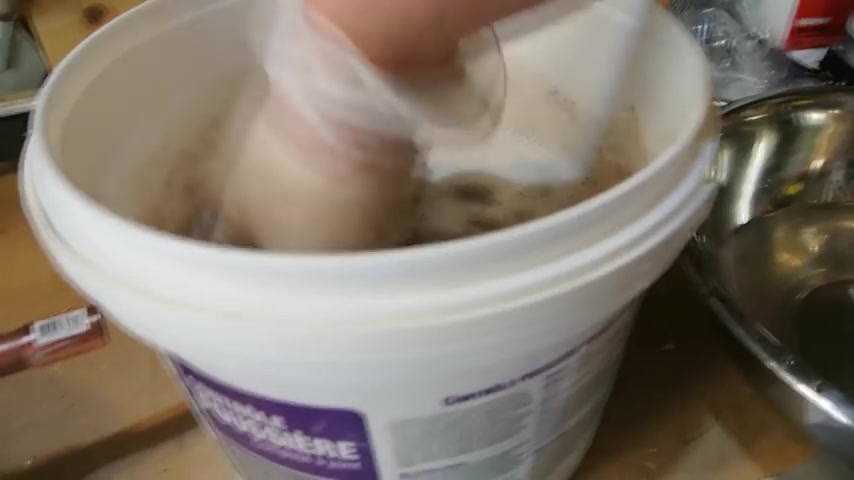
And I think I have only about 15 minutes to work with this .
So I'm gonna put the camera down just so I can get mixing .
All right , start pouring it in .
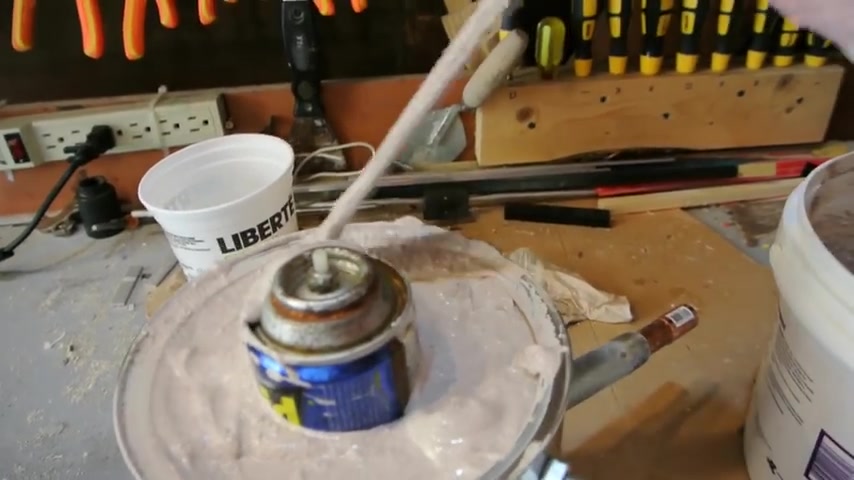
I'm gonna let this secure a bit , let it dry and then I'm gonna wipe it with a damp rag after about half an hour .
At least that's what I saw in another video .
Just fix this up a little bit .
Alrighty , let's let it set .
You can see a type inside there ready .
Ok .
It's only been about 10 minutes and the plaster is already starting to set up .
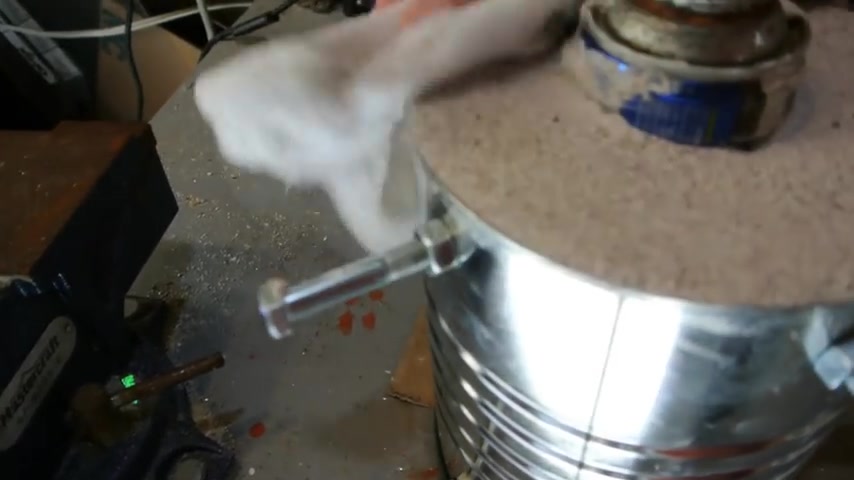
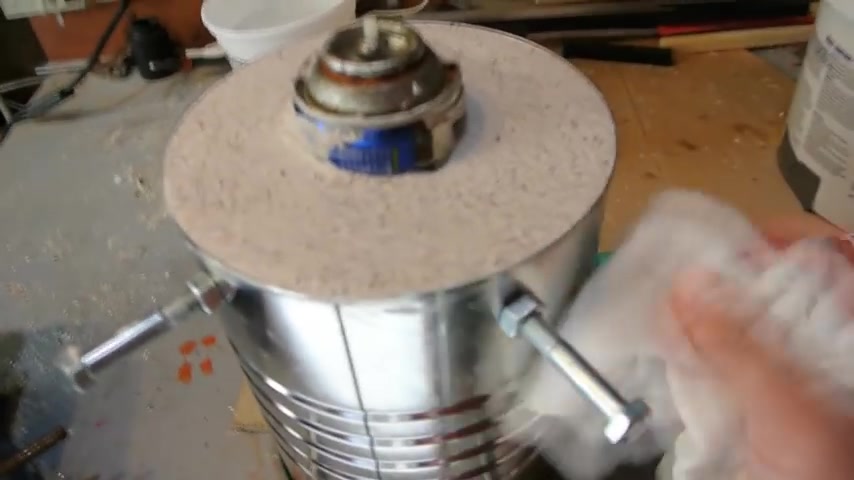
So I'm just gonna give this a nice wipe just to smooth out the front of it with Dan brag and clean up anything else then I'm gonna pull , oh I guess I wasn't in focus there or it wasn't even in frame .
I'm gonna pull this can out now .
416.649 --> 522.63
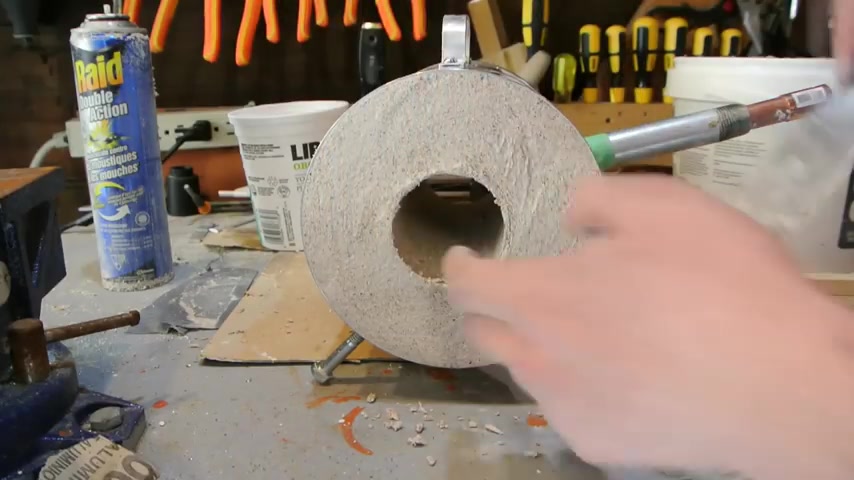
Here we go .
One Fords Chamber looks pretty good .
Just clean this up a little bit .
Hasn't fully set yet .
So you gotta be careful and take out the torch head .
Ok ?
I just wanna mention real quick what I'm using for a burner .
I'm gonna use this Benzo Matic Surefire Ts 8000 torch .
Um , I've used it for all kinds of things and it works awesome .
So in this case , it produces enough BTU to heat up this uh two red hot .
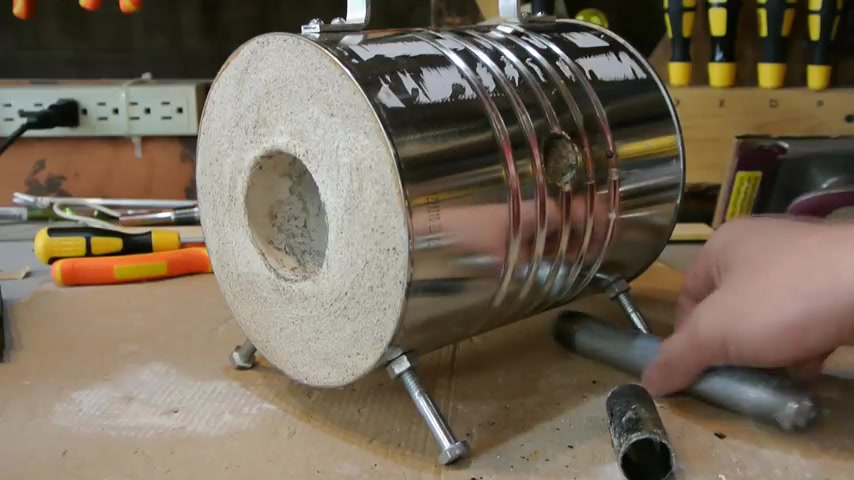
What I'm going to do though , originally , I was going to make my own torch and , but I don't , I'm not gonna bother .
Now I had used this piece of pipe in the earlier part of the video you saw that I used it just to make this hole .
The reason is so that I could also add this insert so that this torch head sits in like that .
So it's not sitting directly on the refractory .
And this is just from a broom handle .
This is a piece of steel and just goes in right like that because this refractory the wall is so thick .
I'm just gonna add a little extension .
It's not really required , but I'm just adding it just to so that this torch head doesn't heat up too much .
I want more of it out in the open air for cooling probably doesn't matter .
But just for safety , I'm gonna , I'm gonna try it .
I'm gonna do it .
So all this is , is a half inch coup .
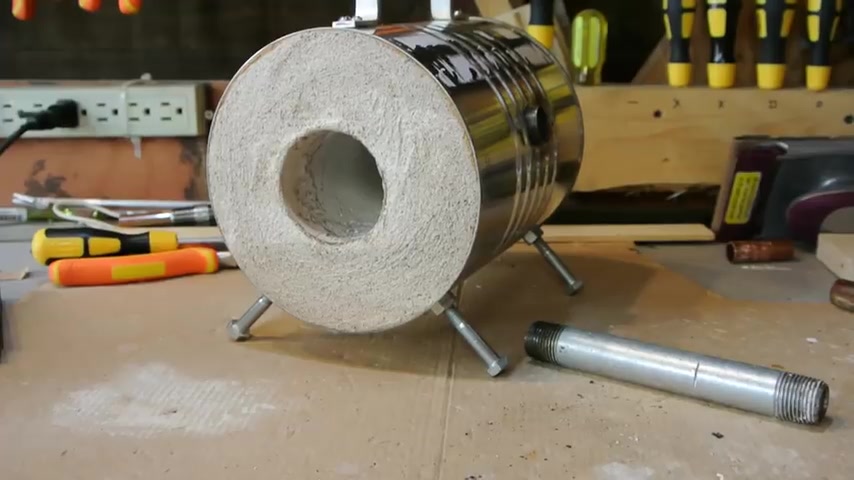
Hope they got that in frame , half inch coup for copper copper , uh , pipe .
And then it just goes in right like that .
So I'll do a test firing and , uh , we'll be all done .
Ok .
I'm gonna do a , a test fire .
Have my torch , have it connected up to a hose that goes to a £20 barbecue tank over here .
I highly recommend one of these hoses .
This was origin .
This hose was originally for a barbecue , I think .
Ok , I gonna fire this up .
Might have to adjust the focus .
Are you looking for a way to reach a wider audience and get more views on your videos?
Our innovative video to text transcribing service can help you do just that.
We provide accurate transcriptions of your videos along with visual content that will help you attract new viewers and keep them engaged. Plus, our data analytics and ad campaign tools can help you monetize your content and maximize your revenue.
Let's partner up and take your video content to the next level!
Contact us today to learn more.