https://www.youtube.com/watch?v=idwxgYohK90
How To Make Better Coffee on Home Espresso Machine - DeLonghi Dedica EC685 Tutorial
In this video , we want to share the tips on making the best possible coffee using a cheap home espresso machine .
Like this one we picked the and it is very affordable espresso machine .
You can get at around €150 if you have it already or plan on buying it .
We will share some tips and tricks to make best possible coffee out of it .
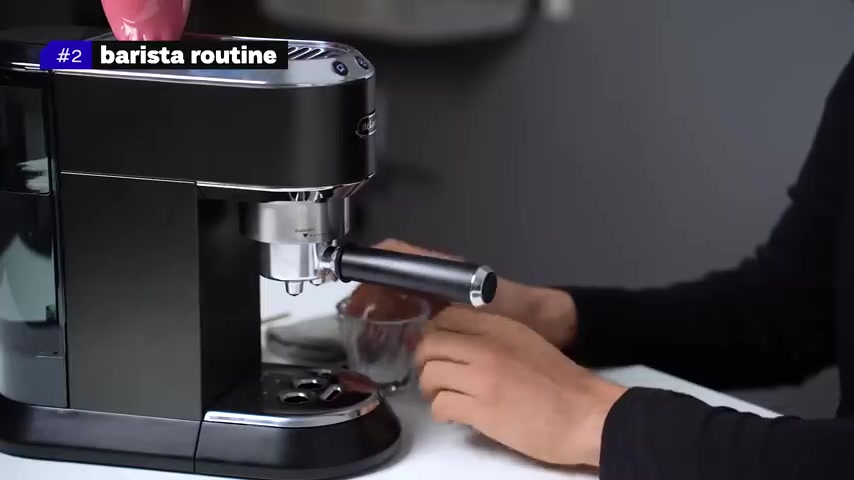
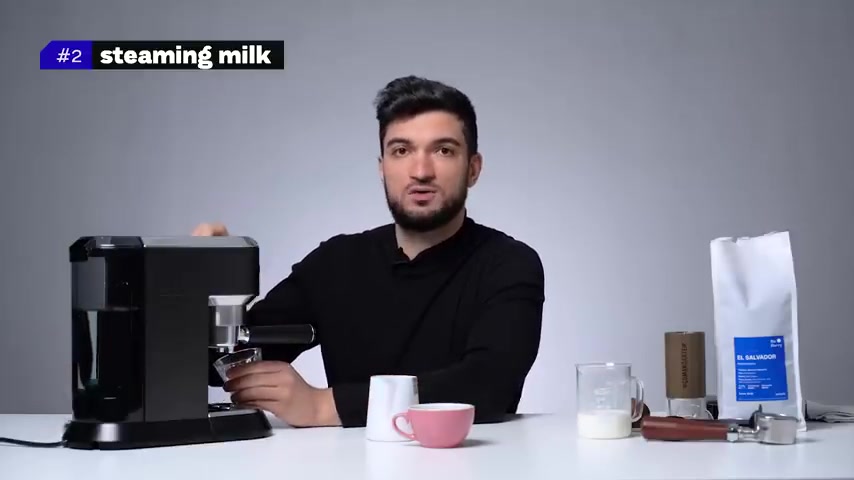
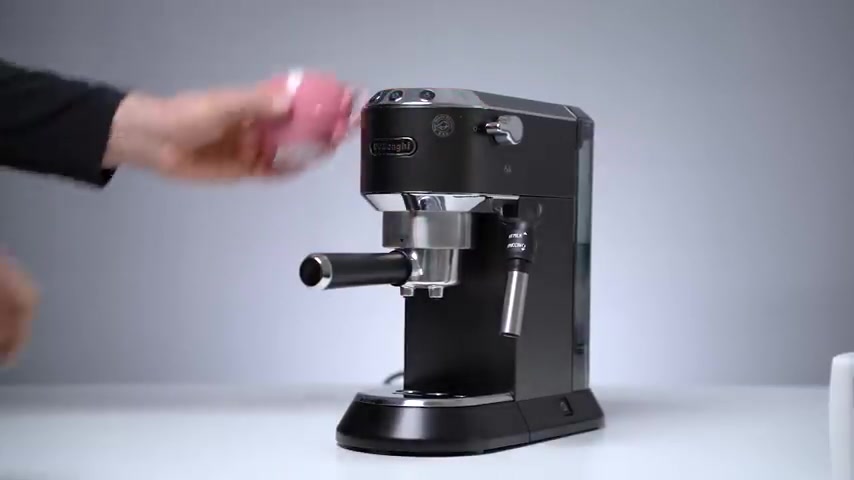
When you look at the , it's small and frankly quite pretty espresso machine that fits nicely on most kitchen counters .
It has a water tank that fits around one liter of water port , a filter with pressurized filter basket , three control buttons , a steam wand with hot water dispenser and a switch on off control and like automatic espresso machines .
Two things make using it a little more complicated but also more fun .
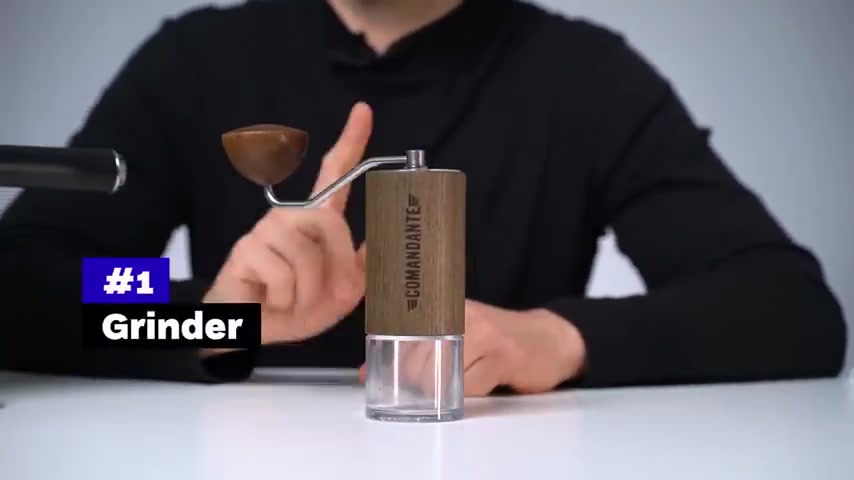
First , you need to have an external grinder which is essential to brewing tasty coffee yet it adds to the budget or it will depend on pre ground coffee .
Second , it's quite simple to use it , but there are more steps than just pressing a button .
You need toast coffee , put it into a porta filter , temp it control the dose , you need to learn some basic barista skills .
OK ?
So let's make coffee .
Now we will start with a simple routine with pre ground coffee and then we will progress towards more sophisticated barista routine that Ys nice tasting espresso using specialty coffee beans .
So this was super simple method how to make espresso with pre ground coffee .
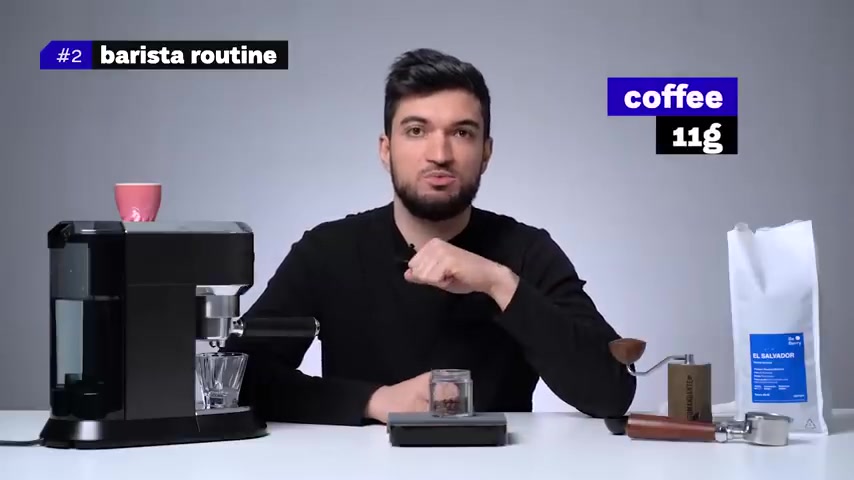
But now we will show you more advanced technique .
We will need a scale to wait our coffee and coffee beverage , whole bean specialty coffee to get a better experience and a high quality hand grinder .
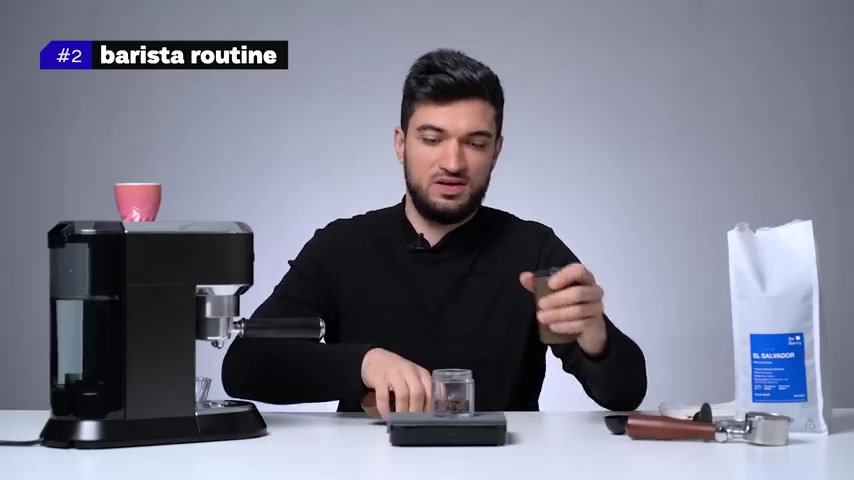
So now we pre weighted 11.5 g of coffee in espresso grinding , which is very fine .
Sometimes the coffee gets sticked on the grinder .
So I'm gonna use 11 g for brewing the espresso .
Why ?
11 g ?
Every porta filter has a different size .
When you grind the coffee , tap it in the porta filter and put it inside the machines inside .
If you lock it , the coffee shouldn't be touching the group head .
So after you do this , when you take out the porta filter , the coffee ground should be dry and clean and shouldn't be broken or shouldn't be wet from the group head .
If it's touching the group head , this should never happen and you need to decrease the amount of the coffee .
Let's grind our coffee .
I'm using a hand grinder which is a very high quality grinder that you can use for espresso .
But you can also use different grinders or electric grinders .
The important thing is that the grinder is able to grind very fine for the espresso preparation .
If the grinder cannot grind fine for espresso , you end up with a coffee that's flowing too quickly and it will become under extracted , watery and sour .
So let's grind nice .
The coffee is ground .
One more thing we will do .
We are using a specialty coffee that is roasted for espresso , but still it's much lighter roast than pre ground on very dark roasted coffee for brewing and achieving higher extraction and better taste .
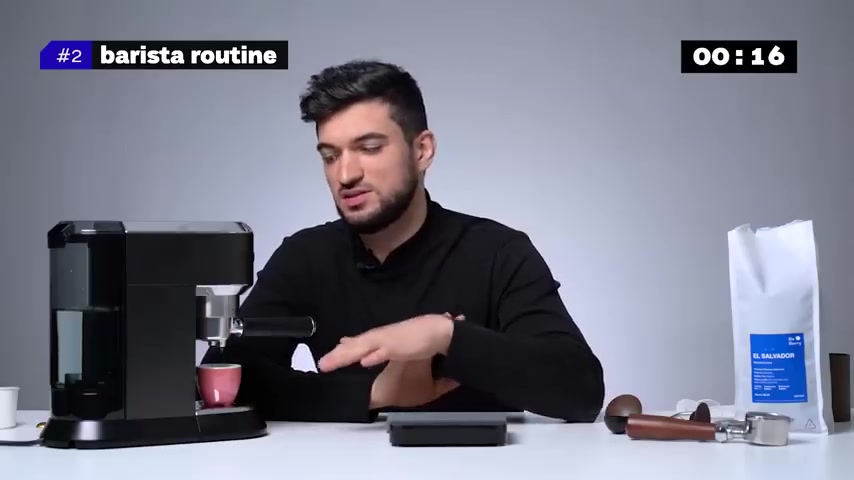
We need to preheat the machine so it's as hot as possible .
So first we will just rinse it with hot water .
OK ?
Now the porta filter is wet and if we would put the coffee inside , it would start preparing , it would touch the water and the extraction would start .
So we need to dry it nice and clean .
We'll put the porta filter on the scale .
This is a little guy who will help us to get all the coffee inside the porta filter and not everywhere around .
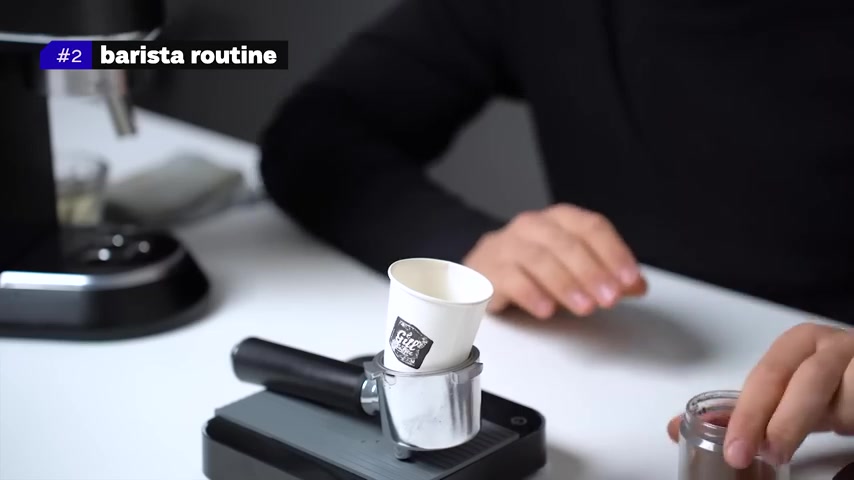
Now , I tear the scale just to check our 11 g , put the coffee inside and we have a little bit more .
So I just take a bit .
There we go 11 g .
Why ?
It's important to know how much coffee you use ?
Because if you want to change something while brewing and the coffee uh flows very quickly or slowly , sometimes it can be that you use more and less grams because this measurement is the volume measurement .
But the different coffee you use or a different grind , this coffee is you will always have different amount of the grams .
So once you can wait 7 g , it will be full the second time .
It it will be the same but it will wait 8 g .
So the more precise measurement is using scale that way , you always have the same amount of the coffee .
And if you need to change the brewing time , you will adjust the grinder .
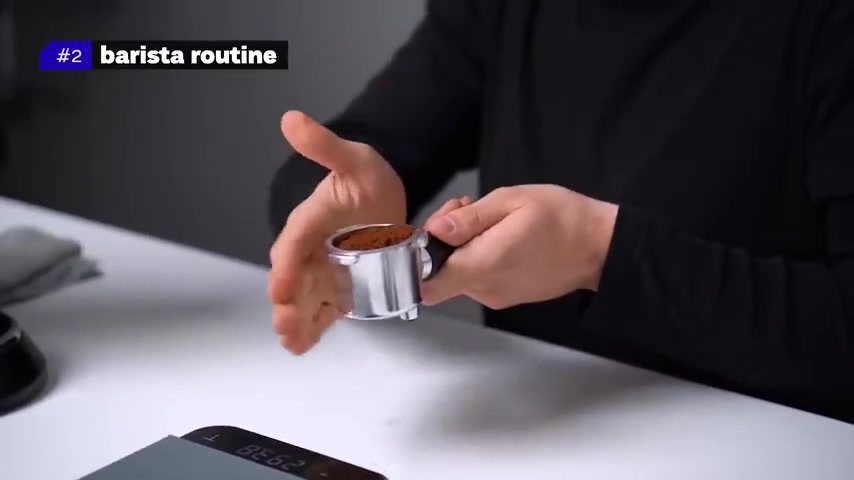
So we level up the coffee , try to have the same amount of the coffee everywhere .
So when we it we had the same extraction on every point of the coffee bed , I use this temper .
But of course , you can probably find on internet something nicer .
This is a bit clumsy but it works .
So just insert straight level up and then medium pressure , press the beans .
You don't need to use so much pressure , just like medium pressure , take it out clean .
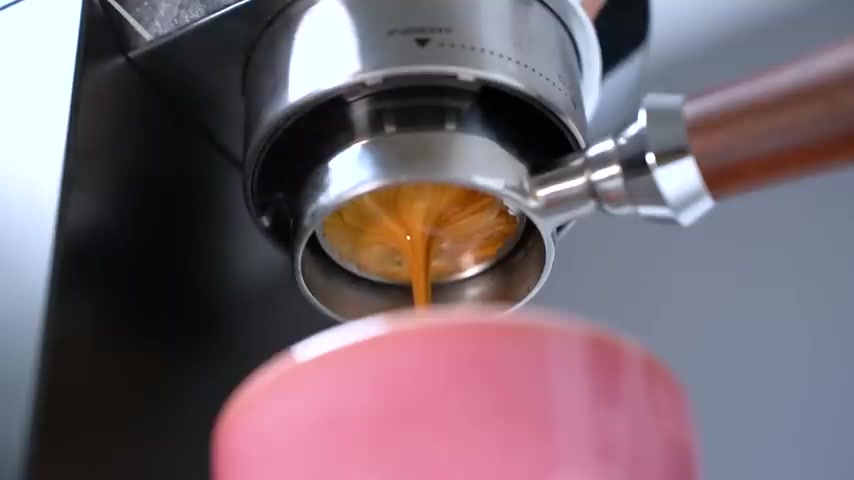
So let's try as you could notice straight after I insert the portal filter , I pressed the button is the best practice to start moving as soon as possible .
In the beginning , the coffee is flowing very slowly .
Maybe it takes a few seconds after it starts dripping .
That's all right .
And the whole extraction time will be around 25 seconds .
So there is our espresso using 11 g of freshly ground specialty coffee .
We have 30 g of the beverage in the cup and the extraction time was 25 seconds .
Nothing else than to taste .
It smells quite fruity and cherry like .
Ok .
Oh , it's quite surprisingly sweet .
There is uh a little bit higher acidity maybe , but that's , that's still drinkable .
It has a cherry notes , chocolate notes .
The body is somewhere between espresso and quite pleasant and definitely better than pre ground coffee .
Now , we're gonna make cappuccino making the same espresso only this time we use a larger cup .
So let's make a cappuccino .
Now , the espresso is ready .
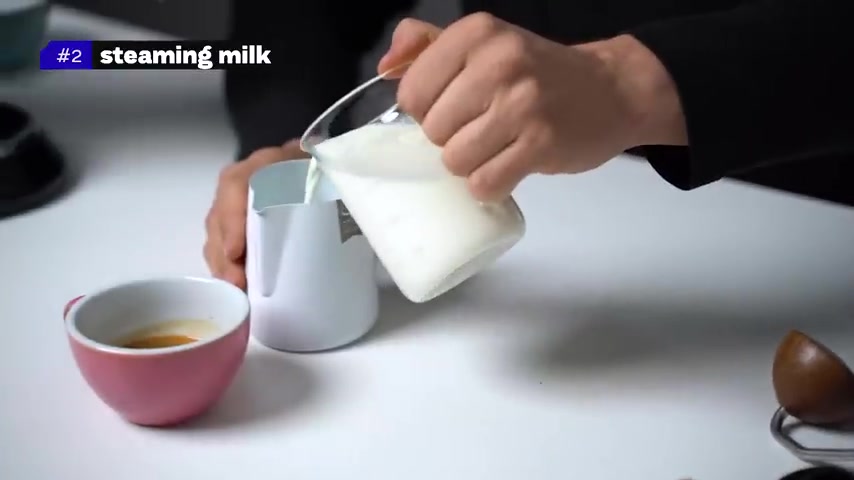
Here is our fresh whole fat milk .
You need the whole fat milk to make a microphone to have enough proteins and fat .
It's good to use the amount you will need for the cappuccino .
Not more and not too little because then the foam will stand in the end and you will have foam everywhere .
So a bit more milk than you need into the cup .
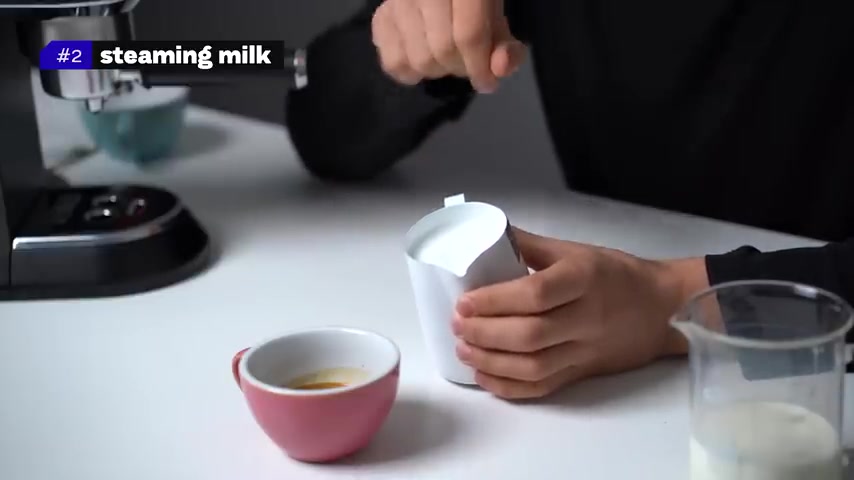
Before we start uh steaming the milk , we have to switch on the steam button without it , we will have hot water coming out of the steam one .
So we switch it on , wait a couple of seconds and now before we start , we will release the hot water that's condensate inside the steam wand .
So just by starting the handle for a little bit , we release the hot water , switch it off and now we will use only dry air to steam the milk .
Of course , it takes a bit longer because this machine doesn't have such power like professional machines .
That's also why we don't steam the milk while we brew espresso .
First , we do espresso , then we steam the milk .
So here is our , our foam .
It's not difficult to make it .
Actually , it's easier and you have to be careful not to overdo it and get too much foam , which we have now a bit more for the art , but we will make it work .
Ok .
Let's see what we can do because we have a bit more foam than we would need .
But there you go .
Ok .
I'm not a cappuccino guy , but this taste pretty nice .
Uh It is nice , creamy texture .
There is a bit more foam , it's a bit more foamy than it should be , but I think it's pretty enjoyable and I would love having this at home or at someone's visit .
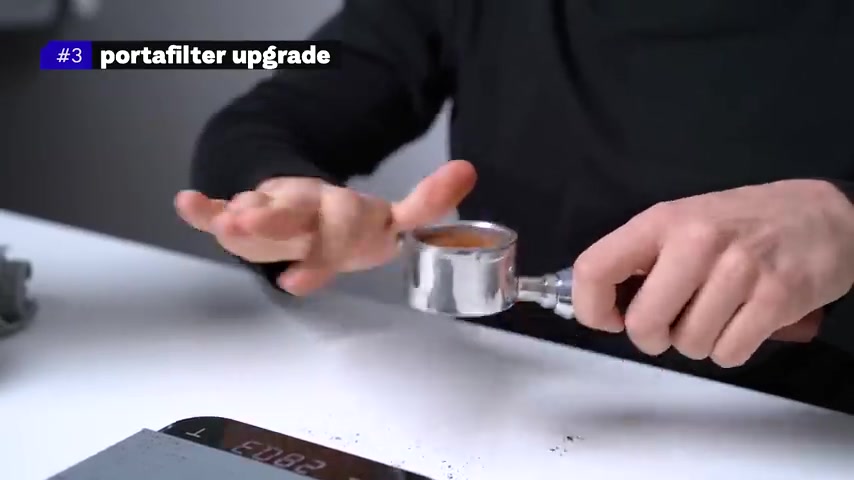
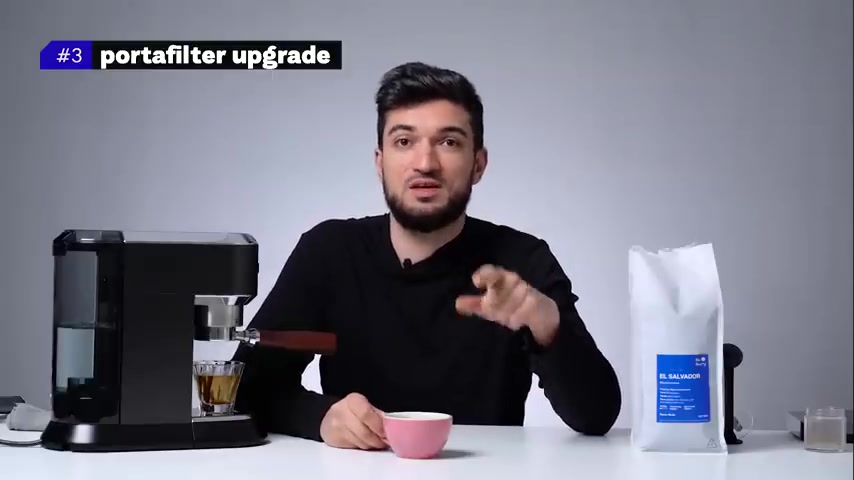
Now , I want to show you a couple of upgrades .
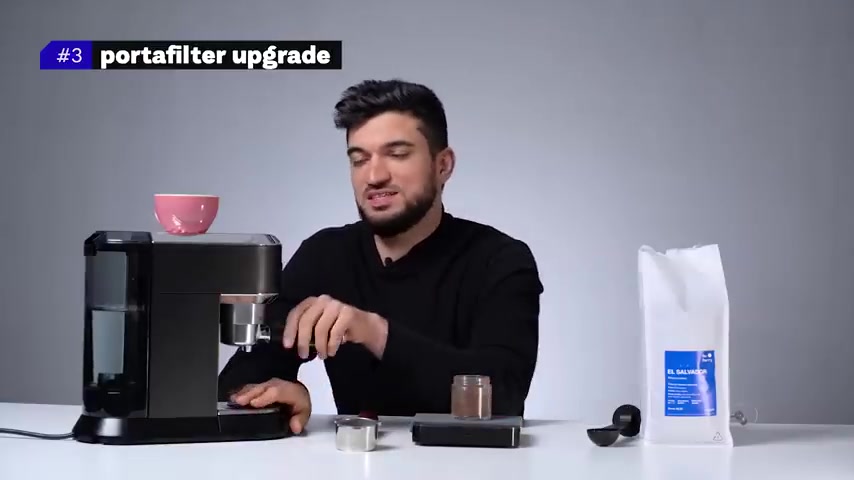
First one is concerning the espresso uses pressurized porta filter .
This allows you for more mistake in grinding or if you have cheaper grinder , it will allow you to make a drinkable uh espresso .
But if you want to take your experience even higher , you can use the porta filter like in a professional cafes which is not pressurized .
This will allow you to extract more flavor and get higher quality from your espresso .
So we are gonna brew uh with the bottomless porta filter and we are gonna use 16.5 g by using more coffee .
We will again should achieve espresso of a higher quality .
So let's try .
Also you can buy better temper .
That's 51 millimeters in diameter .
Wow , the aroma is so much more complex .
This is actually like really , really nice espresso .
I'm surprised honestly , it has better body , more sweetness , more complexity and more layers in the flavors .
It's , it's really nice and with a good grinder , it's a no brainer to get the bottom as porta filter that is non pressurized to get a much higher quality in your espresso .
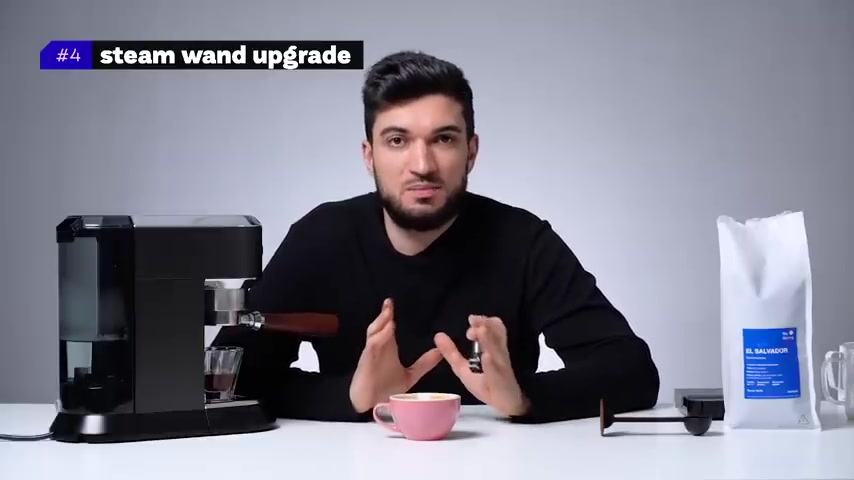
Now let's jump to the second tip that will be focused on the latte art and milk steaming to get better milk texture , which will allow you to make better latte art as well .
There are two options .
One is you can buy extra steam one from which cost again around €30 .
Uh You need a little bit of the technical skills but it shouldn't be so complicated to take the machine apart and change the steam wad with the ranch steam wand .
You will get much more control and power into the steaming .
The second option that costs you zero is to just take out the metal part of the steam wand on the long and you can use only the plastic one that's attached here .
It's much better for steaming .
Although you need a little bit of the practice but the result is better microphone and better the art .
Hm .
This cappuccino has definitely much better texture and much better microphone .
Although it is harder to achieve it .
When you are not using this metal part , you have to control and put uh same amount of the air and you have to do it slowly and with patience to get a a better microphone .
But in the end , you will achieve definitely better quality than using this thing .
And if you practice enough , you are definitely gonna have a better la of art than me easily .
Overall DEA is definitely great looking home espresso machine .
It comes at a very affordable price .
You can brew pretty good espressos and learn how to work around the manual espresso machine while practicing basic barista and la art skills .
Of course dedic has its limits .
It will not allow you to extract perfectly light roasted specialty coffee is mainly because of lower power and lower temperature but still to improve the performance .
There are few upgrades that will help you achieve much better results for both espresso and milk steaming .
Thanks for watching guys , enjoy your coffee and see you next time .
Are you looking for a way to reach a wider audience and get more views on your videos?
Our innovative video to text transcribing service can help you do just that.
We provide accurate transcriptions of your videos along with visual content that will help you attract new viewers and keep them engaged. Plus, our data analytics and ad campaign tools can help you monetize your content and maximize your revenue.
Let's partner up and take your video content to the next level!
Contact us today to learn more.