https://www.youtube.com/watch?v=maV3ho5D0yc
Making a Holder for Nespresso coffee pods
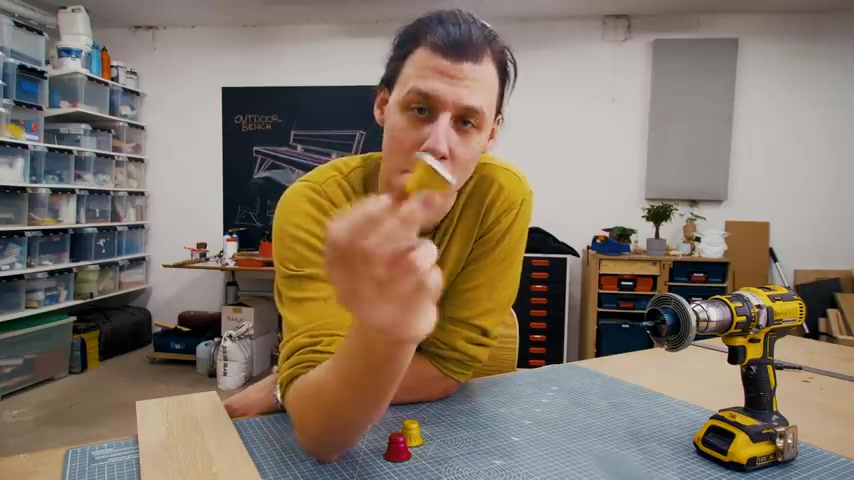
So I have this Espresso coffee machine at home and it uses these capsules or pods to make coffee and these are super convenient .
I just don't have a good way of storing them .
So in today's video , I'm gonna use this piece of oak to make a little holder for them .
Thank you so much for joining me in today's video .
Let's get started .
So even though there's a lot of different holders of these things out there , I still want to make my own .
But what most of the holders that you can buy have in common is the way they hold these pods and that is by grabbing onto this lip here .
So that's what we're gonna do as well .
So using a pair of calipers , we'll figure out how big of a hole we need for this entire capsule to fit through and how wide of a slot we need for these things to fit through .
And since this board is quite a bit too thick , we'll start by cutting it down to a couple of thinner slices .
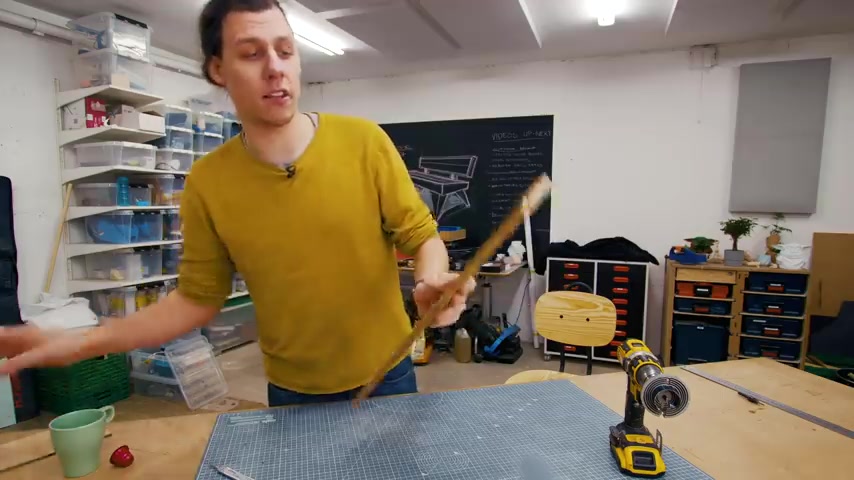
And with that one thick piece is now three thinner pieces , I'm not gonna use one of the thin ones that was just to get the finished piece a little bit thinner .
It's not time to figure out the layout for the slots .
I'm gonna cut in this .
And the difference in size of those two slots is what's gonna keep the pods from falling out .
Once I put them in a hole and slide them down the slot , I'll draw it up and I'm sure that's gonna make more sense in a second .
I've measured it marked and I figured out how I want to cut this piece , I've marked all the areas where I'm going to remove material .
So it's a little bit easier for you guys to see .
So you can see there will be two slots , one here and one here for two different types of coffee .
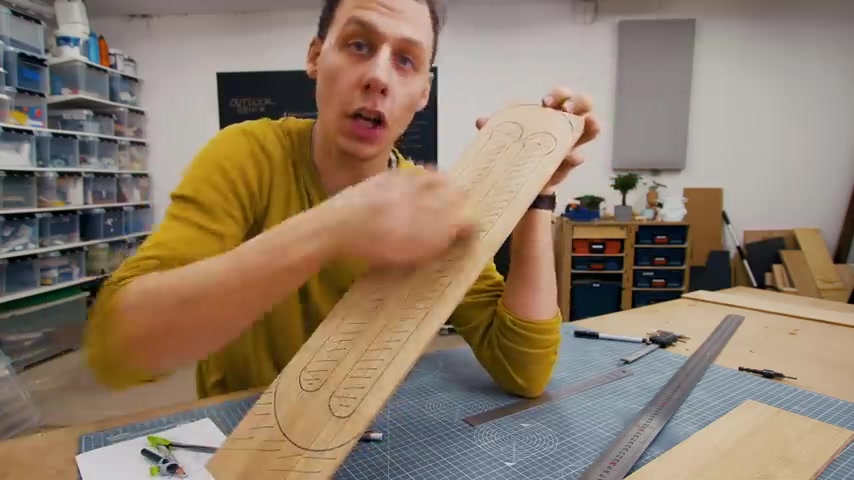
And since these come in packs of 10 , I've made a slot long enough to fit 10 of these capsules .
So the idea is that on the top here , the hole is big enough to fit the whole capsule and then the slot is narrow enough to fit only the body of the capsule .
So I'll drill out those holes , cut the slots and then also round over the corners .
Perfect .
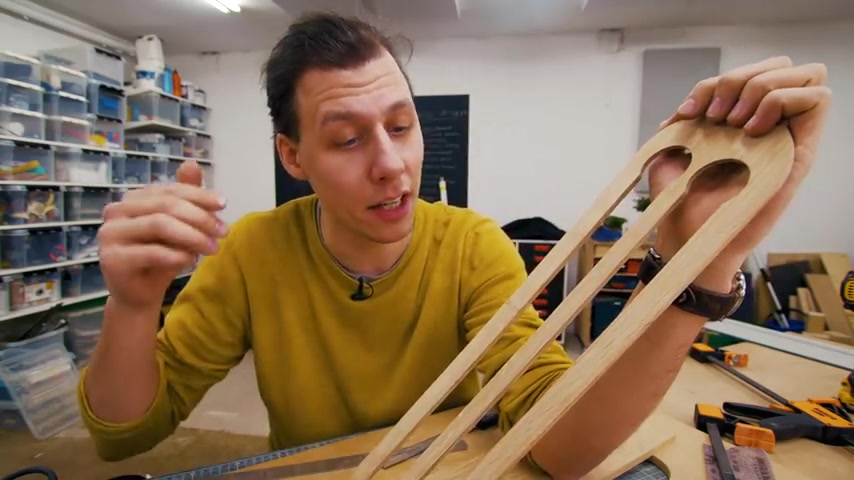
So I'm essentially done with the front piece here .
I cut out the holes with the whole saw and then I actually cut out the slots with a track saw because with the tracks saw , it's actually surprisingly easy to make really straight and precise cuts So now that this front piece is done , I've marked the whole locations up on this back piece and I'm now gonna use a router that is set to just the right thickness for the lip of these pods .
And then I'm gonna rubber out all the material that I don't need .
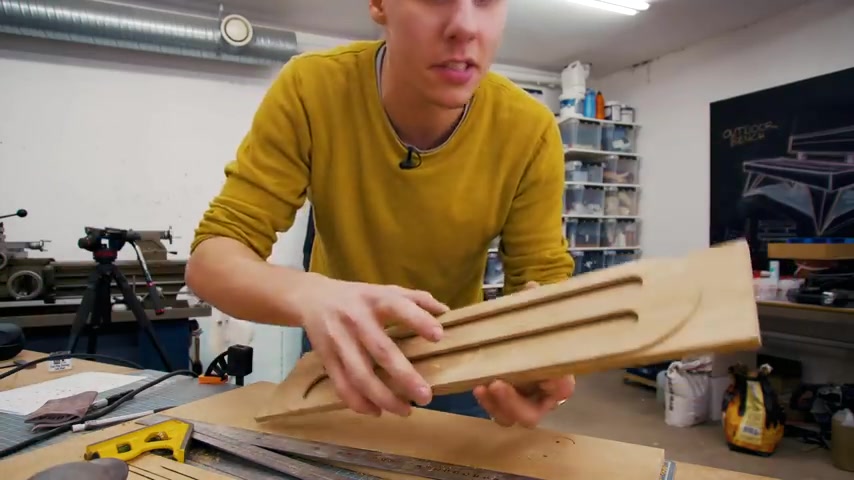
So those two pockets are routed and good to go .
It's definitely not pretty , but that's the beauty of it .
It doesn't need to be pretty because this thing we'll cover it up and now it's the first time that we can have a quick test to see whether or not this works .
Oh , look at that .
That's very promising .
Ok .
I'm just gonna give the inside of this thing a little champ and then we'll glue them together .
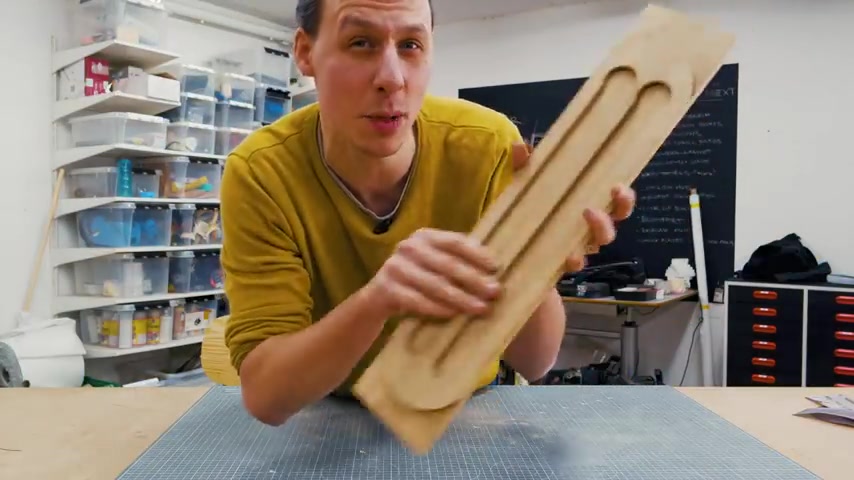
Ok .
So the glue on this thing is finally dry .
The piece that we glued on here needs a little bit of trimming off around the edges .
The whole thing needs a little bit of sanding and a chan for around the edge and then to finish everything off , we're gonna give it a nice coat of oil .
Funny .
Ok .
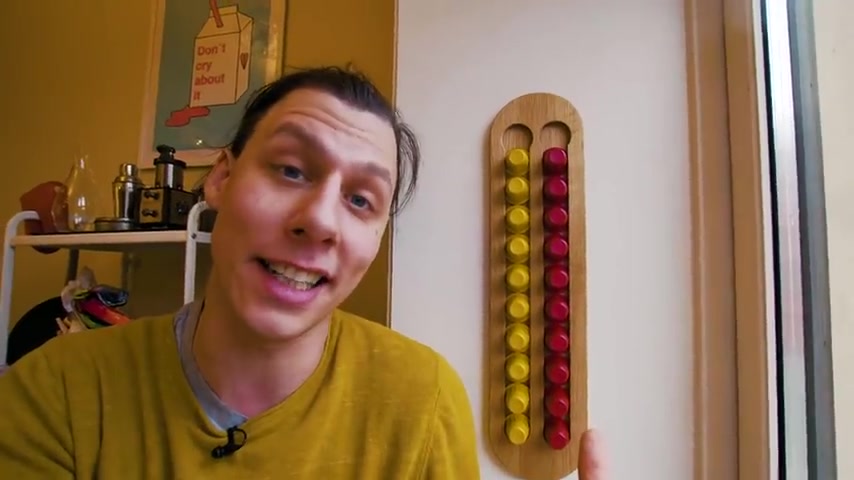
So this project is done .
I'm super happy with the way it turned out .
I let the oil dry overnight and then I attached it with some double sided tape .
That way I didn't need to screw it into the window frame here .
I think it turned out really nice and it does exactly what I need to do it holds these pods in a really nice way .
So this was a fun little project and I hope you enjoyed watching if you did make sure to give the video a thumbs up and hit the subscribe button and don't forget to ring that bell .
So you get notified every time I post something new as for now .
Thank you so much for watching and I'll see you guys in the next video .
Bye bye .
Are you looking for a way to reach a wider audience and get more views on your videos?
Our innovative video to text transcribing service can help you do just that.
We provide accurate transcriptions of your videos along with visual content that will help you attract new viewers and keep them engaged. Plus, our data analytics and ad campaign tools can help you monetize your content and maximize your revenue.
Let's partner up and take your video content to the next level!
Contact us today to learn more.