https://www.youtube.com/watch?v=CGlEg1zI9xE
MOUTHWASH SLIME!💧Testing NO GLUE SLIME Recipes
Hey guys , it's me JSH .
Diy .
Welcome back to my channel in today's video .
I'm gonna be showing you guys some different ways you guys can make slimes without glue or bracks out of different ingredients you might possibly have at home .
So to see these recipes , just keep on watching .
Today's not shadows .
Go to Emily Jade Maria and also there's no go recipe .
We are going to be testing out today is Diy Acne Wash , clear slime .
Starting off for this recipe .
You're going to need three tablespoons of your choice of acne wash .
Then you're going to be needing a bowl of ice and then you want to add those three tablespoons of acne was to a small container that you can bury in the ice .
I added in a little bit of coloring because I wanted to make it a little bit more of a bright orange .
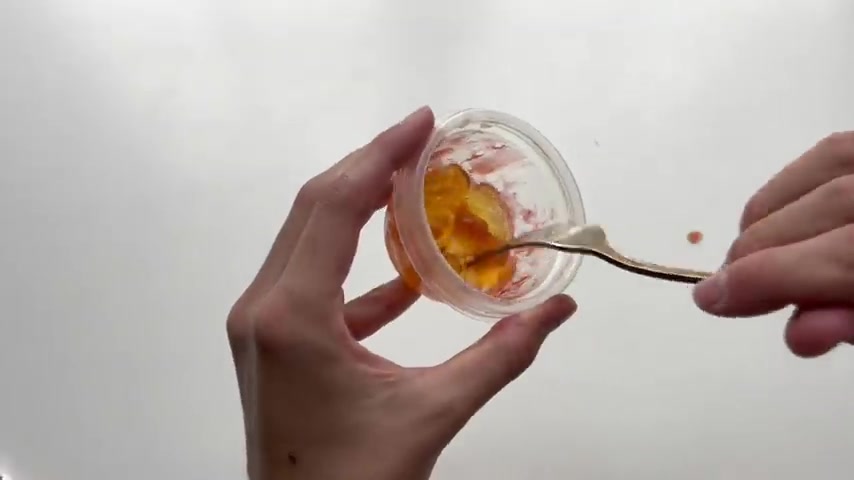
Notice as you stir it , it is going to start to thicken up from getting cold and it should already be touchable and slime like you'll notice that the face wash will become super hold and kind of form into a ball when you use your fork to poke at it .
And at this point , you can try to notice quickly after taking it out of the bowl of ice , it's gonna start to melt .
So you should put it back in and last , but not least we're going to be adding a little bit of iodine .
So the next day your slime should be done and into your eyes .
Are you still most cases , the longer you let this sit out , the thicker it should get by drying except for you do need to add more salt if you're wanting to do this because it will also start to melt .
But this recipe is a super cool , easy way to make slime out of a face wash soap .
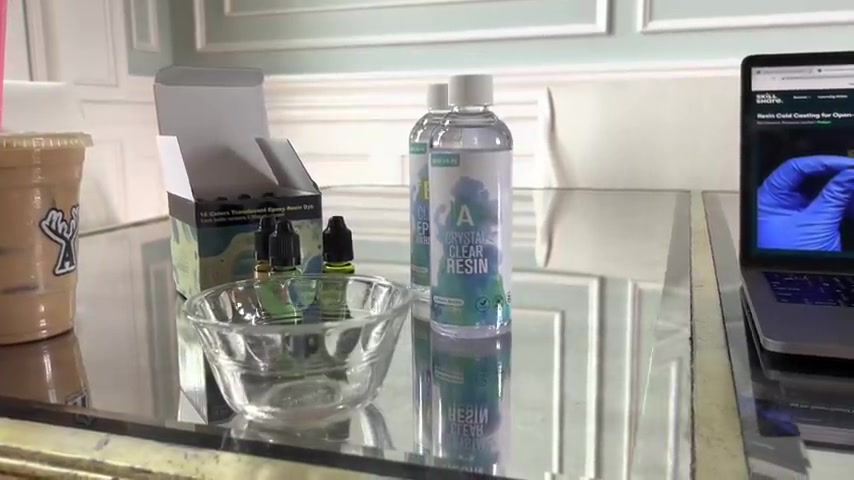
Thank you so much to skillshare for sponsoring today's video .
At the beginning of every summer .
I always like to create a list of different things I would like to accomplish and do the summer .
Skillshare has all sorts of different interests categories that you can select to find the class for you with thousands of different classes .
Skillshare makes it easy for an expert in things that you want to learn how to do .
I'm currently taking a resin class and also a drawing class .
I love it because it allows me to schedule in a little something fun to relax and work on every day of summer .
I , you will have the link to skillshare in the description box and I highly recommend you guys check it out especially as summer is approaching , skillshare is going to be giving the 1st 1000 people to sign up their first month for free .
So let me know which classes you guys are taking so that maybe we can take the classes together this summer .
Thank you so much to skillshare for sponsoring today's video .
Now , let's get into the slime , the next no glue slime recipe .
We're going to be testing out a diy conditioner slime .
I have never really made slime with conditioner and it's definitely an interesting texture and I just haven't really seen that many recipes for it .
So today we're gonna be testing out this conditioner slime recipe .
The main ingredient that you're going to be needing for this recipe is acrylic paint recipe .
I decided to test out two different conditioners .
One clear one and one that was opaque and I just started off by mixing in the acrylic paint and I noticed instantly it was already kind of thickening pop a bit .
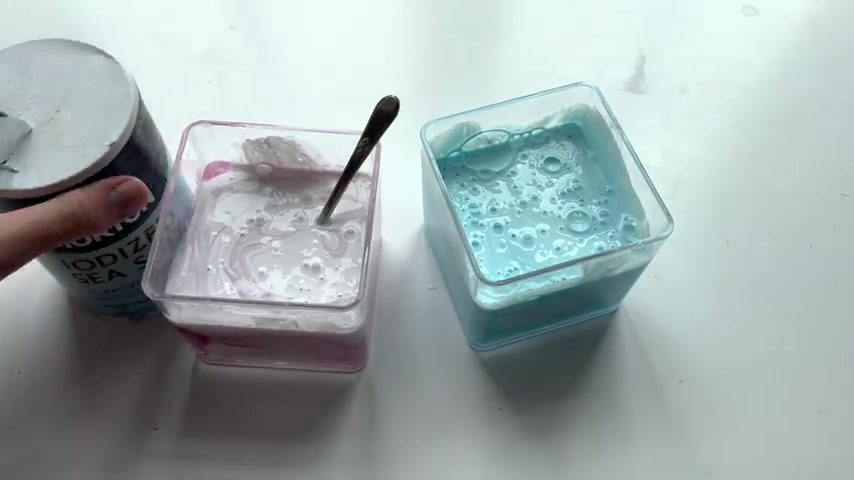
After mixing in all the acrylic paint into the conditioner , I decided to go with iodine salt as the activator and I actually chose Io Dy's sea salt because it even will dry it out a little more .
And I wasn't quite sure how the conditioner texture was going to go .
So I just added that alongside a little bit of coloring just to kind of correct the colors and I mixed everything up and the sea salt instantly did kind of activate it .
But it kind of had this really weird texture then put the lids on the containers and I just decided to let this sit for a couple of days just to see what we got almost looked like .
They were like marbled in color and they looked really weird .
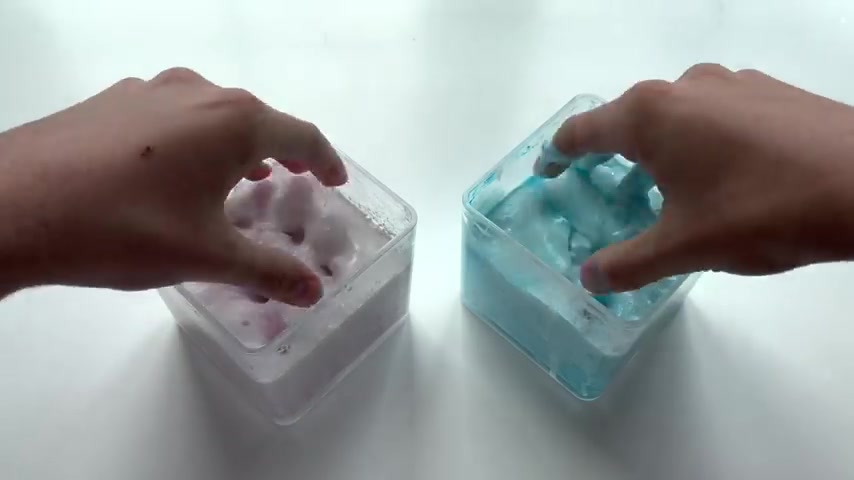
The blue one had some sort of weird liquid on the top and you guys can kind of see how the sides were marbled just from the acrylic paint .
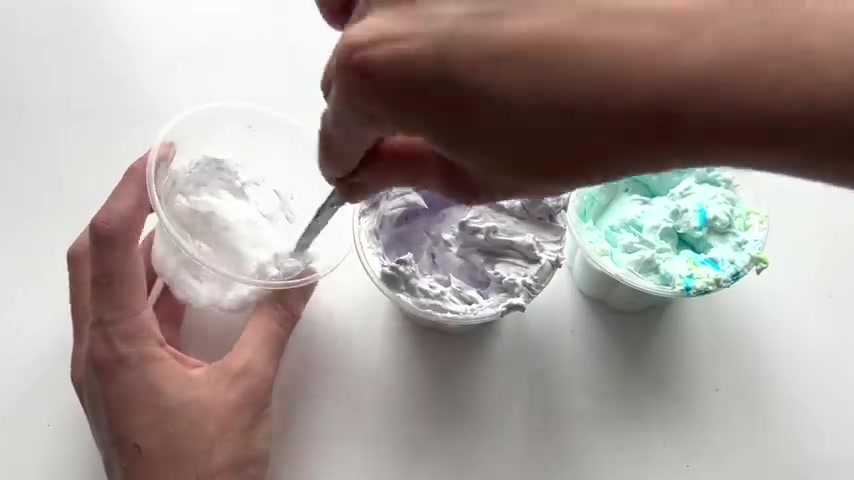
They were super liquidy at first , but I just started kind of trying to mix them around and they had a pretty good texture .
Other than that , it was a , a lot of acrylic paint that had kind of settled to the bottom and I didn't fully get everything super activated because I didn't get all the sea salt mixed in .
But after poking them and getting all the activator that didn't get mixed in originally , they became really good in texture .
And I was super impressed with this conditioner slime recipe .
Sometimes when I first see different recipes being commented , I'm not sure if I'm just being true .
People are actually being serious about a recipe that they , that was the case when I saw this comment about Windex Lime .
After I saw that there was multiple replies on the comment , I decided maybe we should try it out and actually see if this evening I pour some Windex into a shallow container .
Do you not think this is going to work because I don't know why it would work .
But apparently you're just supposed to let it evaporate and over time it's supposed to get thicker and thicker .
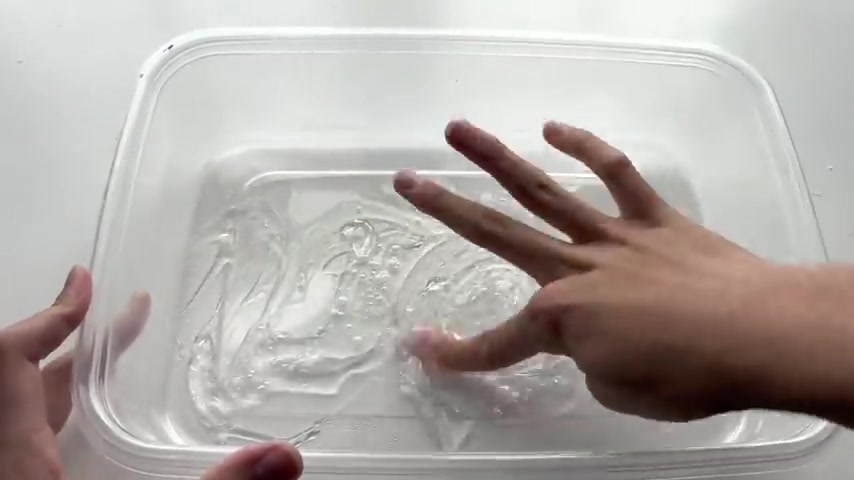
After three weeks of sitting , you guys can see it got extremely thick .
It was crystal crystal clear and you guys can see it just has this really thick consistency , smelled like vinegar .
And that was because the type of Windex I used was this vinegar kind that I got just because it was crystal clear in four weeks .
I actually noticed that there were certain areas of the container that looked to be dry and I realized that was it had evaporated so low that certain areas of the container weren't even covered anymore .
And that is when I decided to see how this turned out Windex fully turned into this kind of slime like consistency after evaporating .
But the problem was it literally stung my hands so bad .
I think just from the chemical , let me know what we think of this recipe in the comments below .
The next , no , we are going to be testing out is one that was commented on my last youtube video said that when they were little , their mom taught them how to make slime out of bubble solution and hand sanitizer .
And I've never seen this recipe before and I've never made any slime with bubble solution before .
So I was instantly interested just weird make this slime .
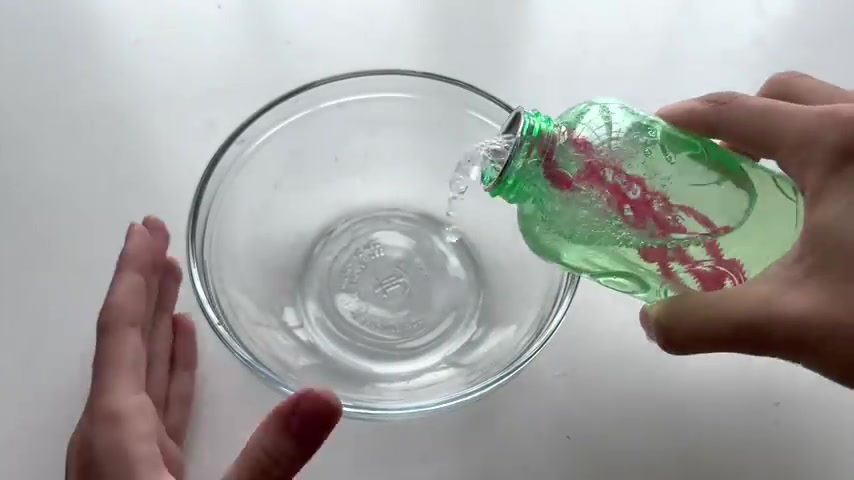
You are going to be needing bubble solution as well as alcohol or hand sanitizer starting off in a bowl , add your bubble solution and then Sprinkle on some salt .
You need a kind of generous amount because the salt will dry up the bubble solution .
And then lastly , you need to pour in some hand sanitizer and you want to pour in a generous amount or you can add in rubbing alcohol instead of hand sanitizer and mix everything together and let this sit uncovered for 2 to 3 weeks .
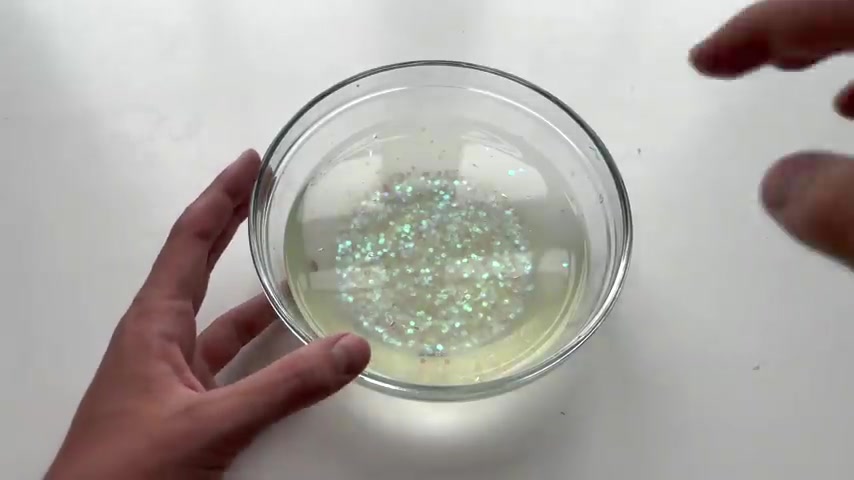
I let my slam sit for three weeks because I wanted a super thick jelly consistency .
And sure enough , this recipe worked super super well bubble solution actually gets really sticky when it dries on things .
So I think that is part of the reason why this works is that once it dries out , it kind of becomes slime like I think there may be polyvinyl inside of the bubble solution to make it thicken .
And somehow it seems like the combination between the alcohol and the hand sanitizer and the salt dries out the bubble solution after it sits for a really long time .
But I was really shocked that this recipe works .
So thank you guys so much for sending this recipe into me .
Yeah , they mhm Get a lot of requests from you guys to make slimes with either dial branded shampoo or also the soft soap branded shampoo just because they're two different brands .
I don't use very often .
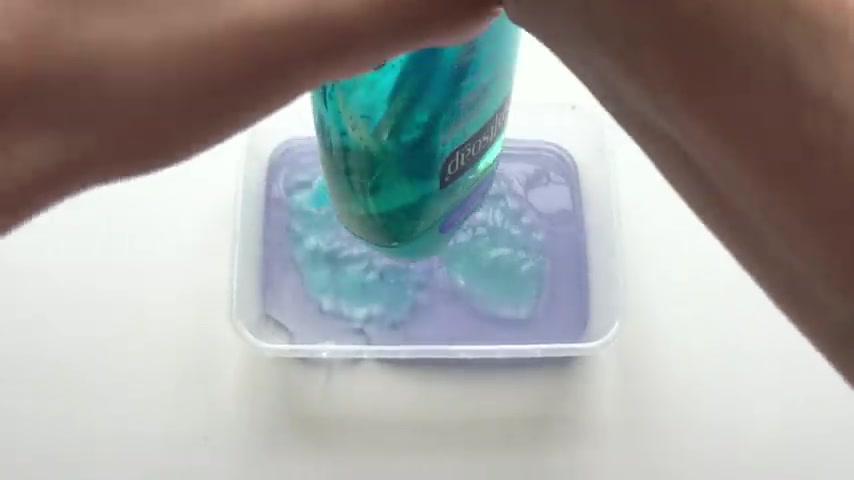
So today I'm gonna be making a slime out of some of we're gonna bring a Galaxy themed slime .
So in order to do this , I just started off by adding in some of the shampoo that I had left over from many videos ago .
I'm pretty sure .
And then on top of it , I just poured on some of this soft soap , aqua colored blue shampoo , which looked really good and I really like the color combination .
So I was super happy with the shampoos that I chose .
At least I just poured a little bit of salt .
I think I poured a tad too much .
But what I decided to do was just let this sit for much longer and I had a little trick .
I decided to put a lid on this .
No idea why .
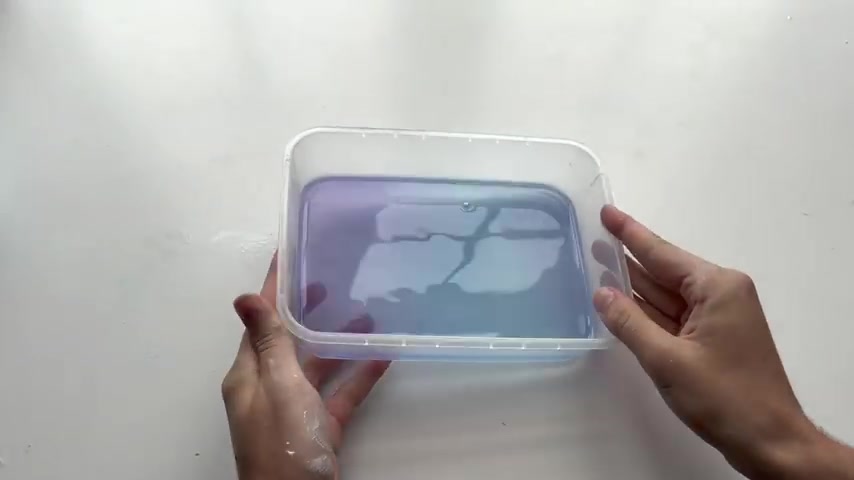
But some reason sometimes if you put a lid on a container of a shampoo line that you're gonna let sit for a while , it will kind of help get it even thicker then just letting it sit .
So I decided to use the lead trick in order to hopefully combat any stickiness from adding in too much salt .
But after waiting just for a couple of days , this is what it looked like .
As you guys can see , it was super galaxy colored and I was so happy with how it turned out , use all the paint or something I had on my hands and I will be quiet now , so you guys can hear the slime sounds .
The next .
No go MSP we're going to be testing out is this diy l'oreal ali Repair Shampoo line starting off in a small container .
You need to add some of this soap .
Soap has a very interesting gelatinous jelly texture .
For some reason you're wanting to make this , but you don't have the same soap .
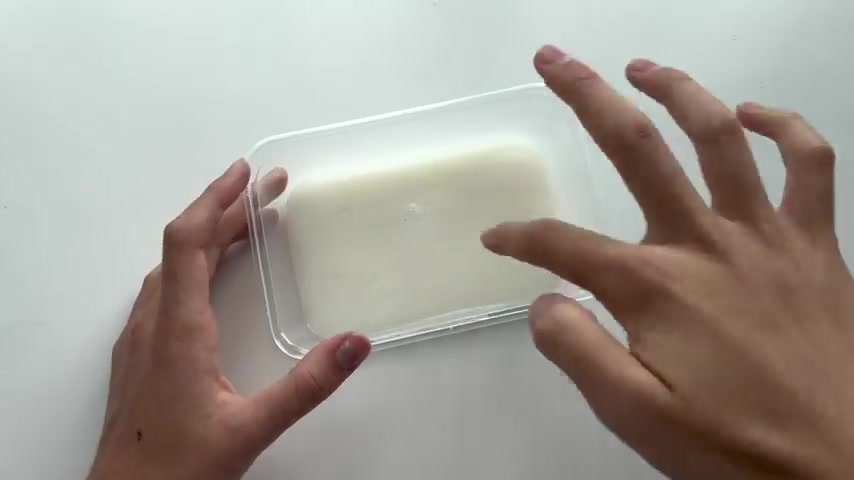
You can use any sort of shampoo or conditioner that contains so on the back of the container , on the ingredient list .
Next , you were supposed to add in approximately two pinches of salt and you're supposed to mix that in .
I noticed that this lime kind of thickened , thought it could activate even more .
So I added in more salt , except for that time , I decided to pour it in and instantly I noticed it got thicker , but I was also noticing it was starting to become more melty because I added in too much salt thing to add in just a little bit more salt to see if I could fix it , but it still got even more melty .
So I decided to just get everything mixed up and put this into the refrigerator .
Like the recipe said to do , supposed to leave this in the fridge for at least 12 hours .
So I always recommend making these types of slimes just right before you go to bed .
So they're ready the next day , except for after I took it out , realized it did not work and it was fully melted .
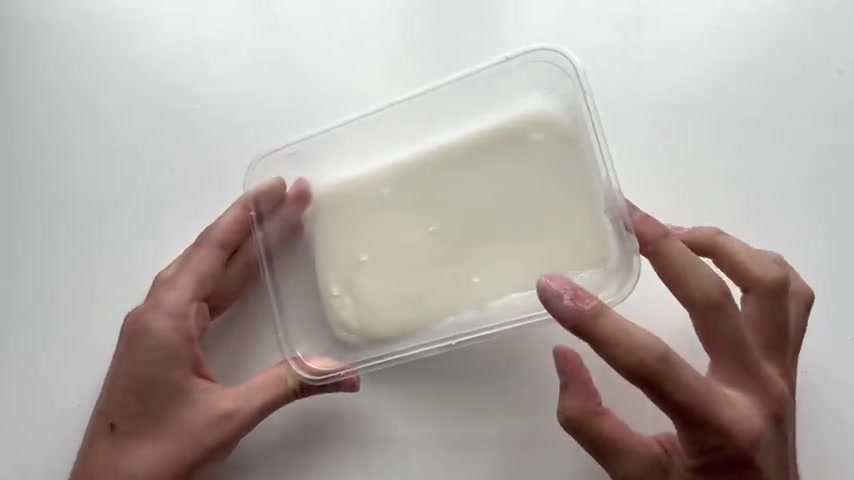
Fortunately , I think this recipe was a fail from over activating it .
But if you guys want to see that no gluten recipe we're going to be testing out is toothpaste .
Vaseline water slime .
Starting opening .
Microwave safe container .
Add about four tablespoons of water and into that water .
Pour in your toothpaste .
Next , you will be needing a spoon of Vaseline and I just have this little mini one .

So this is what I used and add the spoon of Vaseline into the toothpaste and water and put everything into the microwave for 25 2nd intervals until it looks half transparent .
Then put this into the freezer for 45 minutes .
After 45 minutes into the freezer , you will have a slime that you can play with made out of your toothpaste .
This next no recipe .
I'm gonna be showing you guys how you can make slime using Listerine and shampoo .
Starting off in an airtight container .
You are going to need to pour in one half a cup of Pantene clear shampoo or if you don't have any Pantene shampoo .
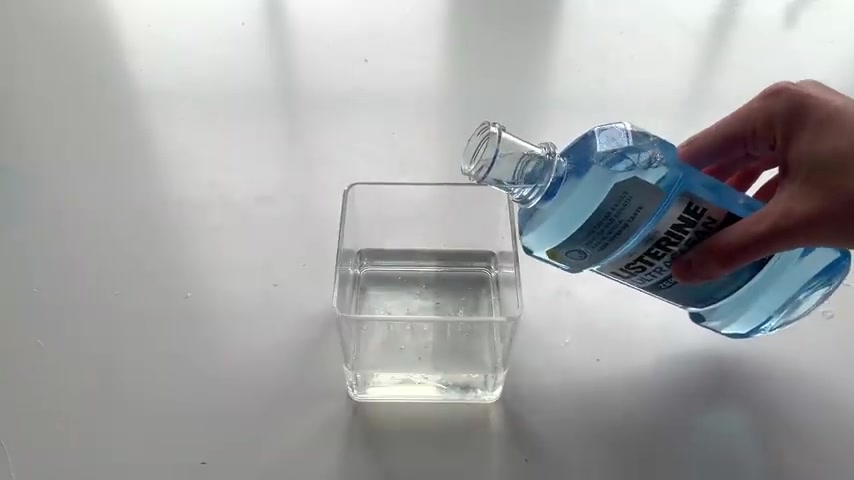
Check to see if your shampoo contains an ingredient called sodium benzo because that is the ingredient we're going to be needing for it to interact with .
The Listerine mouthwash is into the shampoo .
You're going to be needing about 2 to 4 tablespoons of the Listerine mouthwash .
It doesn't matter how much you add , but depending on how much you add , you're gonna have to wait longer .
And lastly , you're going to be needing some salt to , I'm going to be using some iodized salt .
Had to let my slime sip for about two weeks and every couple of days I just kind of stirred them a little bit in order to get all the mouth wash mixed in as well as the salt .
I also , at one point had to add in a little bit of extra salt .
And if yours is sticky , I recommend trying to add a little bit of hand sanitizer because sometimes the list contains some sort of a sugar that kind of makes it sticky .
So add a little bit of hand sanitizer and sometimes that cuts out the stickiness .
Yeah .
At the time of recording this now it has been three weeks and here's an update at the texture is I think during the little last bit of waiting , you will see the biggest improvement in the thickness of this lime .
And also it's just important to keep adding salt in order to thicken the consistence .
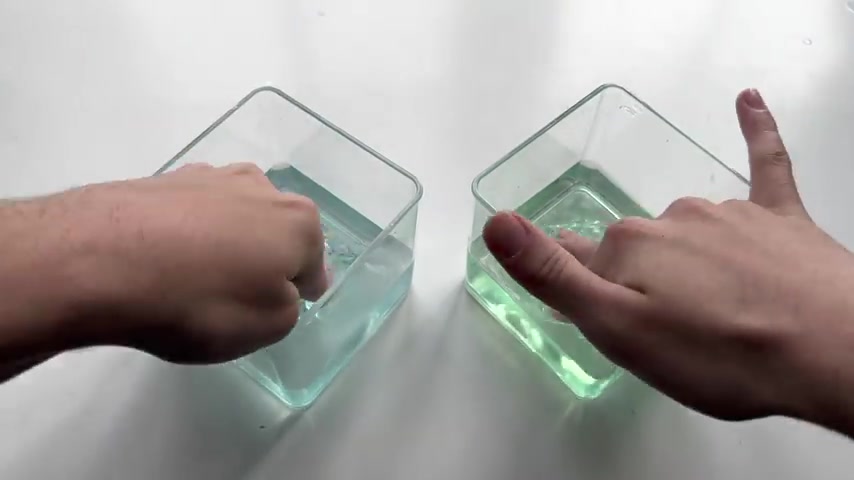
We're gonna be making a list mouth wash lime but a a little bit different this time .
So hopefully this one will work .
I want to make mine purple and blue .
So I'm going with a purple and blue shampoo and listing combination .
But for this , I'm going to be using soft soap shampoo and also the dial shampoo .
So we can test out and see how the consistency comes out when using these two shampoos .
So I'm curious to see how the consistency comes out when using less shampoo .
So I'm using a little bit less shampoo than I normally would right now .
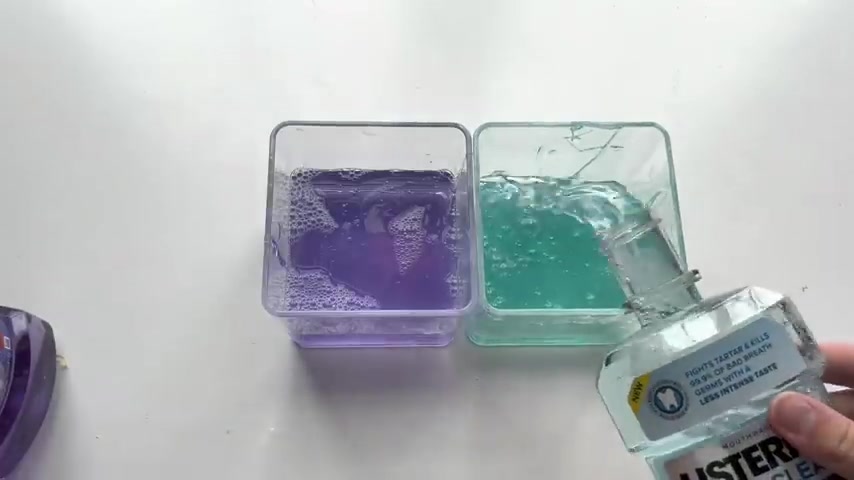
And I'm kind of doing a 50 50 ratio between the list and the shampoos that I chose this .
Also , you're going to be needing a little bit of salt as activator and I just chose this iodized salt to activate them .
And I let my slime sit because you need to let them sit in order to evaporate and turn into slime for about two weeks and this is what I came up with .
Yeah , I know that I have wanted to make a cake out of clay for a long time and recently I picked up a little container of clay from the store .
892.929 --> 1010.5
I had a great time hanging out with you guys and if you did too and you are new to my channel , make sure that you are subscribed .
So go follow my Instagram at JSH Diy because everyone who follows might be entered to win a little giveaway prize .
That is it for today .
And I will see you guys over on one of the videos up on the screen .
Bye guys .
Are you looking for a way to reach a wider audience and get more views on your videos?
Our innovative video to text transcribing service can help you do just that.
We provide accurate transcriptions of your videos along with visual content that will help you attract new viewers and keep them engaged. Plus, our data analytics and ad campaign tools can help you monetize your content and maximize your revenue.
Let's partner up and take your video content to the next level!
Contact us today to learn more.