https://www.youtube.com/watch?v=G78u9P_VZBw
How to make Paper Flower Mogra _ Arabian Jasmine (Flower # 84)
Hi .
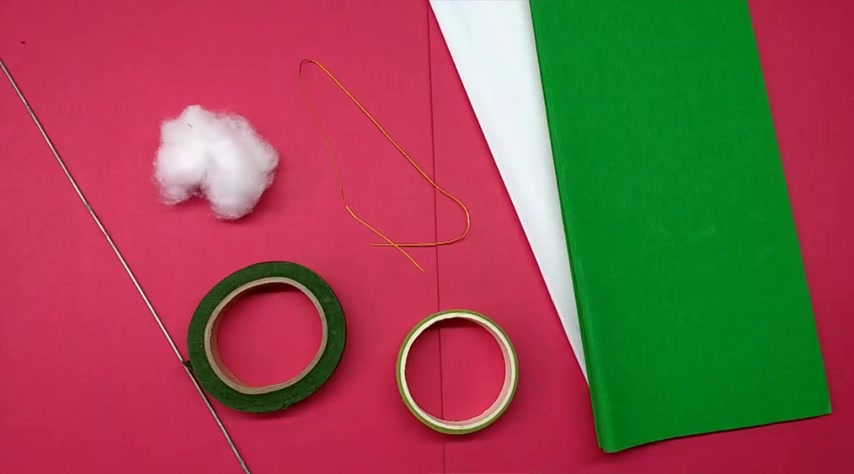
Today I'm gonna make a dazzling white petite flow material required are gray paper and white and green .
A light green color floral tape , a slightly darker green fl some thin wire , some cotton wool and a thick wire for stem .
The stencils are given at the end of video for the bird .
First take the thin wire and cut about three inches long piece of it .
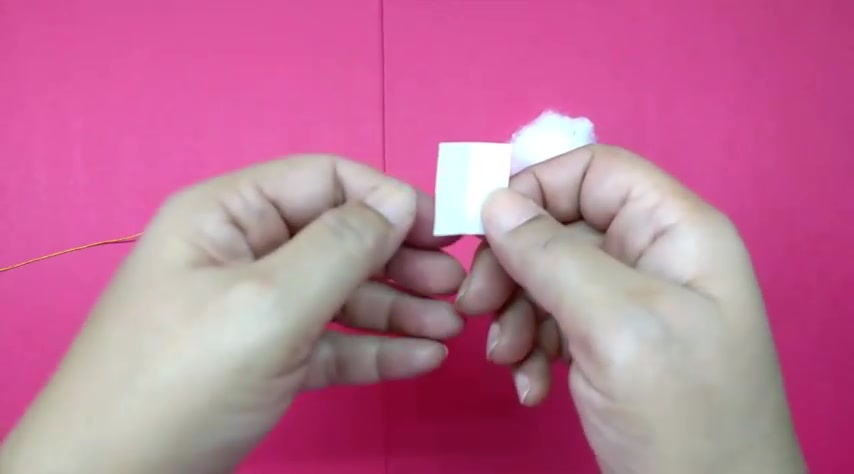
Then take the small white piece for the bird and stretch it and take a little bit of the cotton wood .
Not too much , just a little bit just as much .
I take the wire and apply glue on one end .
My glue is not coming out OK , like this and wrap this cotton wool on it and then just roll it between your fingers to give her this shape .
Then take the white paper , apply glue on that .
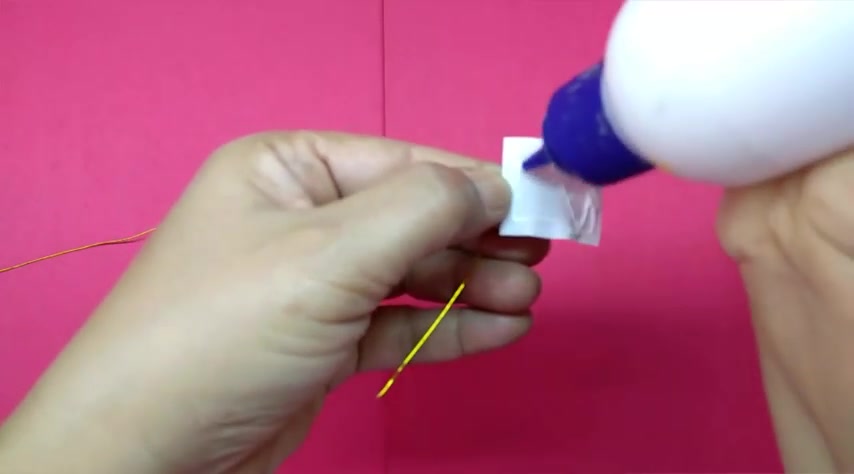
Also , Ma Bell put it on top of the cotton wool , hold it over and then just pull down the sides and roll them like this .
So you get a part like this .
Now take the small piece for the sale .
I cut out very fine samples from it .
So about seven or eight .
This is like this unbelievable to margin here about half a centimeter long .
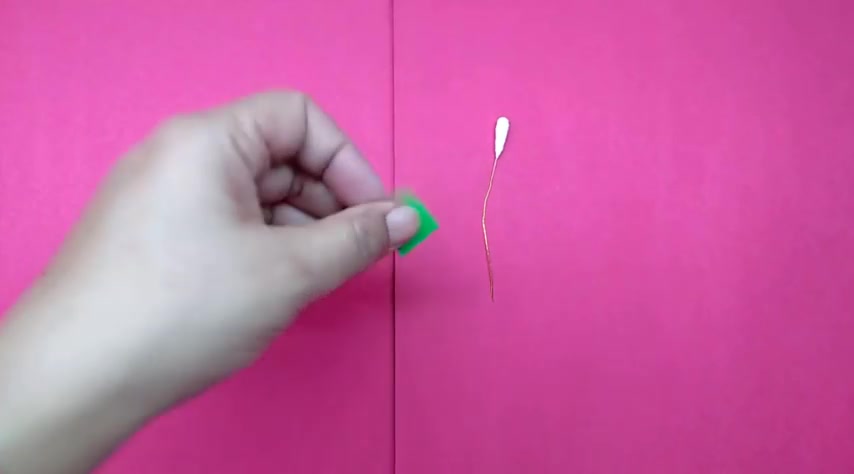
So this is what we want cut out these fine several factors .
So this is how it looks .
I've got eight of these .
I'll just stretch the base , apply glue on the base and wrap this round the supper .
Sorry the pardon .
So just wrap it around .
So it comes all around the but please roll the paper .
This is how it looks .
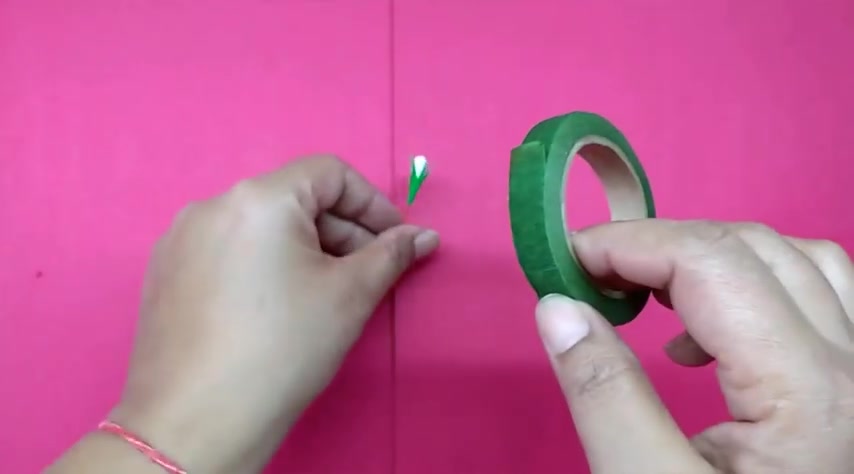
Now take the dark green tape , take out a piece of it stretched and wind this on the party .
You take it down to the end of the wire .
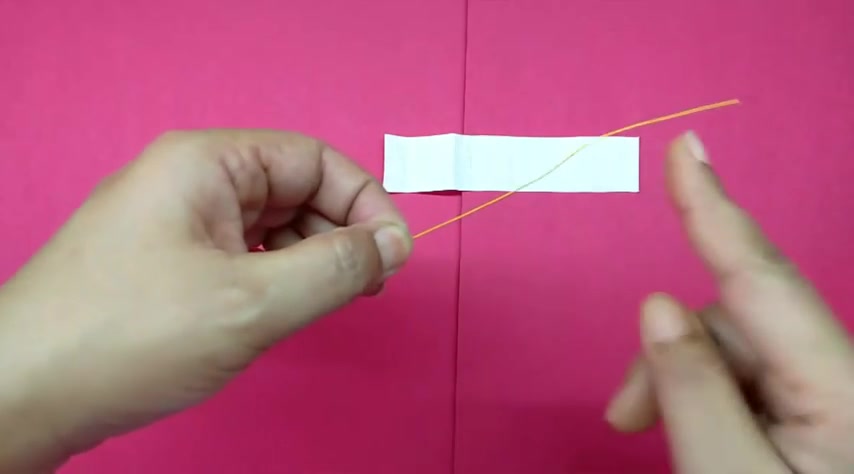
This is how but for the floor first again , cut out a 3 to 4 inch long piece of the thin wire and then take the white strip fold about one centimeter from one side , the whole land like this , then open it out and now fold the strip in half and then half again .
So you can see uh the line that we folded the strip that is the baseline .
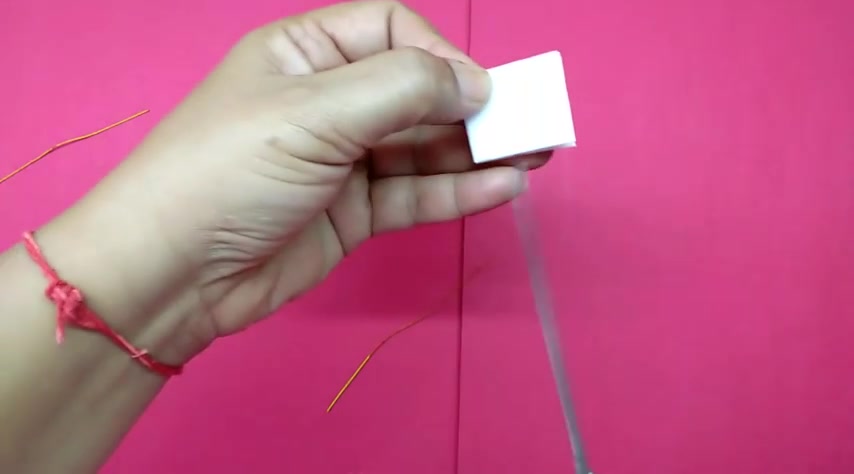
Now just cut out first , cut out three parts of the three cool parts of the strip .
So close the 123 like this , cut out the folded side to the baseline .
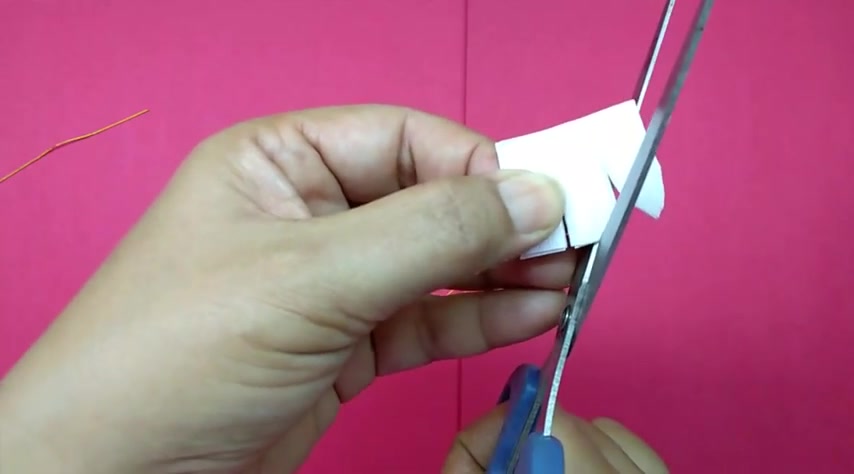
And on this fold also like this now cut out petros from these parts .
So from the center point to a slight curve like this and cut out a curve line like this .
And then on the other side also and just save it .
So you get a shape like this .
Well , again , and the third part of this , that open it out and then fold the Peters on the line just to show the line .
Basically , just fold it like this and then turn the , you know , it will show like this line .
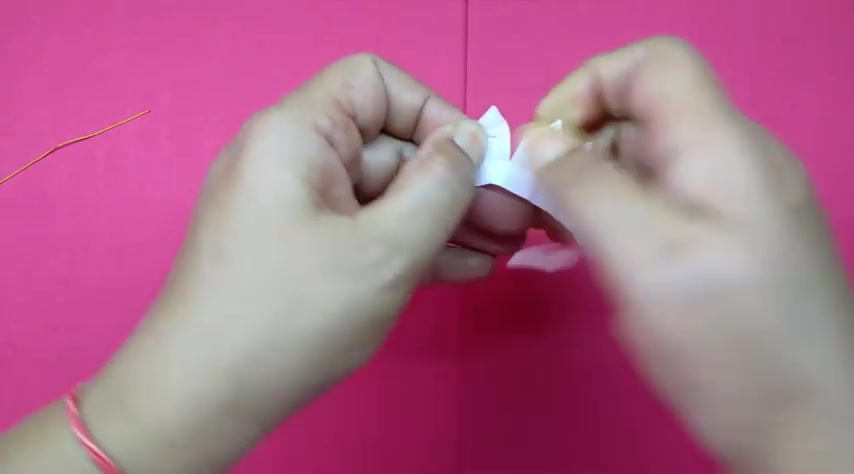
Now , take each pedal and stretch it in the center .
I just , and stretch it like this outwards and this is how it look .
I'll just turn the battle over and apply glue on the base .
Yeah .
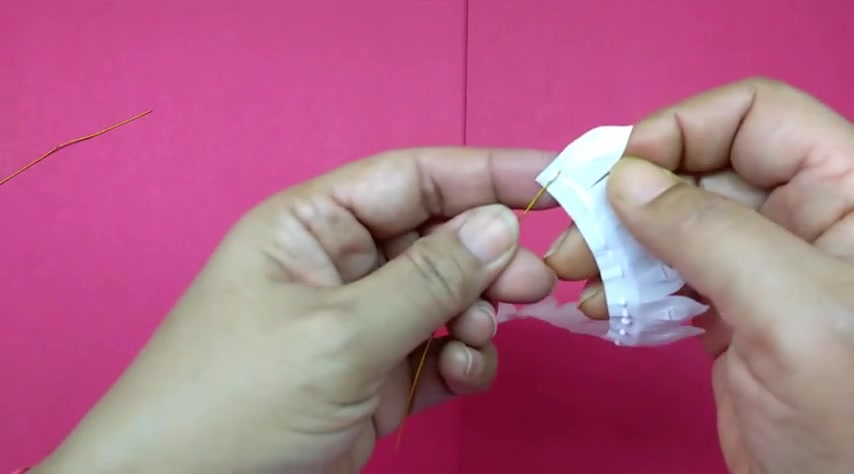
Pick up the better and the wire that we'd cut , hold the , hold it on the wire the first battle just for the first p just roll the choir .
So you , we get a curve like this .
Now with each petal , give a little crease on the base and then roll it so little trees and then stick it .
Keep rolling the centerpiece .
So you get petros all around .
It's a slightly sticky job .
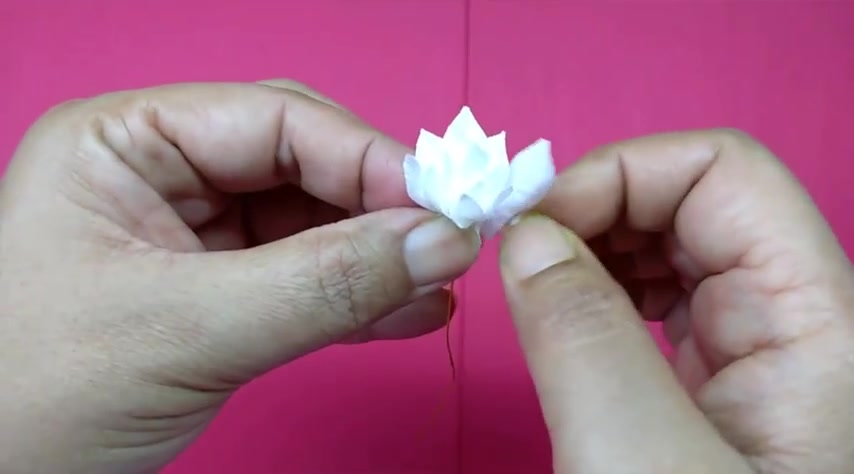
So all the petals will have a little tree in the center .
I remember the last one while you holding it , just pull open the patterns and this is how the flower look .
Make sure to press the piece .
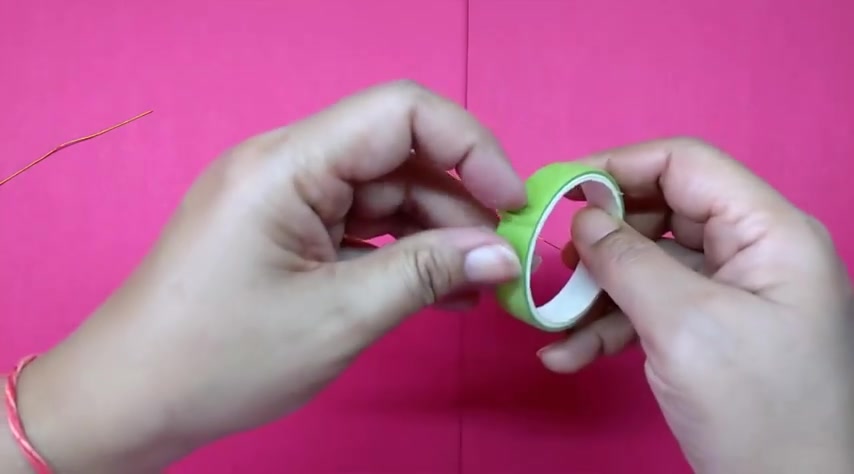
Now take the light green step and cut out a small piece from it , stretch it and wind it from the base of the floor till about 2.5 centimeters of the wire .
I'll take the sale piece .
I've already cut it out in the same way as we did for the bud .
So you don't need to stretch this one , this called the stop the sale of it .
Apply glue on the base and win this on the face of the green tube .
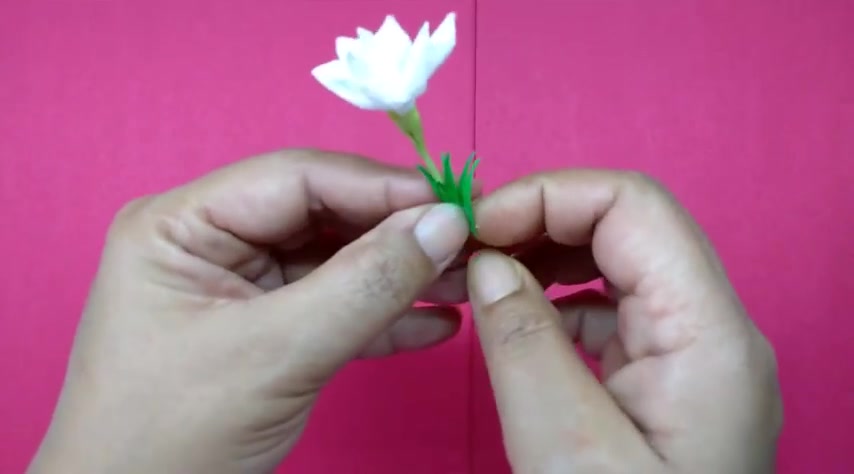
You may feel that the samples are more than required , but it doesn't matter .
You just have to sort of bind it like this .
And this is how selo look .
Now , take the dark green tape , cut out a small piece and then wind it , start winding it from the base of the .
I've already made another flour and bud we made earlier .
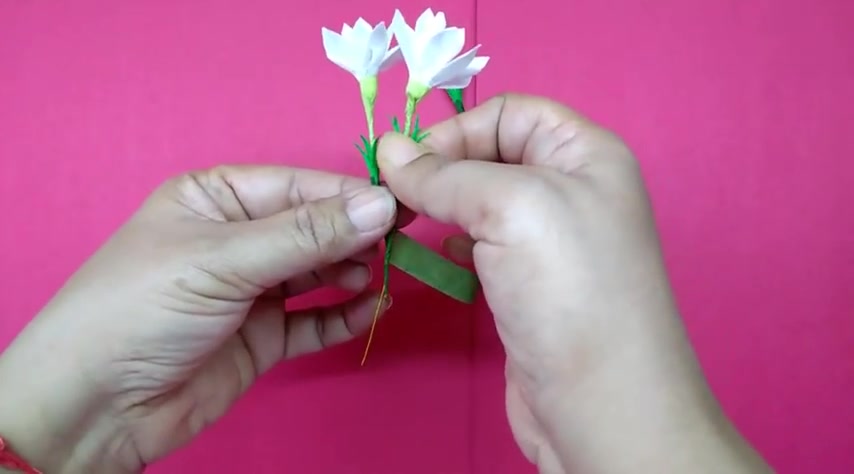
So I'll just attach them so you can attach the flow and , but on the same flow , let's position them anywhere you would like .
And these are a few others that I've been .
So you can have one bud on a floor or as we did earlier , two floors and one bud .
Now take a leaf and M lines on it , using a pair of scissors , the pointed side to make veins on it to score the paper like this .
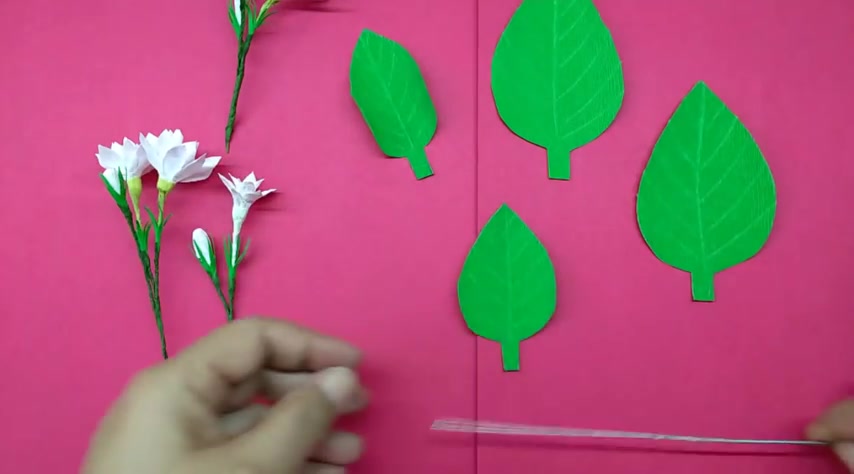
I've made uh four leaves like this .
You can make more if you want .
Now take a thick wire .
So first we'll attach the flask .
So take a long piece of the green tape that green tape frustrated going to take a while antique .
All the if you want all the flowers together , it's up to you because you can have up to 9 to 12 flowers and buds on one step .
I'm gonna just put them together .
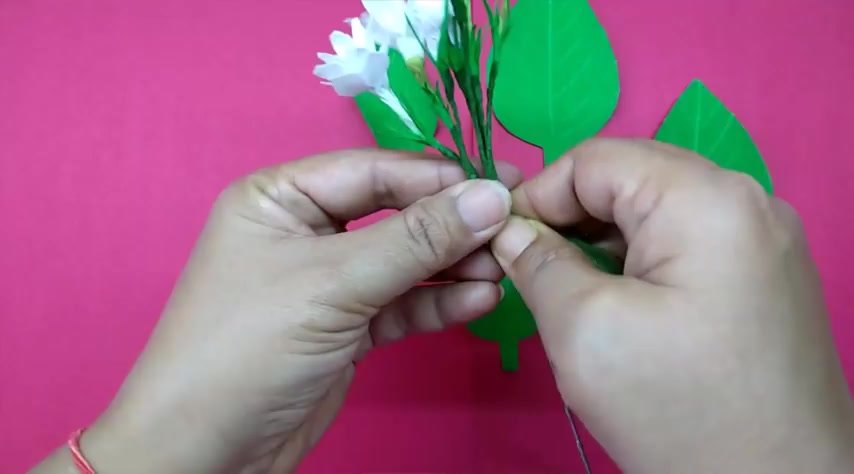
This 1 may be , I'll take the leave , wrap the tape around the base of the link .
The leaves are usually opposite .
And so I just put one on top , one opposite the other , then leave a gap of about one inch or 2.5 centimeters and then attach the slightly bigger leaves .
You can opposite truth to each other .
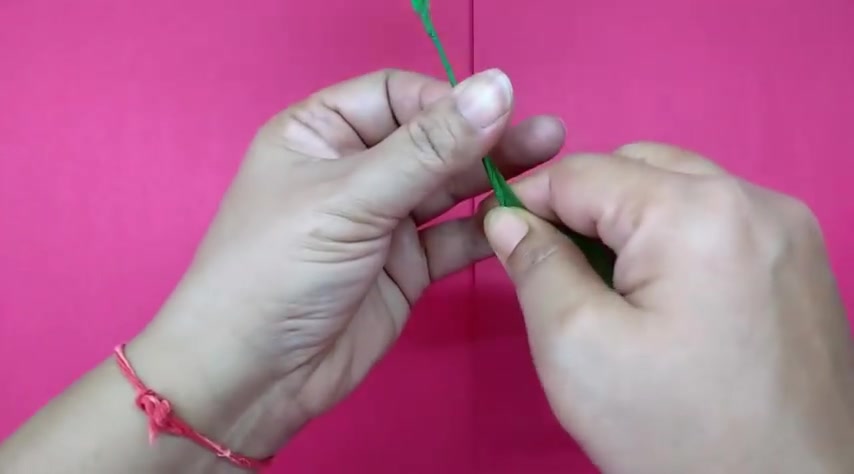
Just wrote on the tape .
You can make add more leaves .
If you want just open out the leaf , they're almost vertical to the ground and then the flowers .
Yeah .
Um This is how the look I would look .
This is for this tensor .
All the measurements are given centimeter .
This is for a bud which is 2.5 centimeter high and two centimeter wide cut as many buds as you like for a punch .
Then this is for a flow .
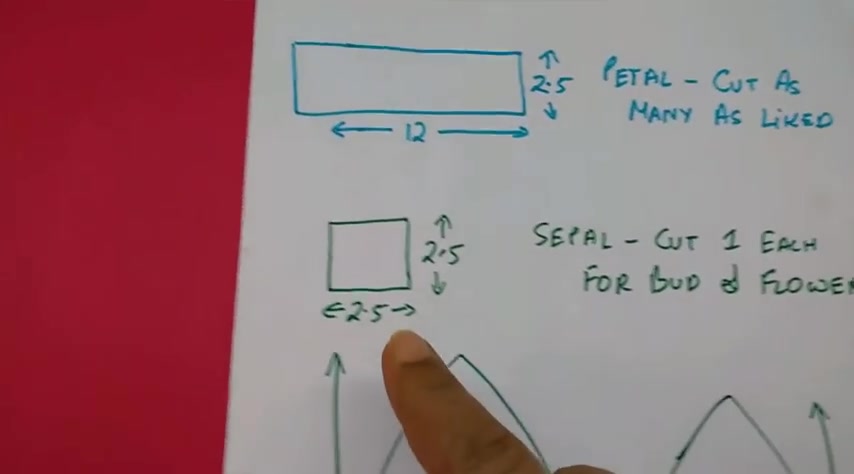
This is 2.5 centimeter high and 12 centimeters wide .
Again cut as many peters as you want .
This is for the sale .
So it's 2.5 by 2.5 .
So you have to cut one sample each for each bud and each flow .
This is for the leaf .
This is six centimeter wide and 8.5 centimeter high .
The stem is one centimeter by half a centimeter and a smaller leaf I've made is six centimeter high and 4.5 centimeter wide .
The stem is one centimeter by one centimeter so you can use as many leaves as you like , you get bigger leaves than this .
It's entirely .
Are you looking for a way to reach a wider audience and get more views on your videos?
Our innovative video to text transcribing service can help you do just that.
We provide accurate transcriptions of your videos along with visual content that will help you attract new viewers and keep them engaged. Plus, our data analytics and ad campaign tools can help you monetize your content and maximize your revenue.
Let's partner up and take your video content to the next level!
Contact us today to learn more.