https://www.youtube.com/watch?v=w_kbz_qD4wU
DIY - Paper Flower Garland _ Cute & Happy Home Decor Ideas
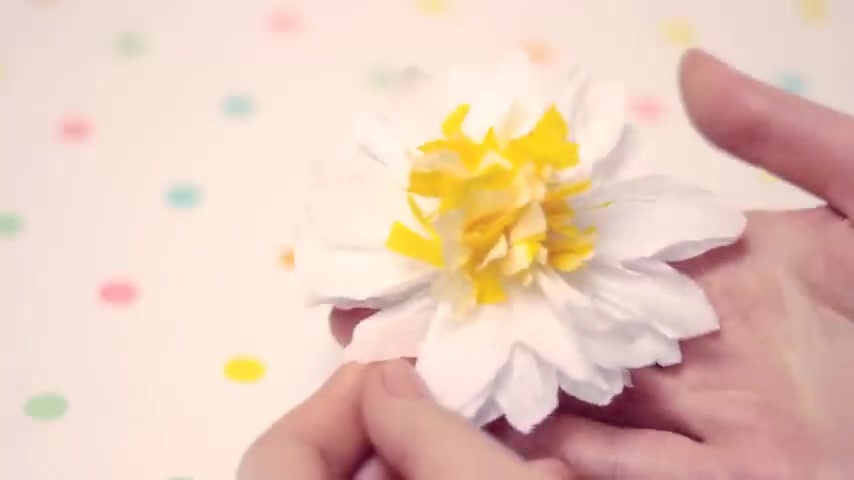
Hey guys .
Do you think spring is the prettiest season too ?
I love how everything is blooming and how colorful it is outside .
That's why I wanted to show you a fun and easy way how you can make a cute flower garden out of paper to decorate your home .
First , I will show you the basic technique behind it and then some examples so you can create your own favorite flowers .
So let's get started for this project .
You will need crepe or tissue paper .
You will also need scissors and good rubber hair ties .
They are very versatile and easy to use and we also need twine or just normal thread to create a basic flower cut off a large piece of crepe or tissue paper that we will have to cut into smaller sheets .
Later , the measurements depend on how fluffy and big you want your flower to be .
So if you want the flower to be five centimeters wide , cut the paper into pieces that are five centimeters wide .
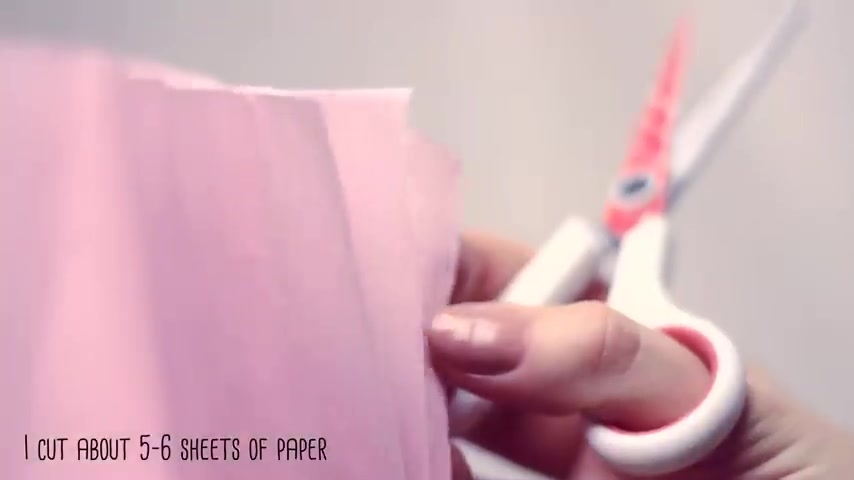
And if you want the flower to be fluffier , the length can be 10 to 15 centimeters or even longer to make it easier .
I follow the paper first and then cut it in pieces .
I cut off about 5 to 6 sheets of paper and laid them in a pile as neatly as possible .
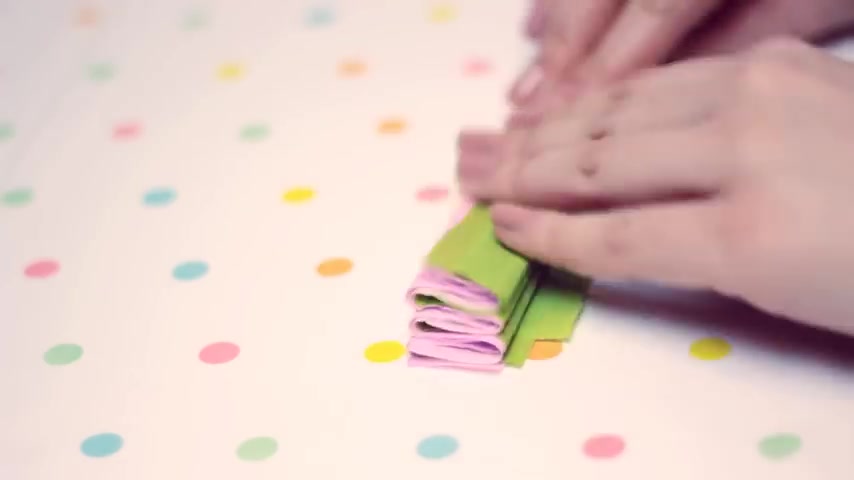
I follow the sheets at about one centimeter .
But you can play around with the size of the fold to create your unique flower .
Continue folding the sheets until you folded all the paper .
If you have some excess paper left , you can cut it off if you have that secure the folded sheets with a rubber hair tie in the middle .
To make the next step easier .
I cut off a bit of paper to create a clean and tidy edge on each side .
If you have that start cutting the ends into a round shape or into any shape , you would like your pals to be just make sure to cut quite a long way down the side since this will make it a lot easier to form the flower .
When you open the folded paper , you should see a pretty pedal shape .
Now , you just need to start pulling up the paper while fluffing it up .
Just keep separating each layer by pulling them very gently towards the middle .
Once you have finished one side , repeat the step on the other side and your first flower is finished .
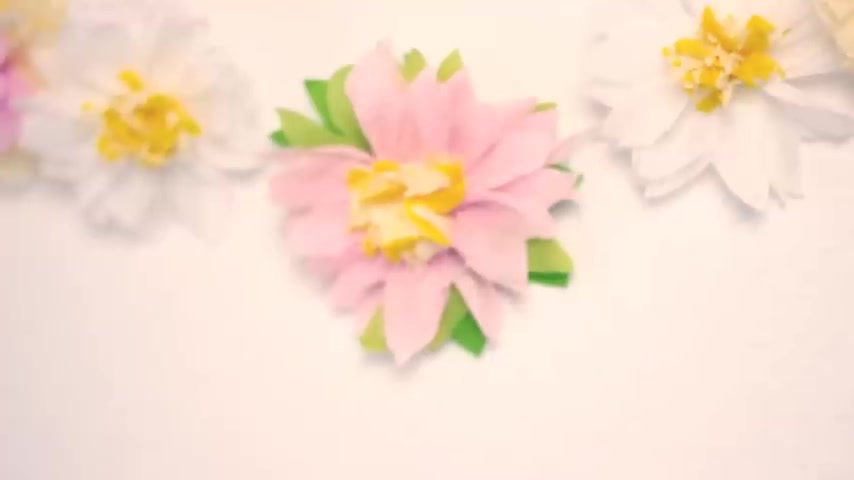
If you want to create a more detailed flower like this one , you will need two sheets of green , about four sheets of pink paper and two yellow sheets that are about half as wide as the rest of the sheets for the center , then lay them in a pile as well and start folding the sheets as we did with the first flower .
If you have that cut off the excess paper if needed , and then run with the end of your scissors or a ruler along the folds to make sure they are folded properly and stay that way after that , unfold the paper and separate the yellow sheets from the rest , then hold the pink and green paper back up , create clean edges .
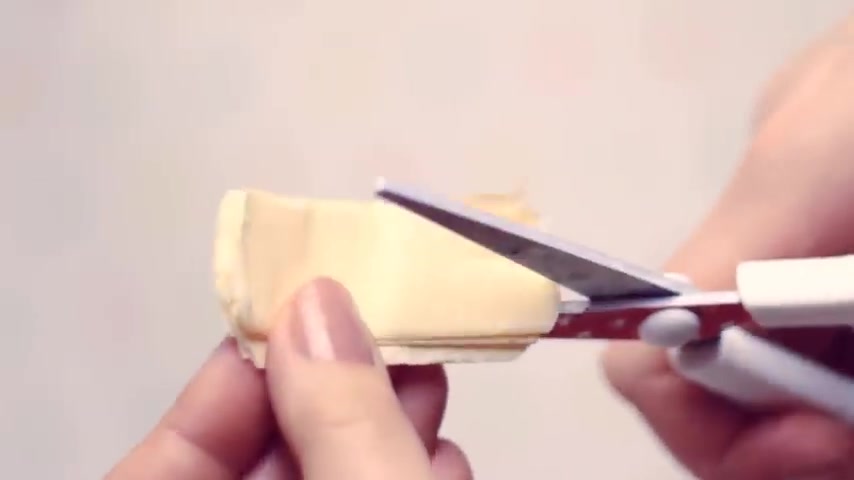
And if you have that cut the end into a round shape or into any shape you like as we did with the first flower , do the same with the yellow paper .
If you want to add more texture , you can also make a lot of long cuts on each side , but make sure you don't cut too far or you will cut the paper into pieces .
If you have that unfold the green and pink paper again and lay the yellow sheets back in the center , then go ahead and fold the sheets back up and make sure that the yellow sheets are placed right in the center of secure everything with the hair tie and start pulling up the paper while fluffing it up , start with the center , but be careful to not rip the paper , then go ahead and do the same with the other paper .
Keep separating each layer until everything is nice and fluffy and you're done .
Of course , you can also experiment with different colors , sizes and pedal shapes .
Next , flower is inspired by the lotus flower , lotus flowers are so pretty .
What is your favorite flower ?
Comment down below and let me know to create this type of flower .
I use four sheets and two different shades of green , three pink sheets and two sheets and two different shades of yellow .
The steps are the same as for the second flower .
I just cut the petals quite a long way down the side to create a sharper angle .
But I cut the centerpiece into a round shape .
Then I went ahead and secured everything and separate each layer and you should get a flower that look similar to a lotus flower .
The last blow I want to show you how to make is a daisy .
The steps are pretty much the same .
I use four sheets of white paper and two sheets in two different shades of yellow .
I repeat every step and then cut the yellow paper quite a long way down to create a sharper angle as well .
Then I made lots of cuts in the yellow paper and then secured everything .
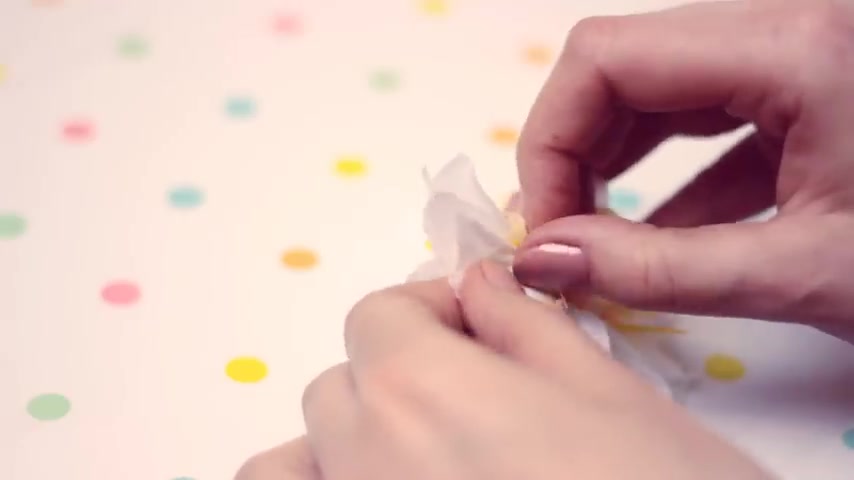
The y paper was a bit too white in the beginning that the center ended up being too big .
So it just cut off a little bit from the top and you are done .
Now , since we use hair ties , we can easily pull through the string and attach every flower we created , I attached the ends of the string with a pin to the wall .
But since it didn't look great that way , I added another pin right in the middle and then place the middle flower underneath this way , the flowers look towards you and not towards the floor .
As you can see , I made a few more basic flowers in one color , but you can create different kinds of flowers by playing around with different color combinations , sizes and shapes .
And if you like , you can even pint each flower separately to the wall as well .
I hope you liked this video and find it helpful .
Let me know in the comments down below if you enjoy this type of series and if you have any other ideas , what videos I could make for you guys have a wonderful day everyone and see you soon .
Are you looking for a way to reach a wider audience and get more views on your videos?
Our innovative video to text transcribing service can help you do just that.
We provide accurate transcriptions of your videos along with visual content that will help you attract new viewers and keep them engaged. Plus, our data analytics and ad campaign tools can help you monetize your content and maximize your revenue.
Let's partner up and take your video content to the next level!
Contact us today to learn more.