https://www.youtube.com/watch?v=cFaOzwpOzQs
Low Profile Modern Coffee Table _ How To Make
Hey , what's up guys today ?
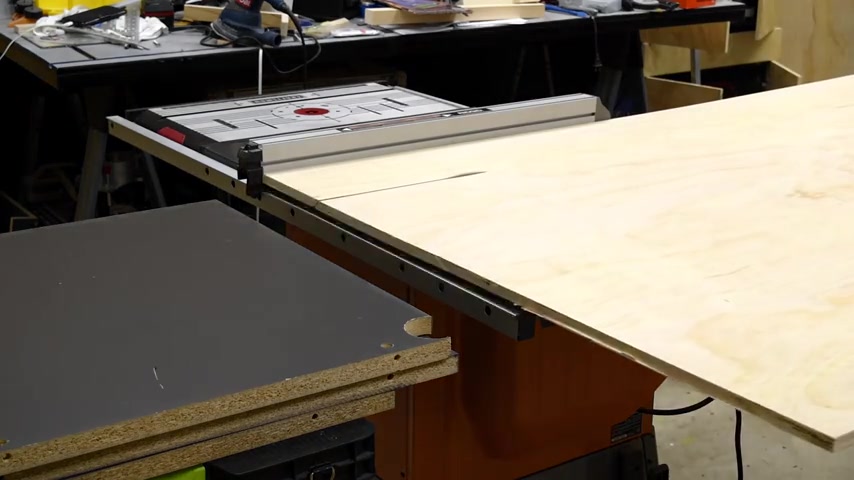
I'm gonna be making a low profile contemporary coffee table and to make this , I'll be using pine plywood .
I wanted the coffee table to be in the neighborhood of 24 inches by 36 inches .
I made all my marks larger than it should be .
And this way I can get the pieces down to a manageable size before I make the final cut .
Then I cut a piece of scrap wod right below the plywood .
So this can assist me after I made the cut , I then set the blade to make a 45 degree cut .
Now , the cut I'm making here will be for the height of the coffee table .
And now I'm going to make 45 degree cuts going around the perimeter of the tabletop .
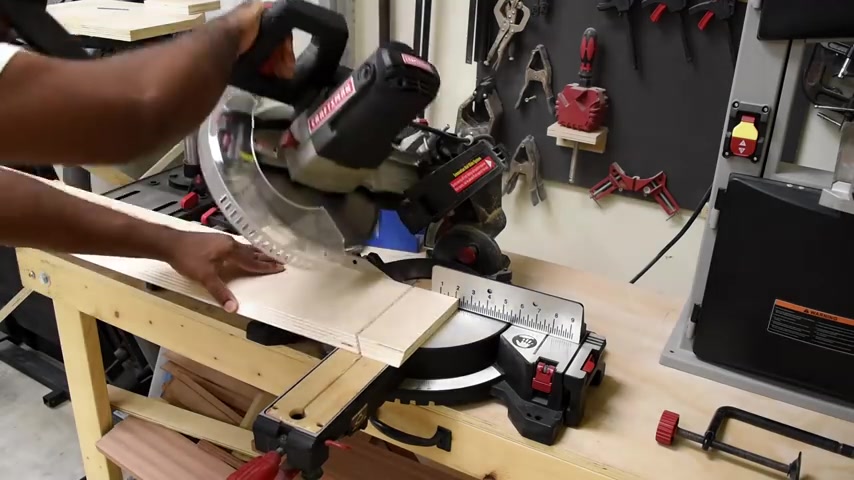
So we're gonna head over to the , to make the cuts for the sides and each end has to be cut at a 4 to 5 degree cut and this will give a much cleaner look .
Now , often I get questions , why do I go back and forth with the saw ?
And normally I do this because I find that scoring the top of the wood first , before making a final cut would reduce the amount of blowouts .
Now , if measuring is not your strong point , take your previously cut wood , place it on the next piece you need to cut and transfer the measurement that way .
And now I'm going to take some of the scrap wood and cut those down to make some corner brackets to make the corner bracket .
I'm going to join two pieces of wood together using nail and wood glue .
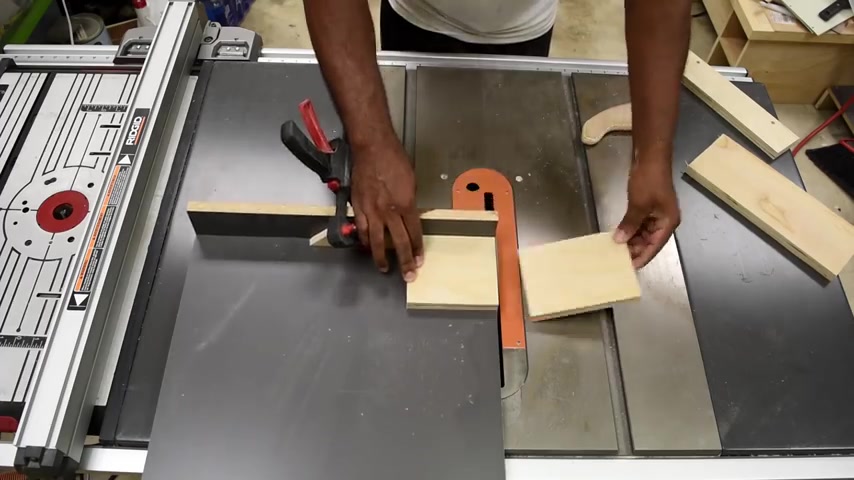
Now I'm going to cut down four pieces of wood for each corner which will be made to support the legs .
Then I'm going to add pocket holes but only on two corners .
And now that all my pieces are cut , it's time to start assembling the build and now to attach the corner bracket which is made to support the corners .
I use wood glue and then the nail gun , the nail gun is not necessary , but it helps .
And after all the corner bracket was installed , I added a screw to help secure this more .
To attach the side .
I use glue and brad nails .
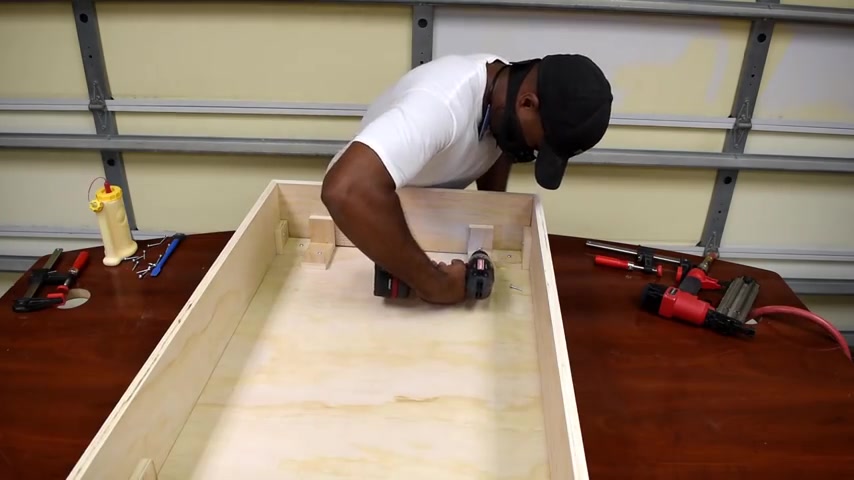
Now that the sides are attached , I use the brad nails to nail up the corners and now to install the fee support which I would do in all four corners .
Sometimes you don't see everything when you're designing .
So I forgot about this piece here , which I then cut to add this as a leg support .
I add a wood filler to cover up the nail holes and also the corn and gaps just add as much wood filler as needed to fill in the body .
After giving the wood filler enough time to dry .
I use the orbital sander with a 220 sand paper to sand it down .
Now to put the finish on this .
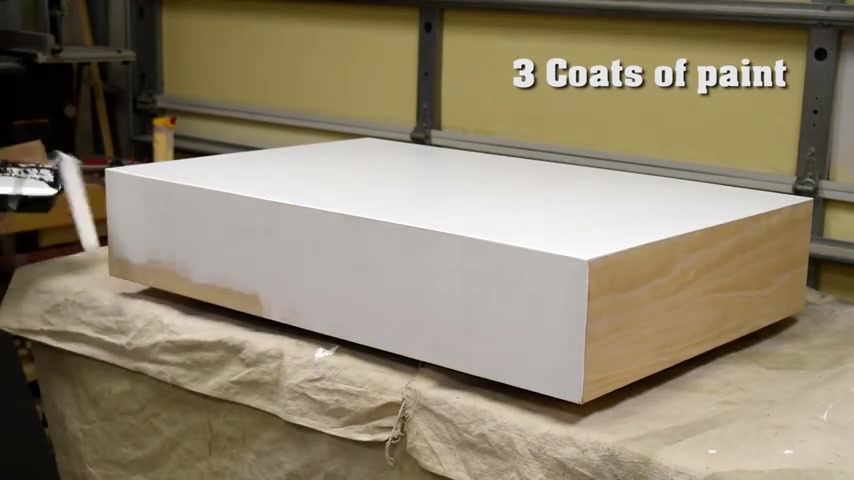
I'm using a high gloss white latex paint and I originally wanted to spray this , but I'm just not set up for that at the moment .
Now , adding the fabric to the bottom may be a bit of an overkill , but I just thought it gave it a nice look .
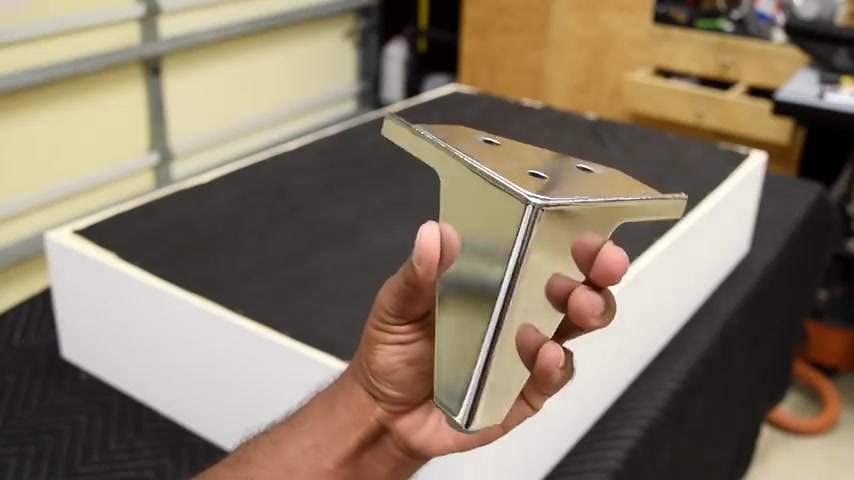
So I was looking for a set of leg that can blend in with my sectional and these happen to be close enough and I picked these up from Amazon and if you're interested in these , I will have a link down in the video description minus all the 4 to 5 cuts .
I thought this was a simple build and with the added legs , I thought that gave this piece an expensive look .
Now this bill was a request I received a while ago , but I finally got around to it and that's it for this show guys .
So be sure to like , subscribe and let me know what your thoughts are down in the comments and definitely hit the share button , help the channel out a ton and I will catch you guys on the next one .
Are you looking for a way to reach a wider audience and get more views on your videos?
Our innovative video to text transcribing service can help you do just that.
We provide accurate transcriptions of your videos along with visual content that will help you attract new viewers and keep them engaged. Plus, our data analytics and ad campaign tools can help you monetize your content and maximize your revenue.
Let's partner up and take your video content to the next level!
Contact us today to learn more.