https://www.youtube.com/watch?v=W6ZCrylTAKo
How to Make Rolled Paper Flowers with Cricut _ Crazy Crafters Cruise 2019 Highlights
I'm Alex Fano and thanks for watching Divine Design Crafts .
I'm gonna show you how to make rolled paper flowers using your cricket .
I love making rolled paper flowers because there's so many different ways they can be used .
They can be used to accent wooden signs because they're small enough that they can be glued on .
It can be made into bouquets .
If you'd like a different alternative to fresh flowers for your wedding , they can help decorate centerpieces at your wedding .
They can decorate baby showers , wedding showers .
There's just so many uses for these flowers .
They are a great craft to get started .
So make sure you stay tuned for this tutorial .
And if you find it helpful , please make sure to like this video and subscribe and click the little bell notification next to subscribe if you want to get notifications each time that I put out a new video or tutorial .
And as you can see , I'm filming in a different location this week because I'm aboard the Crazy Crafters cruise .
So I spent the last couple of days teaching other crafters how to make fun crafts like roll paper flowers and all kinds of other fun stuff .
So stay tuned after this video for some special edition footage and what we've been up to on the Crazy Crafters Cruise .
Let's get started .
The first material you'll need to make your roll paper .
Flowers is card stock .
My favorite is recollections , £65 card stock from Michael's like what you see right here .
Then you're gonna put this card stock into your cricket machine to turn this card stock into a rolled paper flower and it'll look like this right here .
I made my flower eight inches wide because that's how wide my paper was .
The next item that you'll need to make roll paper flowers is a hot glue gun and plenty of hot glue .
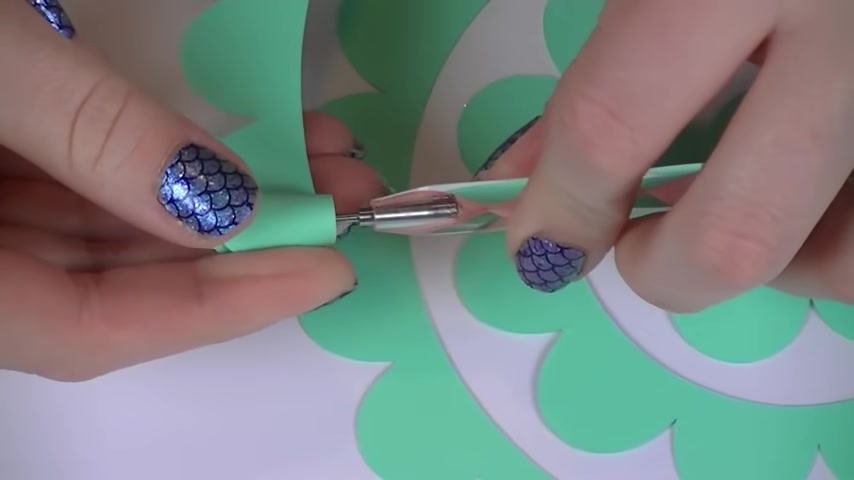
The next item you're gonna need to make your wall paper flowers is a quilling tool that looks like this .
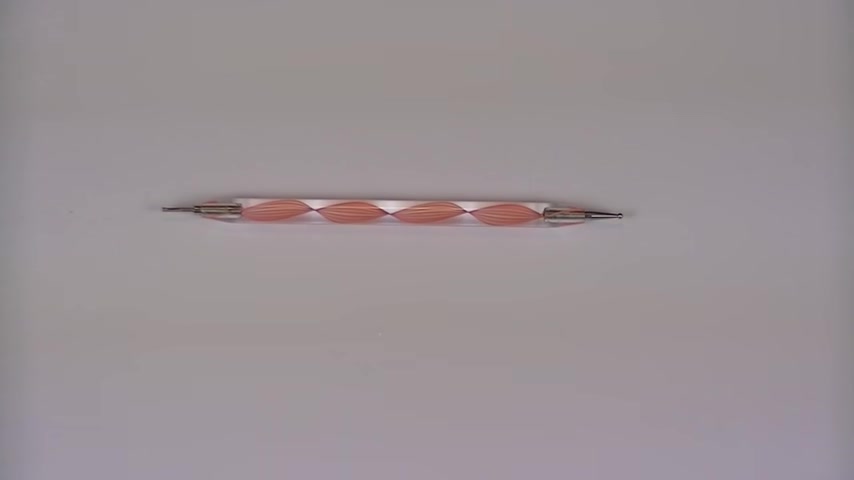
This is what the quilling tool looks like up close .
You're gonna use this slot in the quilling tool to hold onto the paper to make your roll flowers nice and tight .
If you don't have a quilling tool on hand , reverse tweezers can make a roll paper flower as well .
I have found that I get the best results with the quilling tool .
So before we get started , there's something important that you should know .
This is gonna be the base of your roll paper flour and this is the edge of your roll paper flower .
So we are gonna start from this outside edge and work our way toward the base , not the other way around .
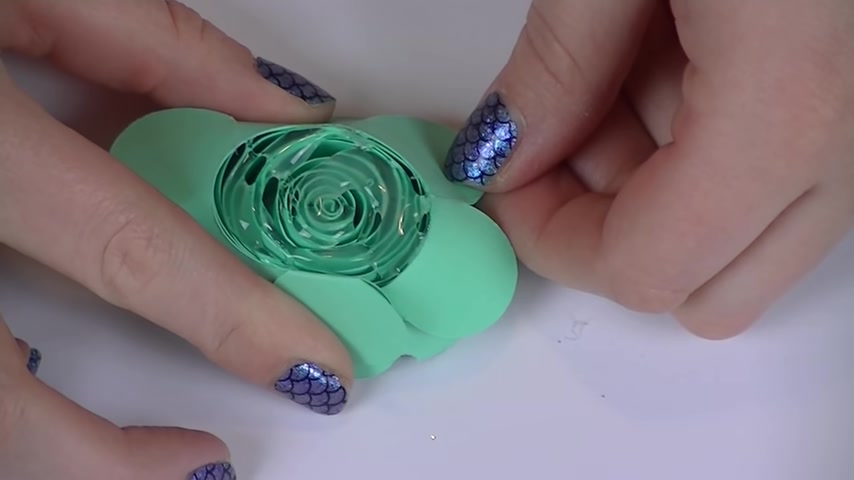
I'm gonna insert the flat part of my pedal into the in , into the slit of my quilling tool .
It's a bit like threading a needle .
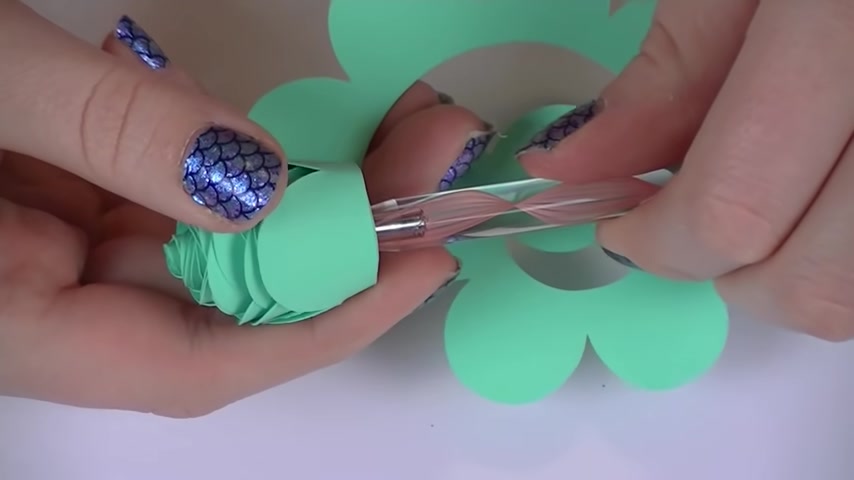
But once you slide the paper inside the quilling tool , you're gonna roll in toward yourself to start rolling your paper flour .
You want to keep this area the tightest because this is gonna be the center of your flower .
And as you roll , you wanna try to keep the flat side of the petals even with one another so that it's a nice and neat roll .
We can still fix everything before we glue the flour .
But this helps make it a little bit neater .
You just want to readjust as you go so that the bottom part of this petal stays even with one another .
This is going to be the bottom of our flower .
So the more evenly that we roll it , the easier it is to make flat in the end .
So all we're doing by rolling this paper is actually training it how we want it to stay .
So you'll see here in just a moment .
By the time we get to the center , the paper will be nice and tightly rolled and we're actually going to let it go so that it can bloom a little bit before we glue it because flowers in nature are not very tight .
So we don't want to create really tight flowers either toward the end , it becomes a little bit difficult to keep it on the quilling tool .
So if you get toward the end and you start to slip off the quilling tool , it's OK to take it to take out the quilling tool and finish with your fingers .
Alright .
So once we finish rolling , you'll see that this is where the flap ends .
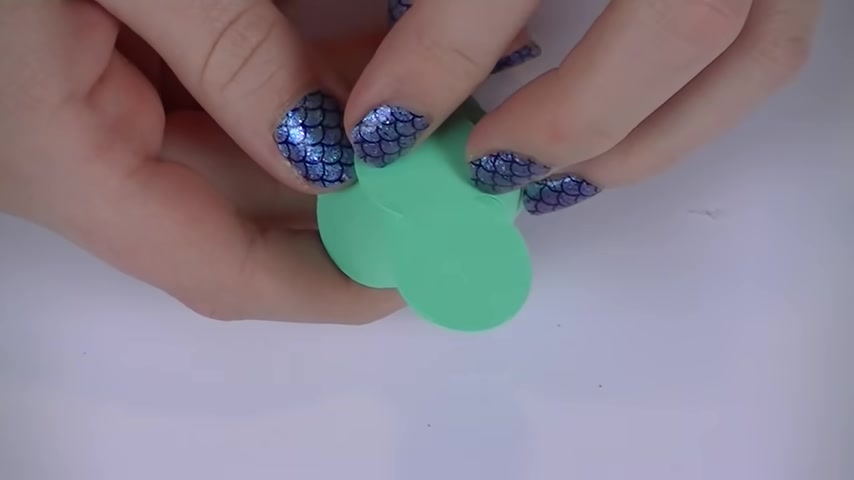
This is the last pedal of our flower and this is gonna be the base of our flower .
So I always like to take this base and bend it backwards so that it's easy to see .
And now you'll see before I let it go , that it's , we've got a little tiny rose bud that we've rolled up nice and tight with our coiling tool .
But now that the paper has been trained to stay really tightly coiled .
I'm actually going to drop the flour on the table so that I can let it open up and bloom so we can unfold the flour and work the pieces before we glue it to make it a nice natural looking flour .
So even after we let it go , it doesn't go too far .
I'm actually going to take , use the center and I'm gonna unroll it a little bit to give that flower some more bloom .
And how loose you like your flower .
Depends on your personal preference .
There's no rule for this .
So I'm liking the way that's looking .
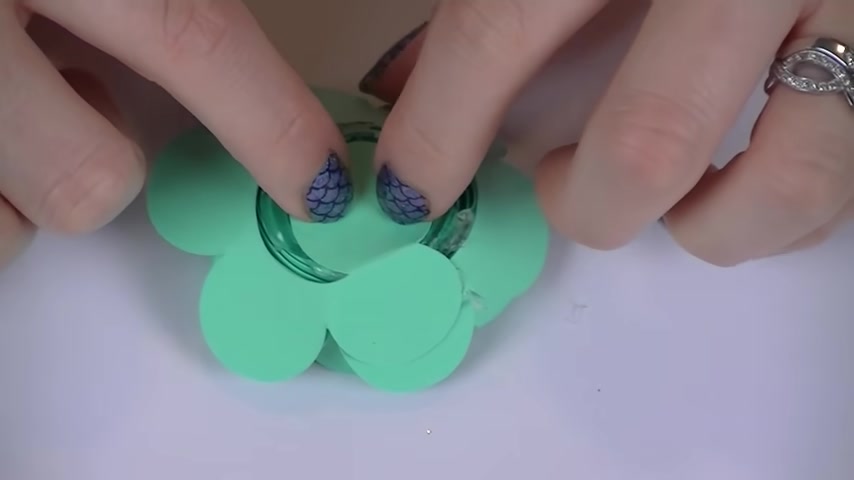
So I'm gonna flip the flour over and start working on the bottom side to get it secured .
Gluing the bottom in place is actually what's gonna keep the flour together .
So we're gonna be sure to use lots and lots of hot glue on the bottom .
So I'm gonna hold the back flat back with my finger and I'm gonna start gluing the folds of , I'm gonna hold the flat back with my finger and I'm gonna start gluing the rolls of the flour together so that they'll stay nice and tight .
Don't be , don't be afraid to use lots of hot glue here .
This is gonna be the bottom of the flower , so nobody's gonna see it .
I know that probably seems like a hot glue .
A lot of hot glue to a lot of you .
But since this base lap is gonna cover up most of the mess of the hot glue , there's no need to try to keep it neat .
So I'm just letting this hot glue set for a moment .
All right .
So last but not least I'm gonna glue this outside flap to the outside of the flower before I glue down my base so that the outside edge of the flower doesn't stray too far from the middle .
So I'm gonna fold this back and just put a touch of hot glue right here .
And the final piece of gluing we need to do is I'm going to add a little bit more hot glue in the center .
So that I can fold my base over the top and glue it down .
So I'm gonna hold the pe the base piece over the bottom and let and give the hot glue a moment to set .
Be careful not to burn yourself as you hold the base down .
So , although not all the hot glue is covered , no one's gonna want to see the bottom of your flower .
So don't worry about keeping it super neat .
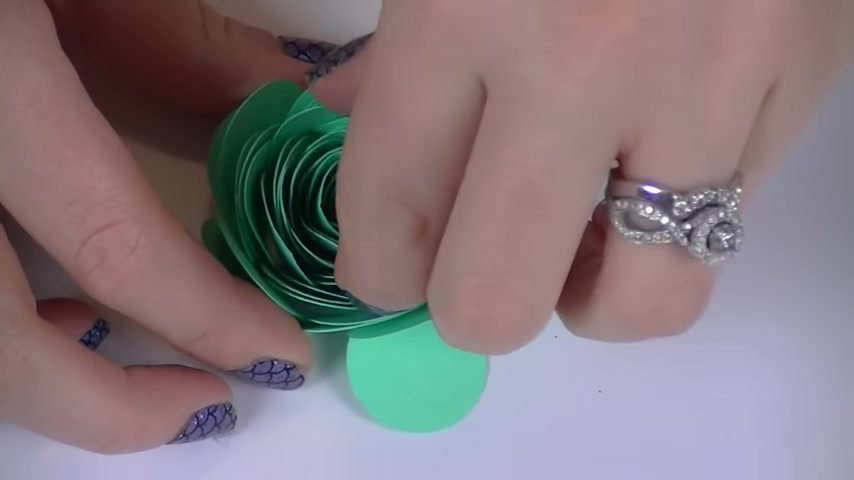
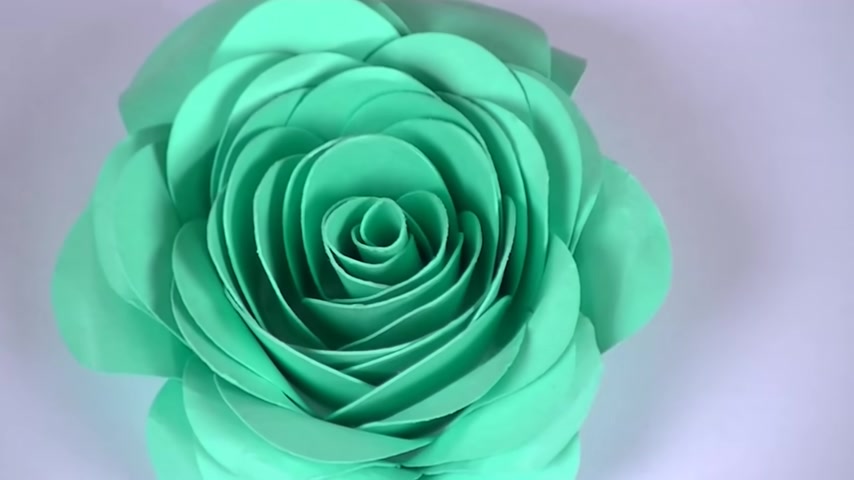
But when you flip it over , you have this really fun pretty flower .
Now , I'm gonna show you how to work the petals and give it more of an opened rose natural look .
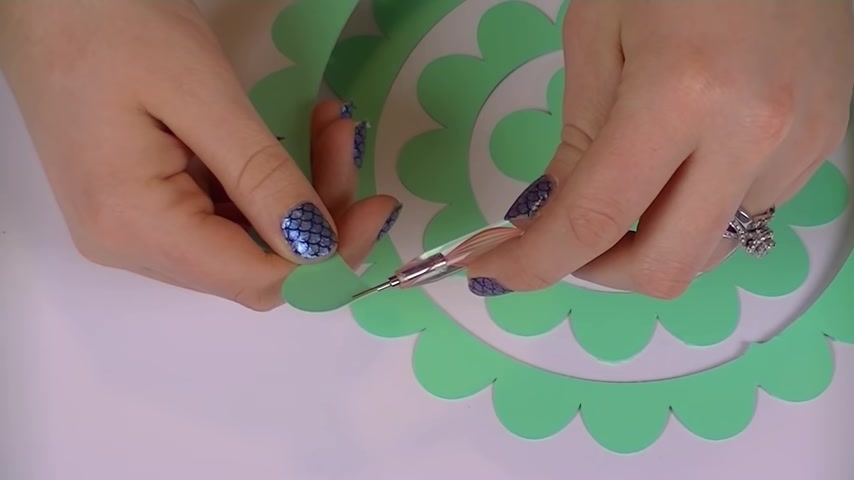
So the way we used the quilling tool before I'm gonna use the slit in the side of the quilling tool to grab one of the pedals from the side .
Then I'm gonna roll the coiling tool outward to give this pedal some bloom .
Then I'm gonna slowly release it back and that gives it a nice pretty finish and it looks like a bloomed rose .
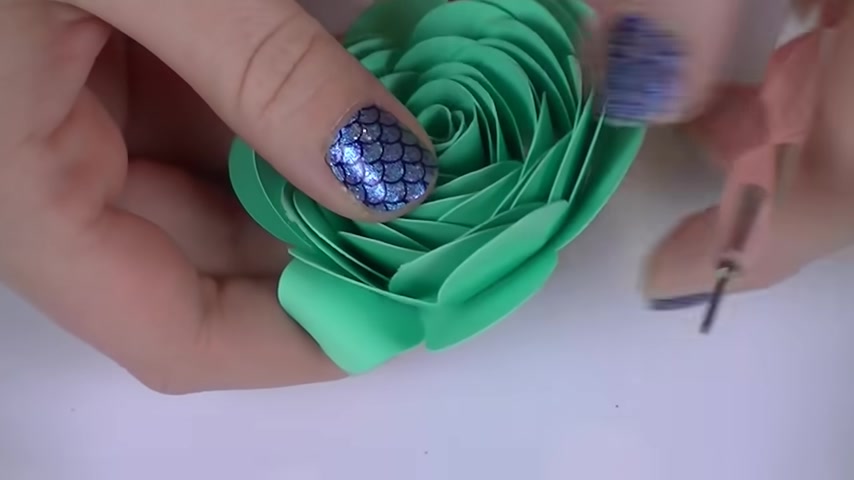
And I'm gonna do that for a couple of the outer layers of my petals .
You want to make sure as you roll backwards that you're as close to the top of the pedal as you can be without letting the quil tool drop the pedal .
You can also just use your fingers to work a lot with the pedals .
Not all of them need a super dramatic flare outward to make it look like a bloomed rose .
So if you just want to pick the paper and bend it backwards with your fingers , you can give the petals a nice bloomed look like that .
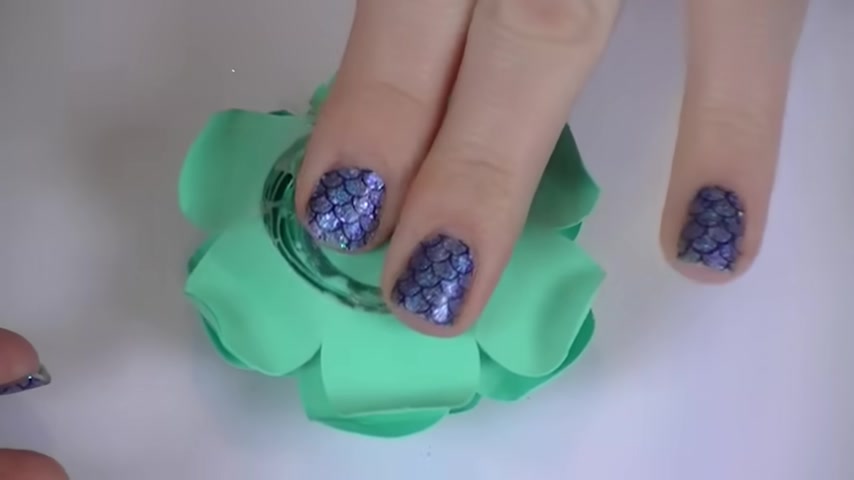
You can even turn it over on the table and wiggle it around a little bit to open up some of the center pedals as well .
And again , how much you work the pedals is totally your preference .
I like mine to look a little bit more open , but that's just how I like them to look .
This is totally you and totally your style .
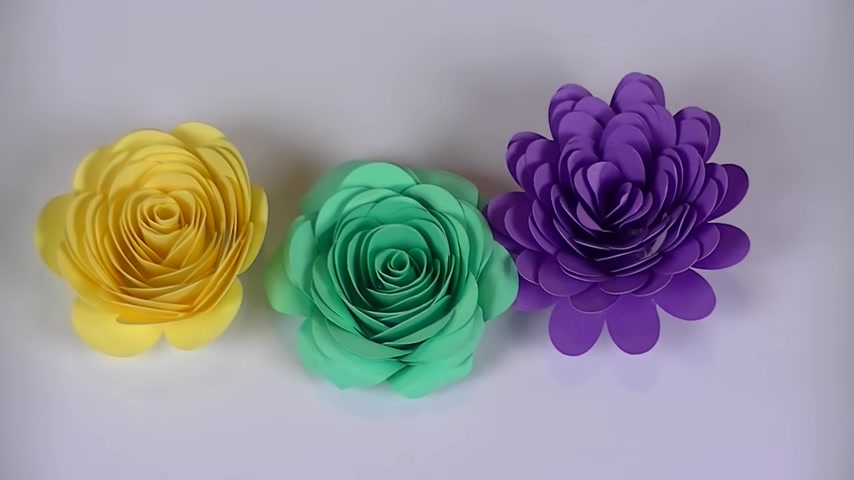
So when you're all finished , this is what it looks like and like those templates I talked about earlier .
This is just one shape of the petals that you can get in some of those templates .
This flower is the same shape of petals as the flower that I showed you in the video .
But here's another type of paper flower that I made with the exact same template .
The top of the petals are just a different shape so you can find a variety of these on Etsy .
So I hope you enjoyed this craft .
If you have any questions about roll paper flowers , please drop them in the comments .
Now , check out some of the footage of the 2019 Crazy Crafters Cruise .
Thanks for watching Divine Design , Crafts and Happy Crafting .
Are you looking for a way to reach a wider audience and get more views on your videos?
Our innovative video to text transcribing service can help you do just that.
We provide accurate transcriptions of your videos along with visual content that will help you attract new viewers and keep them engaged. Plus, our data analytics and ad campaign tools can help you monetize your content and maximize your revenue.
Let's partner up and take your video content to the next level!
Contact us today to learn more.