https://www.youtube.com/watch?v=SYUHH8Bbuds
How to Solve the Rubik’s Cube - Walkthrough Solves
Hey , everyone .
This is film in this video , we're going to go over three example solves of the layer by layer method .
The first one , we're going to fully explain what's going on in the cube and why I decide to do certain things .
The second one will involve more brief explanations and the third one will just be a plain solve demonstrating the method .
Let's get started .
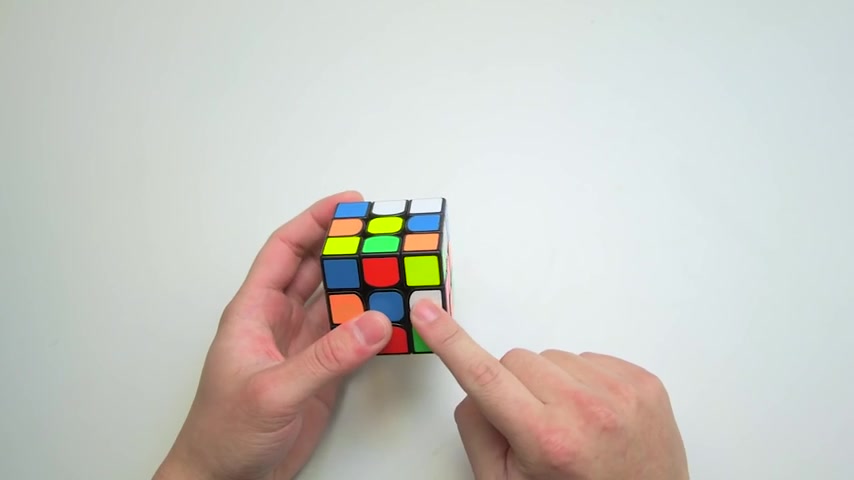
Here's the first scramble .
So as you can see , we have one white piece that's already attached to the yellow center .
So we're going to try to get the other ones near the yellow center .
The other ones include this one , this one and this one down here .
This one is a move away .
So I'm gonna do it by turning the right face like this and getting the second part of the Daisy .
Now , I notice this piece , I would love to get it up here except this piece is already in the spot and these two are our vacant spots .
So what I'm going to do is put this piece over here and then fill in the vacancy .
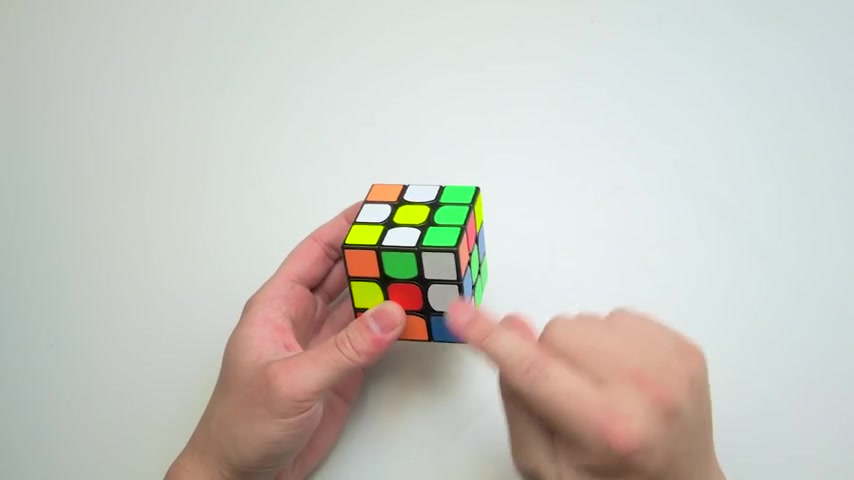
Now I see this piece and there's no easy way for me to get it up here .
So I'm gonna move this spot over it like we did in the example , turn the front face and then put this spot in this position and load the last piece in .
Now I see these green and these green pieces , this green piece should match the green center .
So I'll rotate the bottom two layers and once they match , I'll solve the cross piece .
Now I notice this blue part of the white edge , I want to match it with the blue center once that's done cross piece .
And now this is the orange piece it matches with the orange center in the back .
So once they're matched , I gonna turn the front face like this to solve it .
The last one is red and of course , I want to match it with the red center .
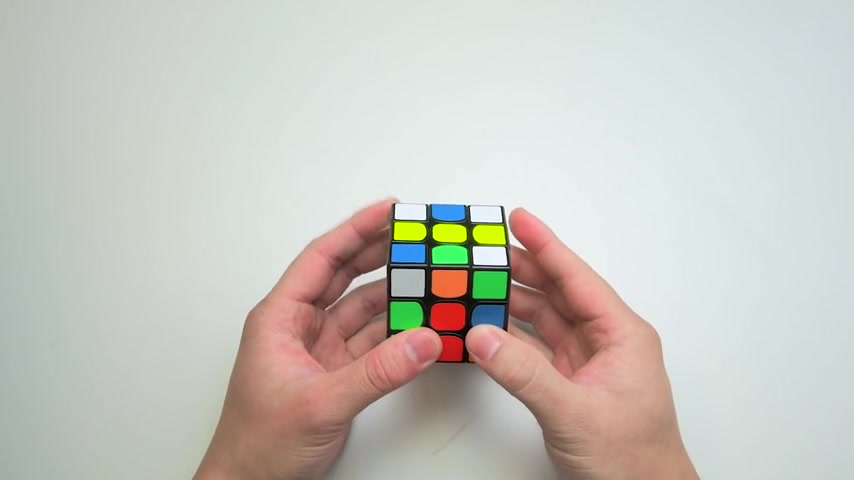
So once that's done , rotate twice and the cross should be solved .
Next , I want to take care of the first layer corners over here .
I see my first one .
It's white , red and green and it goes over here since it's already on top of where it should go .
All they need to do is repeat the right until I get it .
Now , this is the next one I see .
And this one goes here in between the orange , blue white .
So I'm going to put it on top of where it should go and repeat the right until I have it the next piece I see .
Is here and it goes over here .
So I'm gonna put it on top of where it should go and repeat the right until we are good .
The next one is this piece when I see this piece , I know it should belong here .
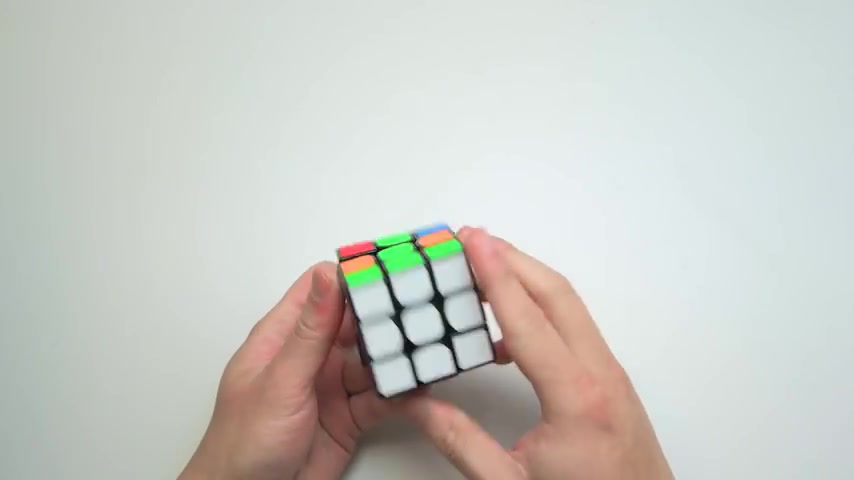
So I put it on top of where it should go and repeat the right until the entire first layer is solved .
Next , it's time to focus our attention on the second layer edges .
I see these .
So I want to match the green with the green .
And then at this point , I understand that this edge should go to the left .
So I apply the sequence solving it to the left .
This is the next one I see the greens are already matched and this edge goes to the right and apply the sequence to solve that edge .
I saw this piece .
And so I'm going to match the orange with the orange , decide that it goes to the right and then apply the sequence to solve it .
The last one is here and it's already lined up for us .
So all we need to do is notice that it goes to the left .
Once we know that we can apply the sequence and solve it .
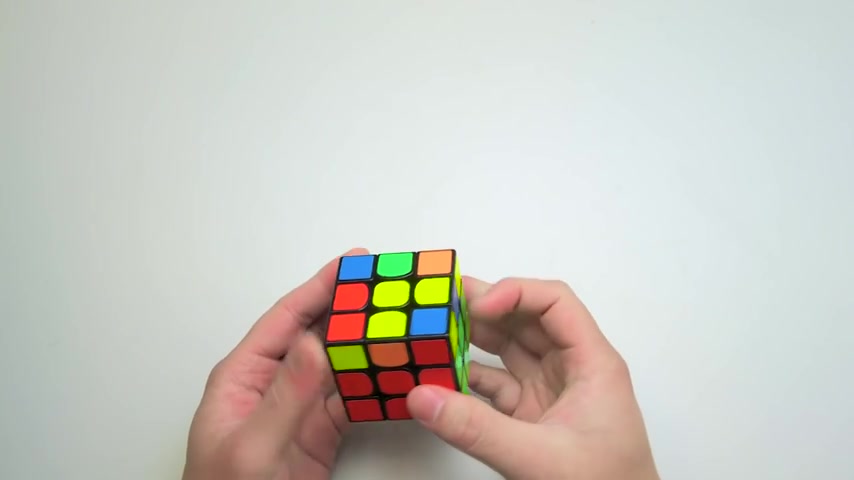
Now we can see that we have an angle so we can hold it like this , we can turn the front two layers together , do the righty alg and then turn the front two layers again in order to solve it .
Now , here , these two corners are correctly positioned and these two are not , these need to be interchanged .
So I'm gonna hold it so that they're on the right , do the righty elg three times and then do the lefty out three times after I spin the cube .
And now the corners are correctly positioned .
So I'm gonna turn the cube down and I'm going to twist these two corners .
Let's do that .
OK .
Now , all the corners are solved .
I can align again .
And we have the case where their edge is solved in the front .
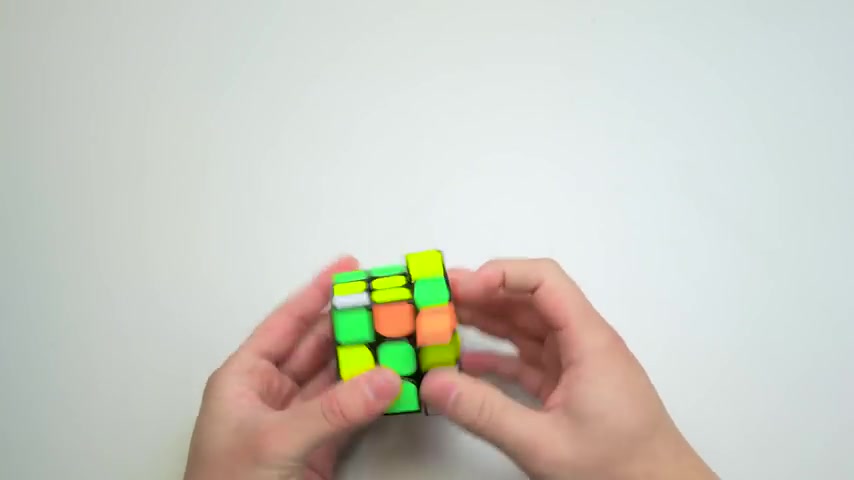
So then we know to do our very last sequence and the cube should be solved .
Here's the second scramble .
We're going to do this demonstration a little faster now .
So this edge goes here , this edge goes here and then I can put this one on top of here , turn the front , move this here and put the edge in .
And now I see this green match the greens twice .
See the red , match the reds , turn it twice , see the blue , match the blue , turn it twice , see the orange , match the oranges , turn it twice .
The first layer is done .
Now , I see this corner it goes in here .
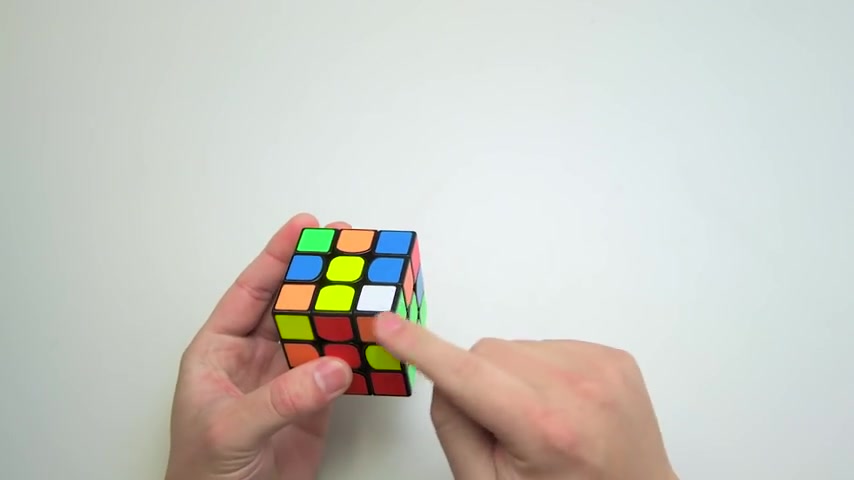
So I'm gonna repeat the right until it's solved .
Now , I see this piece it goes over here .
So once it's lined up , gonna repeat the right until it's solved .
And now this is the last piece it goes here and I can repeat the right until it's solved .
Now , I noticed this piece and the oranges match .
So I'm going to move it to the right .
I notice this , I match the reds know that it's going to the right .
Apply the sequence .
I notice this piece match the reds .
It goes to the left , this piece goes to the right .
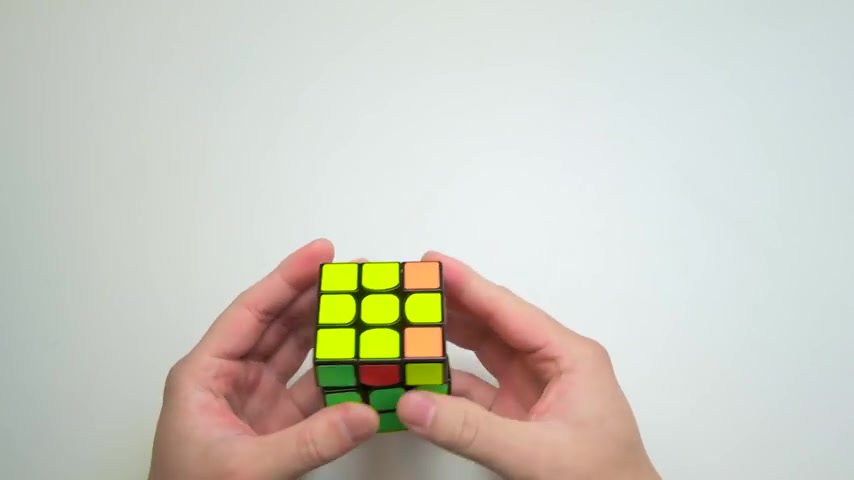
We have an angle and now we skipped positioning the corners because every corner is already positioned .
So I'm gonna turn the cube down and flip these corners done .
OK .
So now we have the case where the edge is solved and three of them are not one more time , the cube is solved .
Here's our third scramble .
In this case , I'm just going to solve the cube using the method at a moderate pace and show you what a flowy solve should look like .
Let's get started .
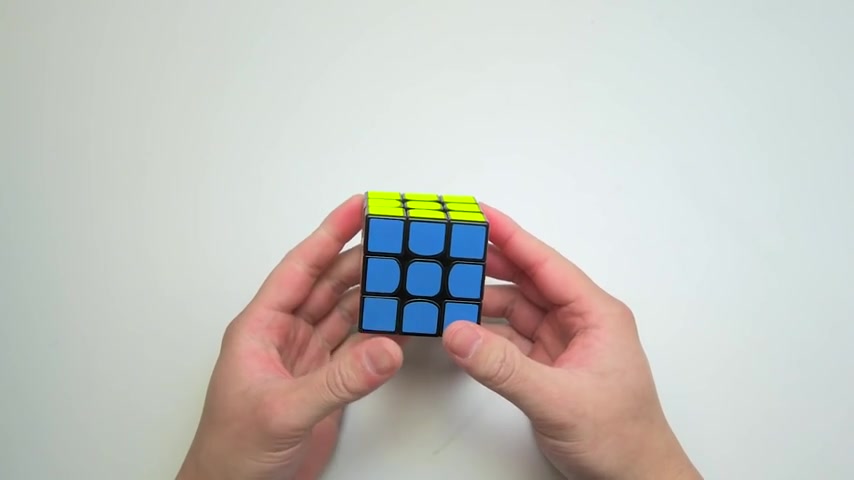
So that's it for our example , solve video .
Hopefully you found this instructive .
The last solve I did was about a minute and a half .
And if you practice , you can also reach that speed and definitely go even faster if you practice more .
Thank you very much for watching and hope this helps you solve the cube .
Are you looking for a way to reach a wider audience and get more views on your videos?
Our innovative video to text transcribing service can help you do just that.
We provide accurate transcriptions of your videos along with visual content that will help you attract new viewers and keep them engaged. Plus, our data analytics and ad campaign tools can help you monetize your content and maximize your revenue.
Let's partner up and take your video content to the next level!
Contact us today to learn more.