https://www.youtube.com/watch?v=IuDVgPKcmA0
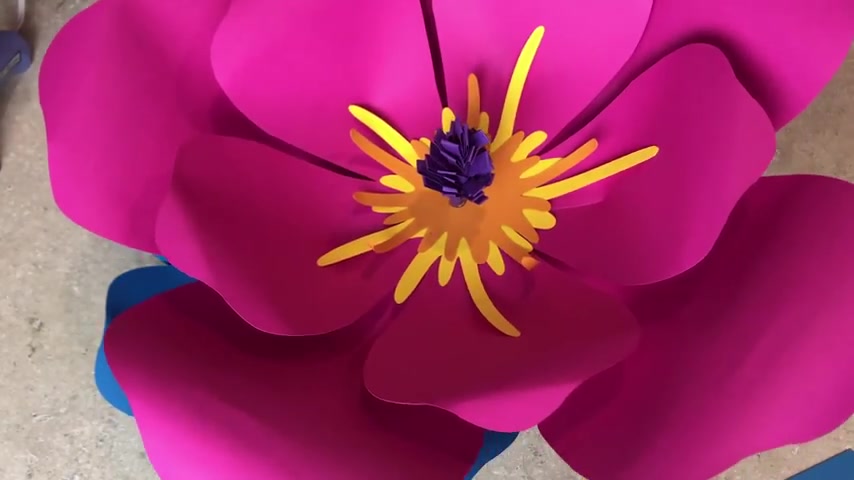
How to Easily Make Paper Flower Template #101-Hibiscus
Hi uh in this video tutorial , I'm gonna show you how I everything that I can share with you about 101 .
So actually I already posted this uh template before .
Unfortunately , I still , I didn't have a video tutorial .
So I receive , you know , some request about it .
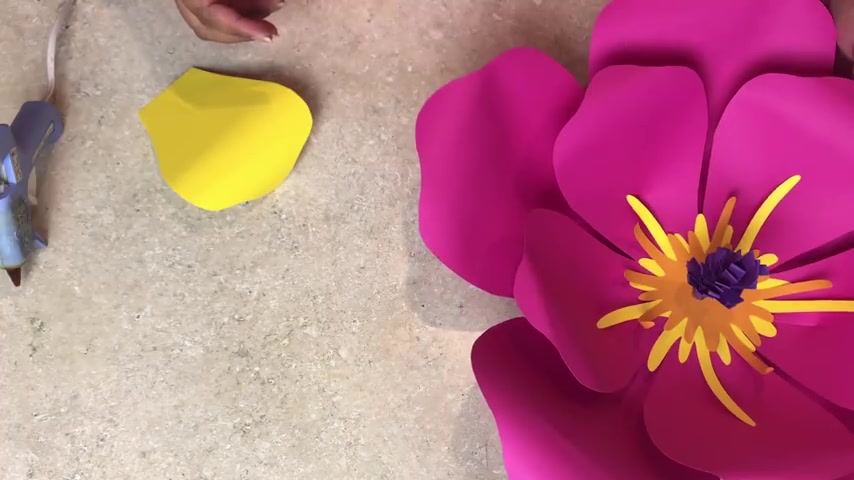
So now I'm doing it and when you purchase this template , uh you will receive , if you are gonna buy PDF , you'll receive like a six sizes of different uh sizes of petals and with SVG , you'll only receive one size pal and I'm gonna give you the sizing .
But also I'm gonna make a separate video on how you can , you know , really maximize your paper uh with the template that you got from me .
You know , the sizing that I provided .
It's ideal .
Yes , but you know , having an SVG , it will give you a flexibility on how you are going to cut your petals and depending on the size of paper you have .
So let's start .
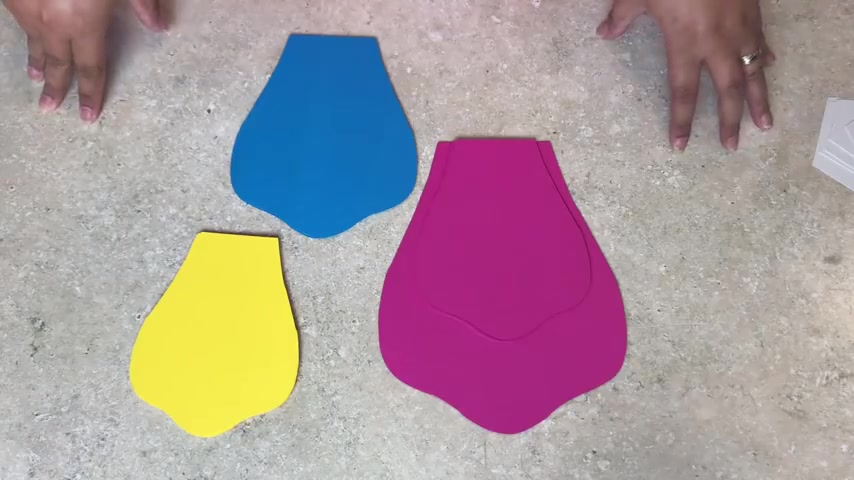
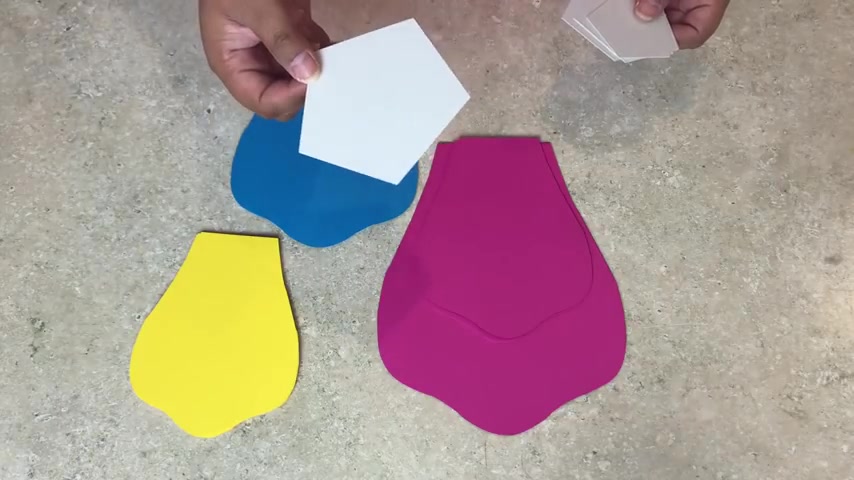
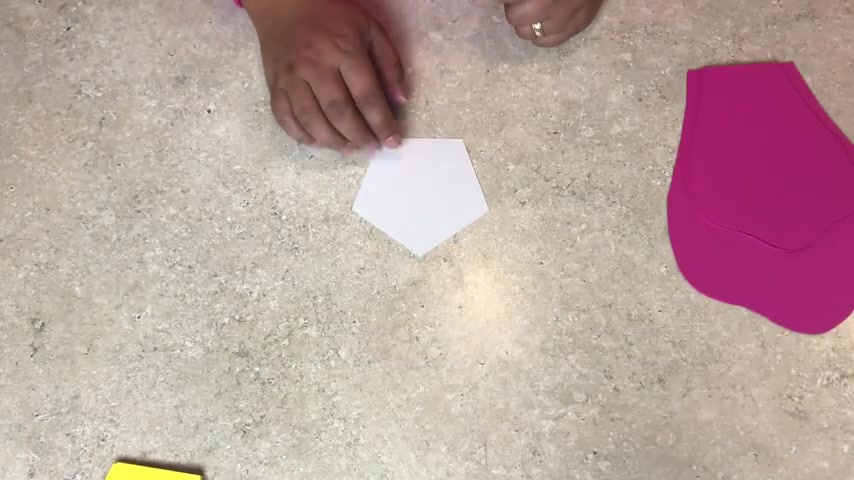
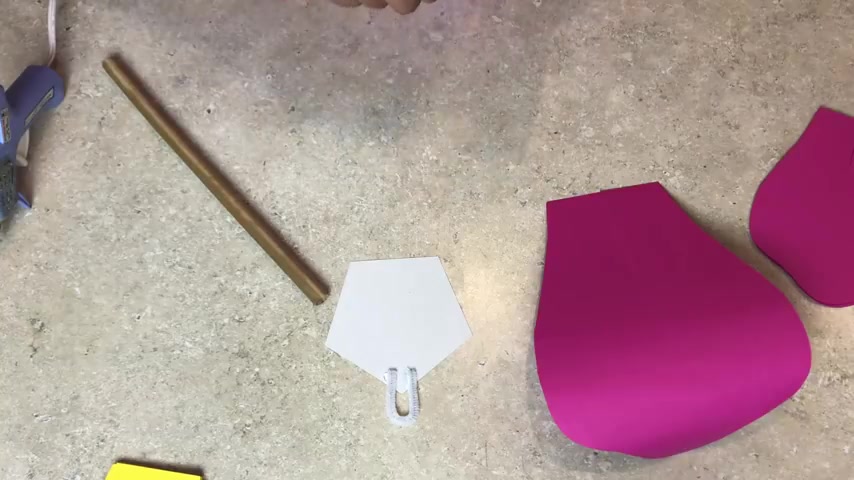
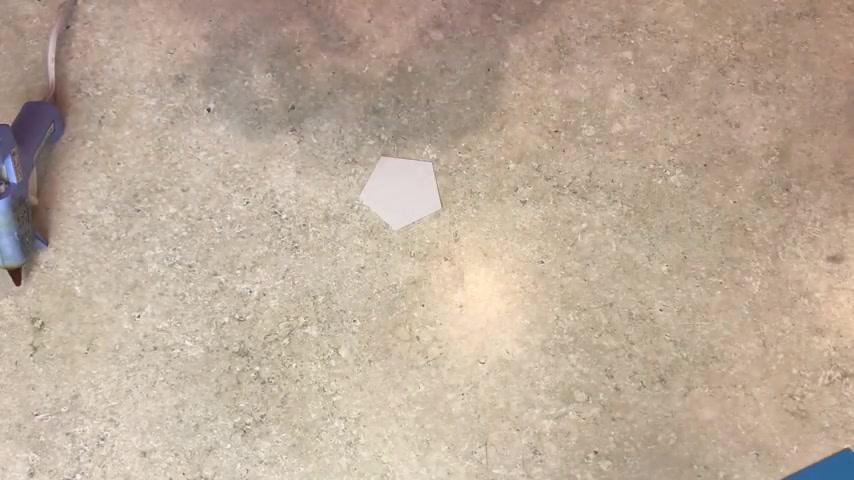
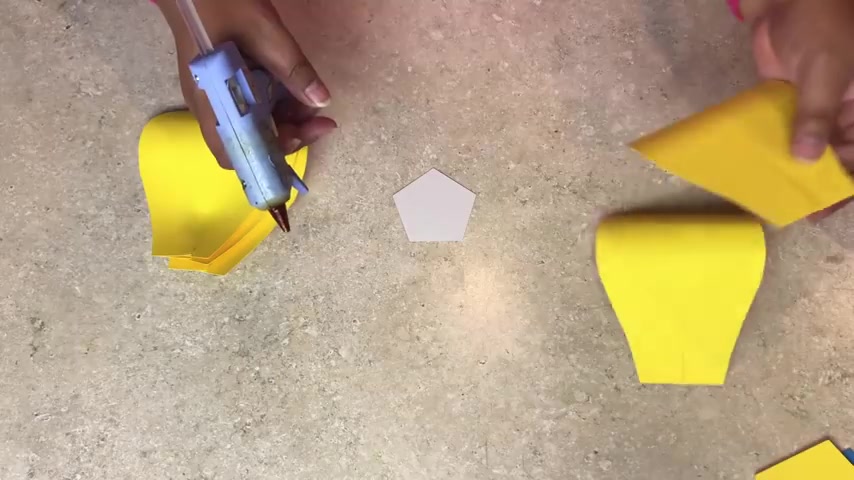
So you will receive a pet , a , a peal when you purchase this and you will receive a Pentagon base .
I'm gonna make , I'm gonna make uh at least five sizes of Pentagon for PDF S but for SVG , I also have separate uh video on how you can get a Pentagon or five sizes uh base for your flower .
So and why Pentagon , the normal flower that I'm using is uh six petal flower .
But Y Pentagon because most of the hibiscus has four sites on it , uh four petals on it .
So I'm just trying to get it as close as I can and upon purchase , you'll also receive this uh two component centers .
Yes .
And you will get this one in SVG .
So you can size it however you want .
And so that's it .
Let's start .
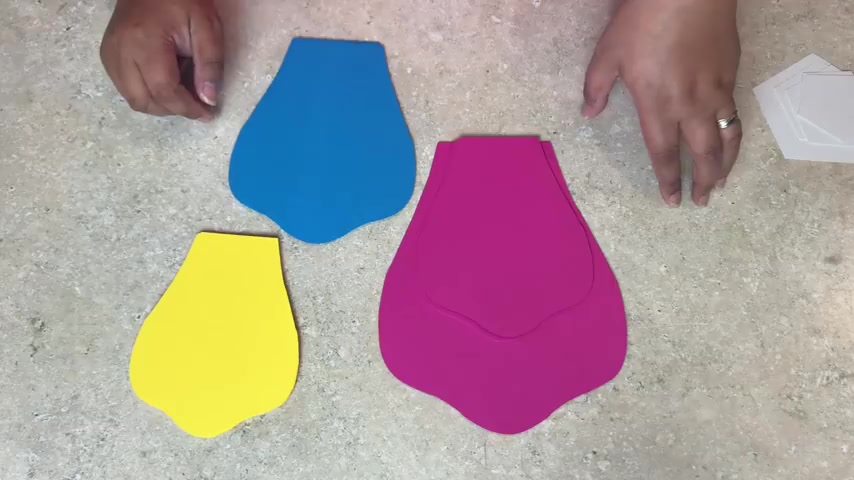
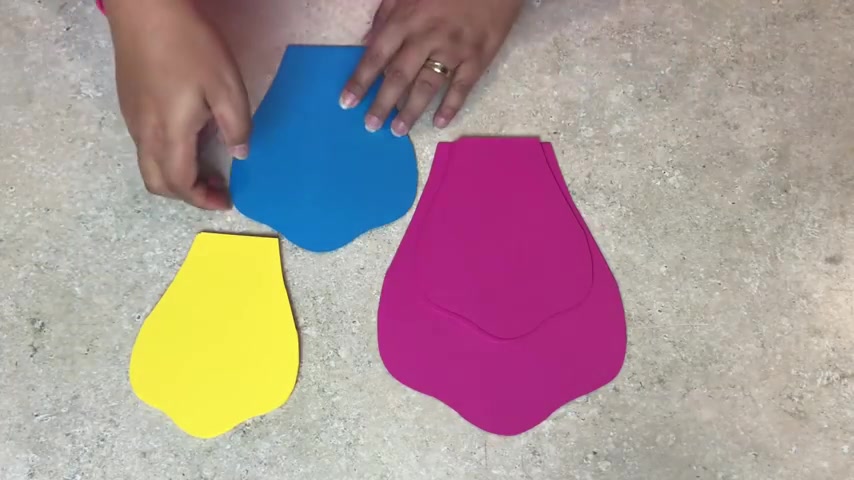
So first of all , I will show you how I lay out .
I'm gonna make a dual tone and one tone uh flower for this one and I will try to make it as quick as possible .
So this is how I lay out the pink one .
I just make the larger size and flip the other one a smaller size on this side and I got it with my machine .
So I have all the flexibility in doing .
So I will show you in the other tutorial how I did it .
But don't worry for PDF , for PDF users .

Uh You can also do the same thing like the , you know , similar pedal sizes as this that would fit on an 8.5 by 11 uh inches flour uh paper .
So here's how I do the blue one .
So I got like five sheets of this one to make two flowers .
And here's the yellow one , I use this uh 2.5 sheets for two flowers .
So let's set aside the blue and the yellow .
And by the way , this petal design is really ideal if you are doing a Moana theme or any Hawaiian theme uh party .
So let's start , let's start with a our base .
So depending on , you know , how you are going to attach this one .
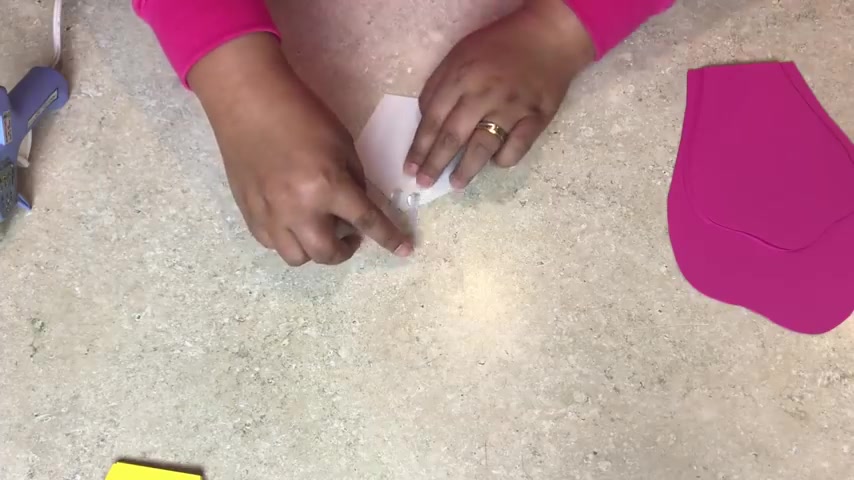
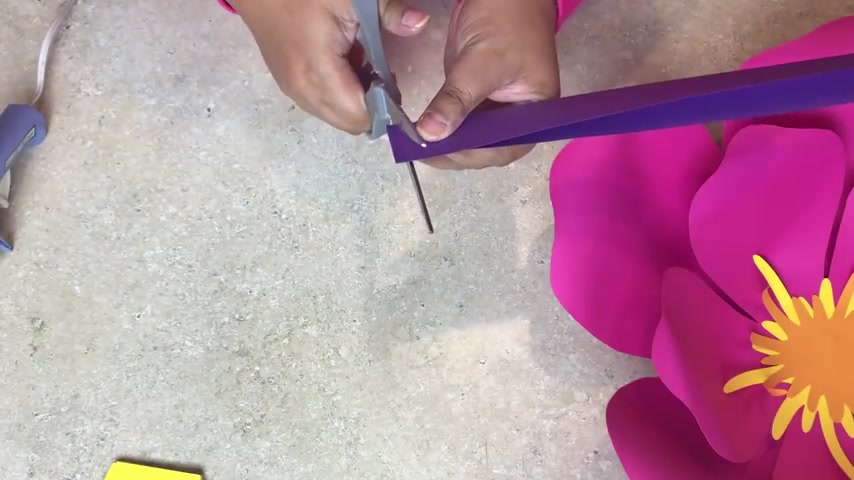
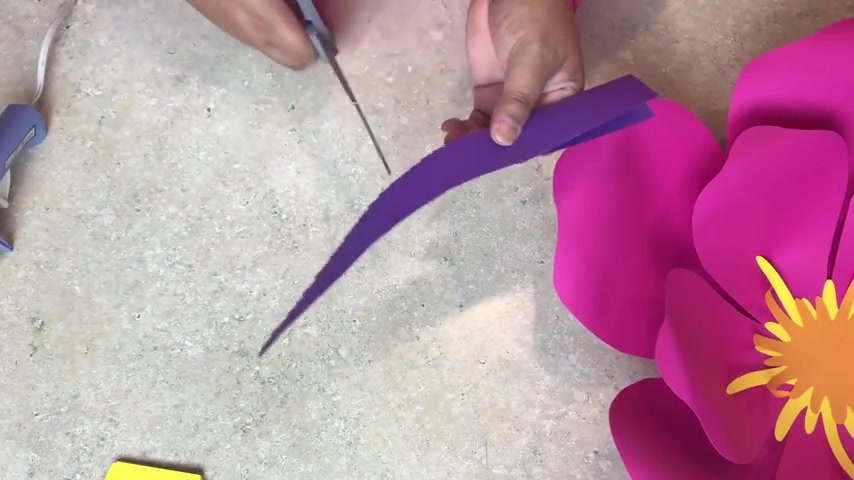
If you're going to attach this one on a fabric , I would recommend to use this uh pipe cleaner .
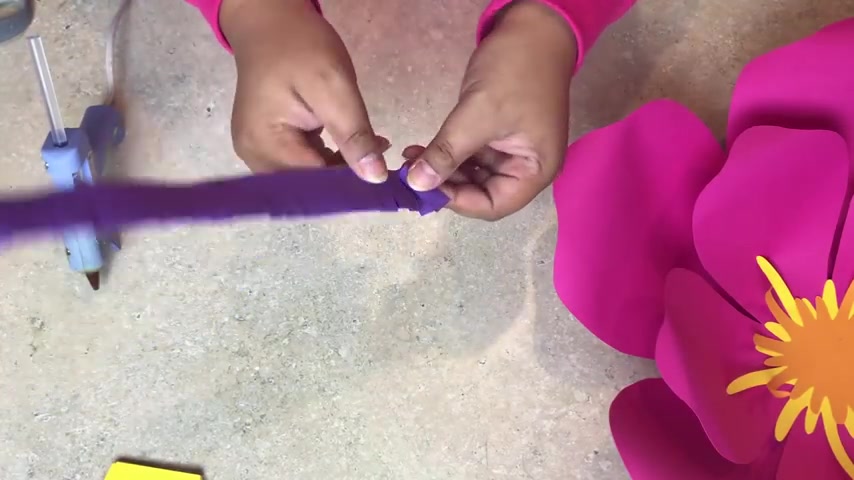
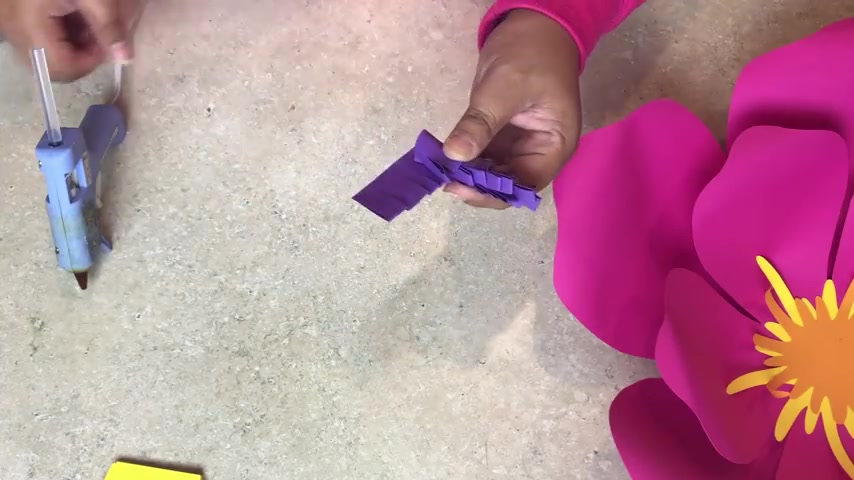
This is a quarter of the pipe and I just cut it into quarter and curl it like this and then we're going to glue it here with glue .
But if you're going to stick this one with a double sided tape , there's really on a flat surface , there's really no need for you to uh use a pipe cleaner .
But just for the sake of this tutorial , I'm gonna do and stick a pipe cleaner in it .
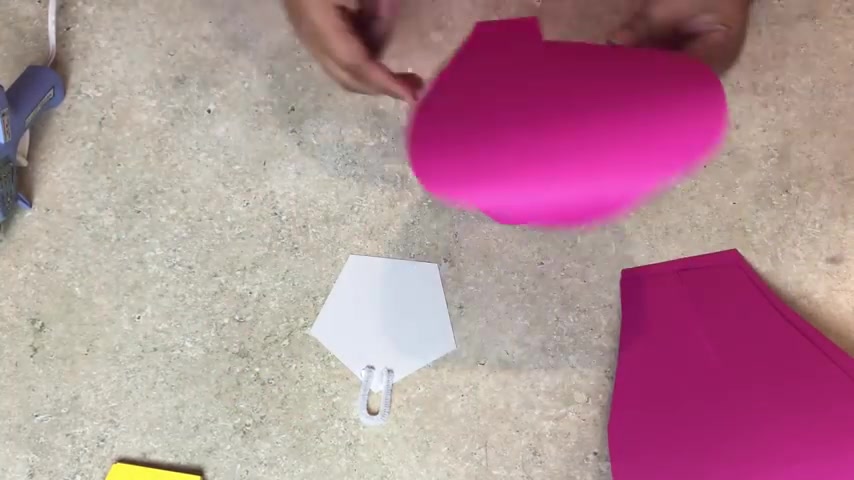
So why the Pentagon base when you can also use a circle ?
Well , because we're doing a five sides or five petal flower and it would be easier , especially for the beginner if uh you know , we can just place all our uh petals on the on the corner .
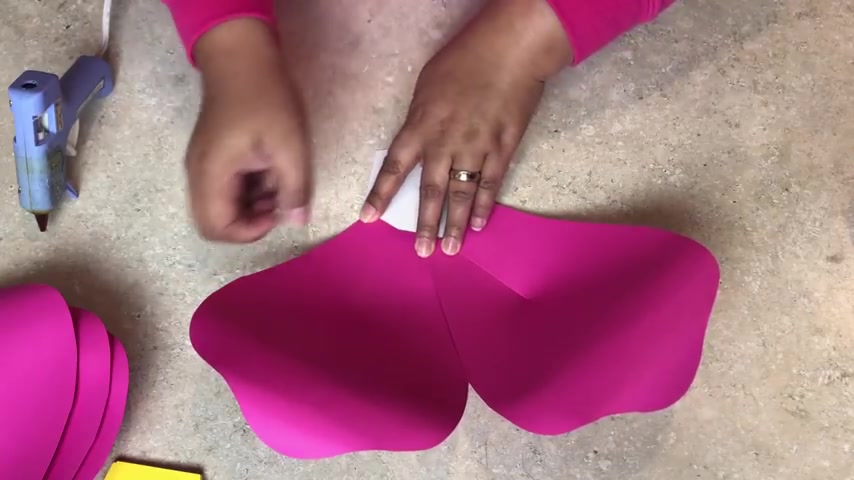
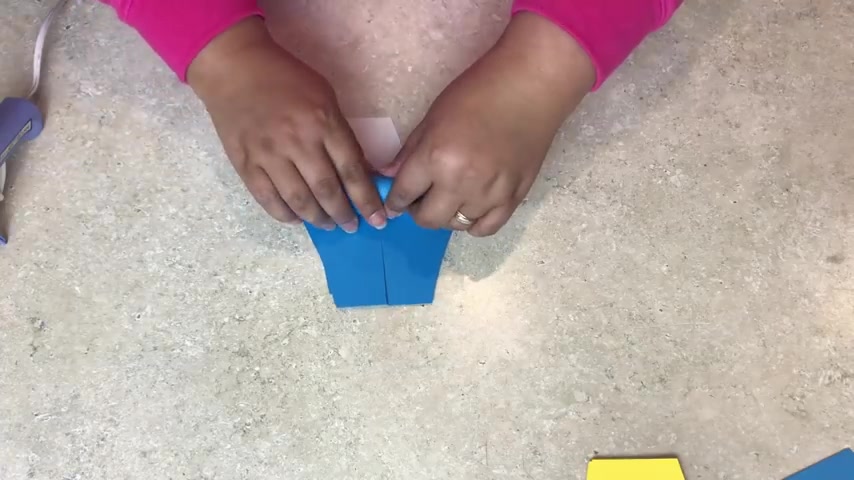
So the first thing that we need to do is cut a sleep in the middle of our petals .
So unlike with my other flowers that I usually go making , cutting ali , you know , in the middle of the petal .
But this time , let's try to make it shallow .
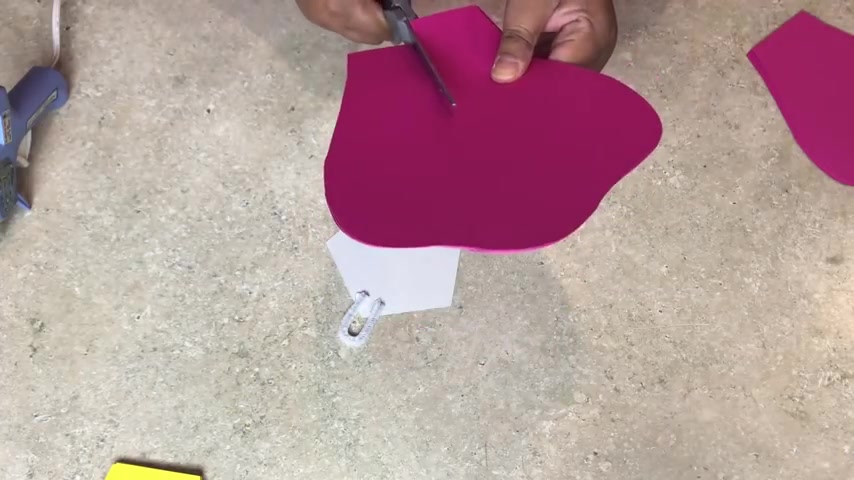
So the larger one is just like two inches , not up to the , up to half of it and the smaller one .
So we , it will stand more upright .
Let's make it shallower than the previous one .
So just like that .
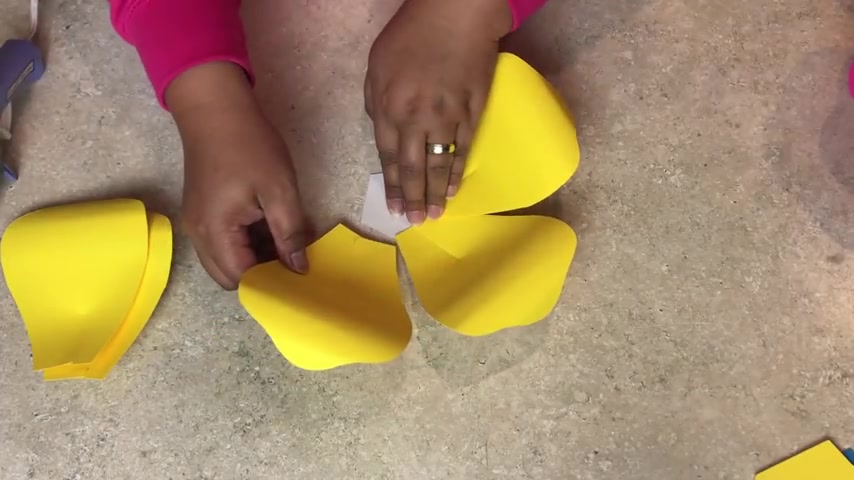
So the next thing that we are going to do is to get three petals at a time .
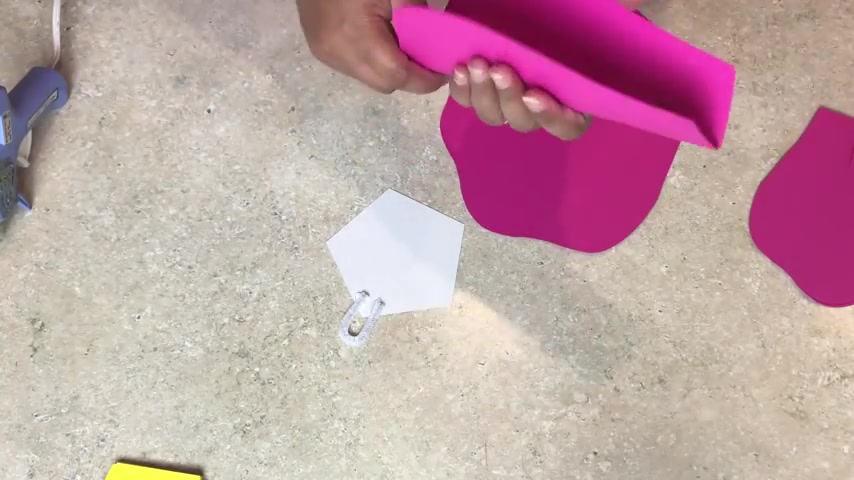
Although we're only using five and first of all , let's give it a good pearl and uh let's try doing this .
What I'm trying to achieve here is to really just make the , the petal curl out work .
Actually , you don't need to curl it on the side .

All you need to do is just to curl it like this I like .
So , so let's give a little empathy on this side , maybe on this side here again , just like that .
And let's repeat the other side and let's go with a smaller one .
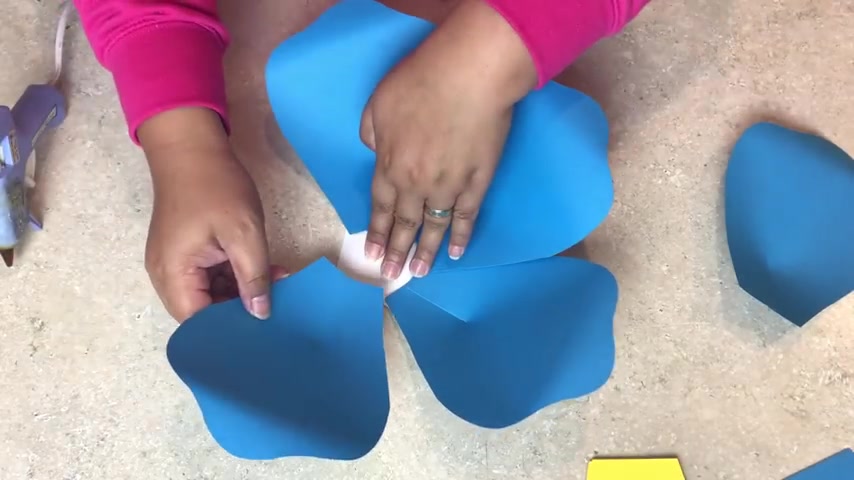
Let's curl all the six but all together and let's just remove one petal each or you can just , you know , curl five petals at the time .
So if you can say this is how I I do it just to remove one and another one and we are going to make it stand upright by flipping the flap one , you know , on top of the other like silk So it's gonna be like half of the other flab and let's gonna do all five of our petals and that's the beauty of cutting it .
Uh all five together .
You have a uniform slip , you know .
So it has a uniform uh stand also on your base table .
A four huh ?
One two 34 five .
Oops .
So you really have to give it a little time before you will release it .
Excel and let's keep this one up 245 , 24 five .
OK .
So we're , we don't need any currier in this .
Uh as I notice , you know , you can just curl it by hand .
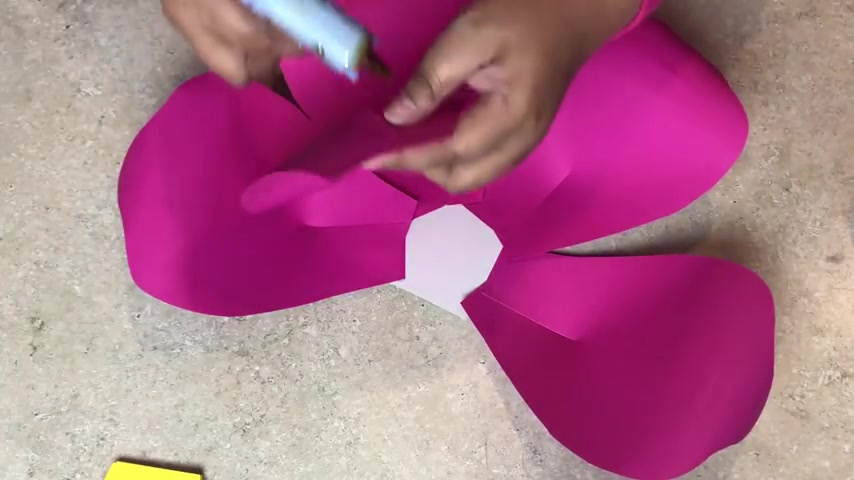
So first of all , before , before , before we , we will glue the flip together of this smaller petal into the second layer .
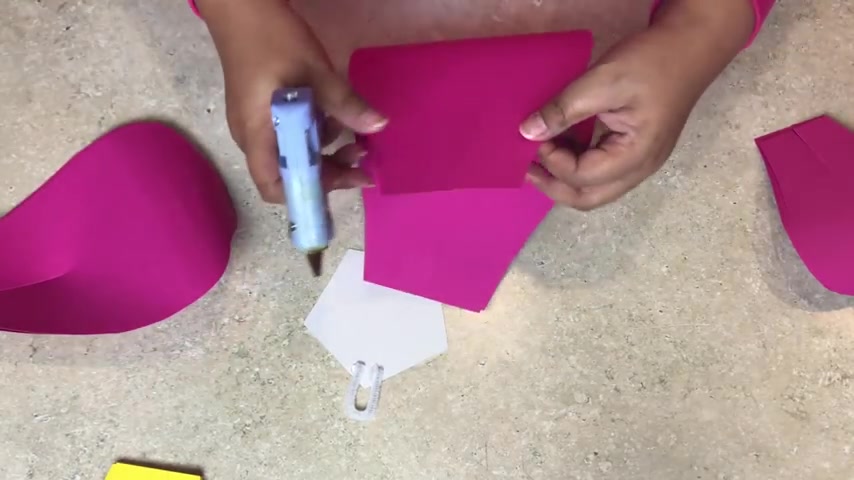
What I would like to do first is to attach this first layer on the base .
So we can also anticipate , you know how we are going to glue the flaps of our second layer .
So first thing , we are going to put a glue just half of the base of the petal and then parallel to the line here , we're sticking our petal on it and the reason why we do that .
So we keep it open and we give , we can sneak it here and we give , you know , like the illusion of one petal , one side of a petal at top of the other , but we can just secure it later and glue it all together two , three .
Yes , four and five .
So now we can secure this one , two pretty why ?
Then five .
So the next thing that we can do , it's still check our second layer .
How are we going to make it stand and glowing it at the middle or half of the petal also ?
Or just do ?
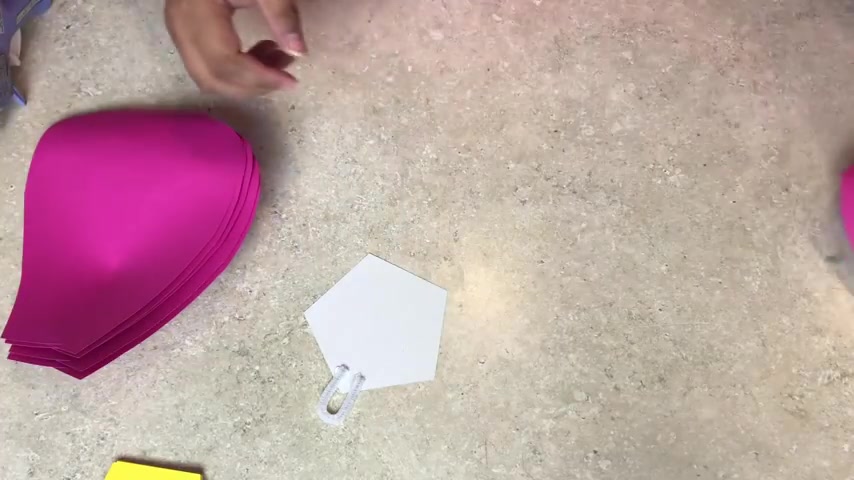
So I set aside the the flour and now I'm just glowing there sides of the flaps .
Mhm Four faith .
And again , the same thing and we are just going to place the second layer in the middle of two layers from the previous .
So you don't really need to , you know , like have half of it .
I think we can just put the glue all together because our space is wide enough , you know , for us , I need some glue .
So for I know my sweater camouflage with the so you can see that I hate pink .
So this is my favorite color .
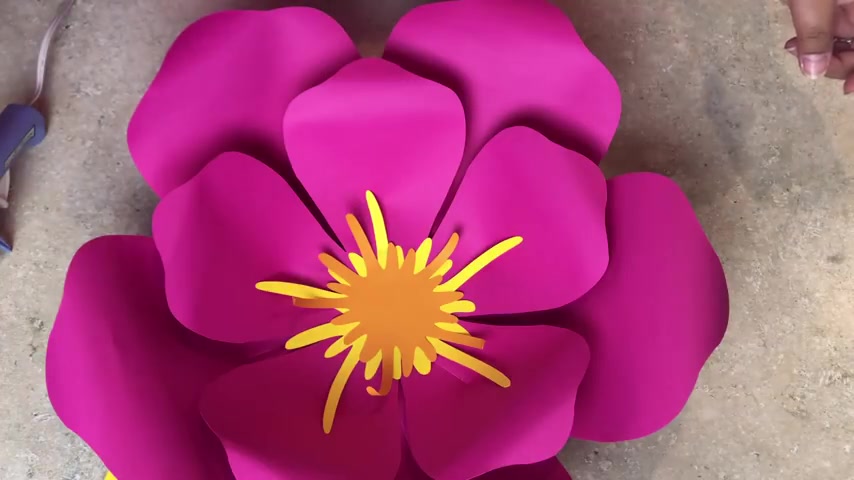
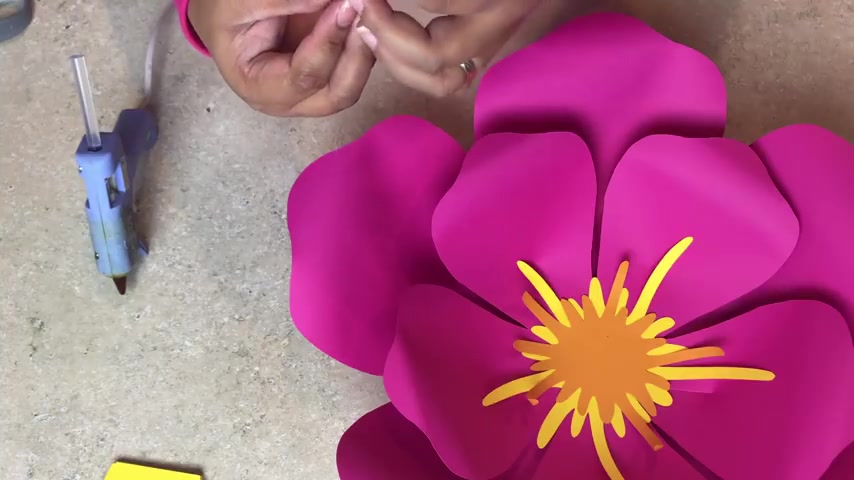
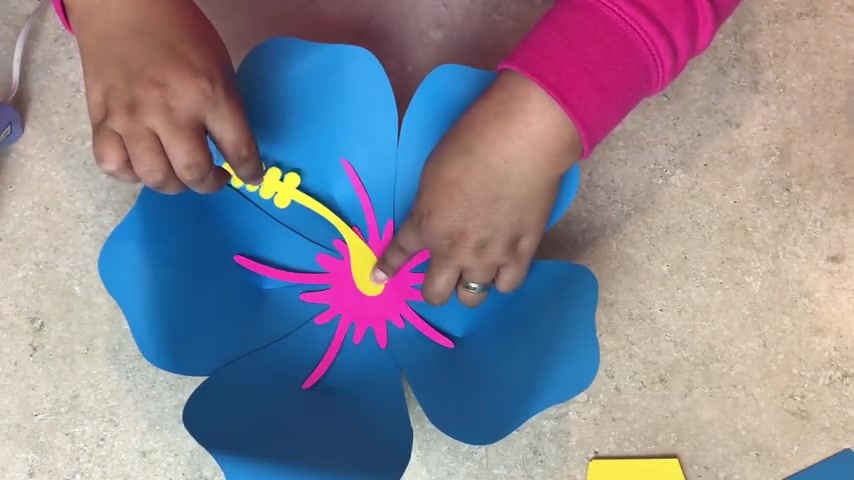
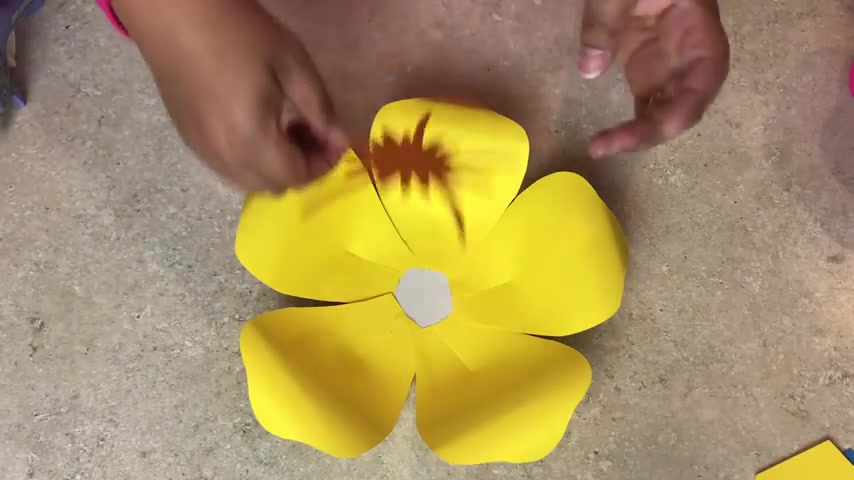
So once it's done , we can now put our center .
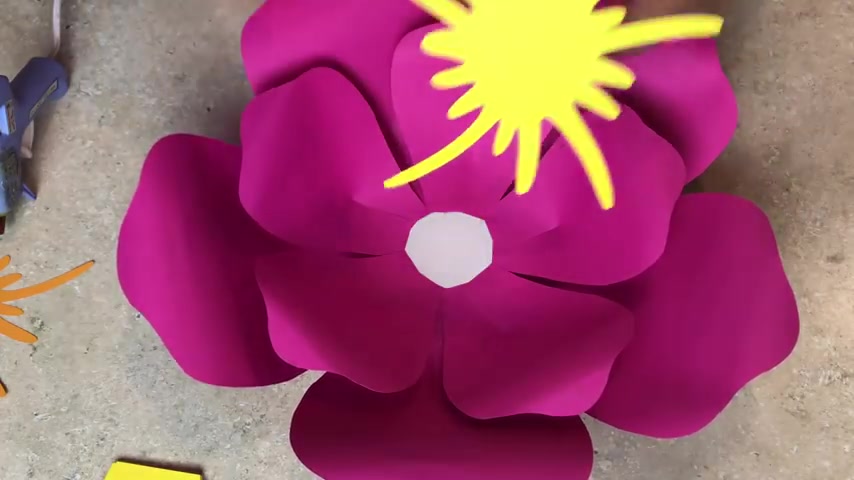
So since it's uh actually if this one is not big enough , the center is not big enough .
963.489 --> 1027.699
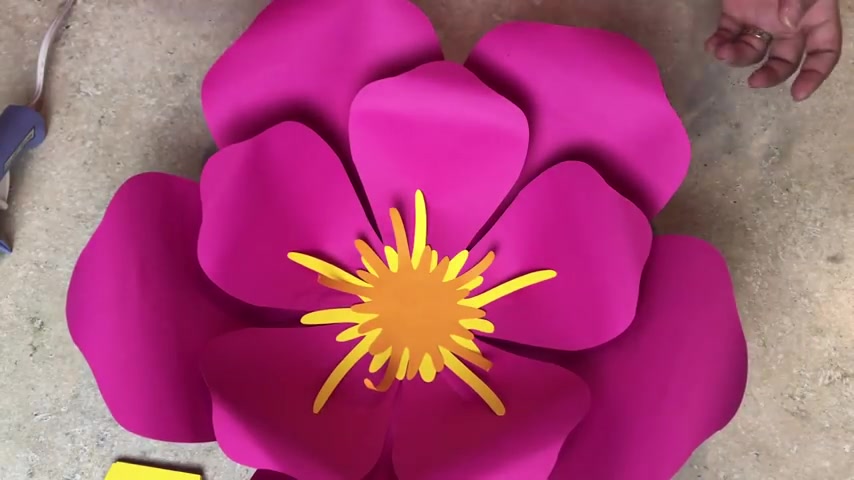
I think what really matters is that , you know , putting a vibrant colors together that really pops out .
I think that's really what , you know , make the Moana them really stand out .
So we have two different options , especially for uh SVG users .
You'll have this , uh you'll have this center which you can just lay in here , but it would be nice if it's in different color like this yellow .
So it will really pop out and I will try to make it to make a PDF file out of this .
I think it's just really , you know , it's very , very tight , especially when it gets smaller .
I will try , I will try though , I will include , you know , a PDF of this uh pattern of this uh template , but I know you can cut this one by hand and you can trace it by hand .
So I'm gonna include this one in PDF .
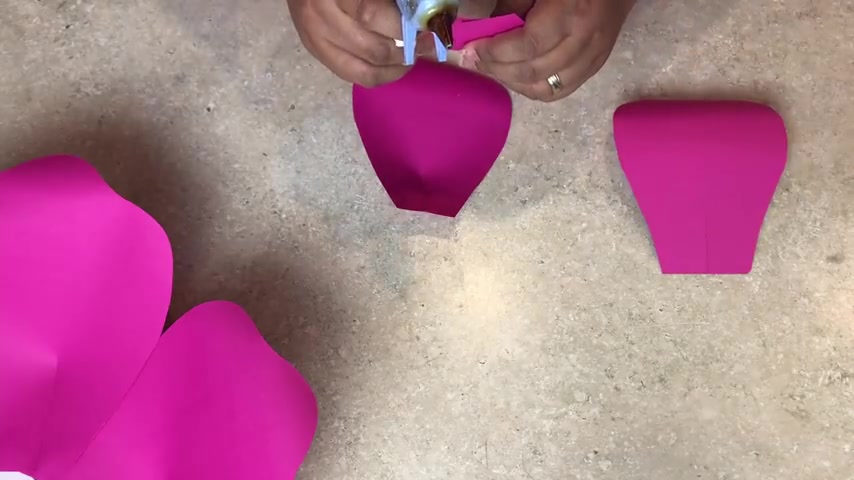
So , however , if you choose to , you know , do it more realistic and instead of just having the sta you know , laying flat on the , laying flat on your , what I would suggest is uh find something like this one .
This is like a third of an 8.5 by 11 .
So what I'm just gonna do here is just trying to make a French like , so that's so fine , just enough to give it a good texture .
And it doesn't matter if your cat is not uniform here So the next thing you do is to , you know , bend this one outward and then I'm gonna on the other side like this one , just glue it all the way .
What you will do now is you , to , you roll it like a little bit slanted like so , and as you roll , don't forget to put some glue on the way .
So that's the thing that would hold your sting upright like this one .
So now that we are almost at the tip , let's try to do a flat round base of this uh like .
So , so you don't need a template for this one .
All you do is to , you know , cut the paper and then you know , you need to pluck it outward to give it a good texture like .
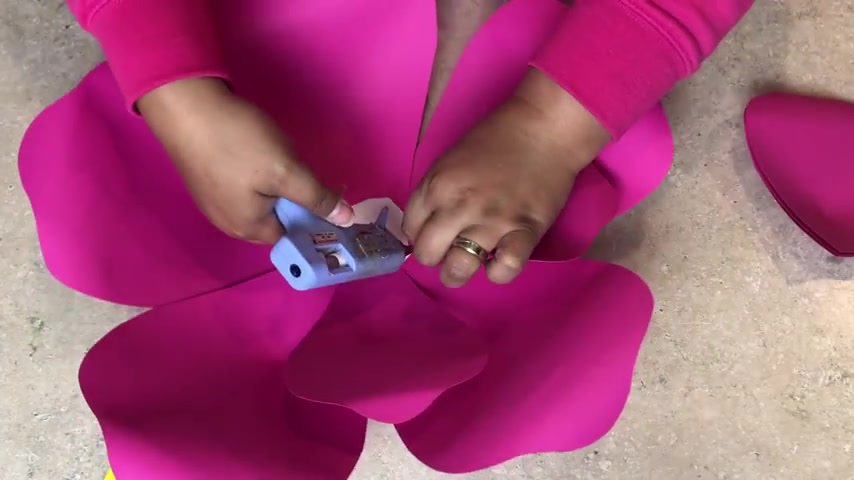
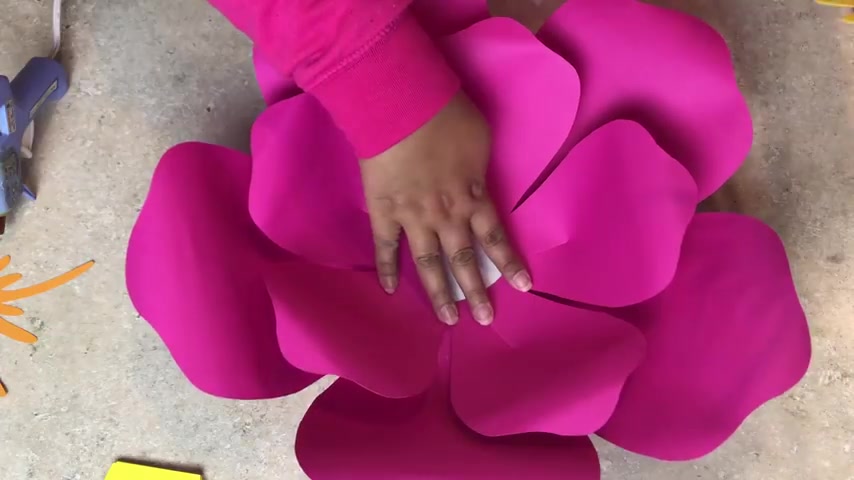
So , so now that it's done , we can now glue it into our flower .
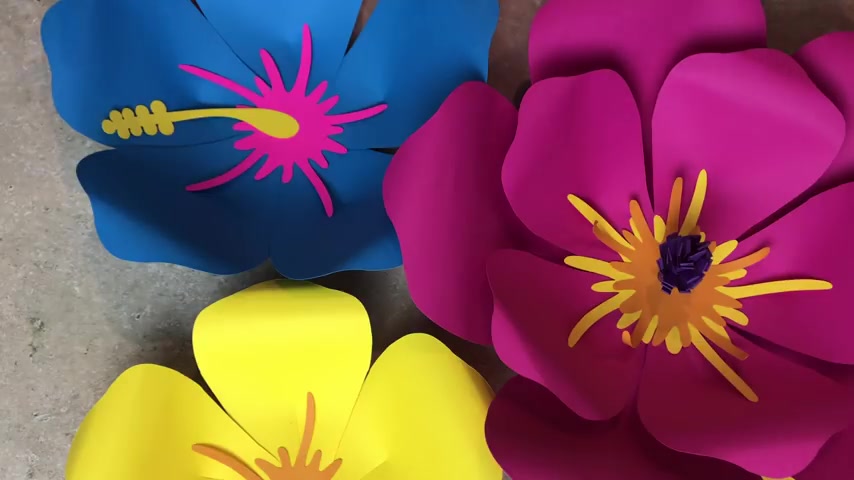
So there's our first flower and this is our the first way on how to put a on your hibiscus .
This is very useful , useful , especially for the P PDF users .
So let's proceed with the second largest , which is the blue and 123 , 45 .
So I'm just you gonna do one layer of this flour .
And I'm using , this is like a 2.75 inches Pentagon .
So all I really do is to roll it , soften it a little bit and now we can uh slap that uh put together all the flaps .
So one , this is only a single layer and right away , you can do a larger he discussed than our previous flour that we made .
You know , you need to use the entire 8.5 by 11 to create just one single .
So all five are glued .

The same method .
I'm not going to put any uh pipe cleaner because I'm not gonna use it , you know , on fabric .
I know I'm just gonna uh stick it on a flat surface .
So the same method , uh I only glue half because I'm gonna glue the other half right there .
Three , four and fine .
So now we can get our , we can secure the other side of our .
And the good thing about this uh petal design , it's very lively .
It's very , you know , happy uh design plus above all .
You know , I'm I'm sure this one is uh most likely 12 to 14 inches of flour and it only uses like five sheets of paper plus the center and this one is only using 2.5 with a center .
So just like the other one , I'm also using this center here , you know , to give a good contrast .
Don't worry if you know this kind of pink , this color when there is like a hat glowing it because it will just , you know , it will , once it cools down , it will go back to the normal .
So for the for the other center option , we can use this one , which I'm gonna include on this pedal design .
And , you know , if you want to keep it a little bit upright , it's really impossible because it's only one size .
Oh , I mean , 11 sheet better , but that's ok .
As long as you will make a contrasting color , you will really notice the sta on it .
So just glue the tape and you know , place it as middle as you can and make it sure that it's somewhere without this longer stam on it .
So you can really emphasize the stamm in here .
So that's our second color .
And let's make our third and final one , 12 , 345 .
It's all yellow .
And I'm using a very small base here , I believe it's 2.25 inches .
So again , just like the rest of the flowers , you know , I'm just using , I'm just curling it this way .
And by the way , if you are going to make a larger flour , like for example , you're going to use the entire flour , uh entire paper for just one petal .
I would suggest to , you know , really make a larger center also and make a larger base .
And also it would be nicer if you can make a three layer flour rather than uh just just two .
So the medium size that's fine if you're using two .
But if you're using larger than that , so your flour won't really look very empty , it's loose , but it's not empty .
I would suggest to use uh three layer .
So the same thing with the previous two , I just made a slip on this uh petals and it's not as deep as I usually do because we wanted to keep our petals upright and I am just gluing now the flus together to create a good dimension of the flower .
So again , I'm not using any uh pet cleaner because I am not going to hang this one on a fabric .
So two .
Mhm really four and five .
So even though it's Pentagon , sometimes it really , it really doesn't even the distribution of the petals and that's fine .
You don't really have to make it so perfect because that's the beauty of flowers .
It's perfectly imperfect .
So now what I'm gonna put is this color here and I'm trying to cover as much center as I can and I am putting a pink salmon because it really would pop out and stand out .
So there you have it .
We have three sizes here and it's really fun and very vibrant color .
So I hope you guys like this tutor .
And as soon as I uploaded this video , I'm gonna list this template together with the rest of the attachments .
Thank you so much for watching .
Until next time .
Bye .
Are you looking for a way to reach a wider audience and get more views on your videos?
Our innovative video to text transcribing service can help you do just that.
We provide accurate transcriptions of your videos along with visual content that will help you attract new viewers and keep them engaged. Plus, our data analytics and ad campaign tools can help you monetize your content and maximize your revenue.
Let's partner up and take your video content to the next level!
Contact us today to learn more.